Macintosh Classic II Restoration
While I originally wrote and posted this restoration log on 68kmla.org, I’ve decided to duplicate all of my restoration logs to my blog for centralization and reading convenience. While I updated this post on 2024-08-04, the original restoration was completed in 2019.
Introduction
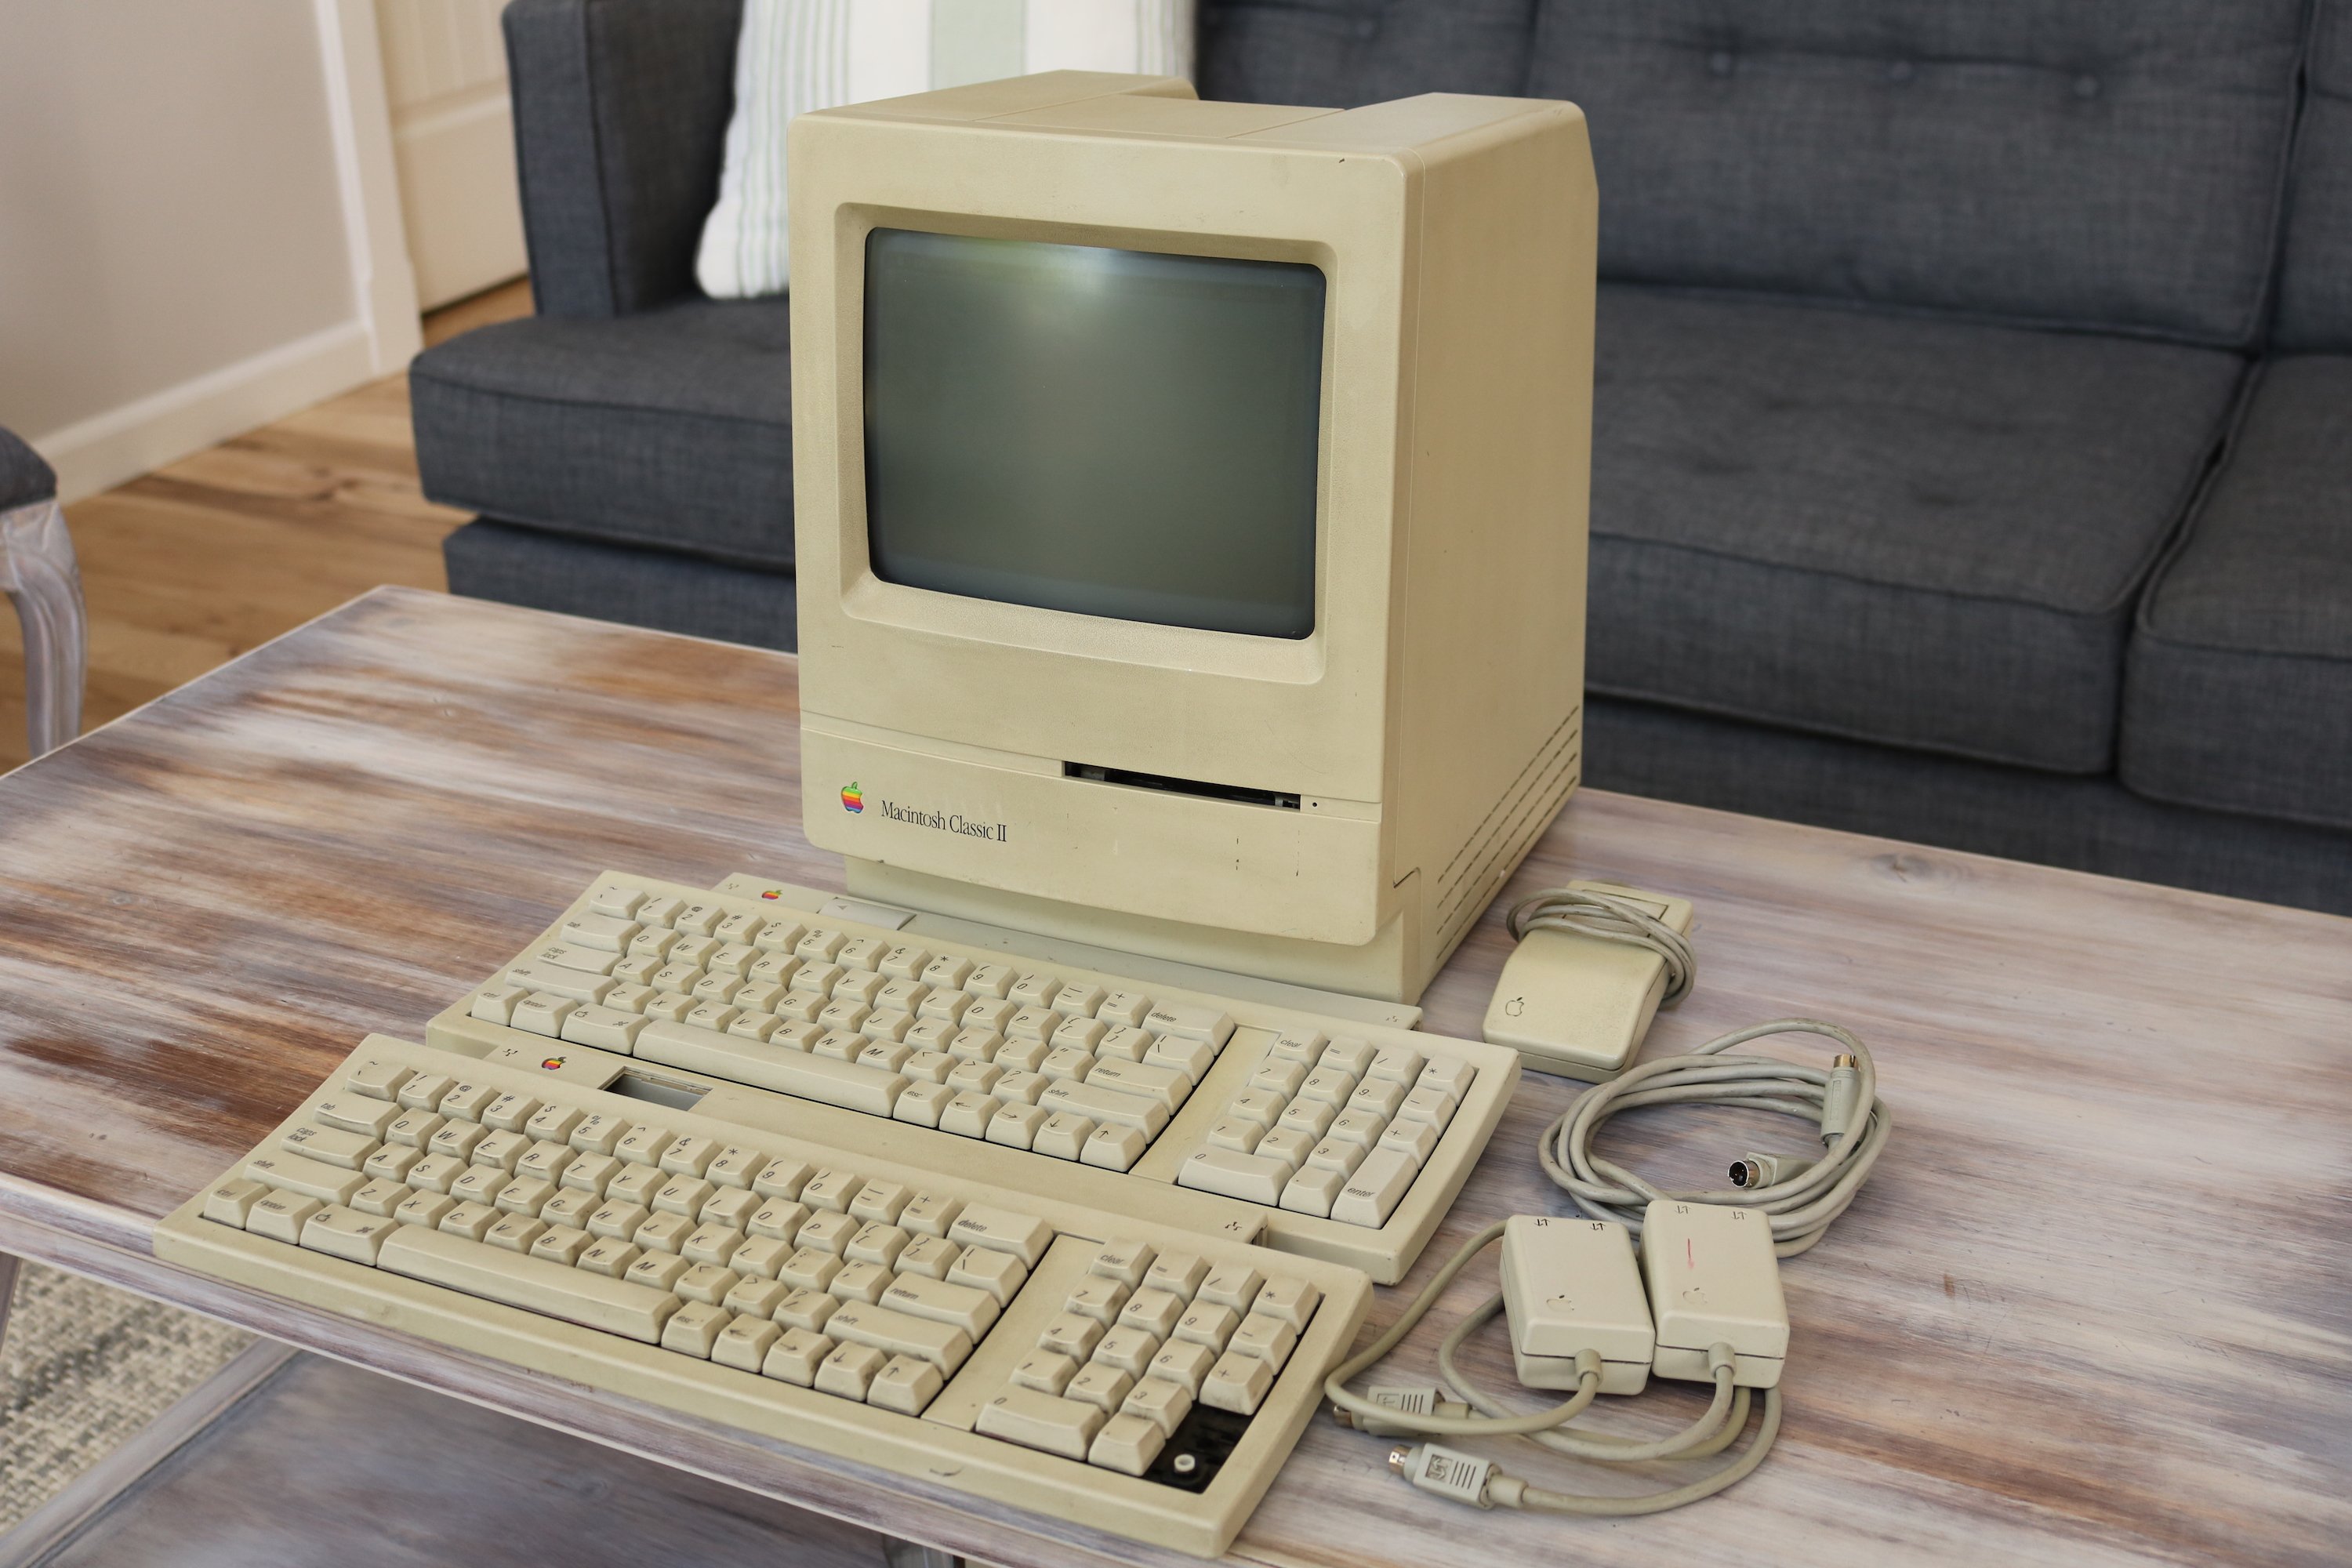
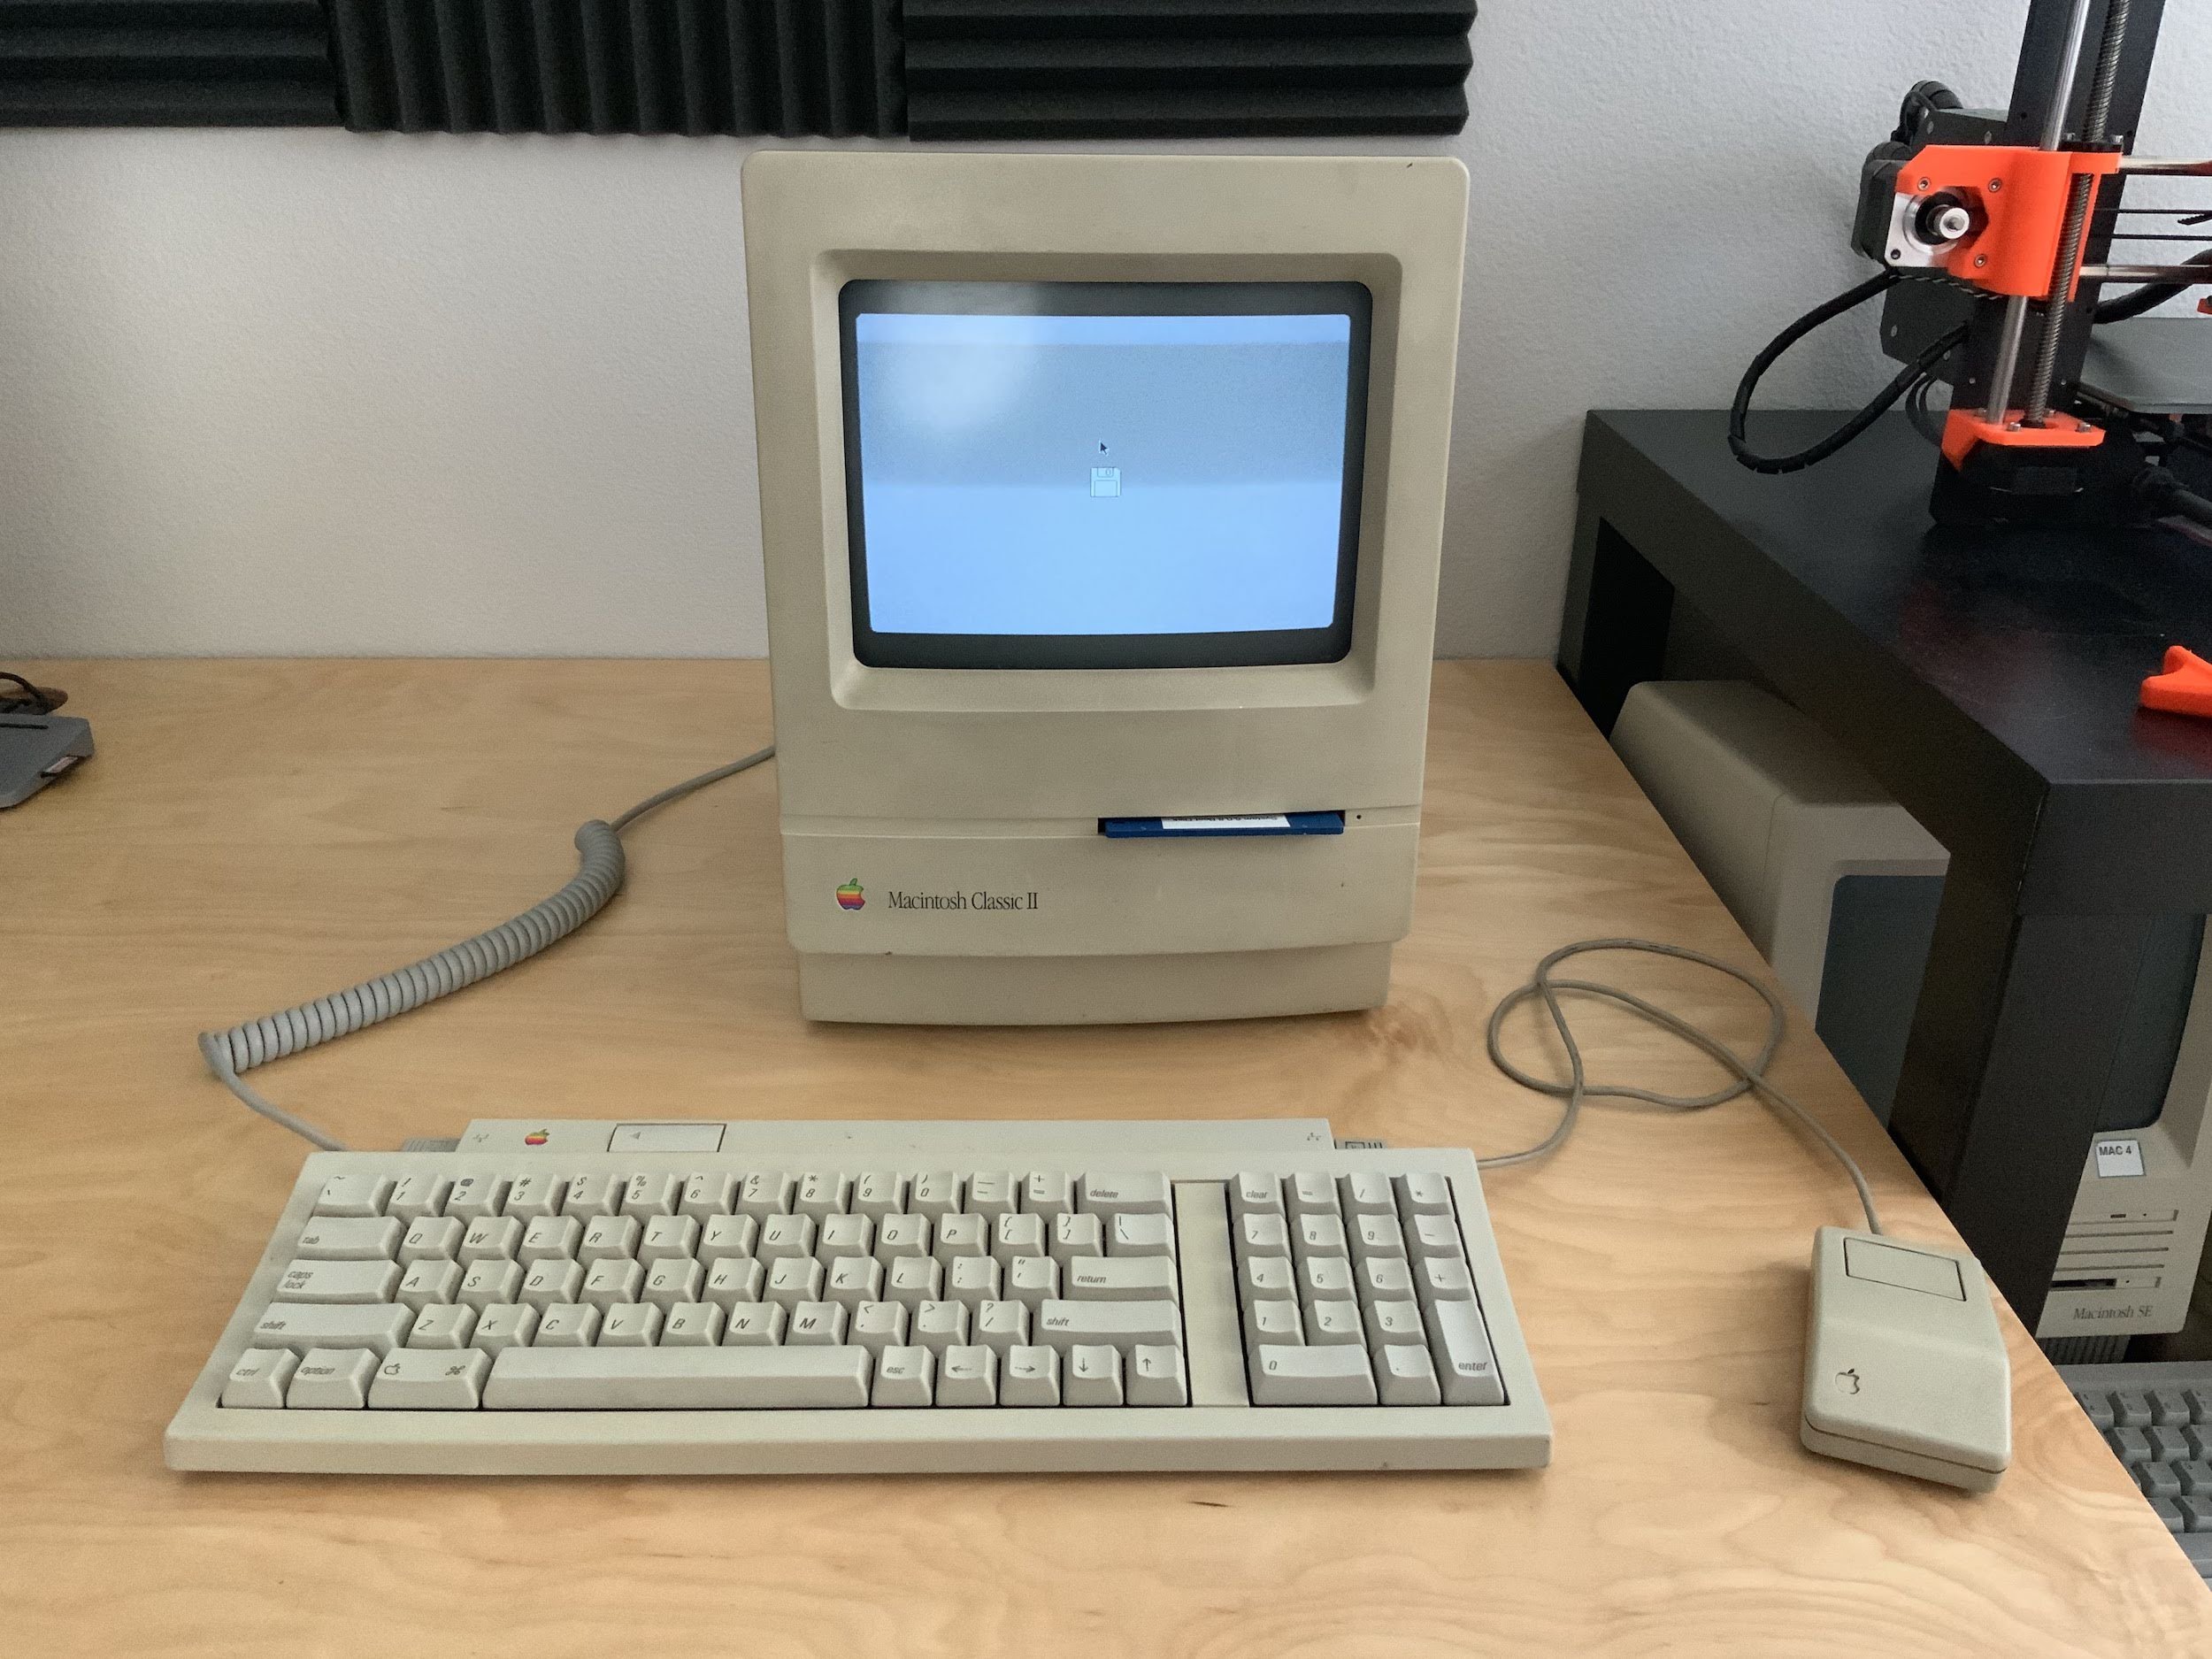
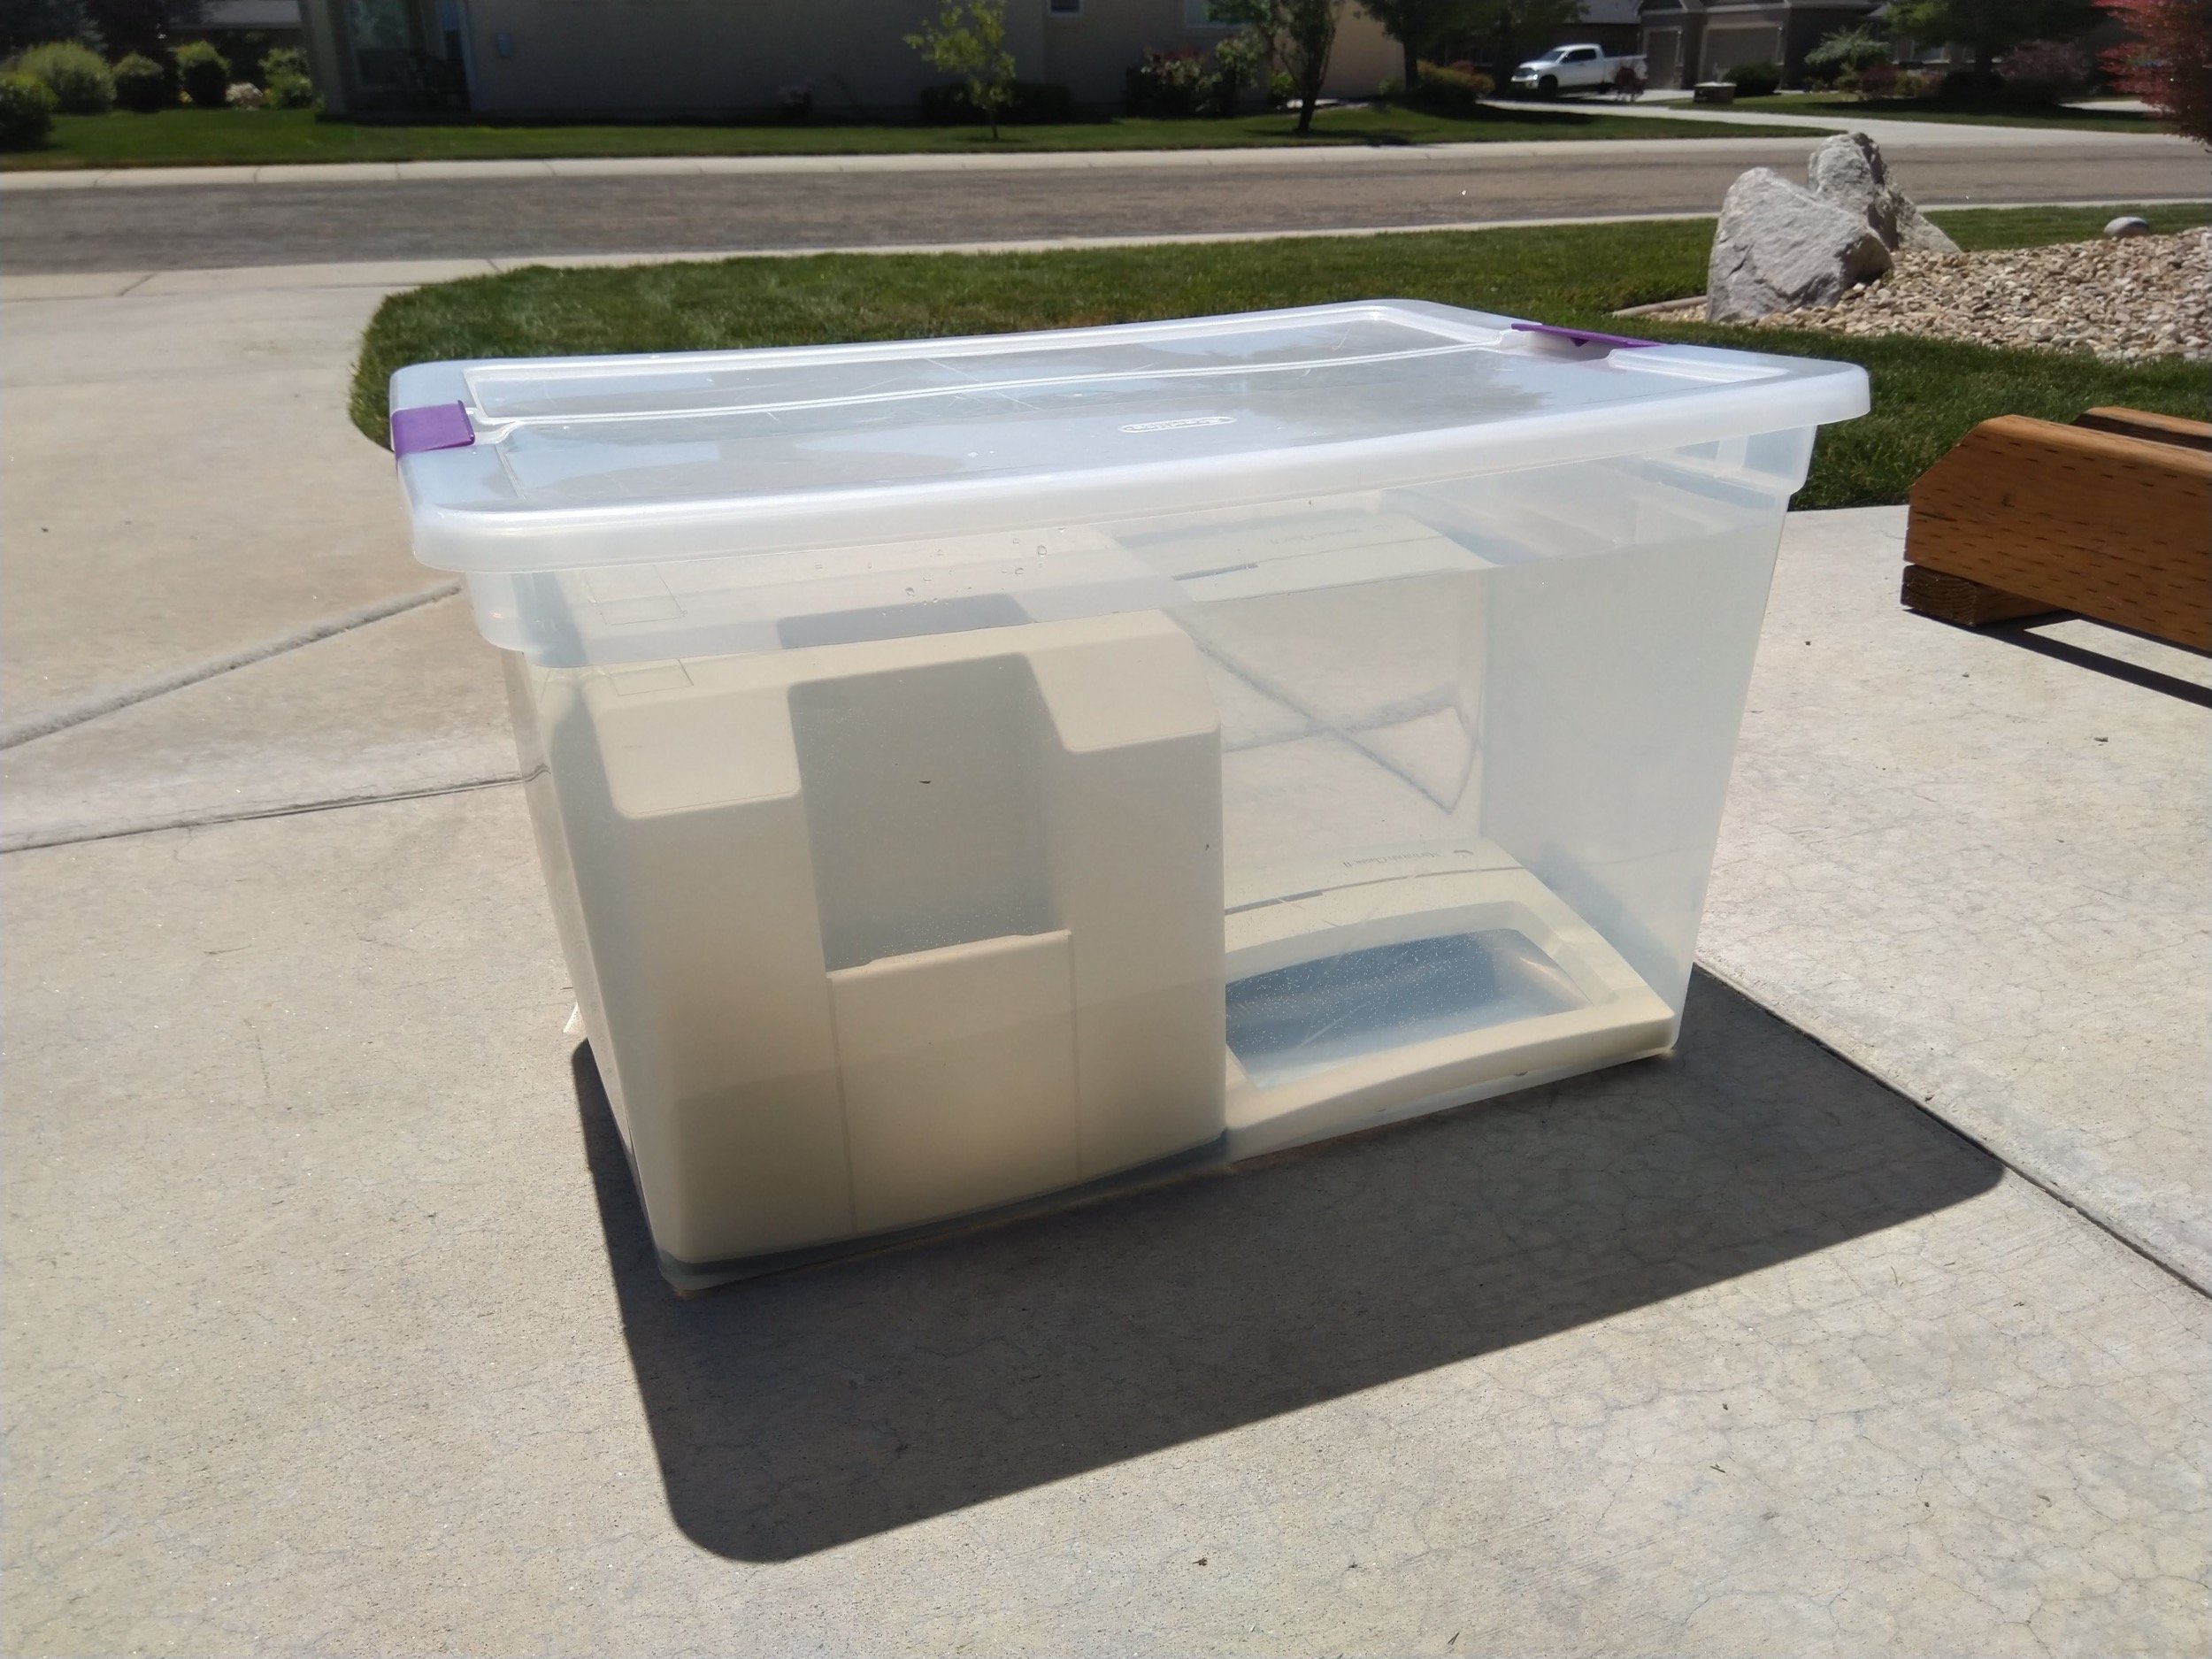
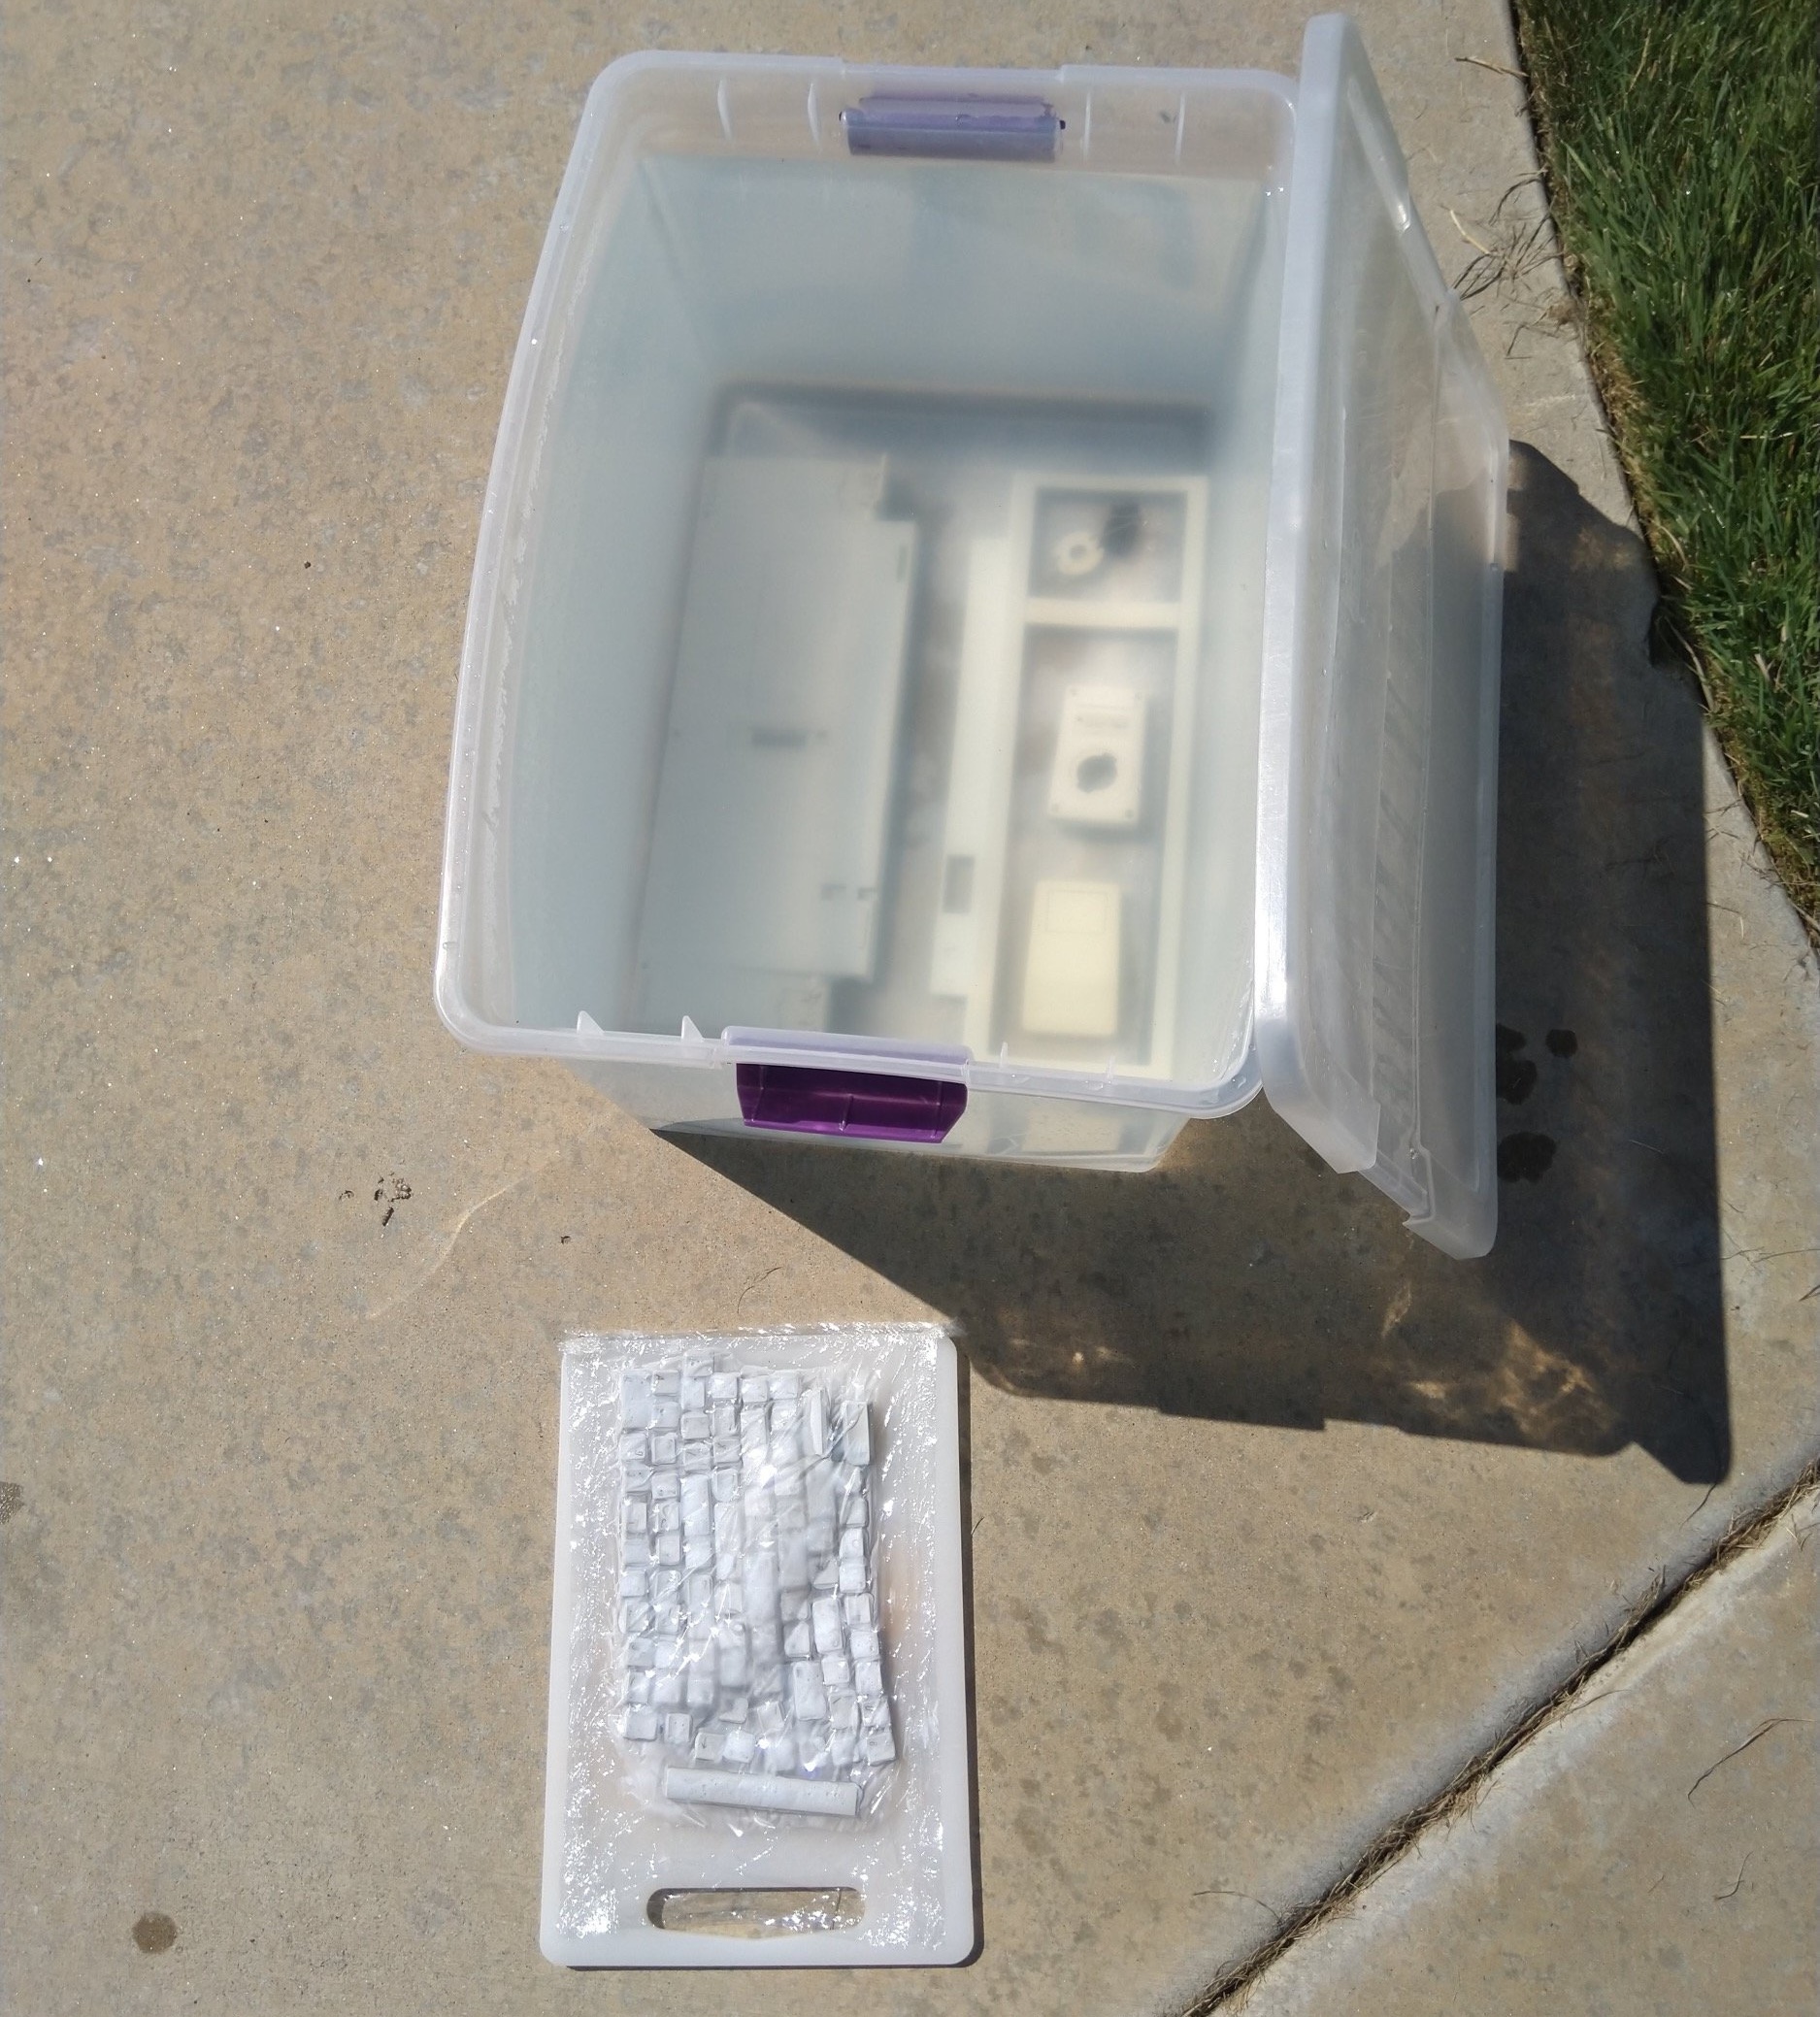
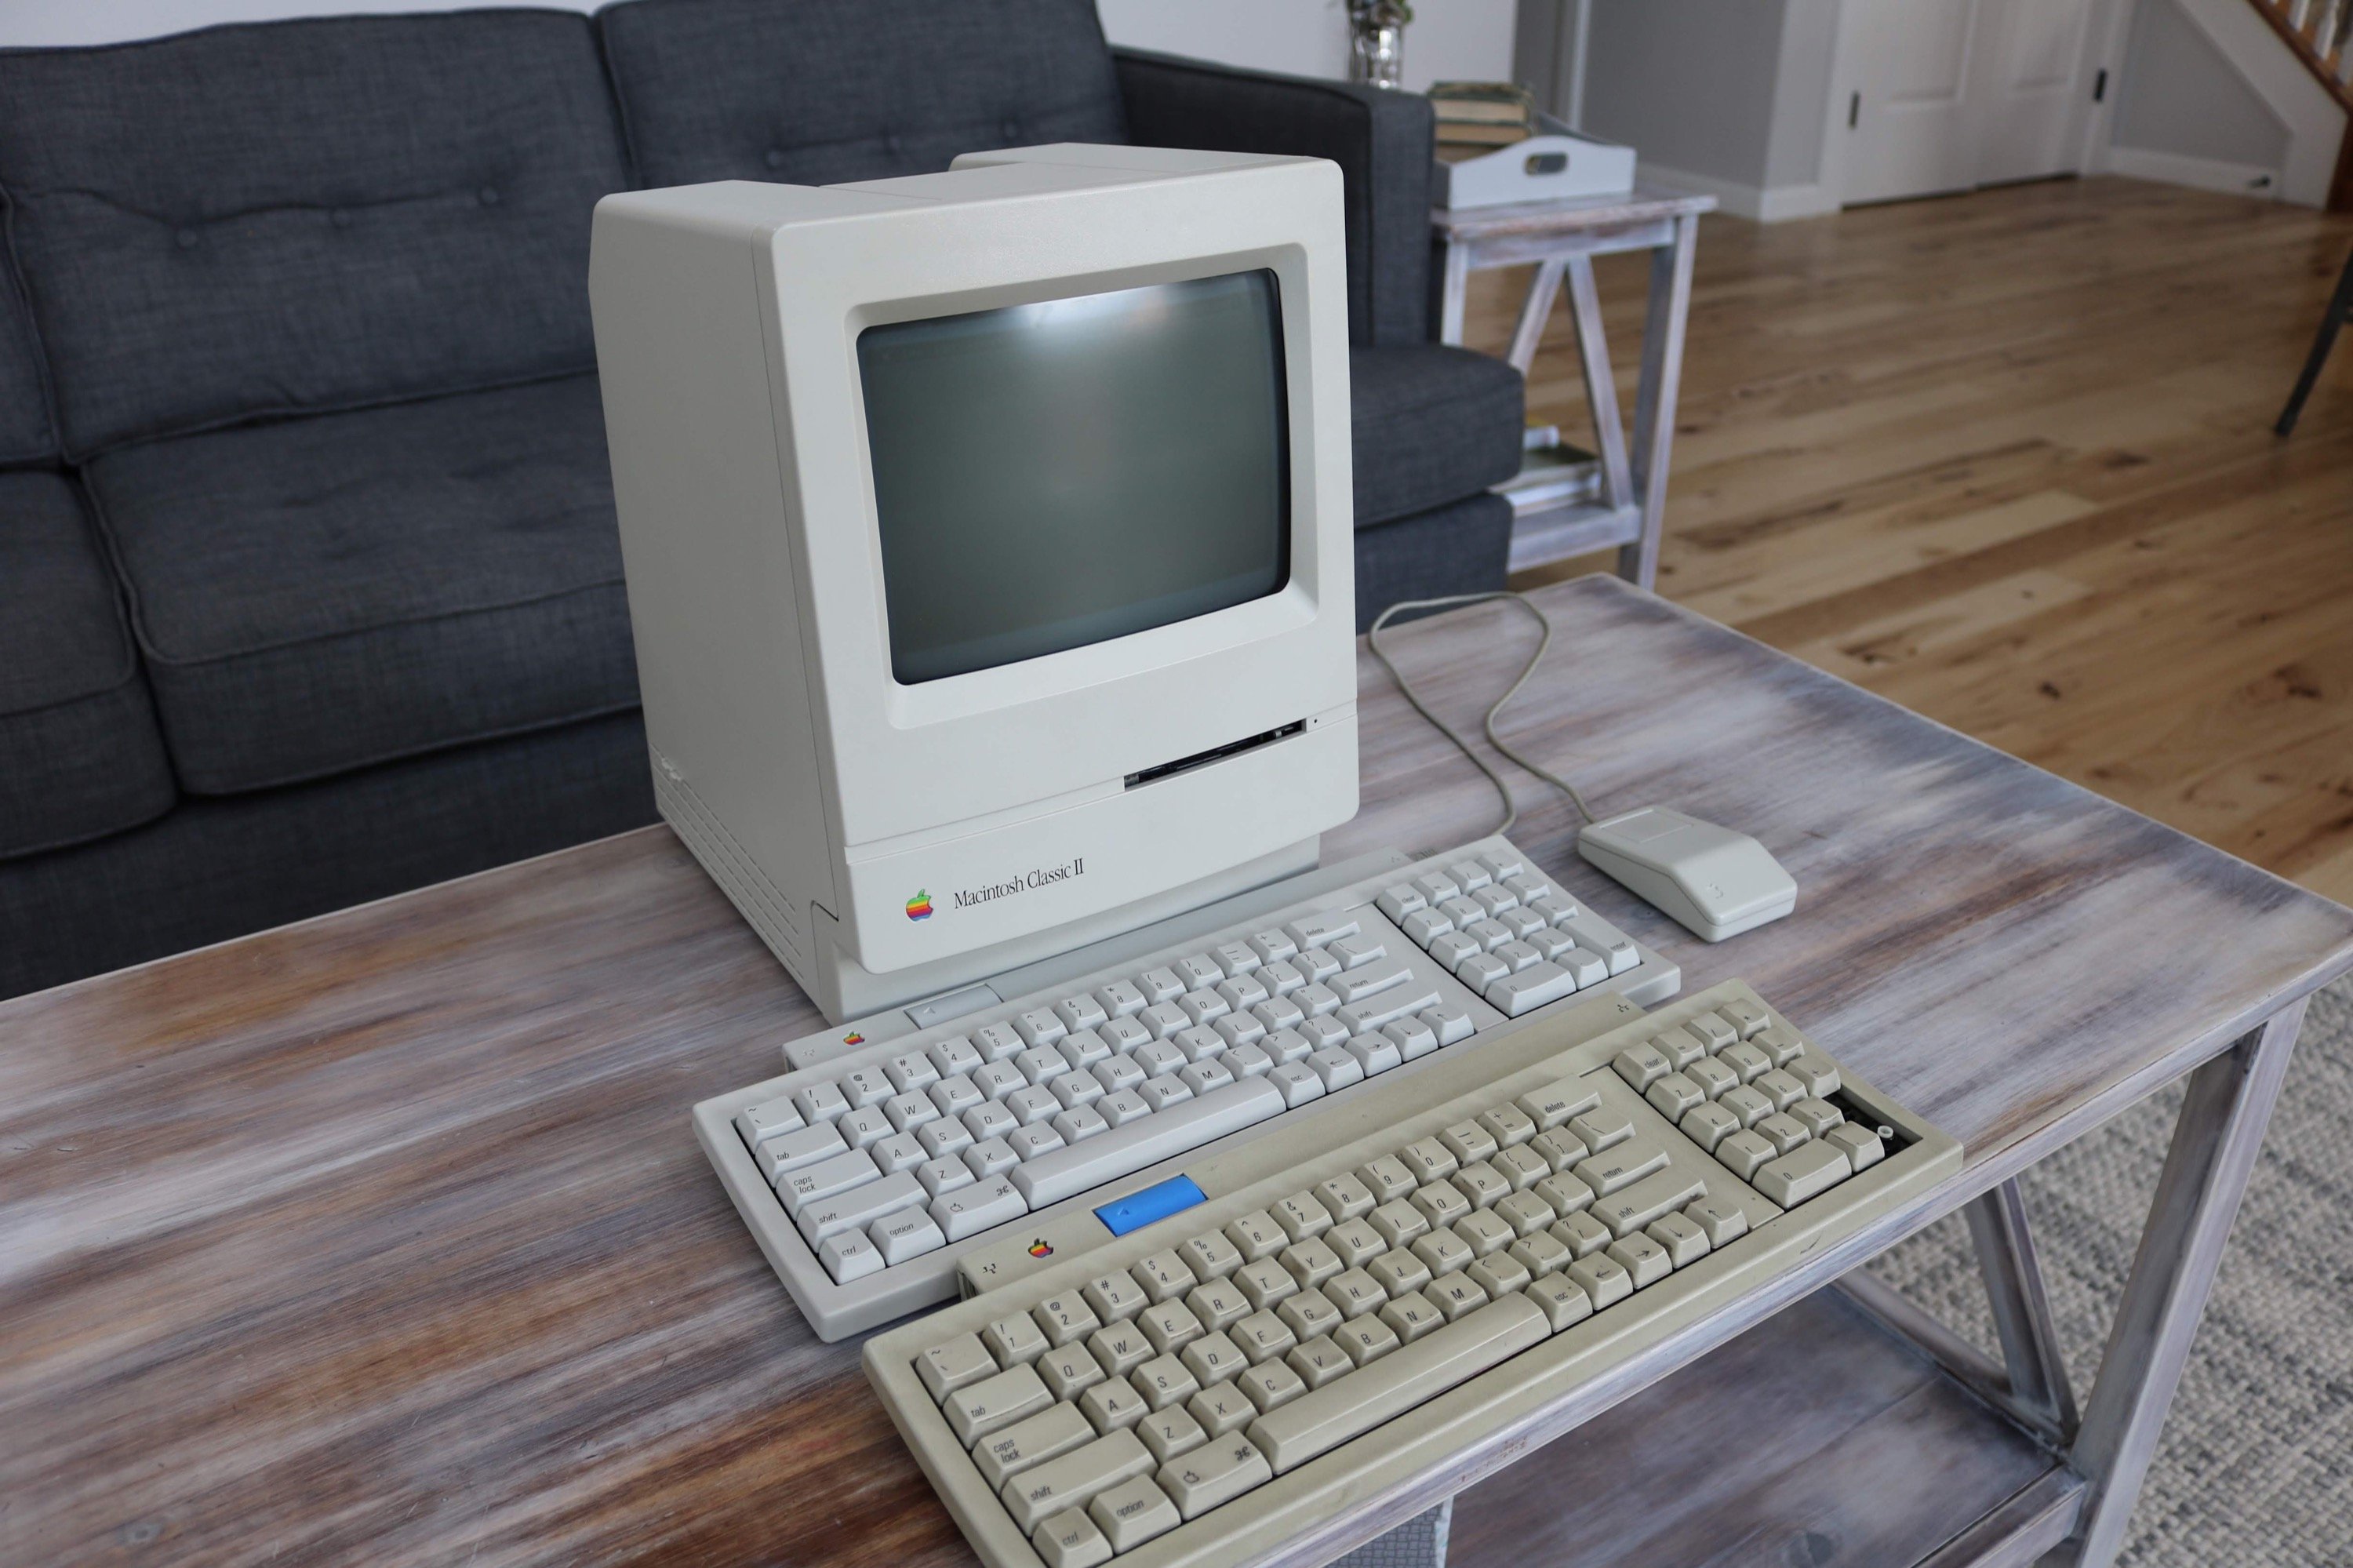
A Macintosh Classic II came up on eBay for $99 with free shipping. It came with the Macintosh itself, two Apple Keyboard II’s, a mouse, a LocalTalk cable, and two LocalTalk transceivers. According to the listing, it would power on and show a “floppy disk” icon, but the keyboards and the mouse apparently didn’t work
I decided to take a gamble and buy it. My bet was that the PRAM battery hadn’t exploded since it was asking for a bootable disk. I also laughed at the eBay listing, because they had the keyboard plugged into the LocalTalk transceiver, and the LocalTalk transceiver plugged into who-knows-what.
Disassembly
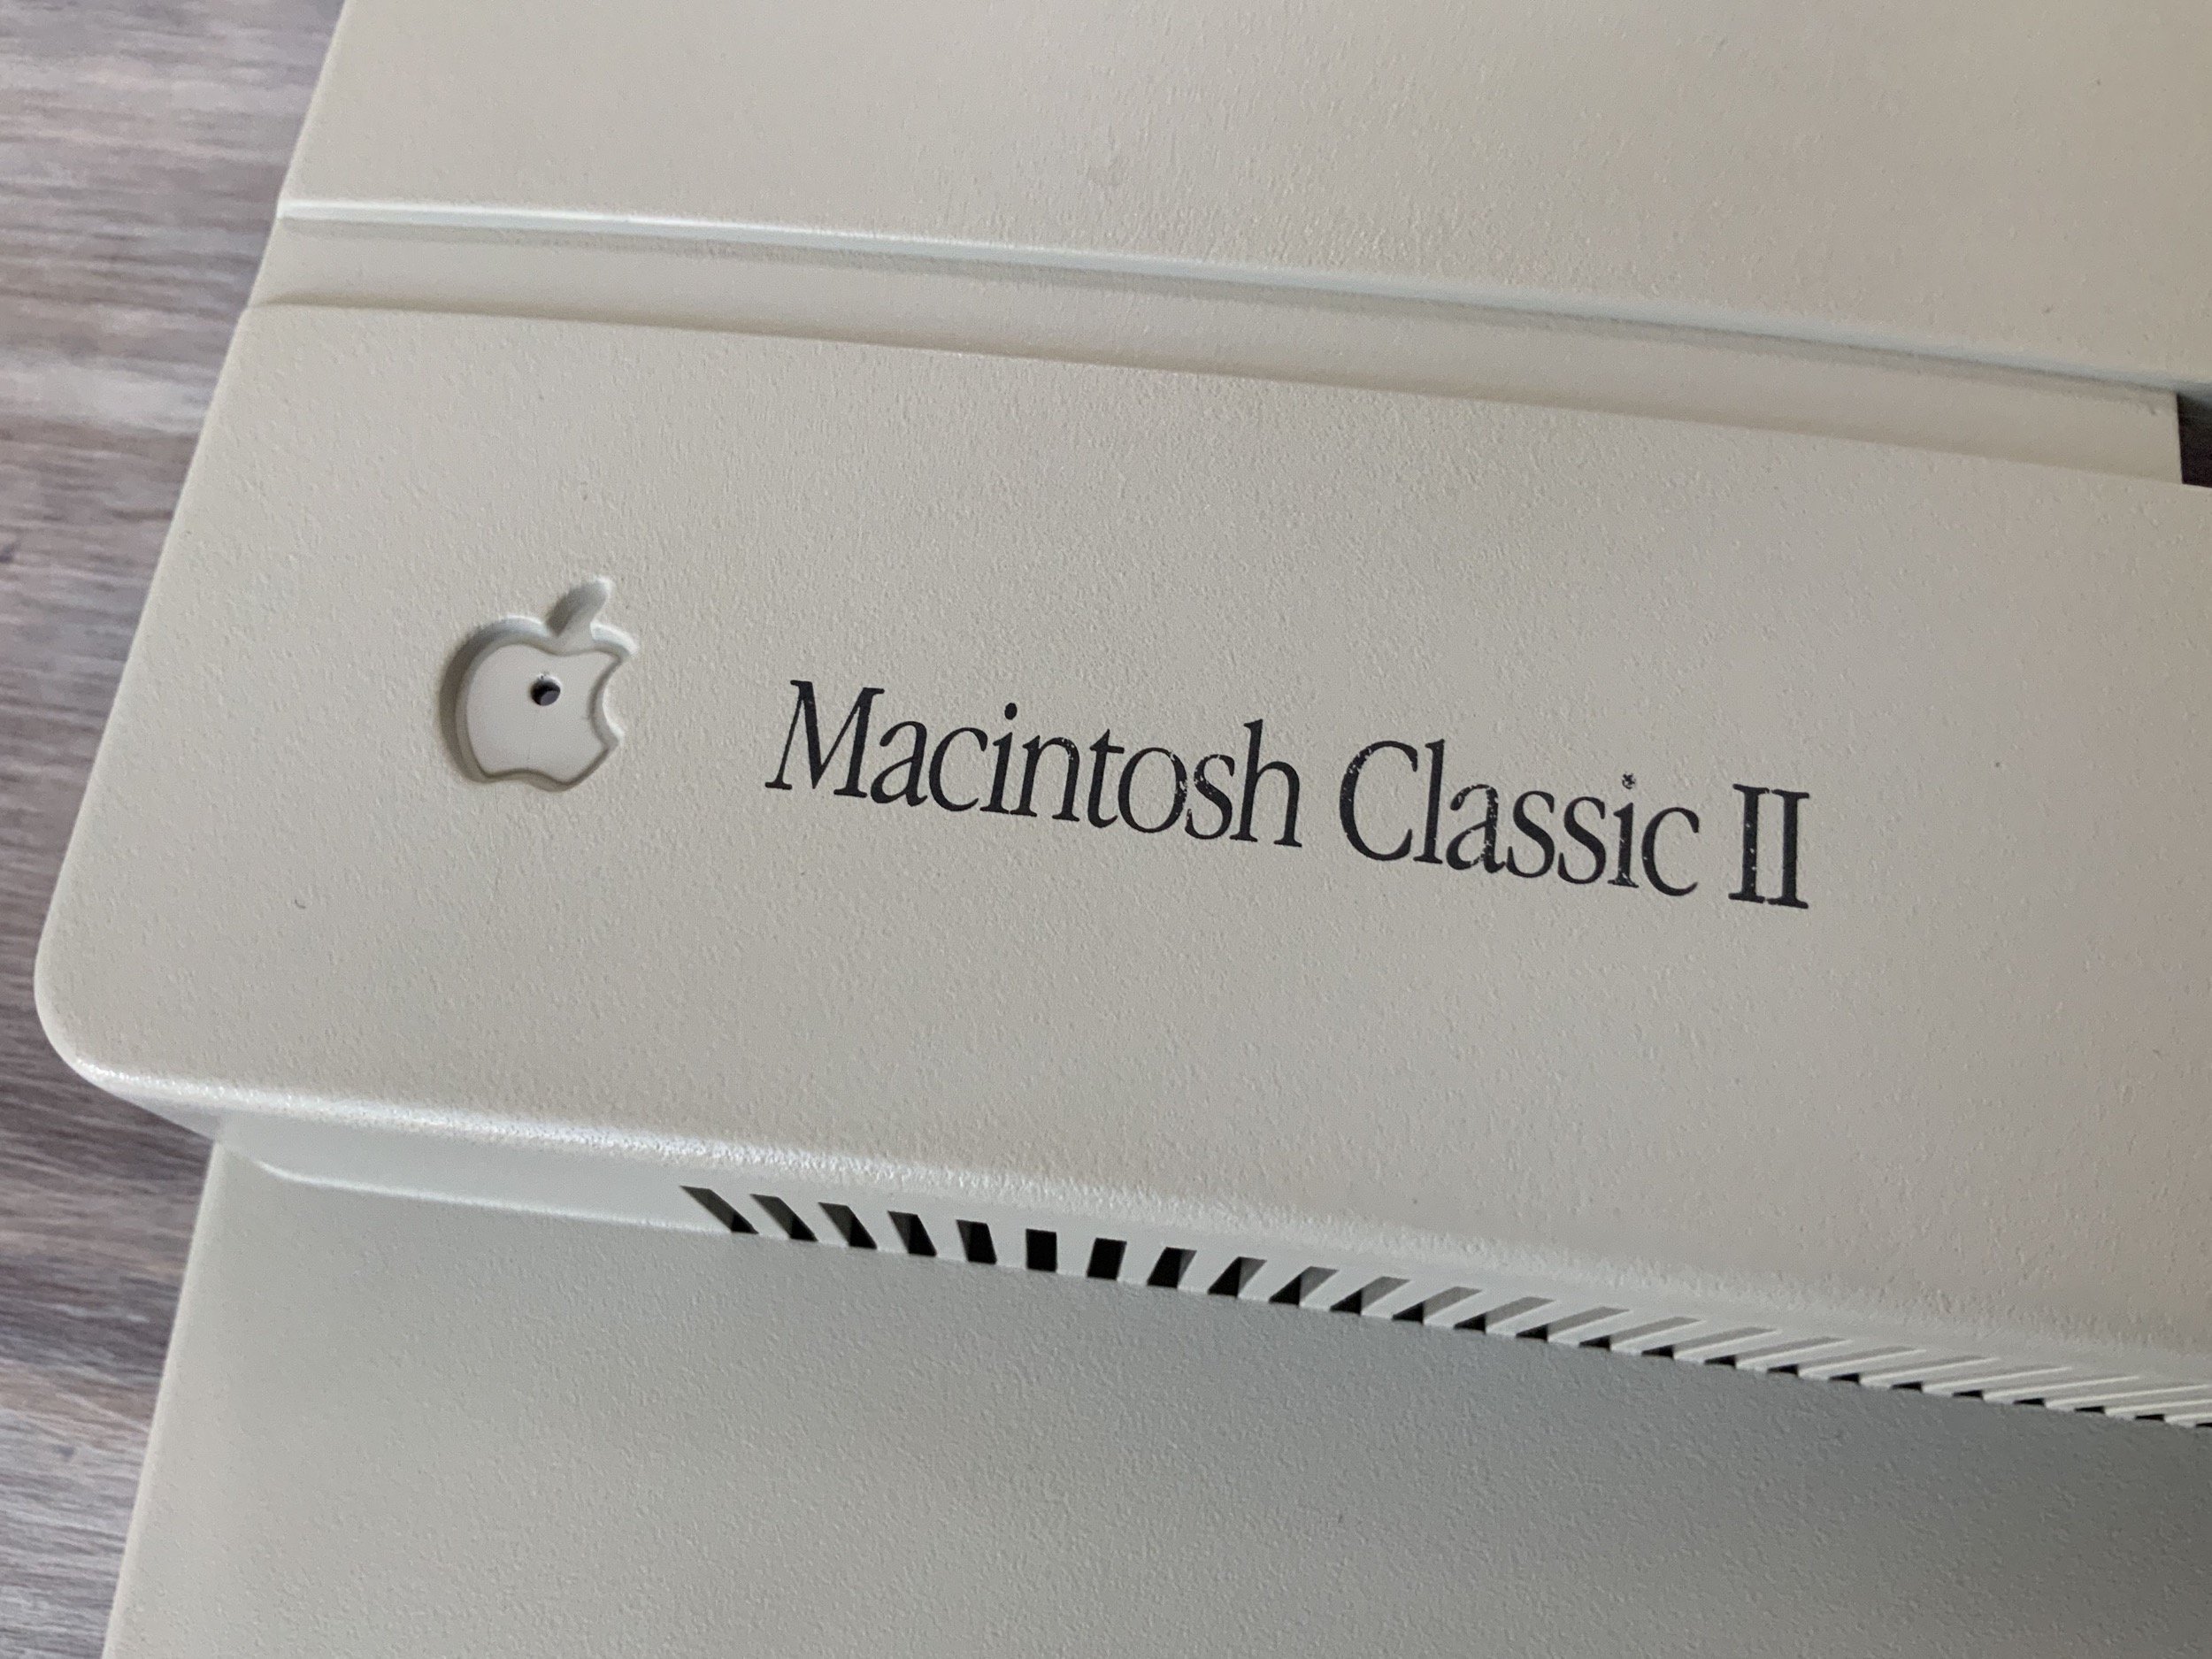
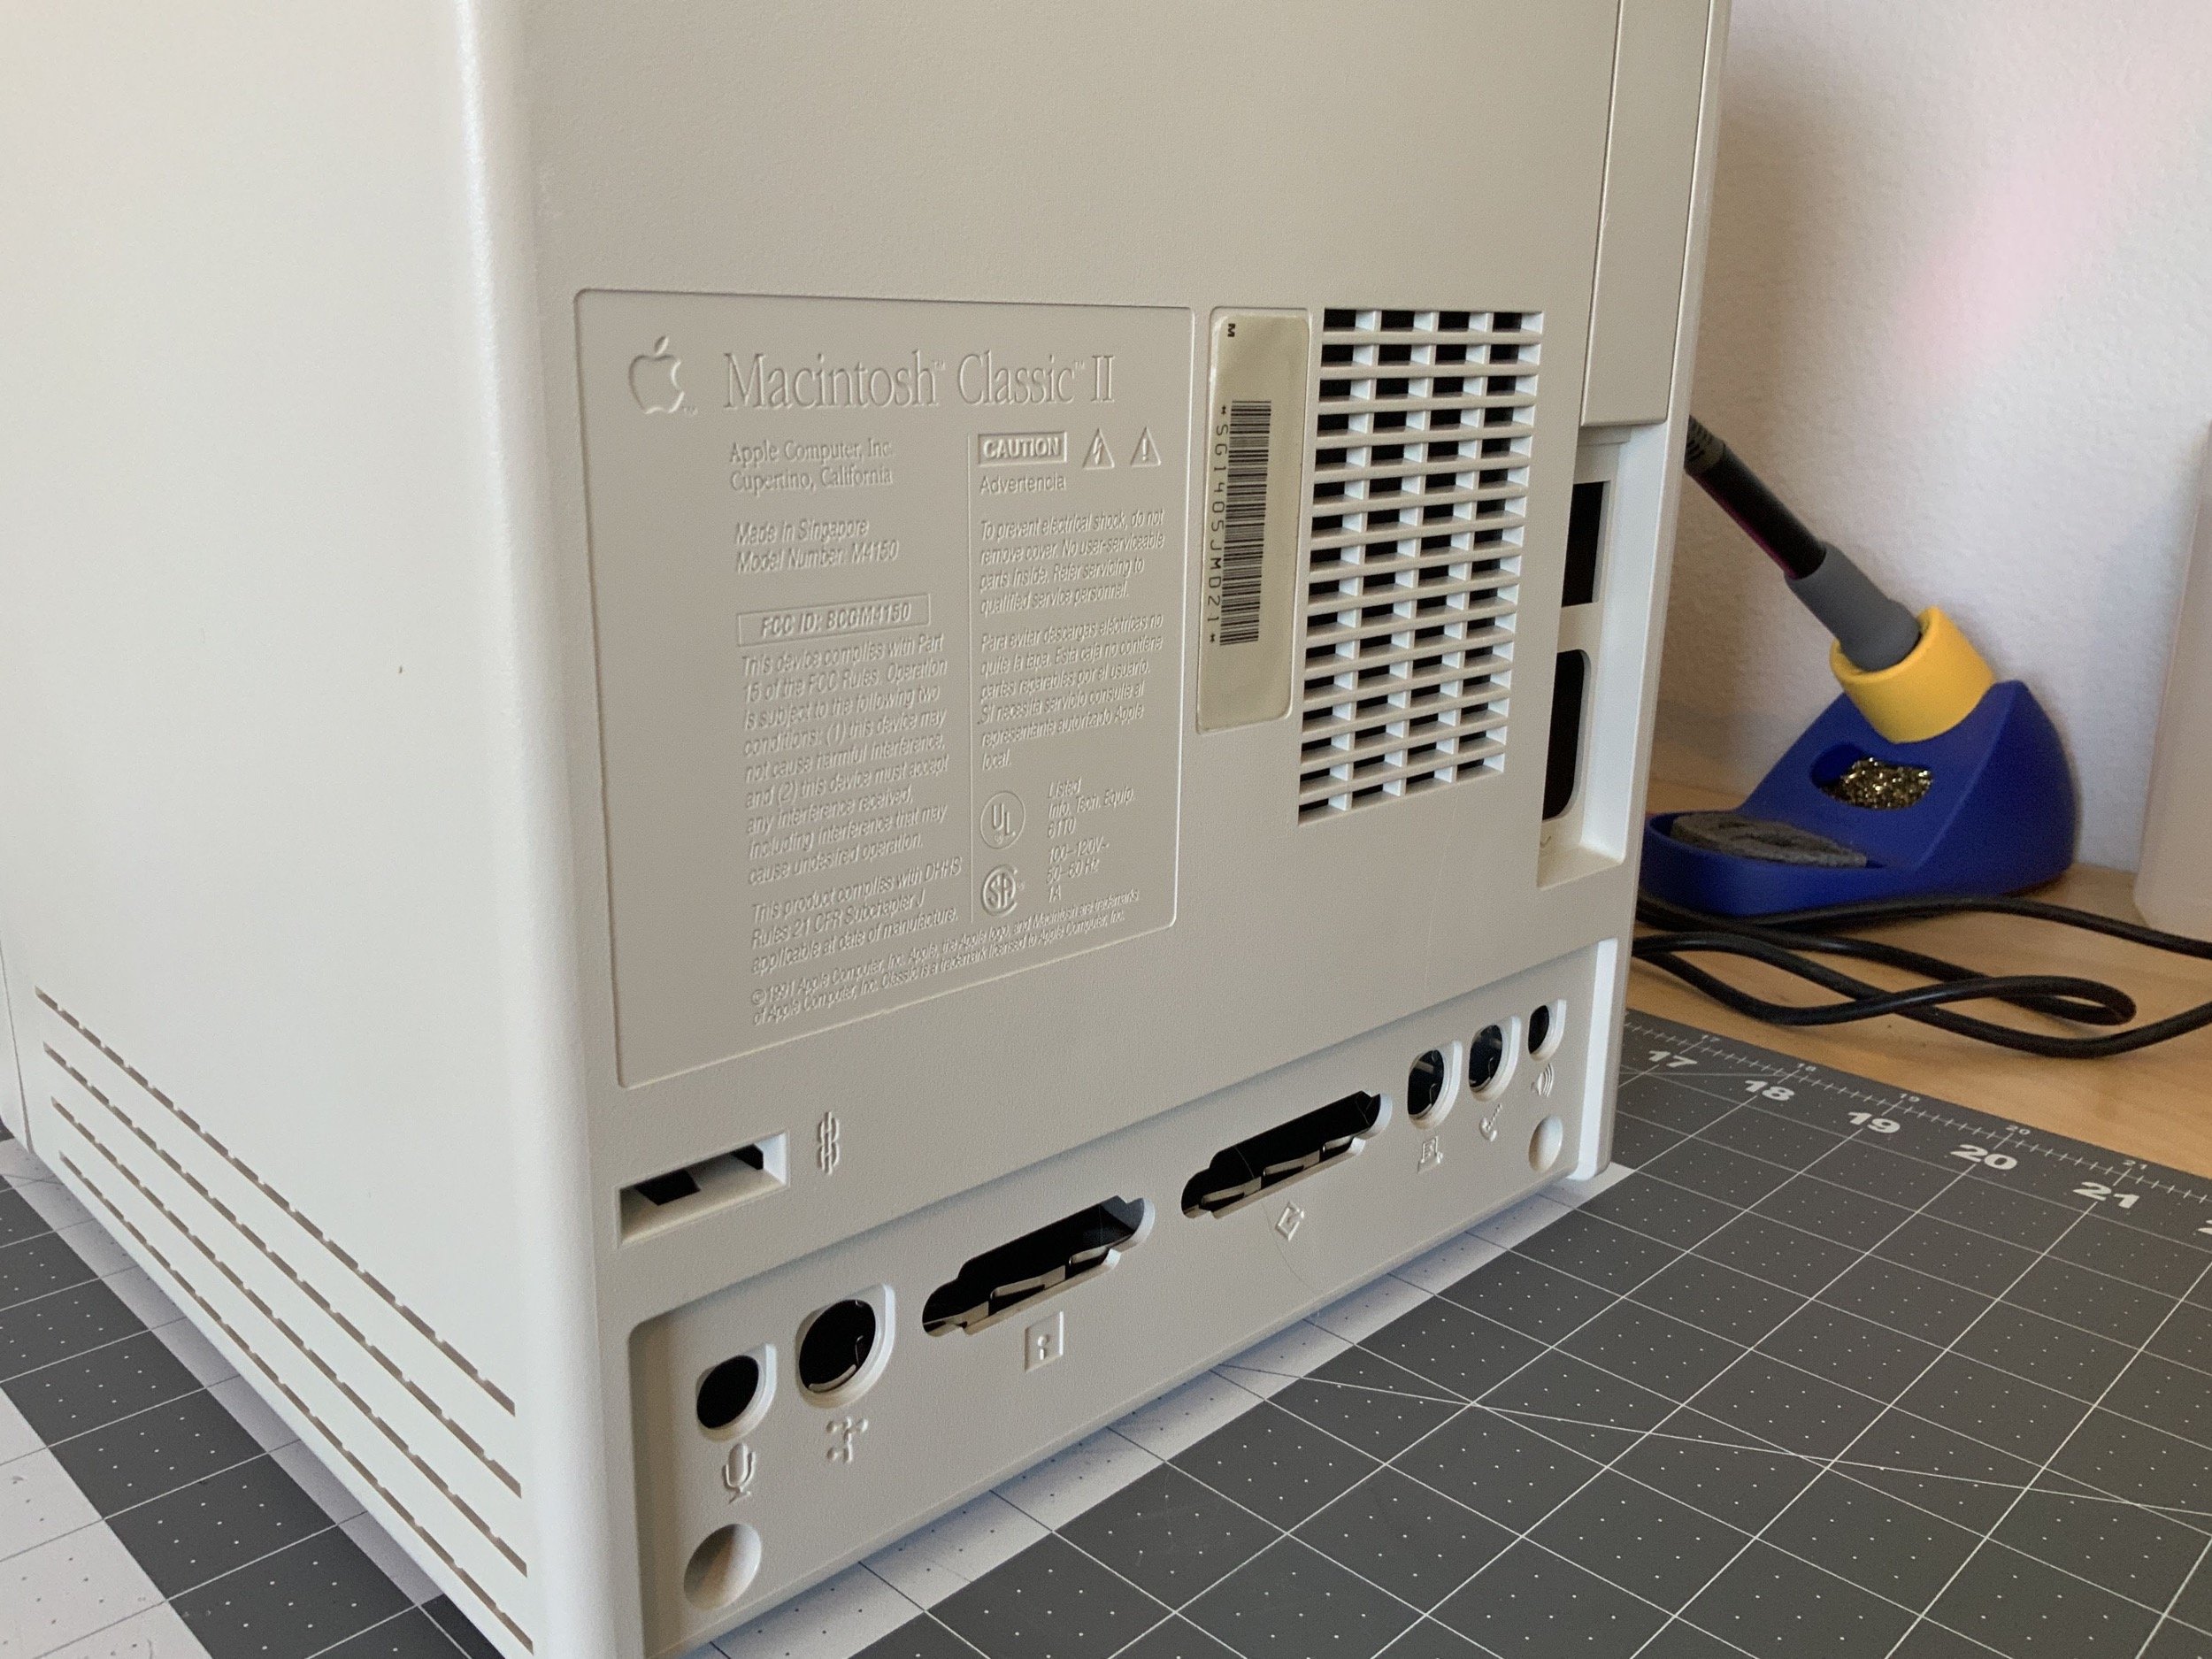
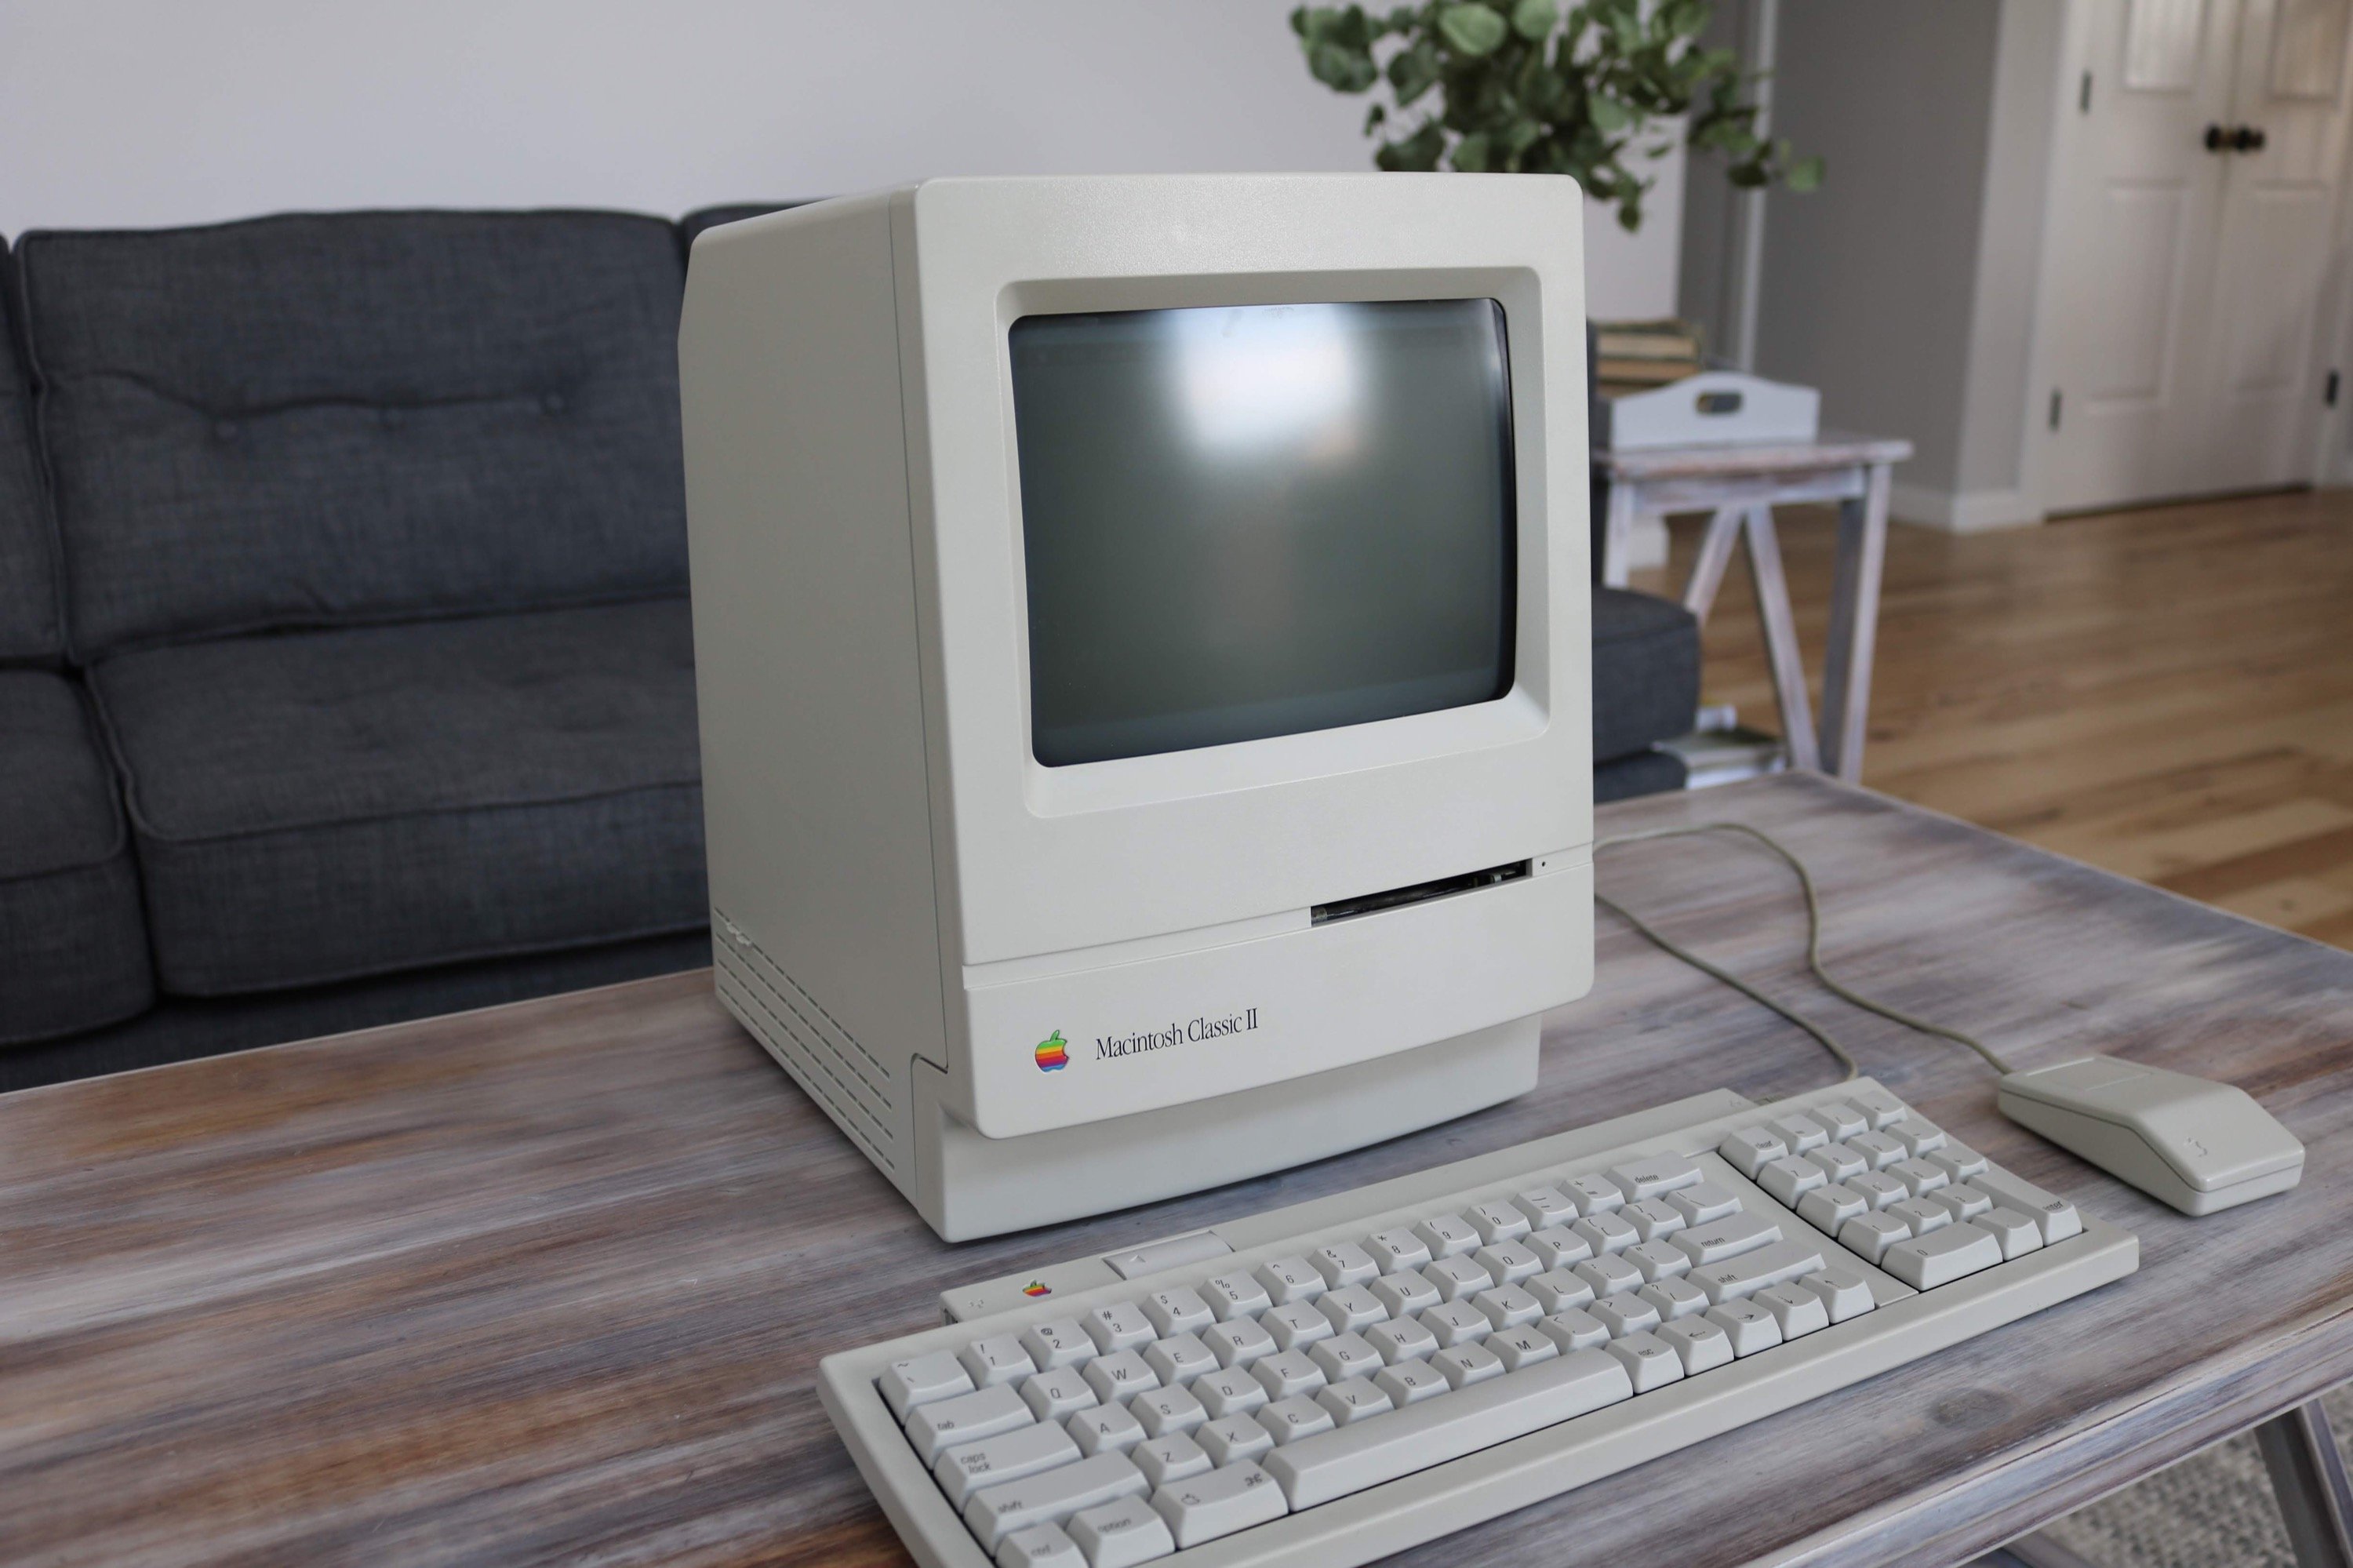
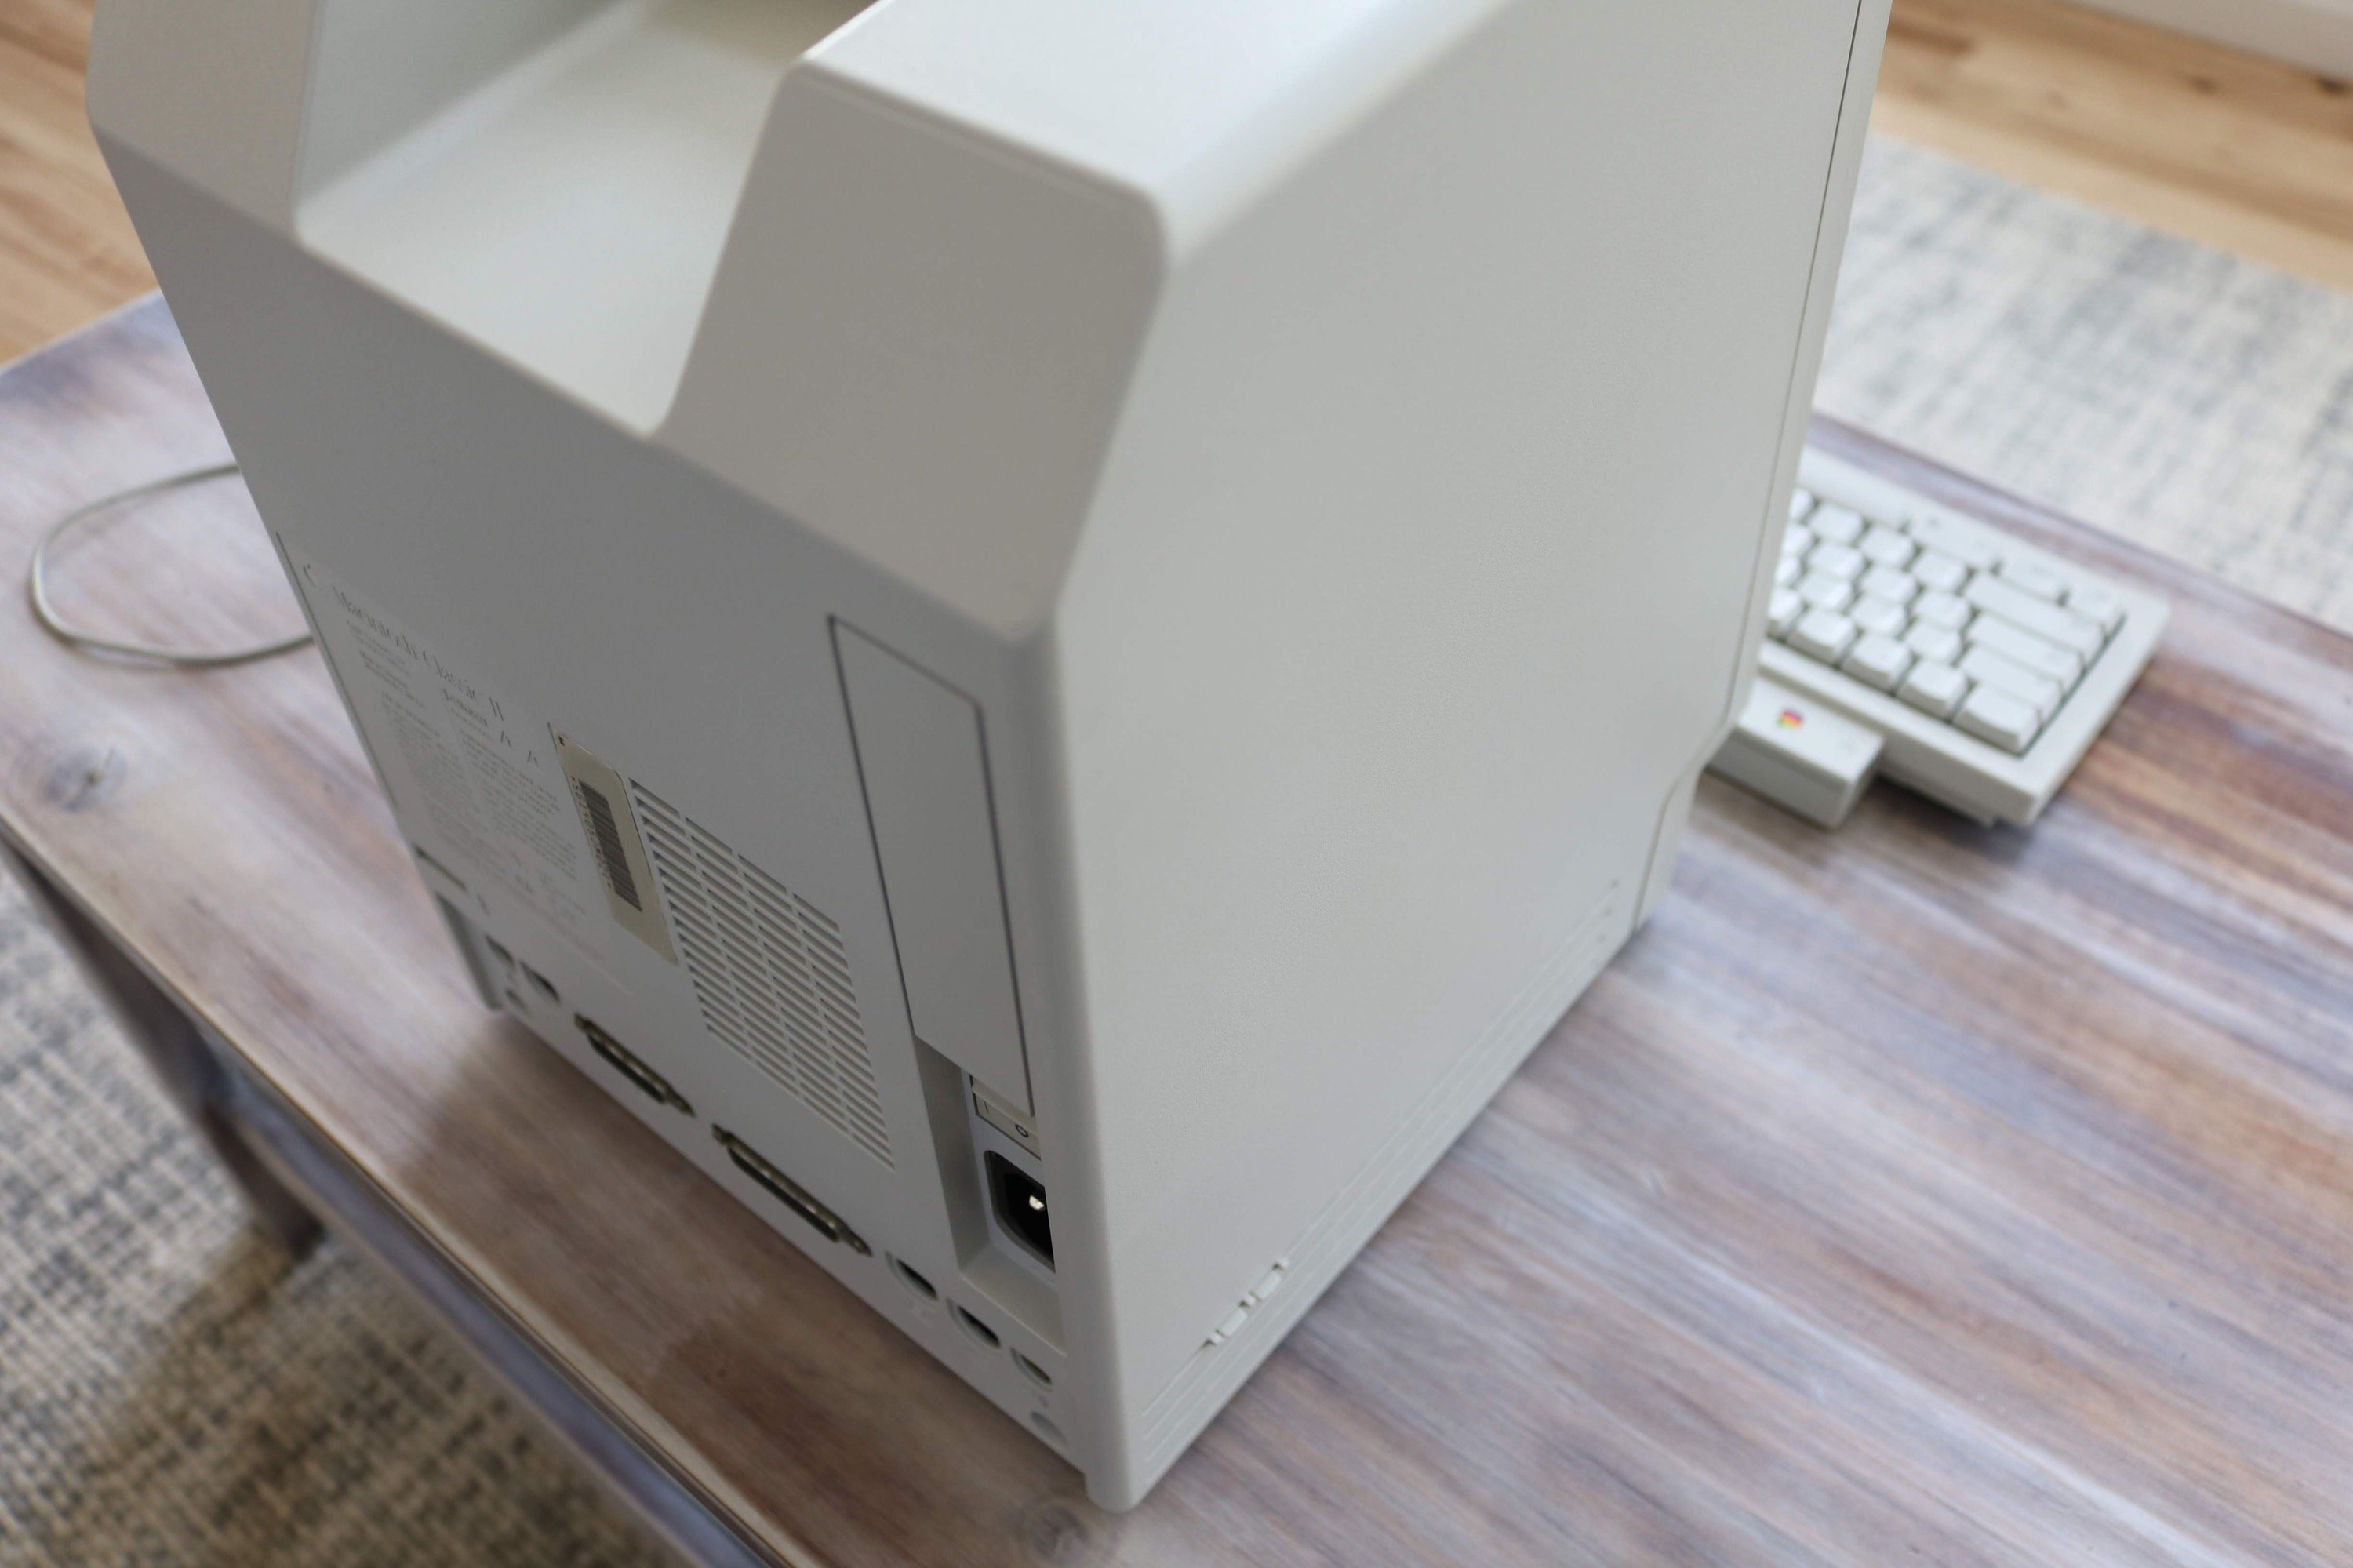
Here’s what the Macintosh Classic II looked like, straight out of the box!
As with all vintage Macs that come across my workbench, the very first thing I did was pop the case off and check the PRAM battery. I was thrilled to see that the PRAM battery hadn’t leaked, but surprised to see a wire bodge connecting the VLSI chip and what I think is the ADB integrated circuit. Since this project, I’ve seen this on many Apple machines of this vintage, leading me to believe that Apple did this to new machines that failed QA tests.
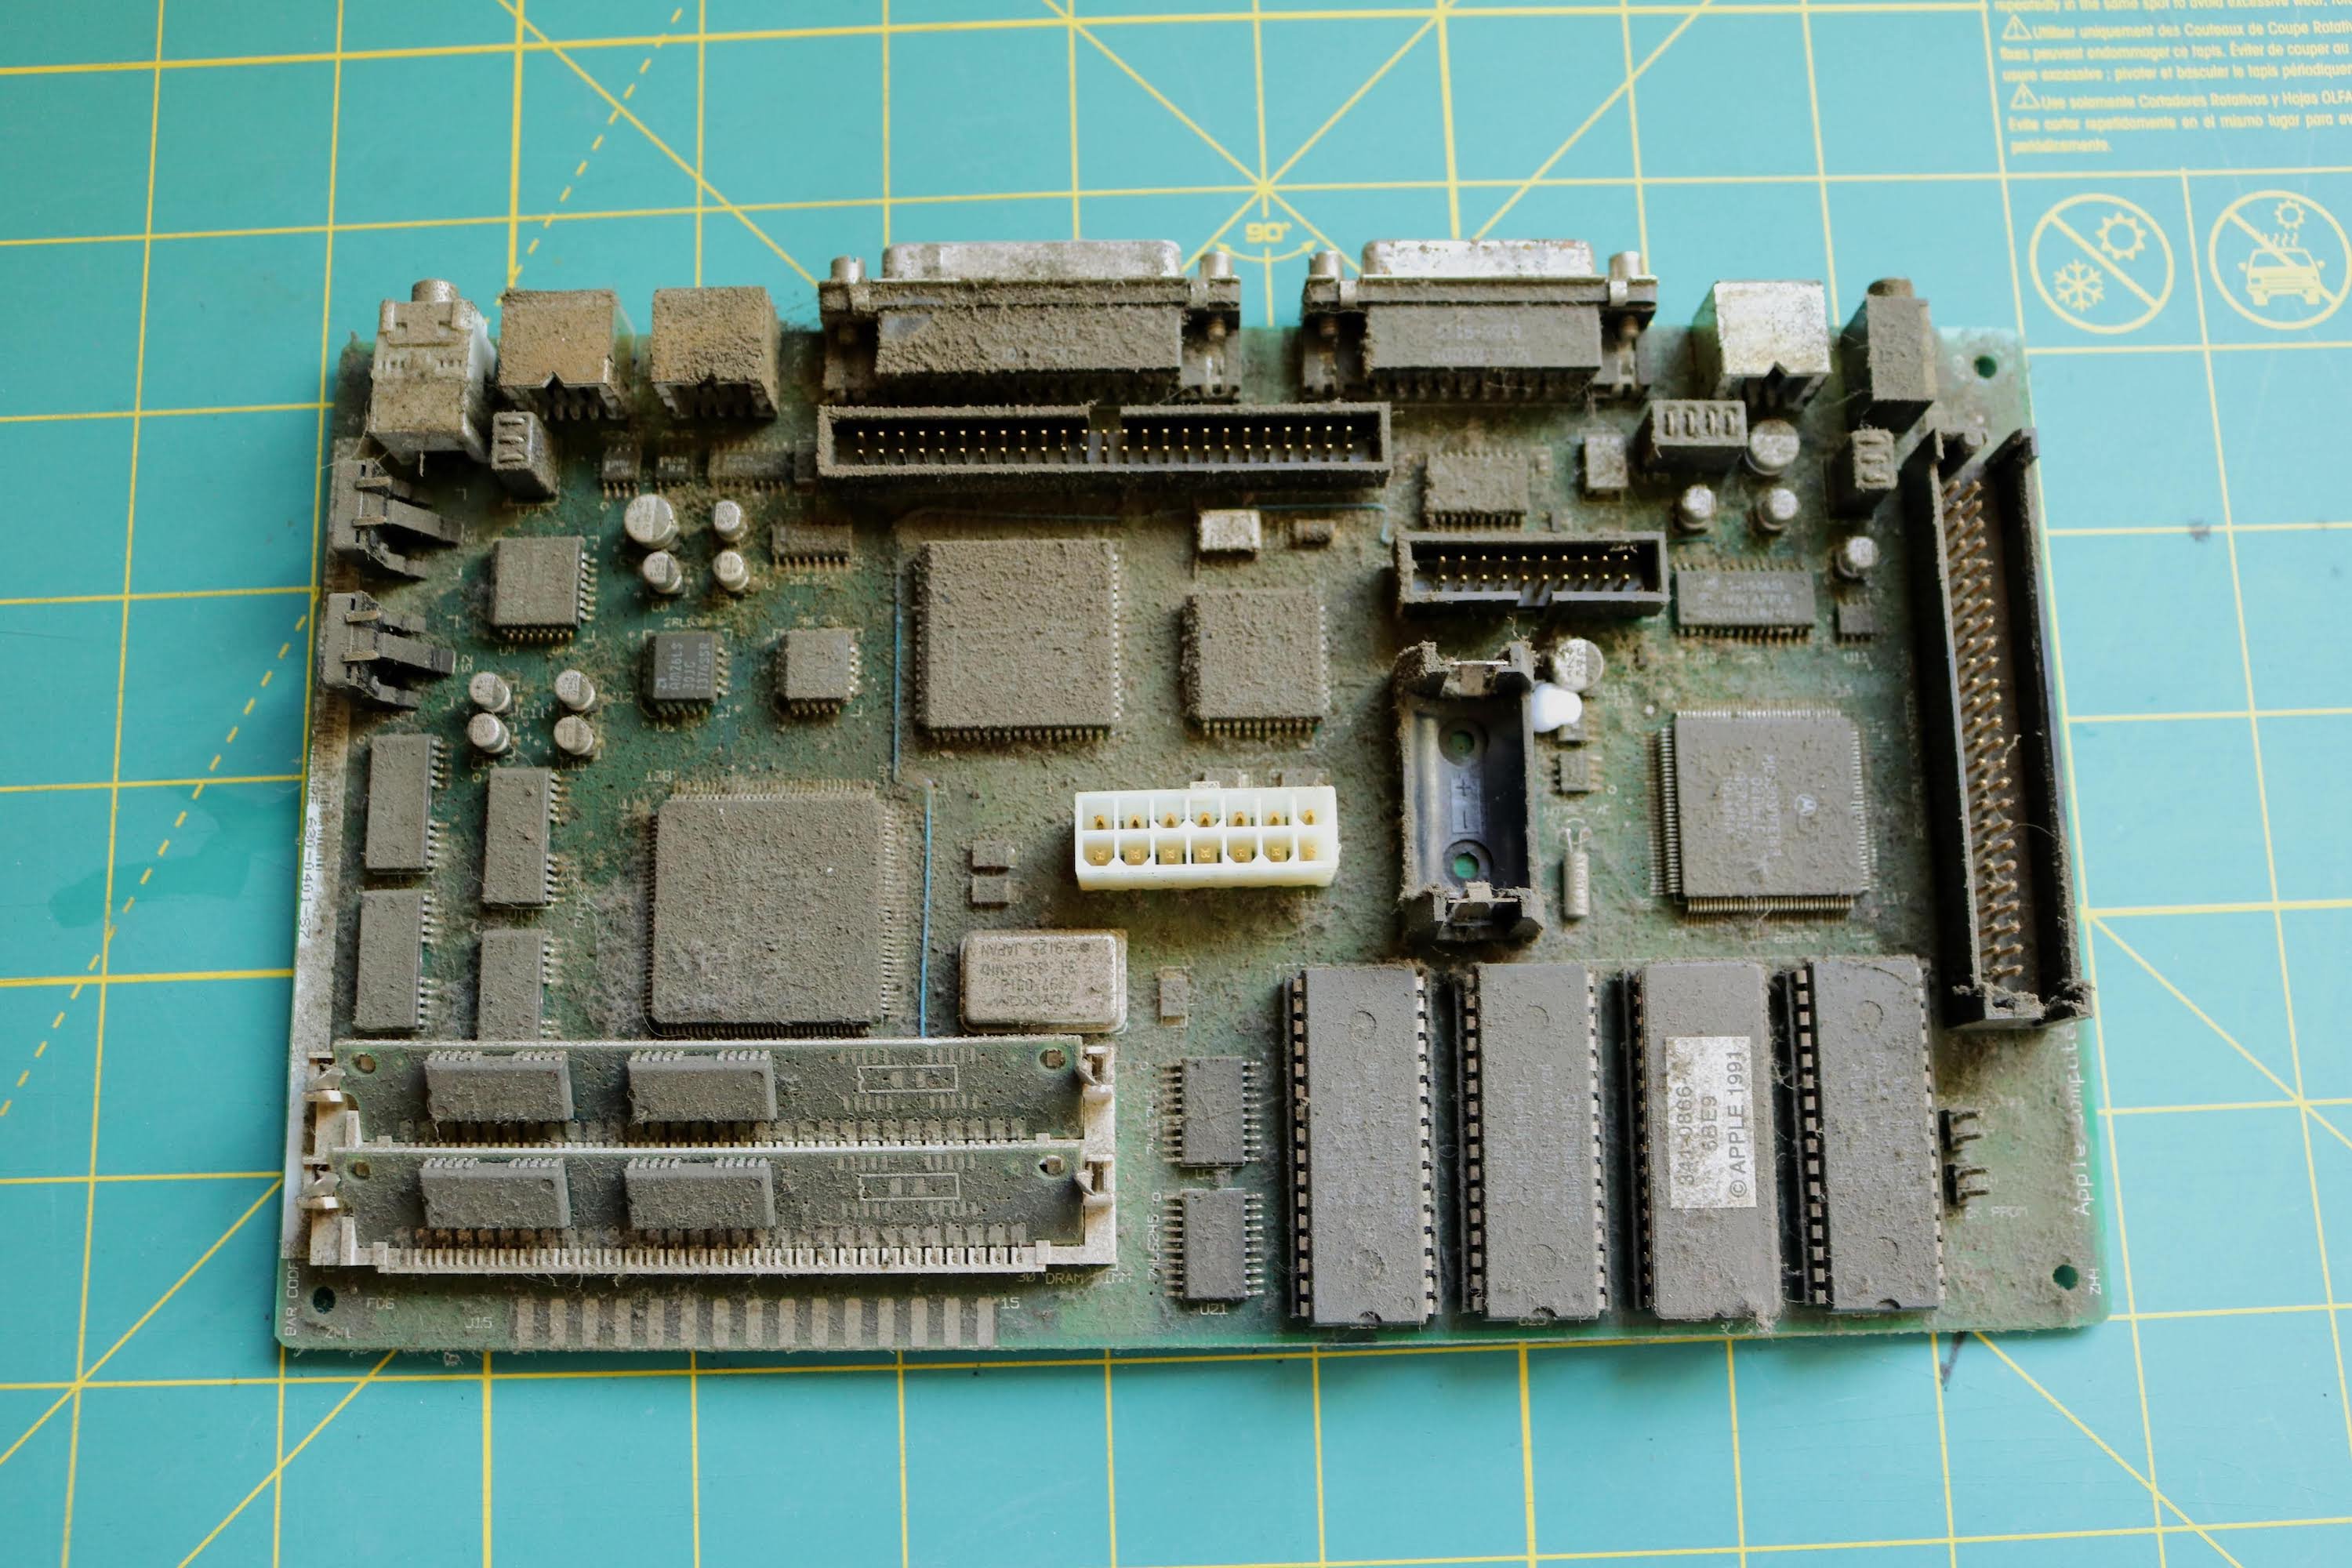
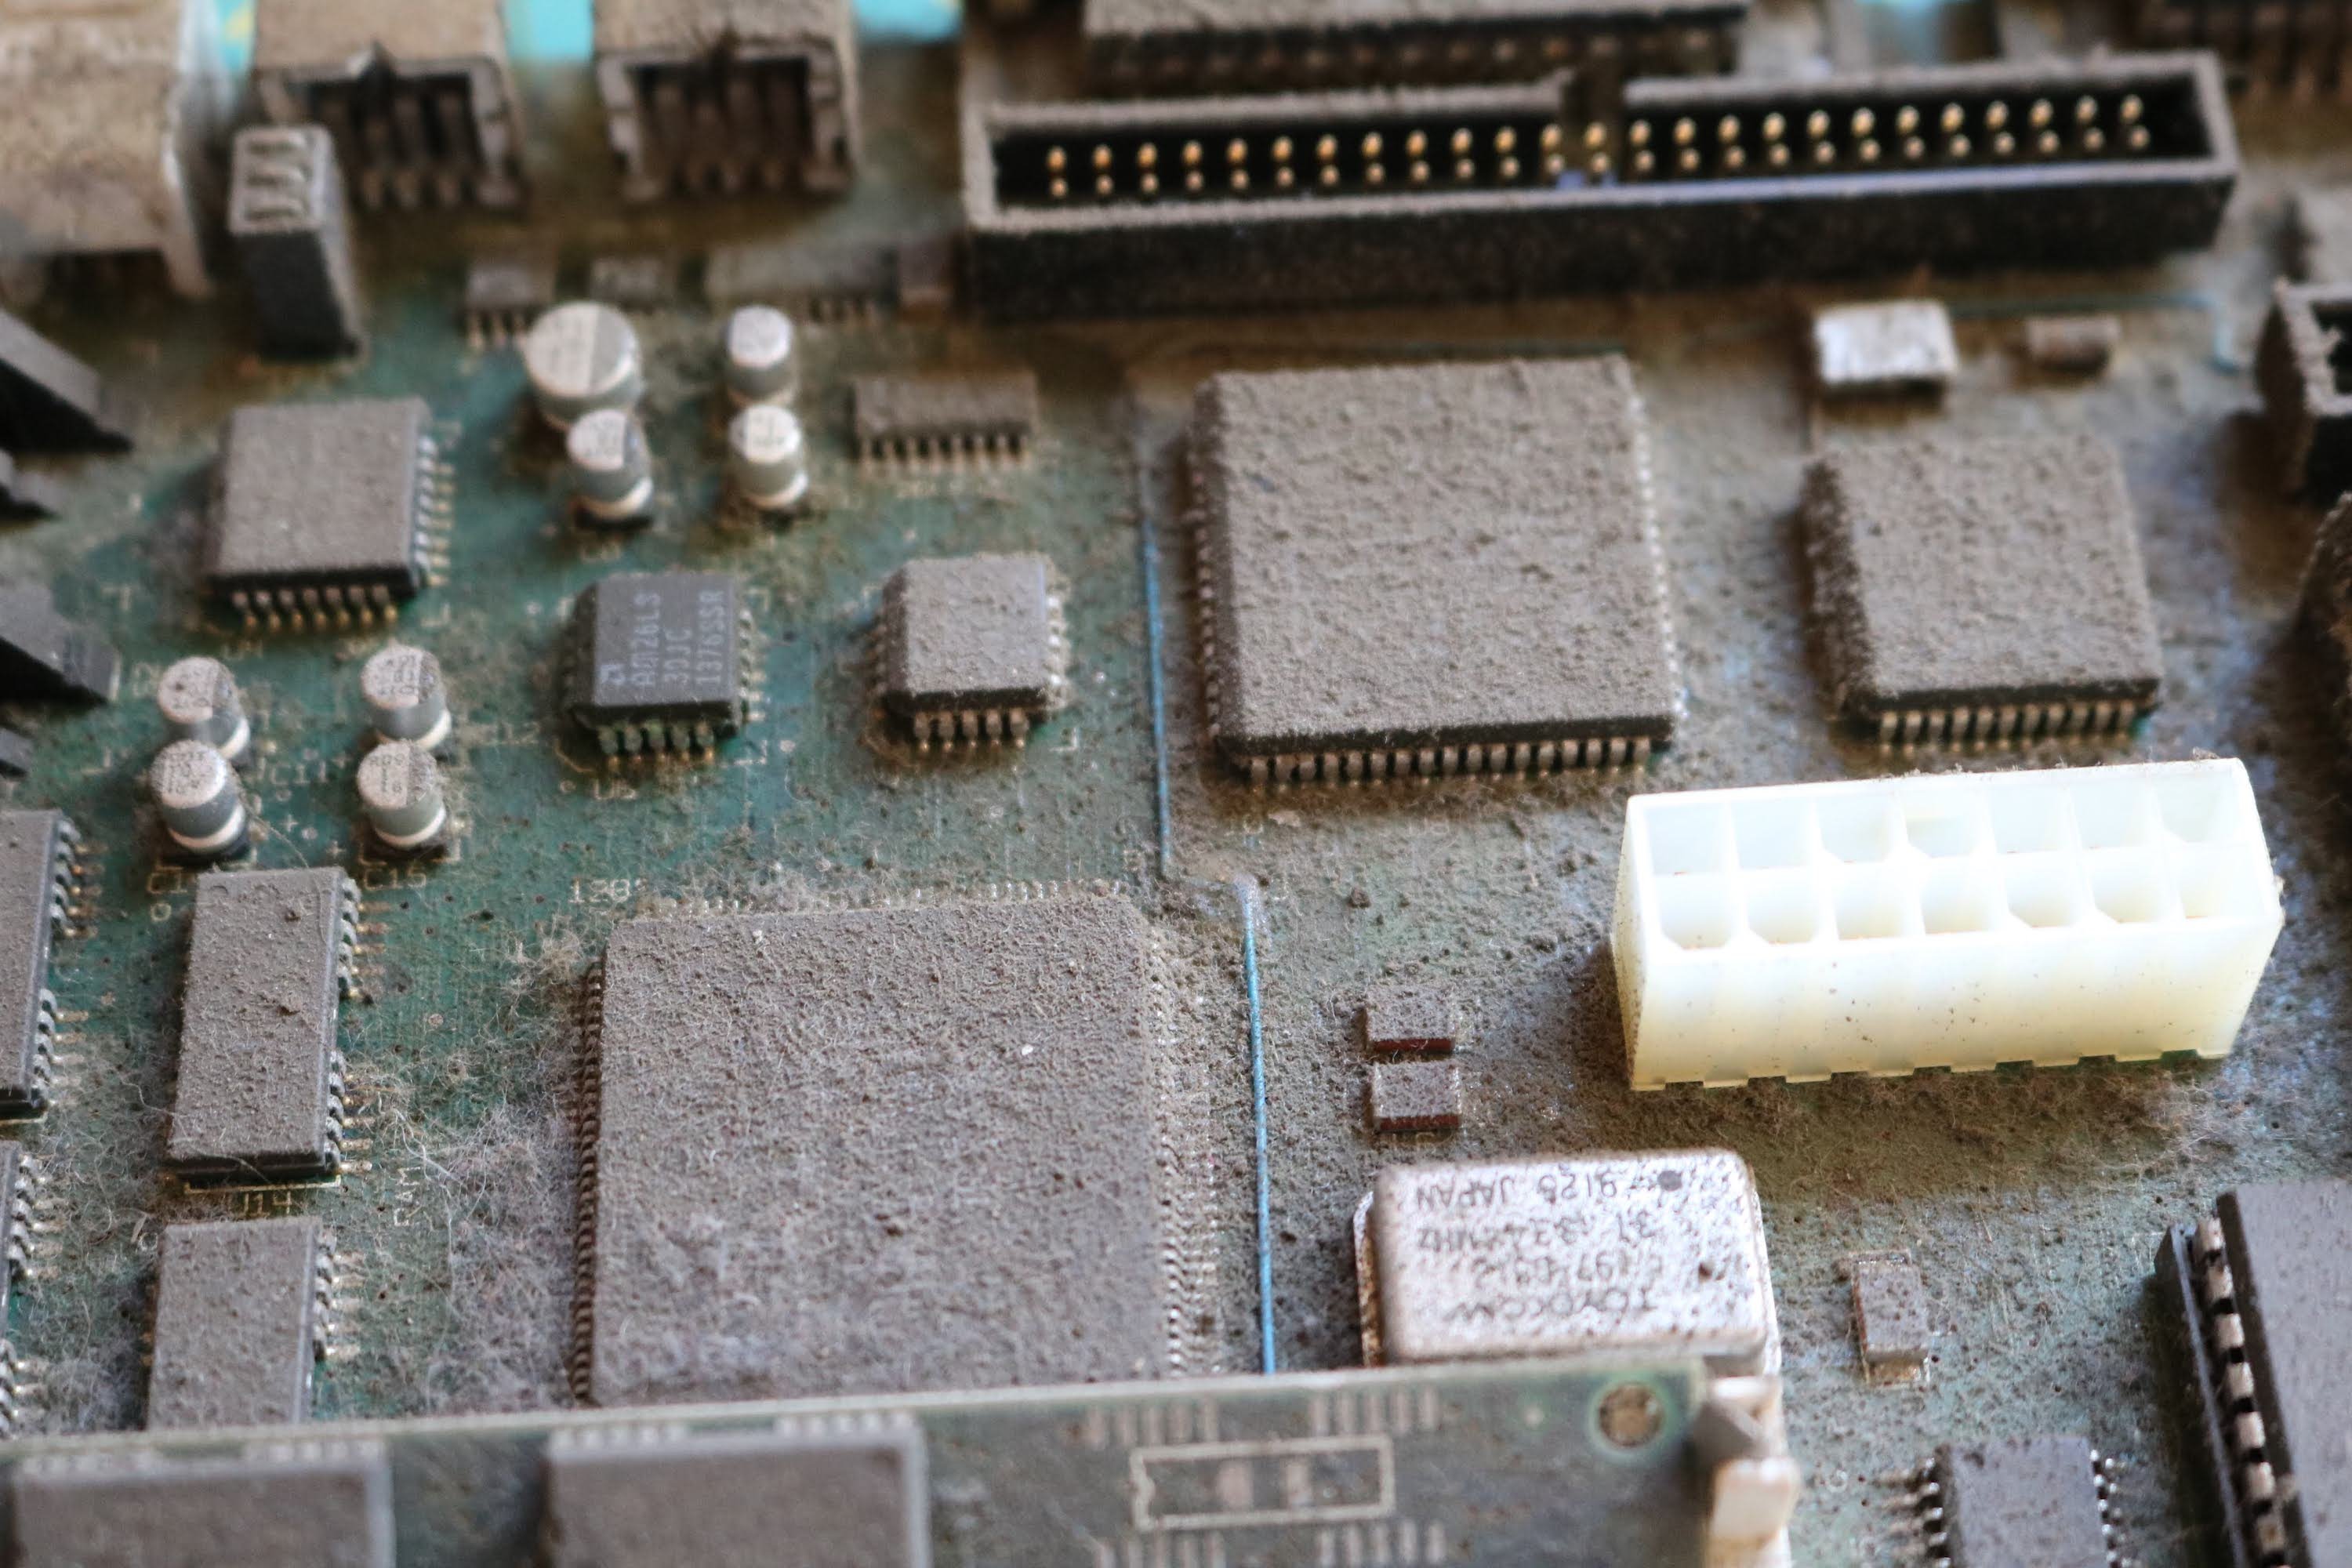
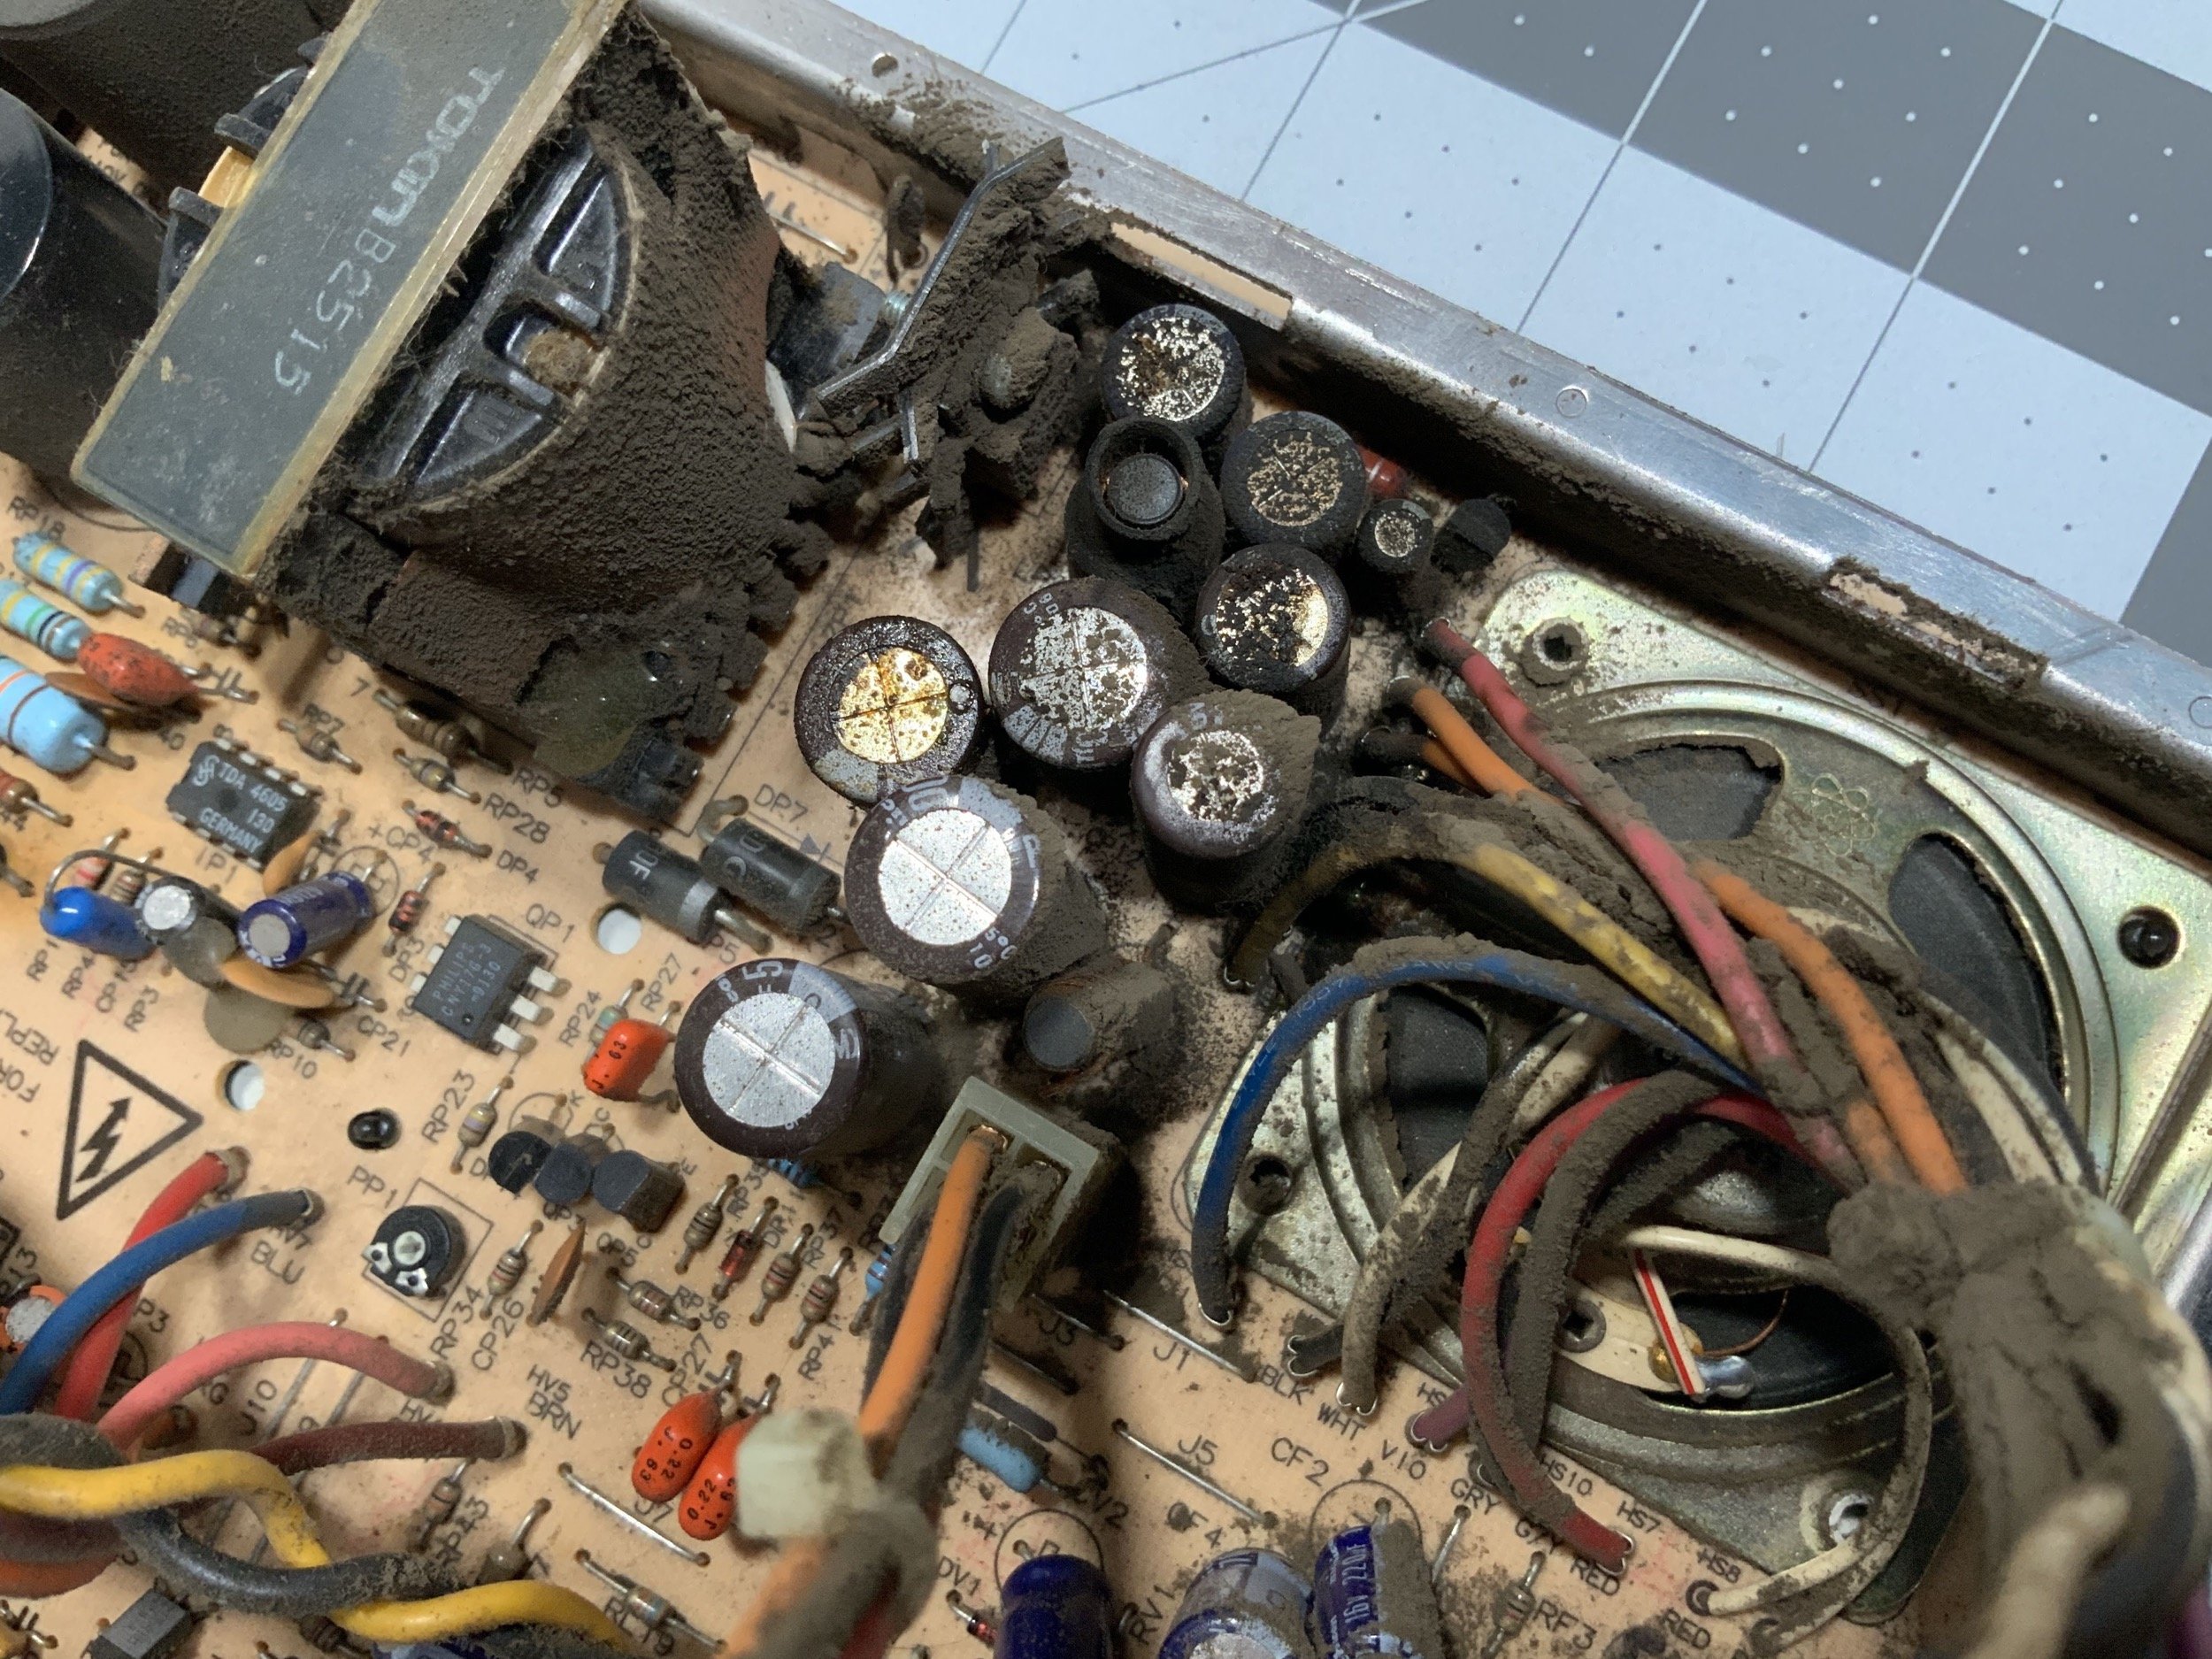
The dust coating everything was terrible, the worst I’d ever seen.
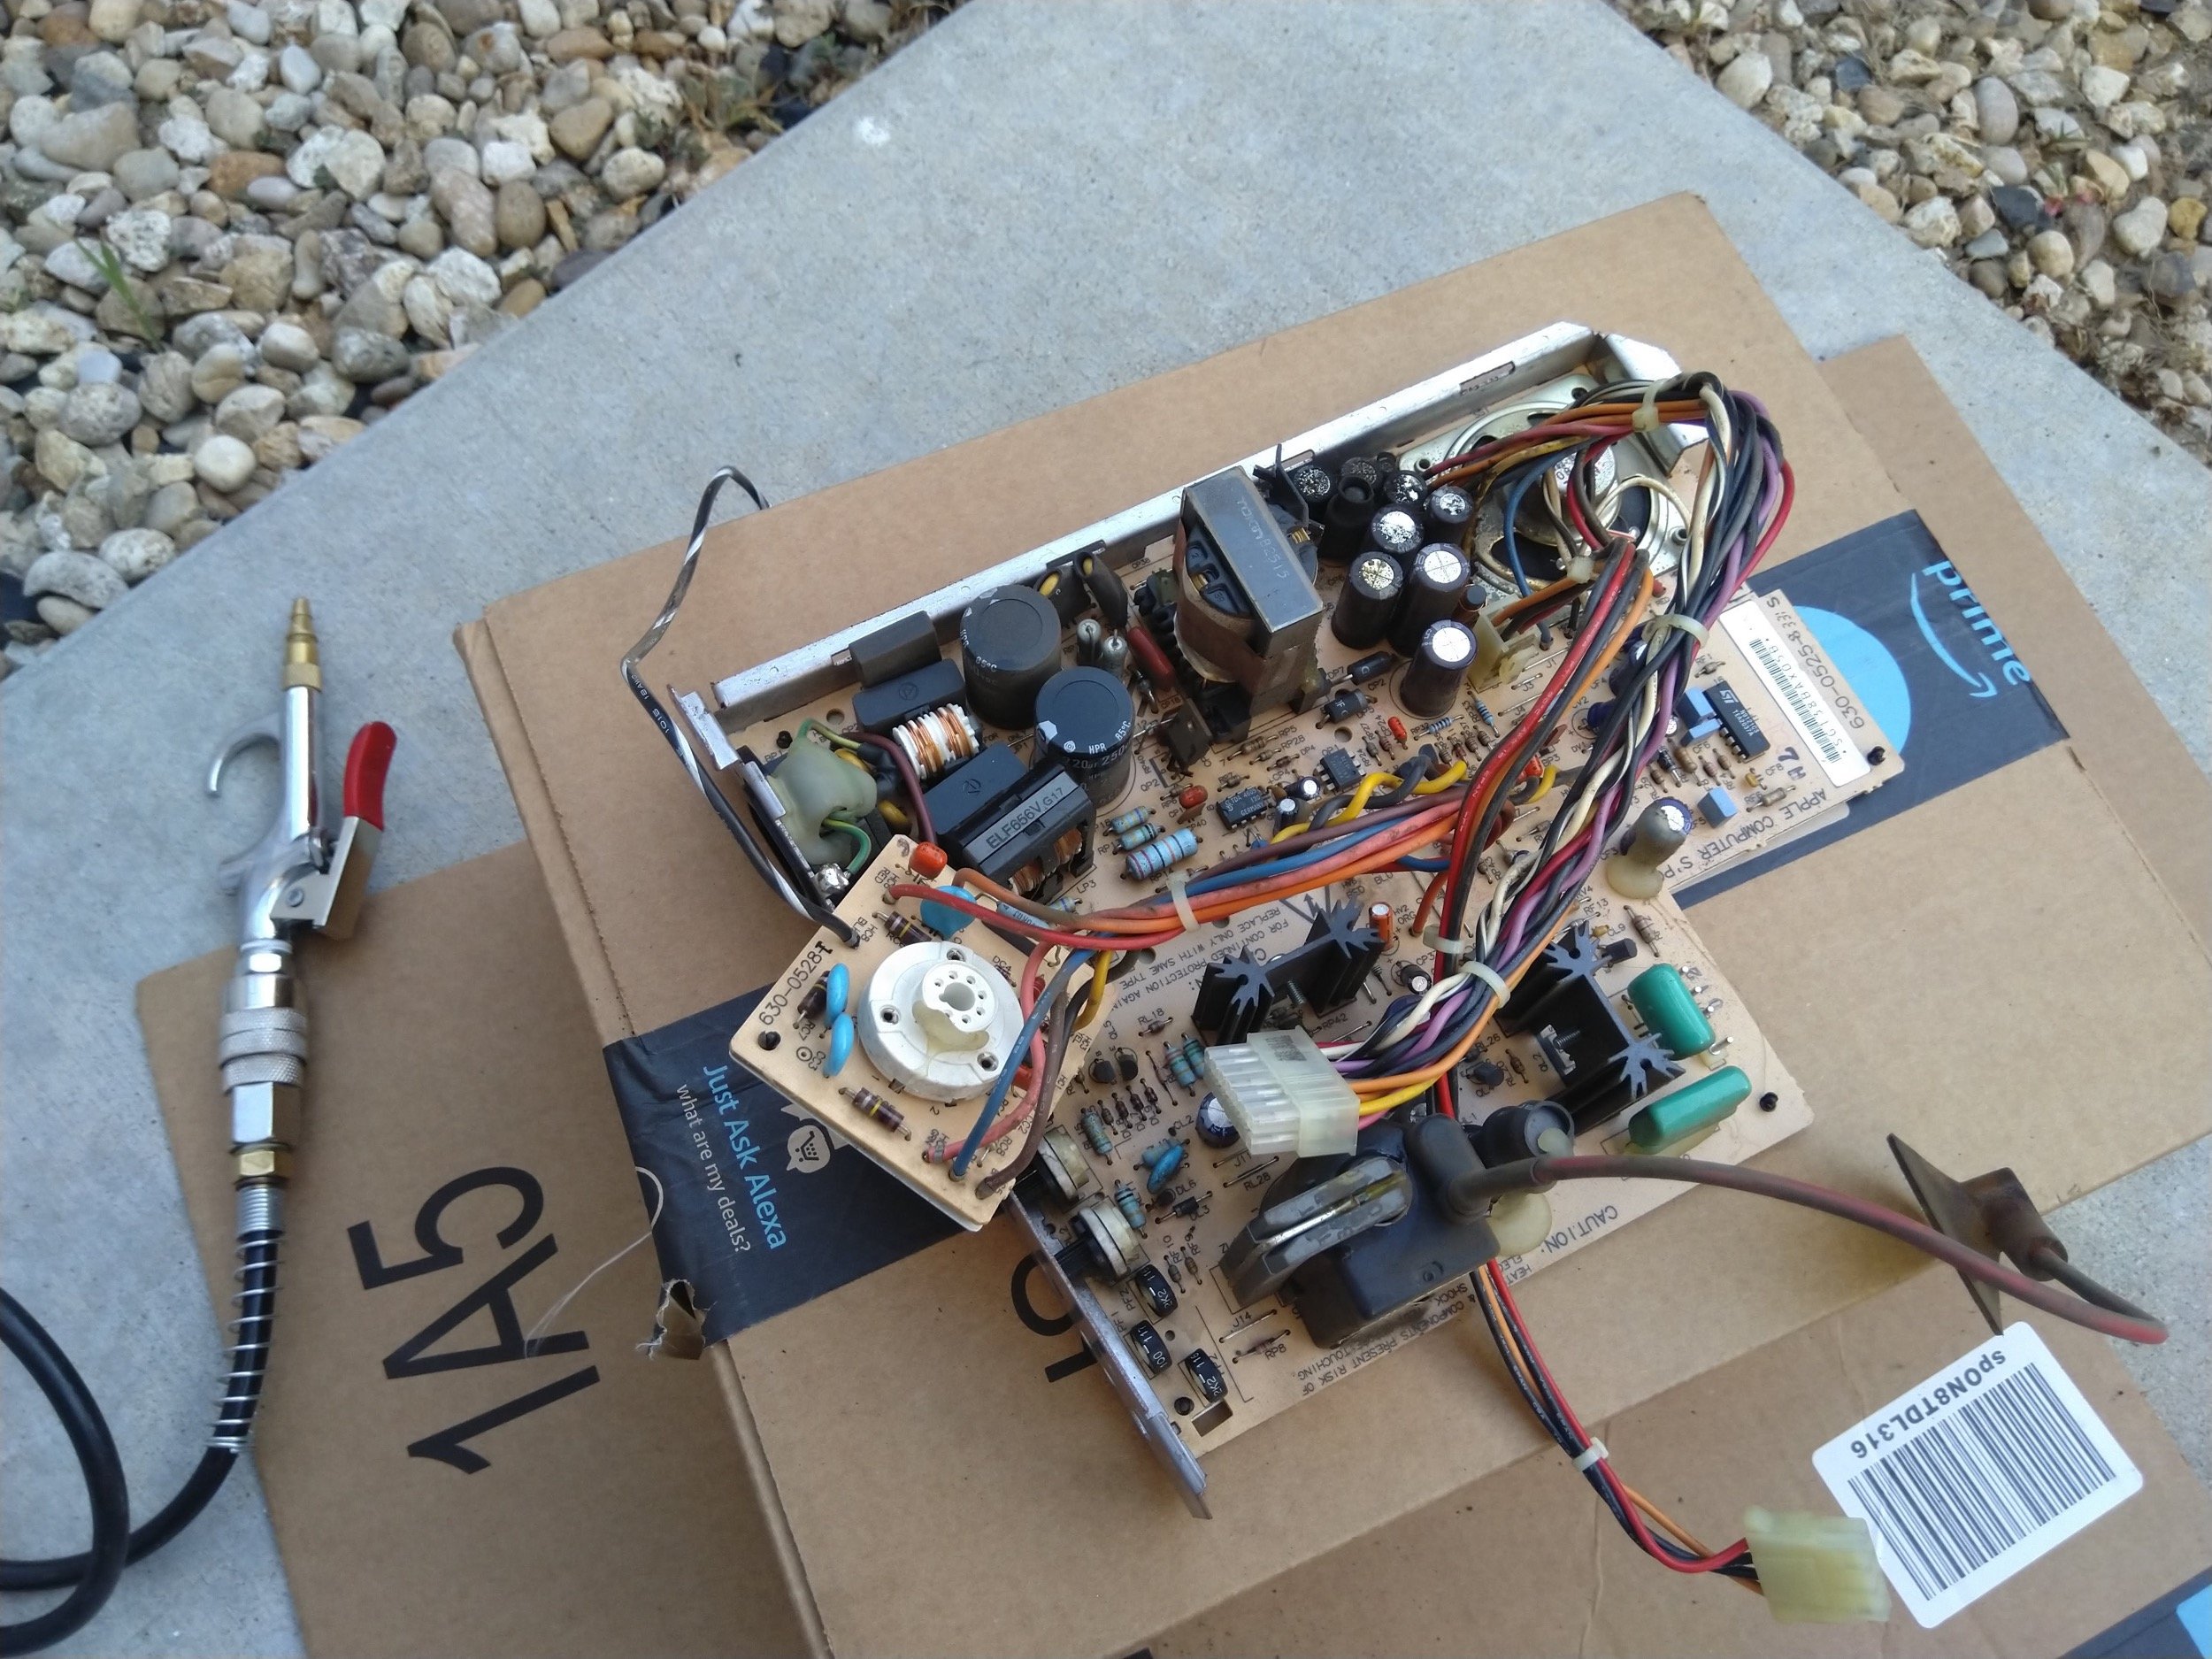
For shock value, I’ll show you what the board looked like after a quick rinse in the kitchen sink (but I didn’t do a thurough clean quite yet).
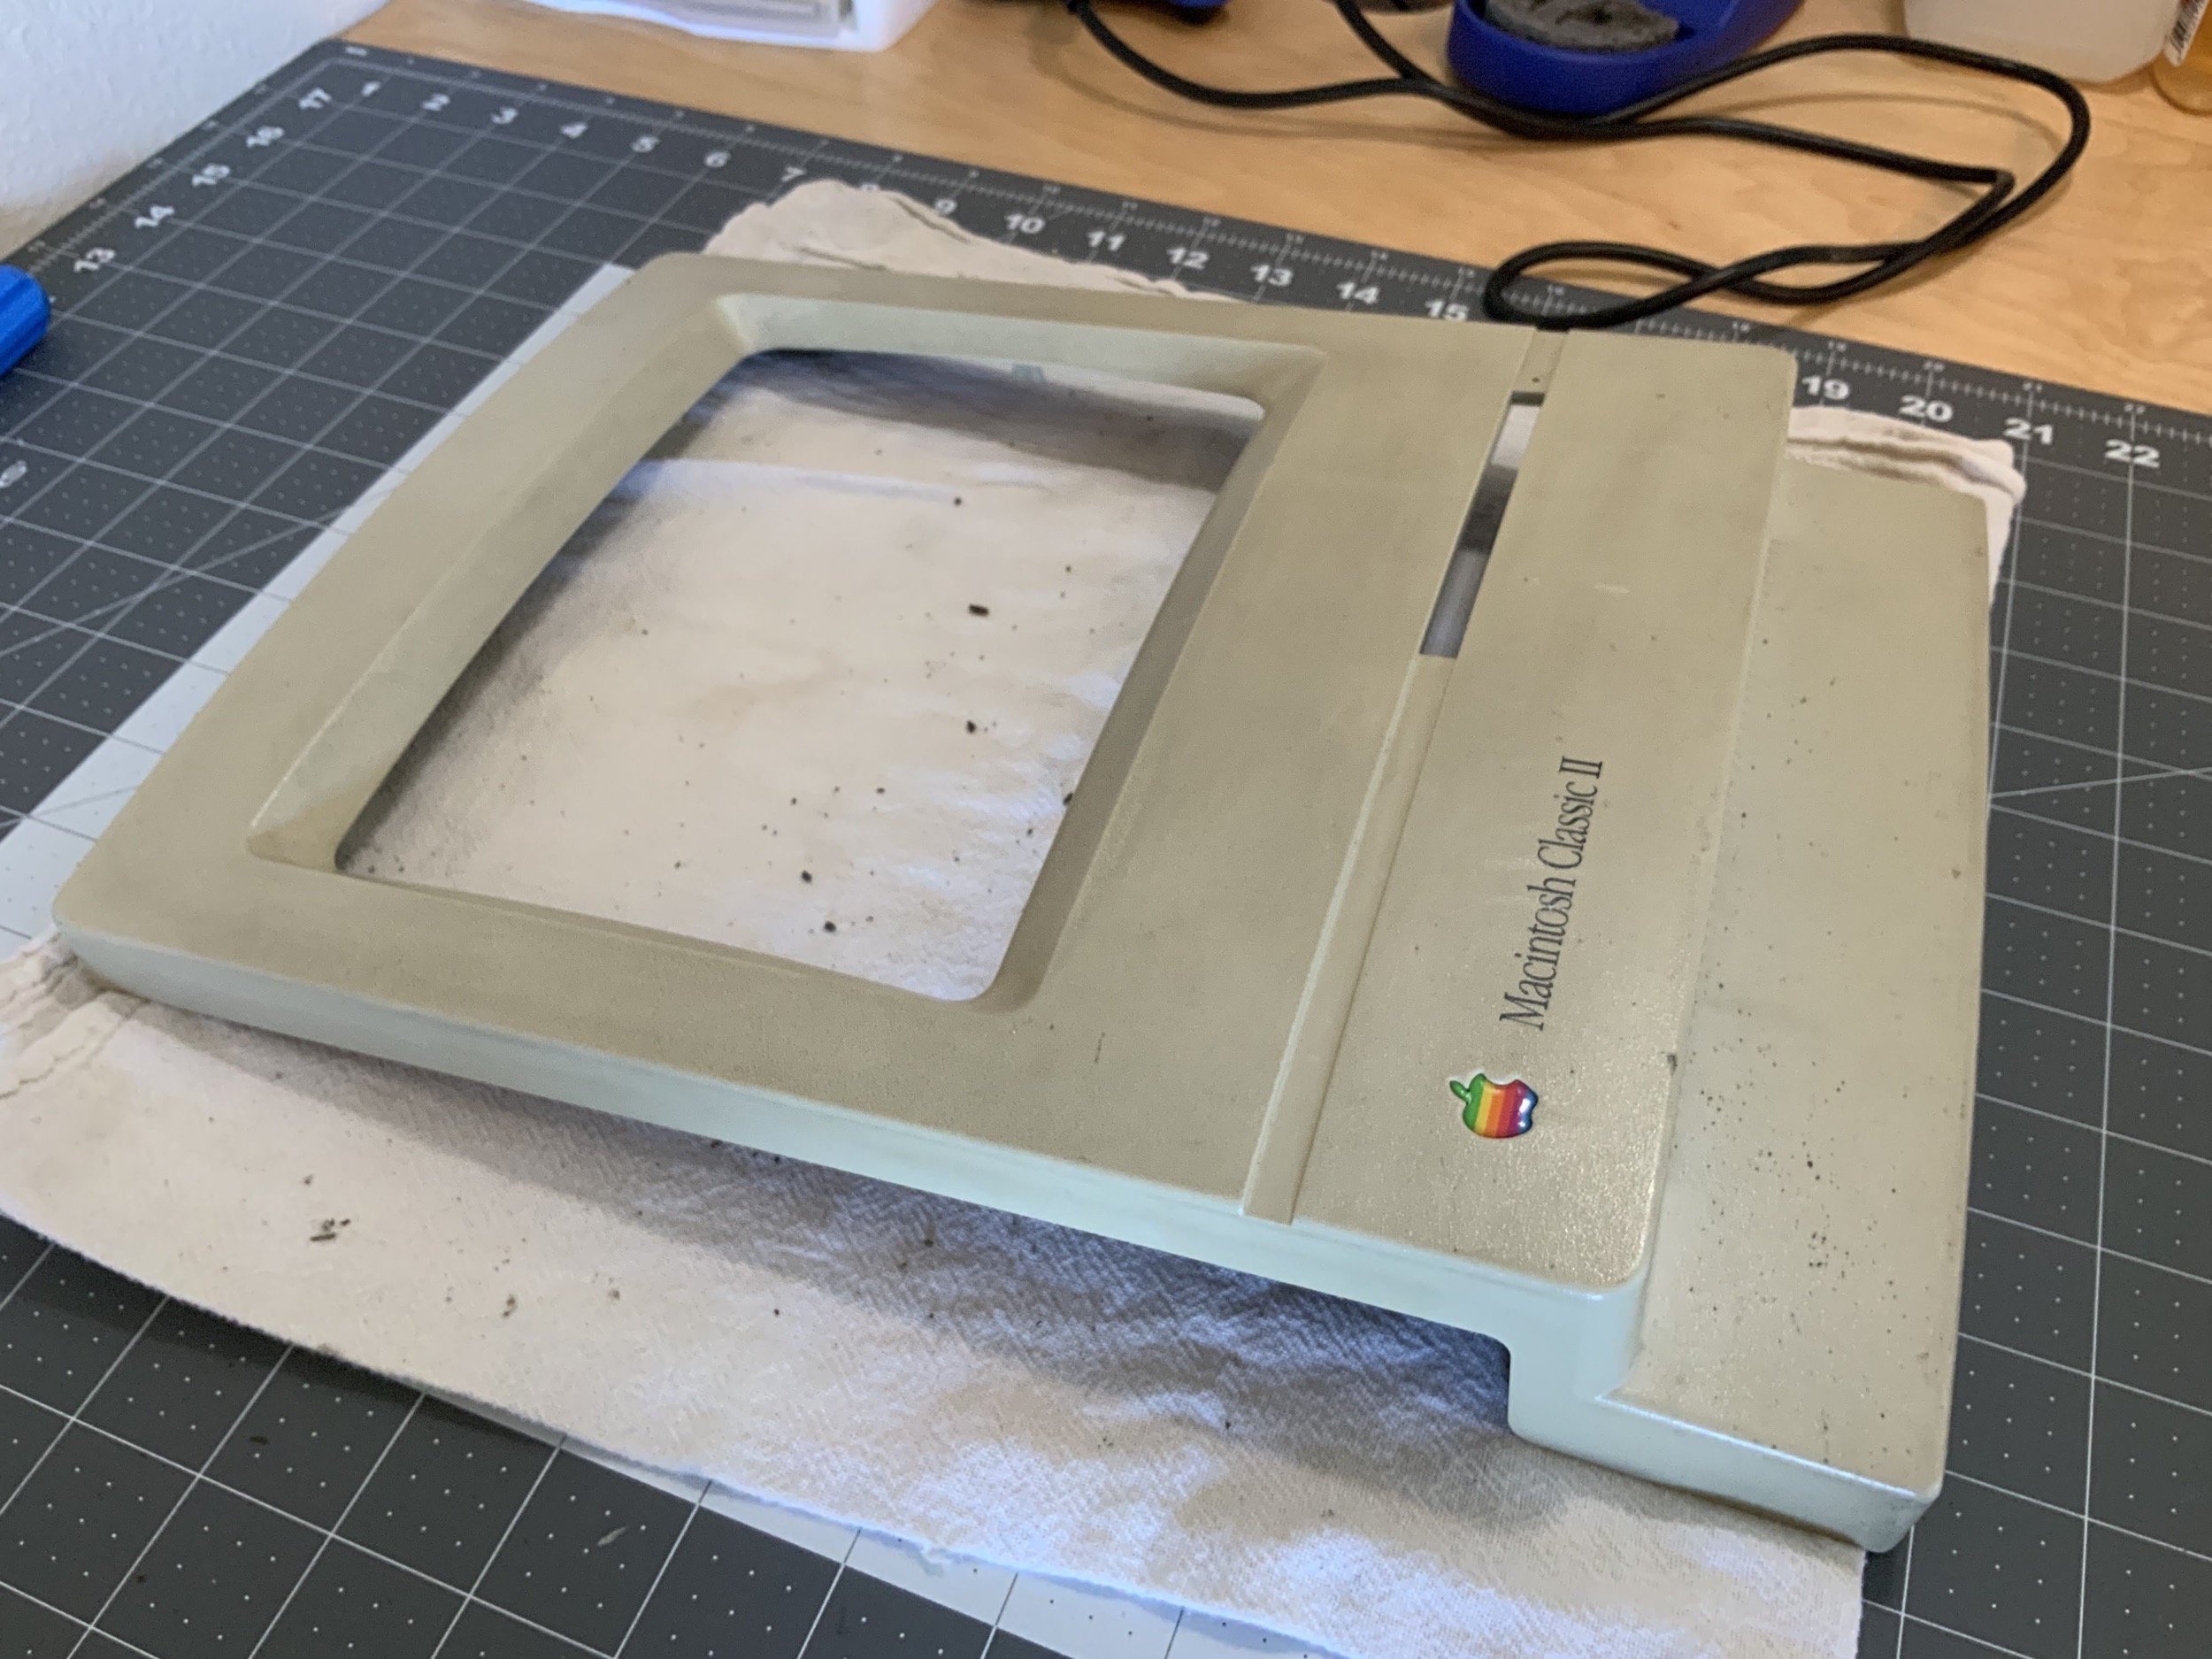
Next, I turned my attention back to the case. It looks awful, the worst I’ve ever seen, and I’ve restored 6 compact black and white Macs. This will be my 7th restoration. It smelled like cigarettes, and found it to be very greasy all over the place. I think it must have lived in a mechanic shop or something like that.
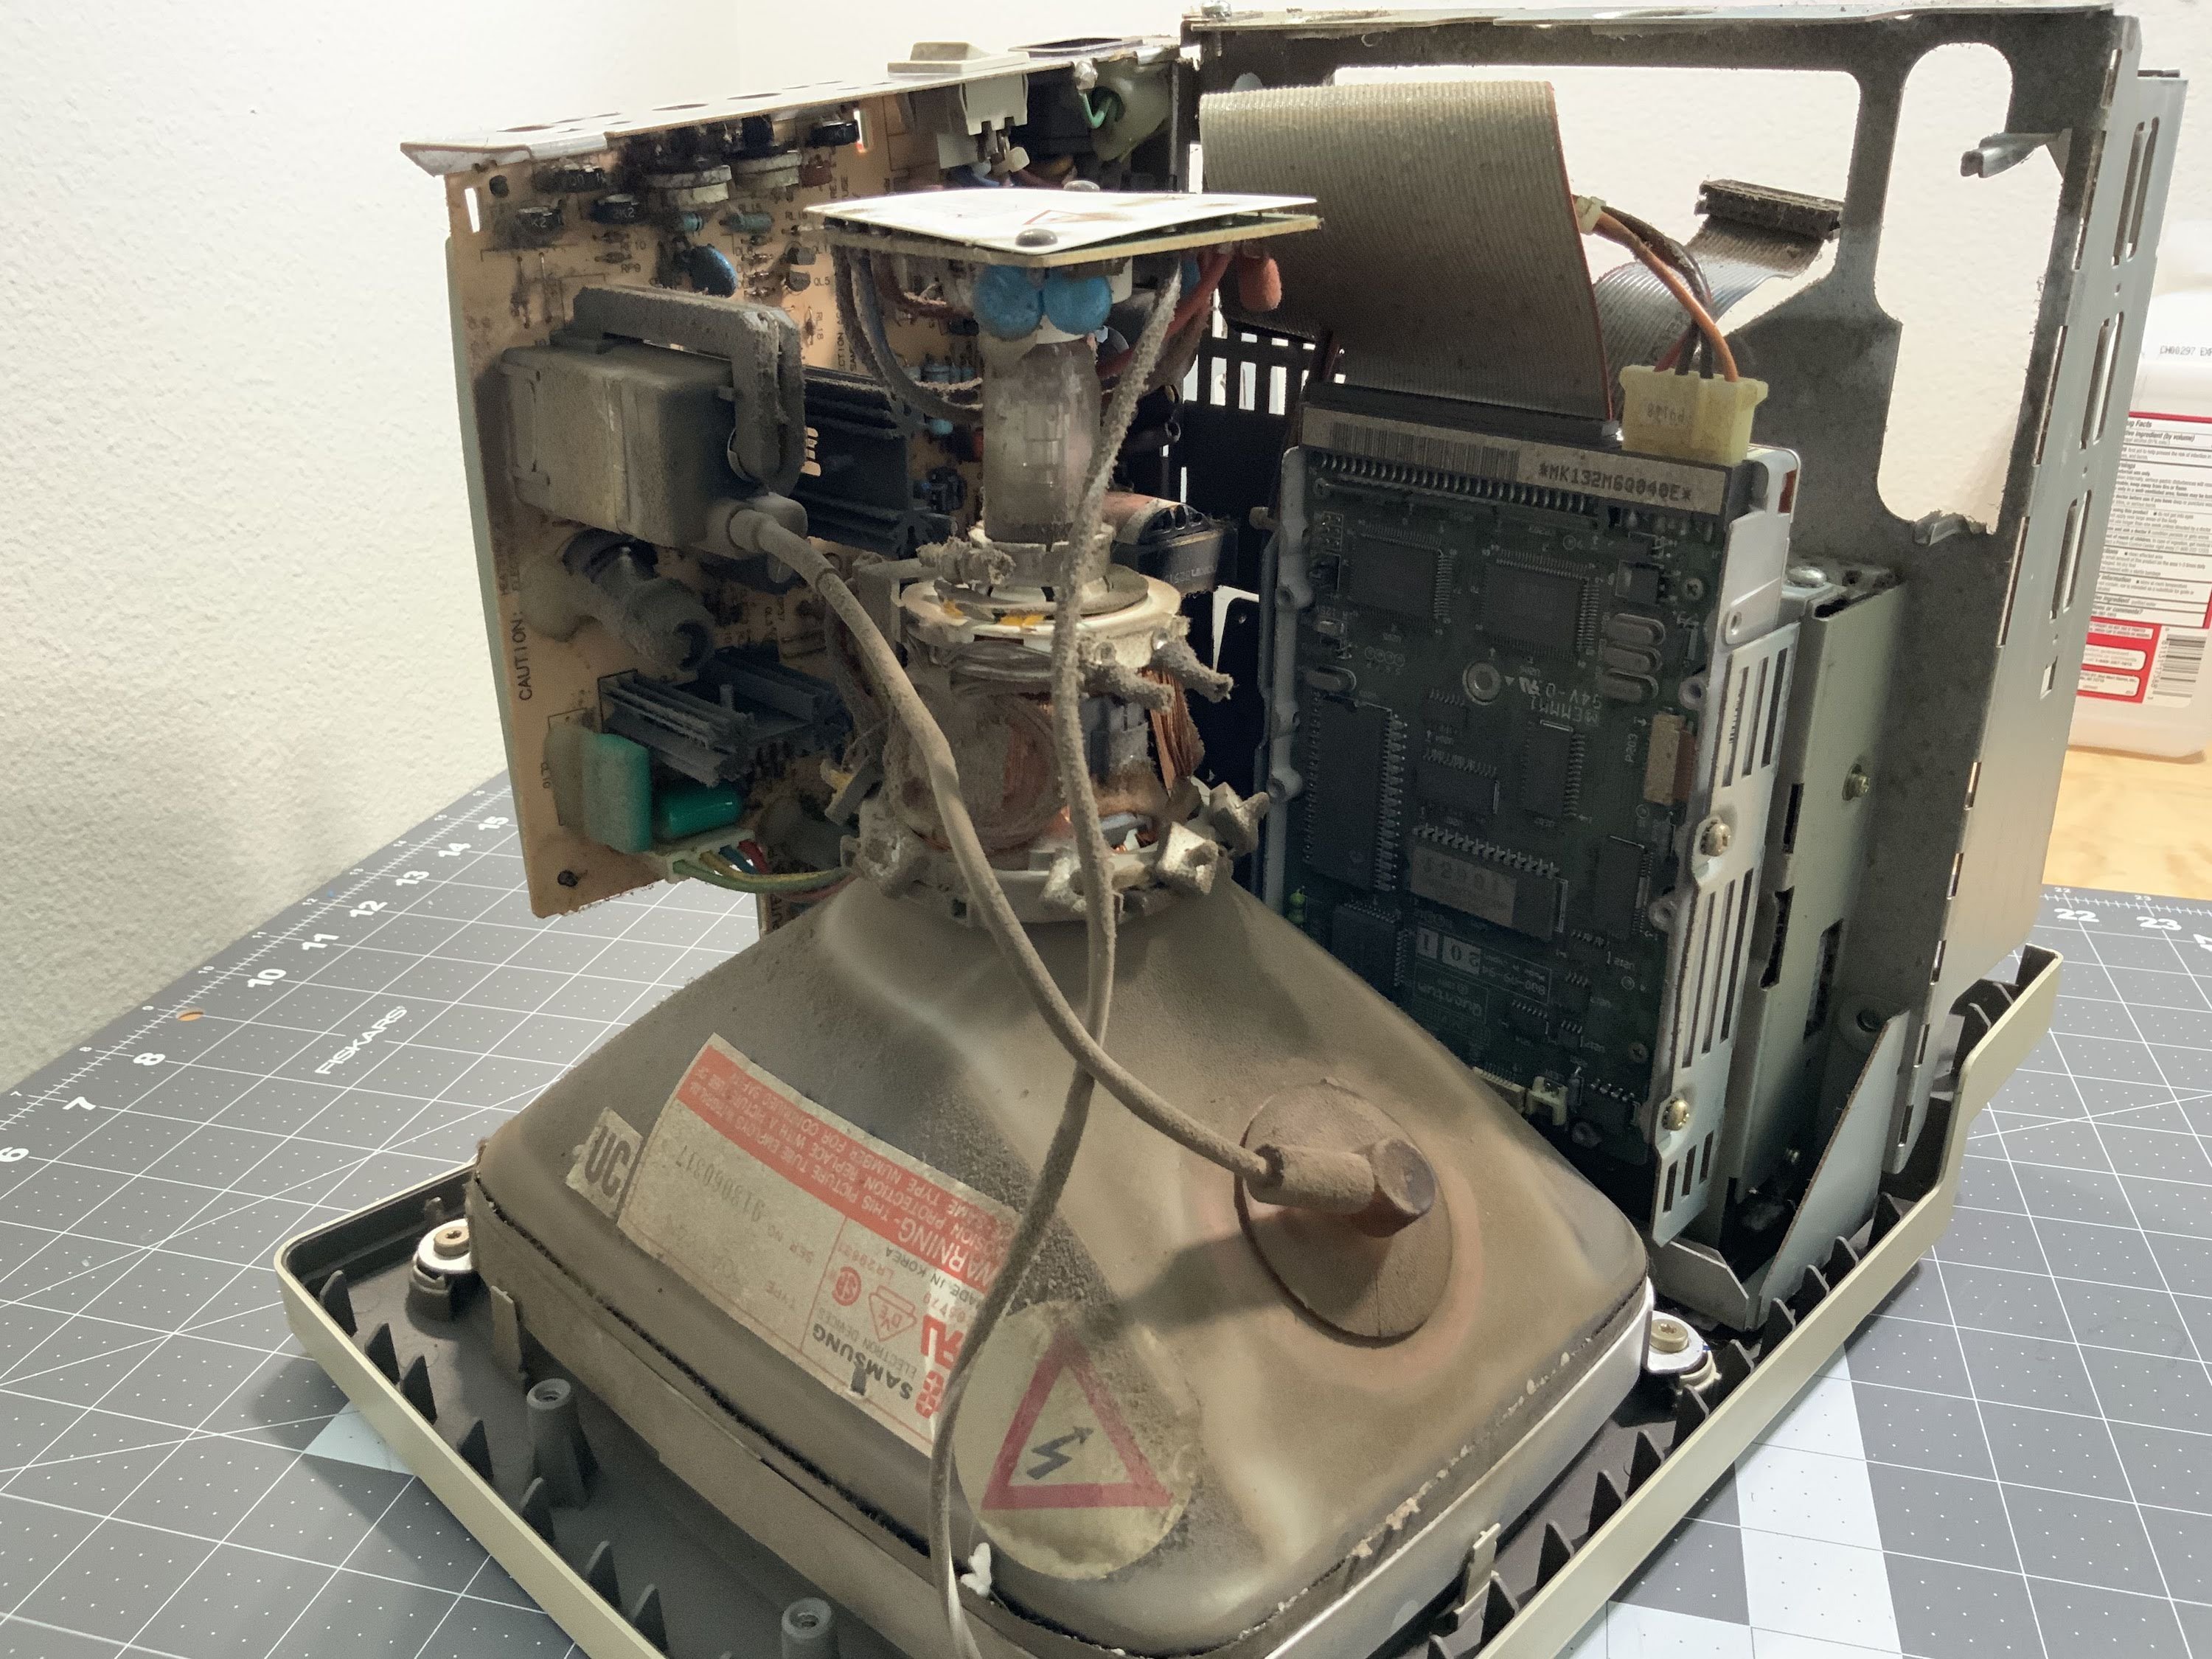
Yikes, I hope I can bring this one back. It is really bad. Fortunately, there are no scratches or cracks. Let’s a take a look at the inside that I ignored when I first pulled the logic board.
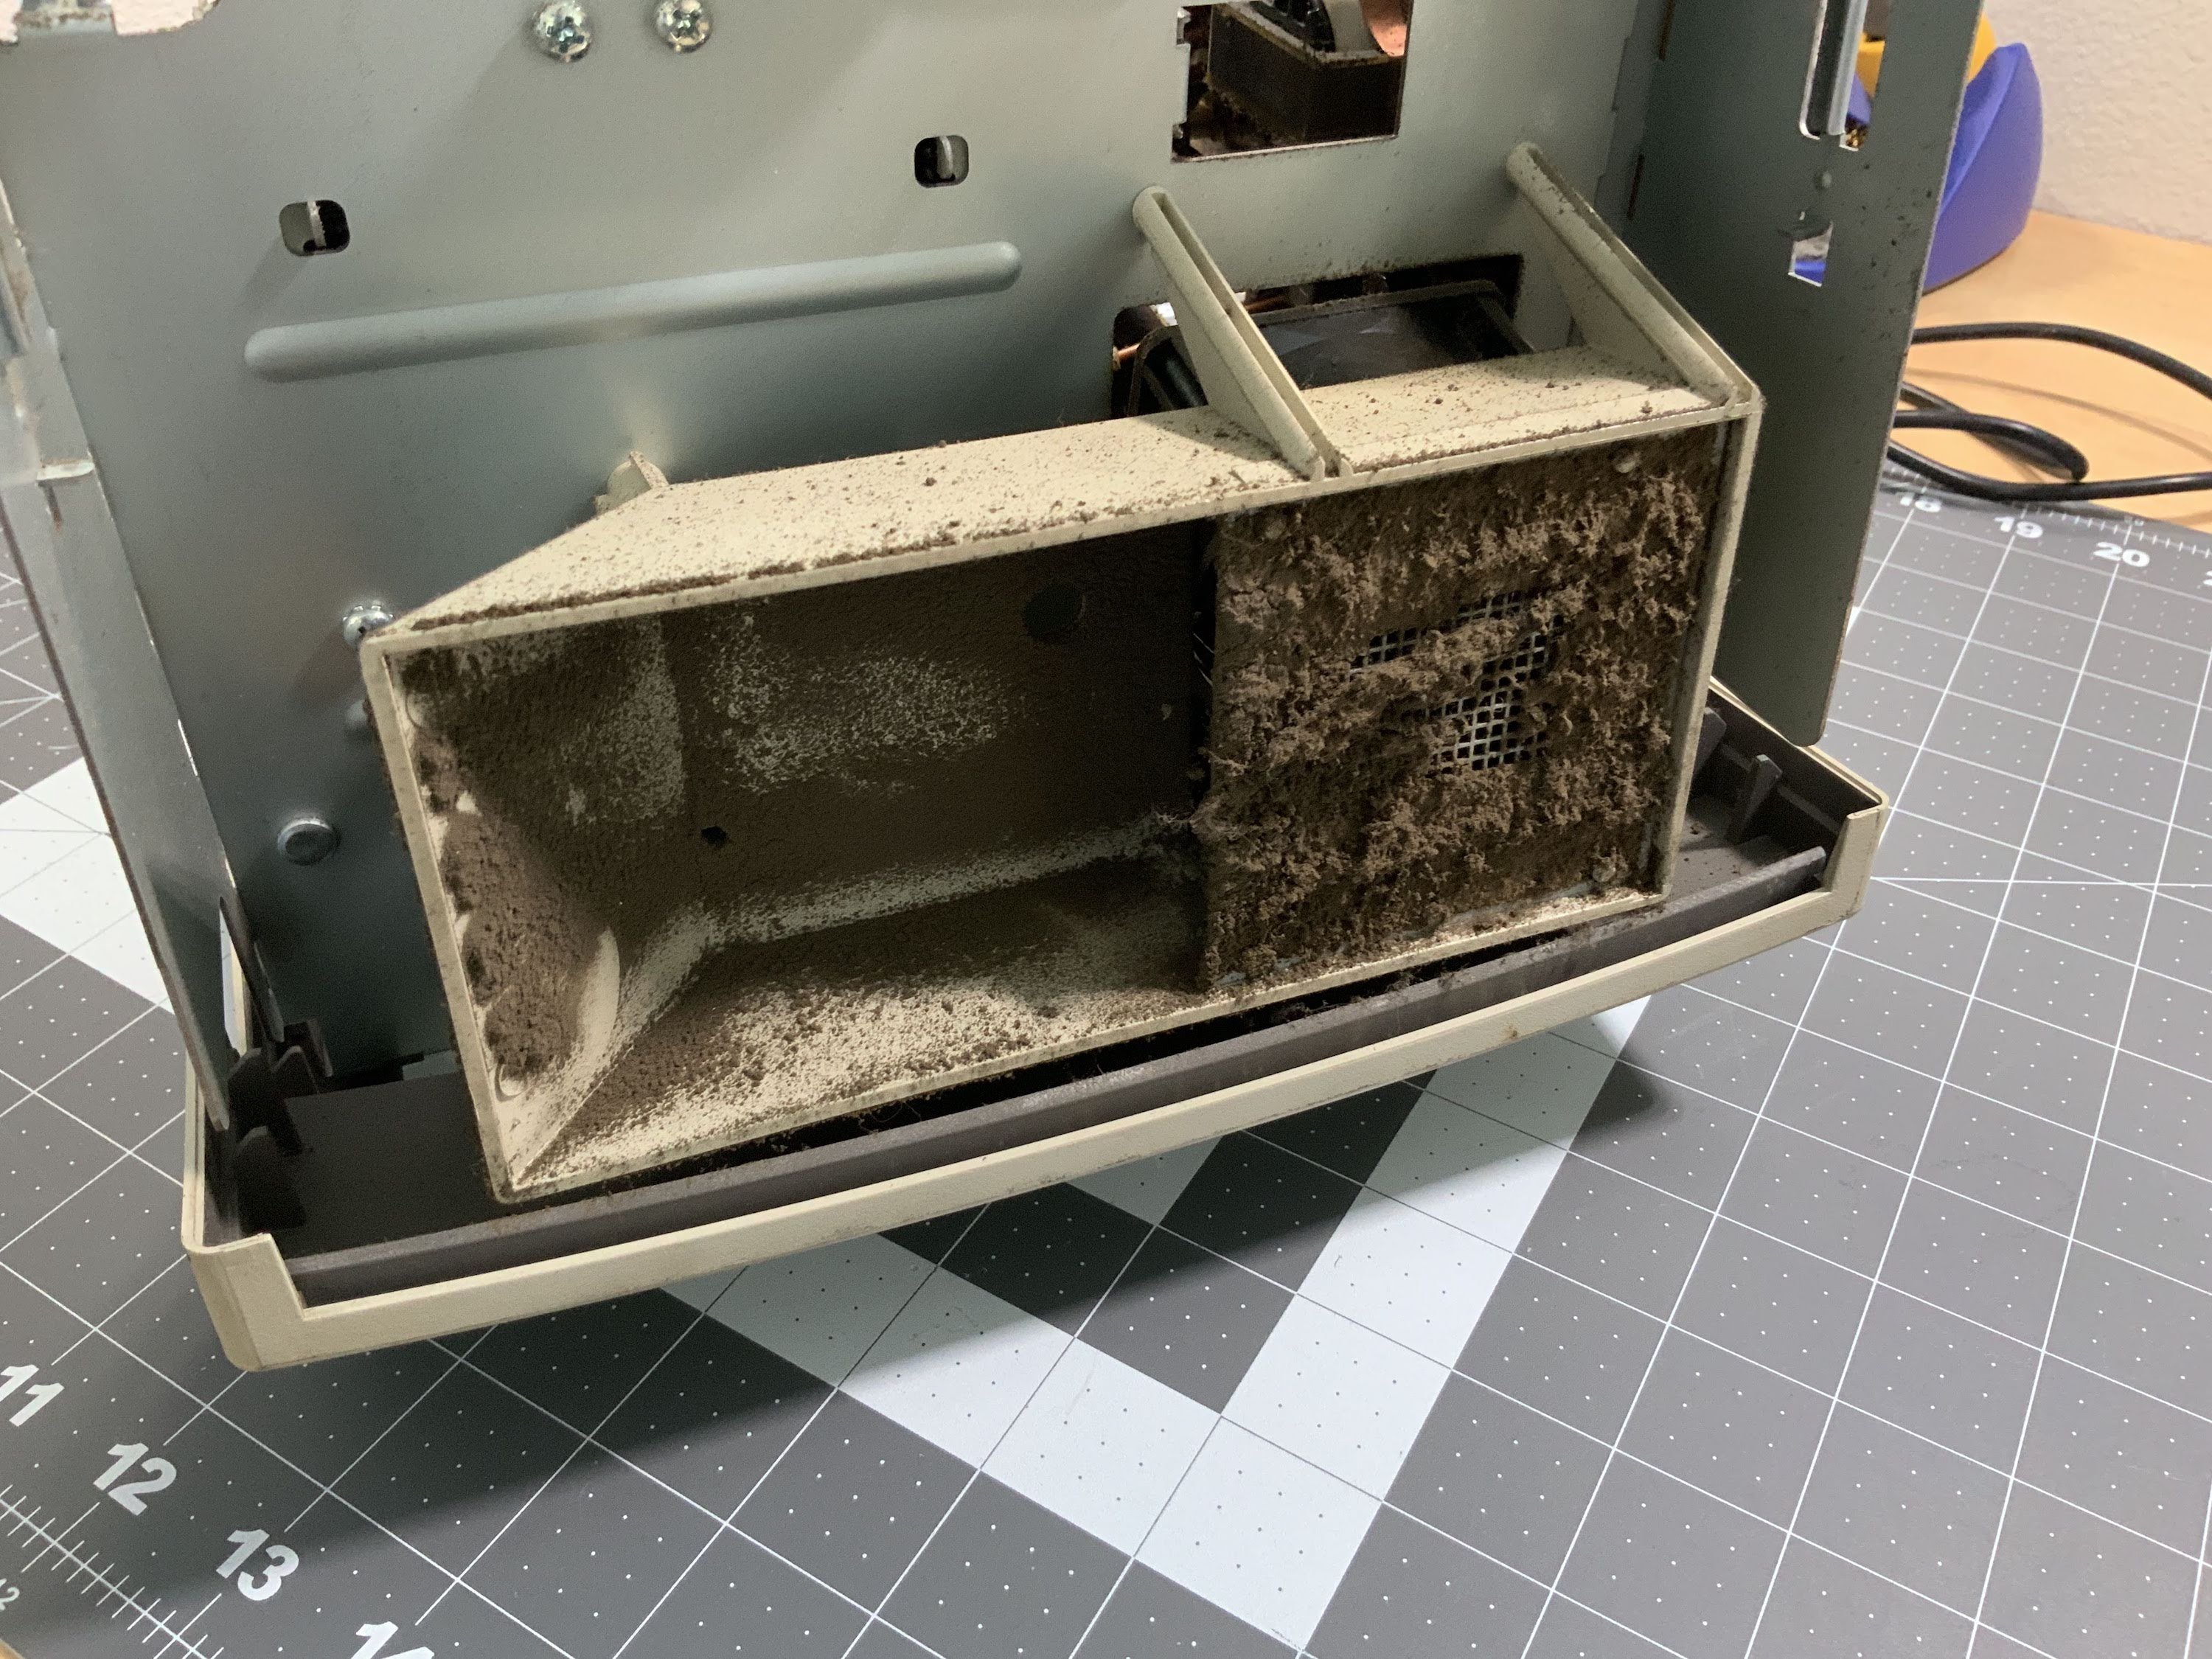
This kind of stuff doesn’t really gross me out, but it does leave me in awe. Check out the fuzzy stuff all over the analog board and CRT.
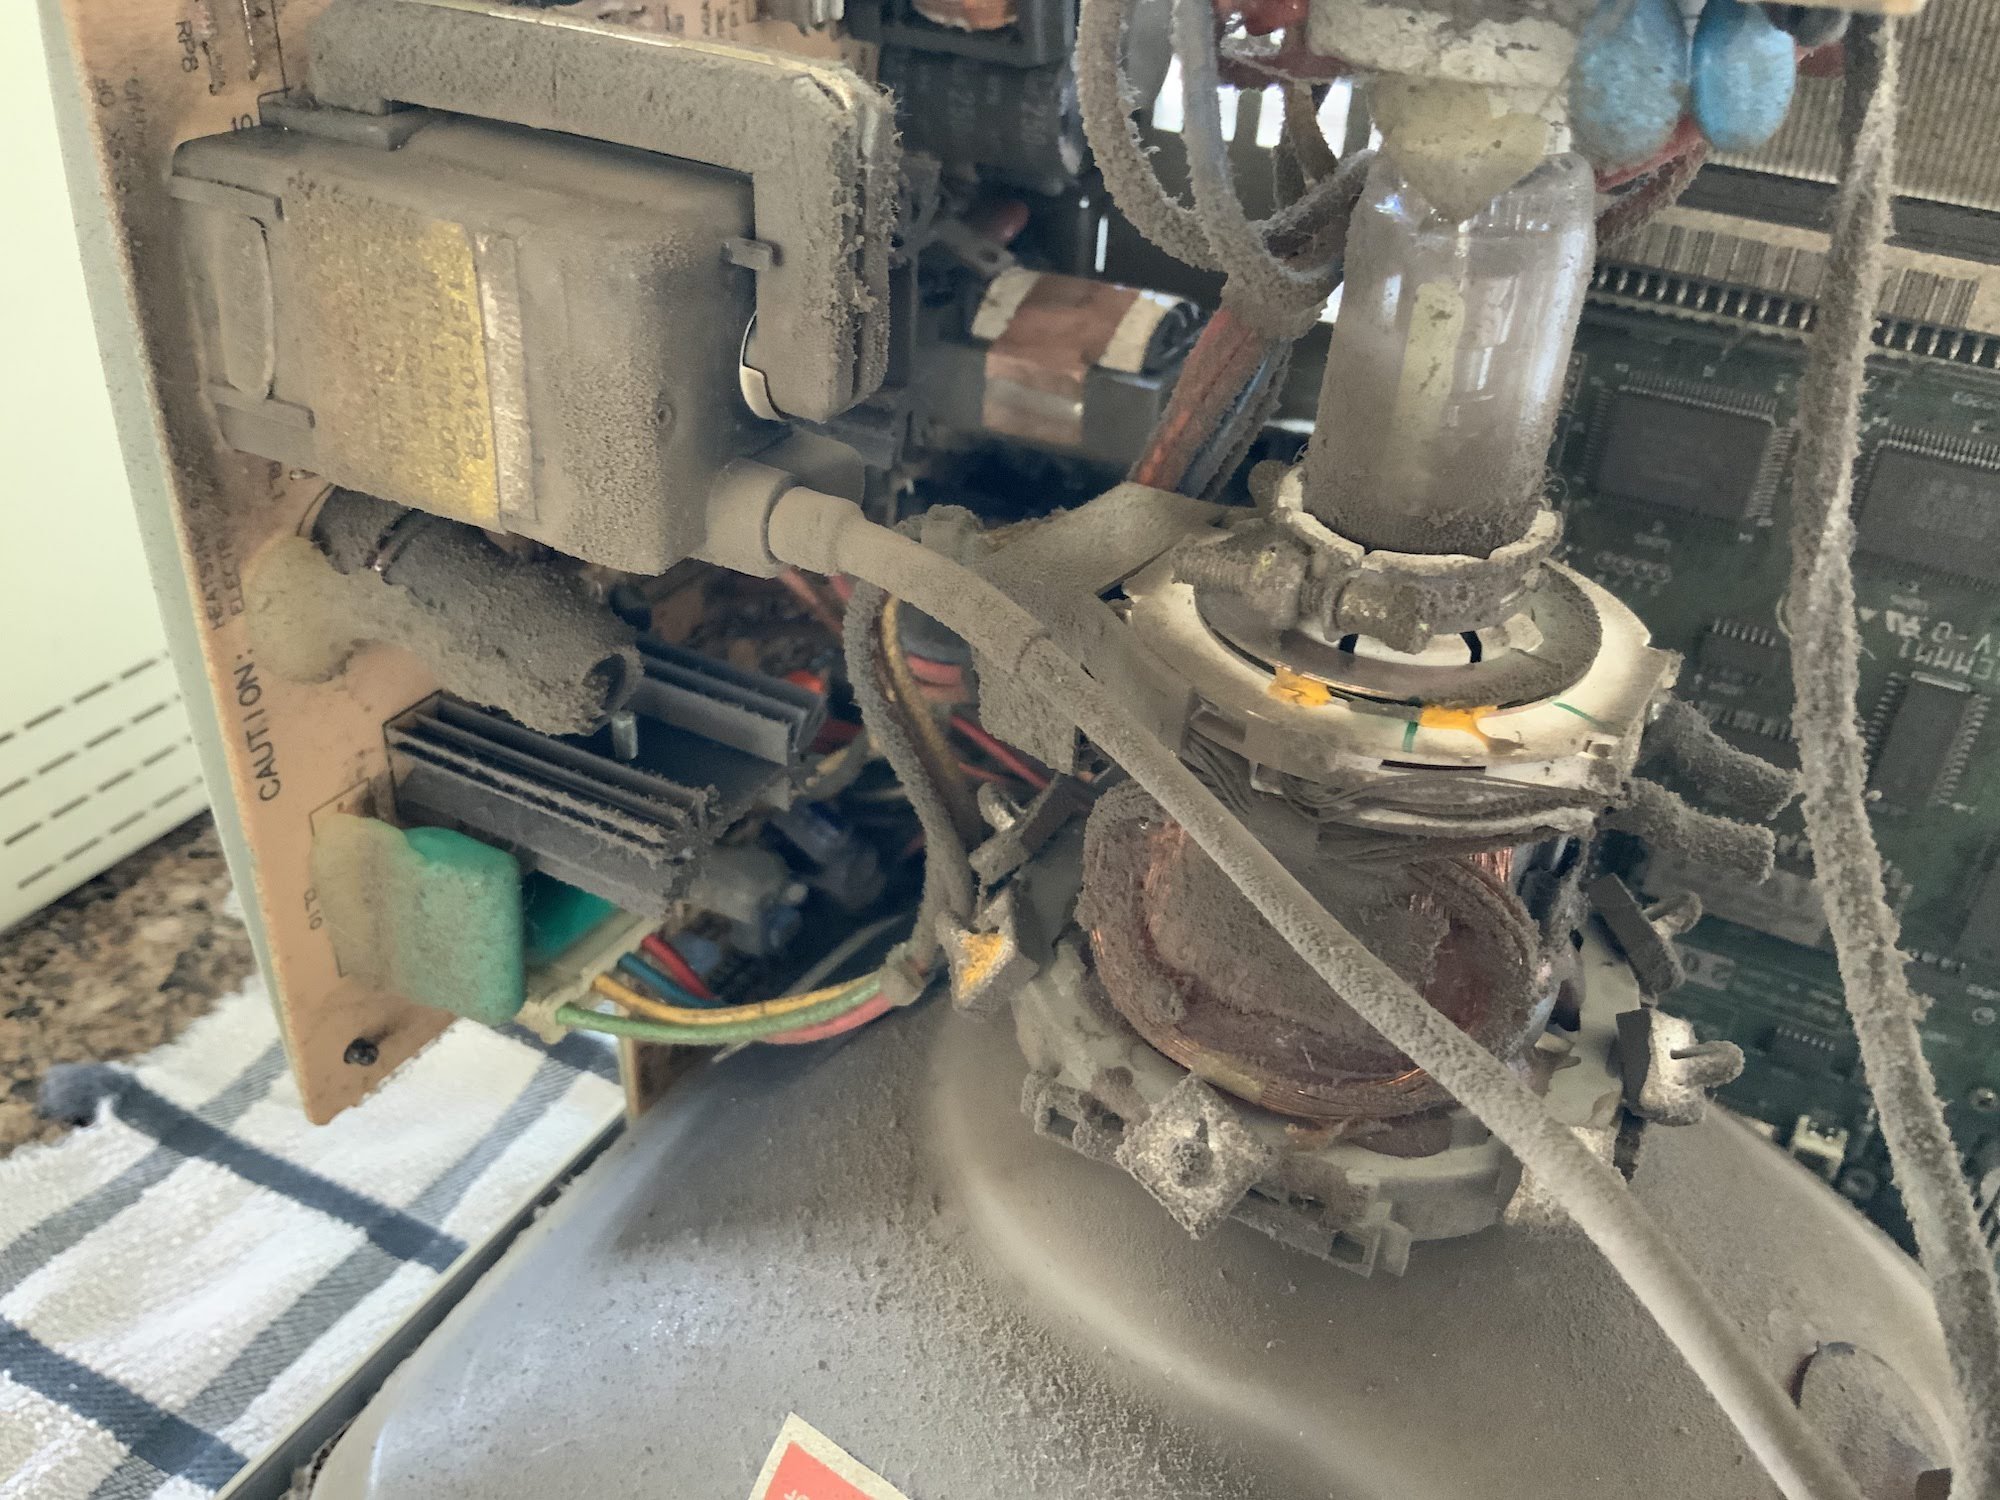
After about 10 minutes with the air compressor, it looked better. Not great, but better. My plan was to thuroughly clean each part of the machine as needed to complete the restoration.
First Boot
Before attempting to start up the machine, I scrubbed the logic board with dishwasher detergent and a tooshbrush, rinsed it with tap water, chased the water with isopropyl alcohol, and then blasted all of the moisture off with an air compressor. So far, I’ve had very good luck doing this, I always take extra time to blast every drop of water off the board, and I like to let it air dry for awhile too.
And now, the moment of truth. Would it power on?
Hooray, it does! And the mouse, when plugged in through the keyboard, works just fine!
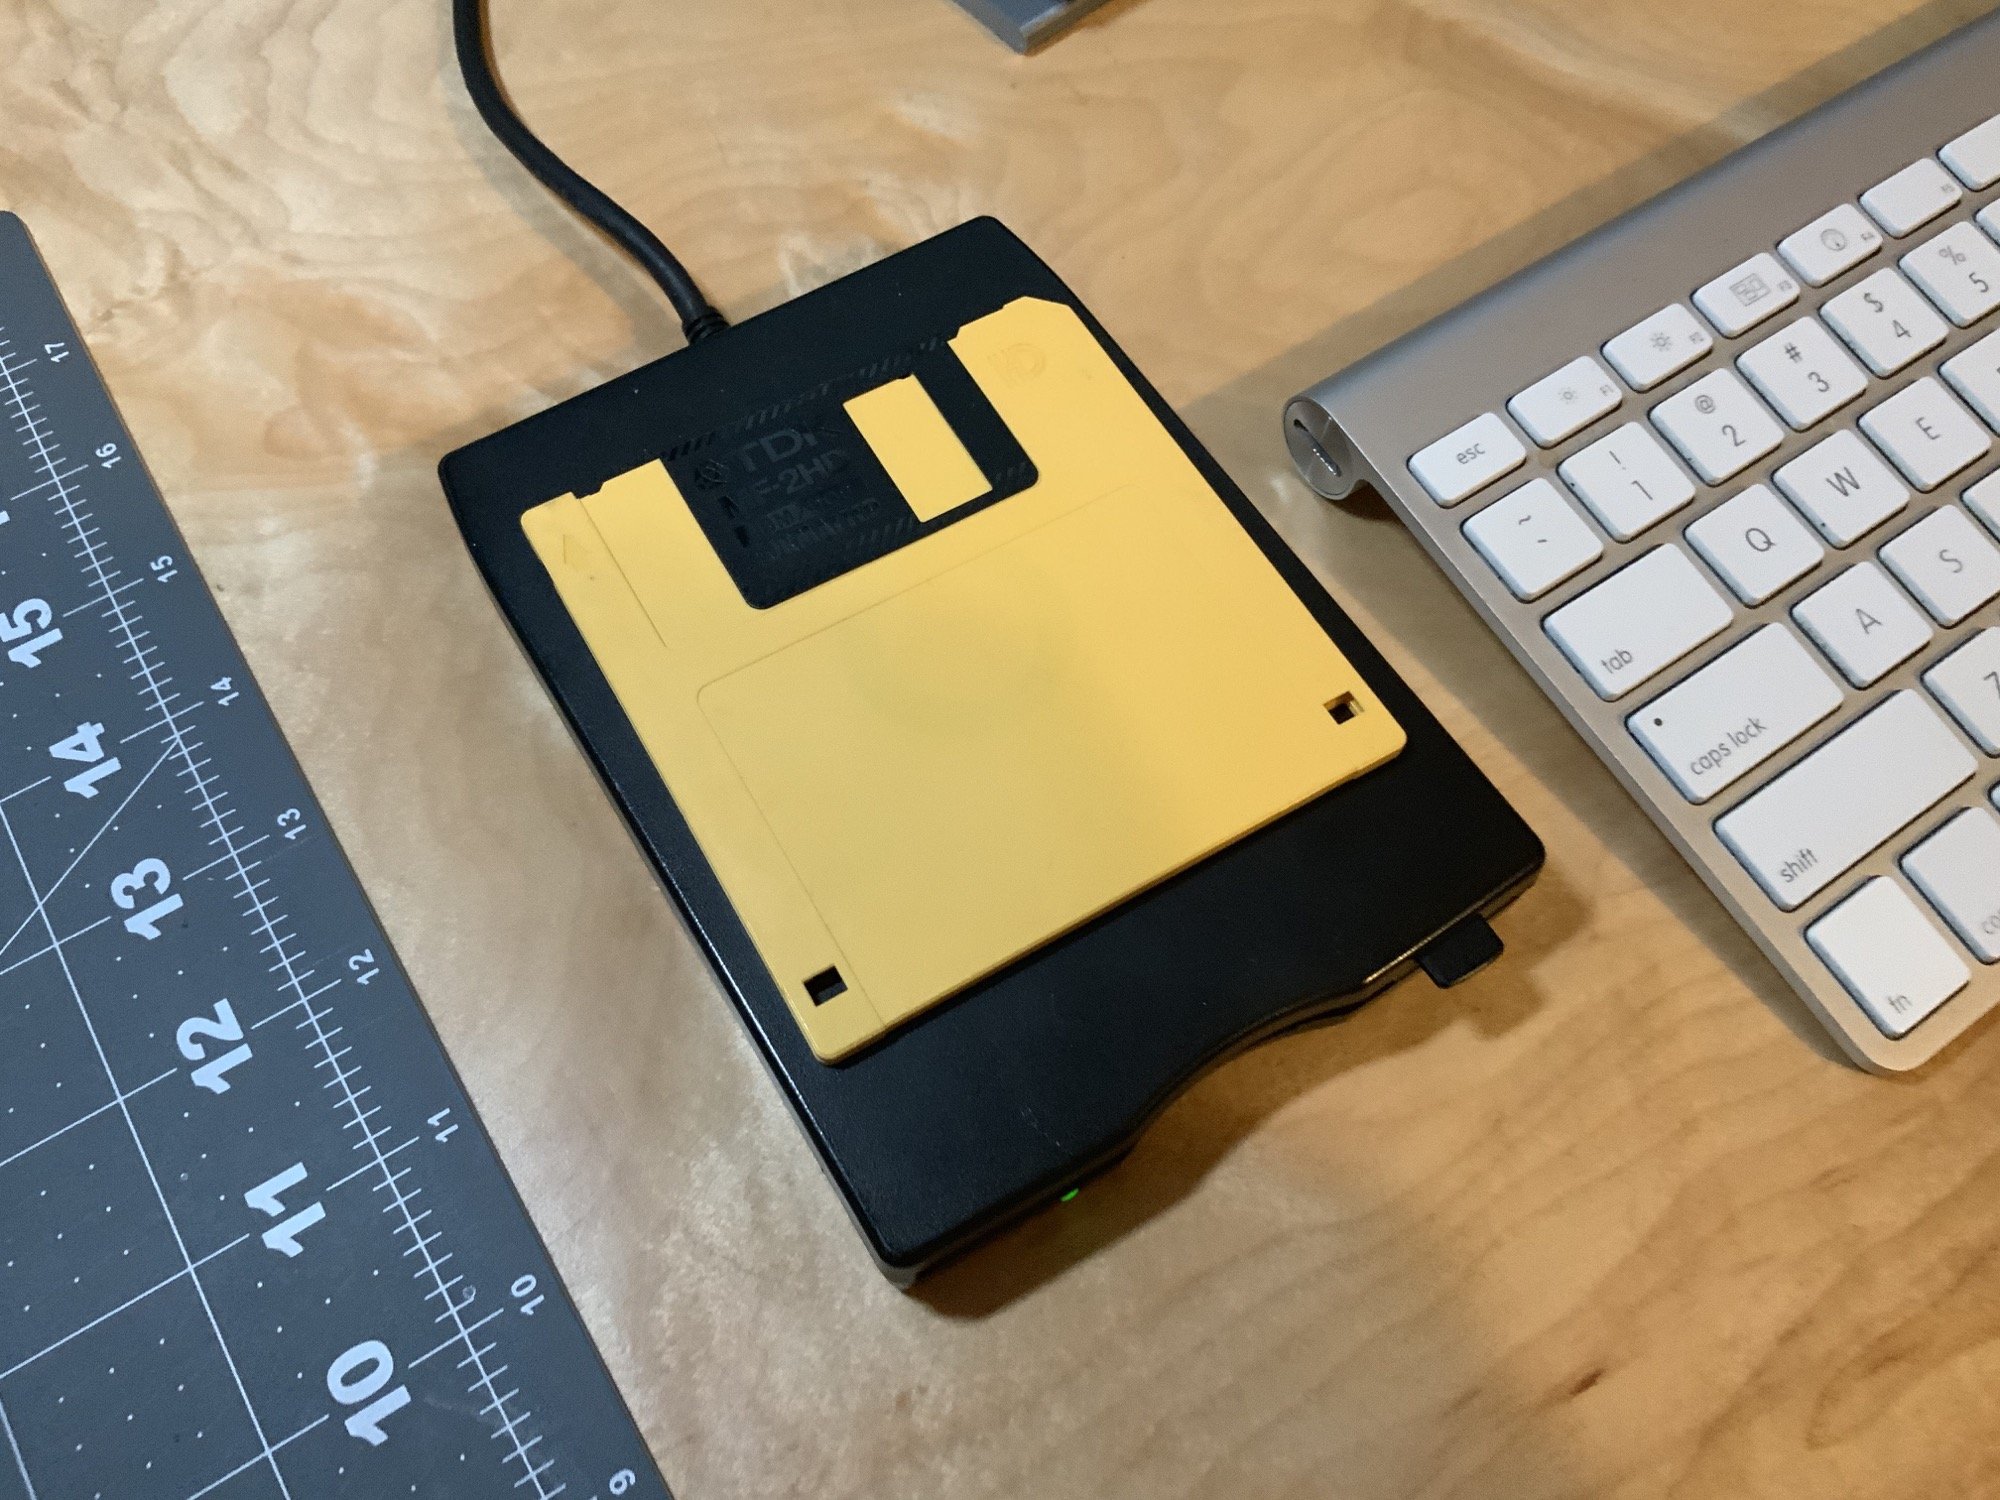
I did decide to take my chances with a floppy disk, but found that the drive was so dirty that the floppy would barely seat in the drive. The drive would seek for a moment, and then give up and painfully push the disk back out with a “X Floppy” icon on the screen. I only tried a couple of times, because I didn’t want to snap the eject gear. Clearly, this drive needs to be cleaned (but we already knew that).
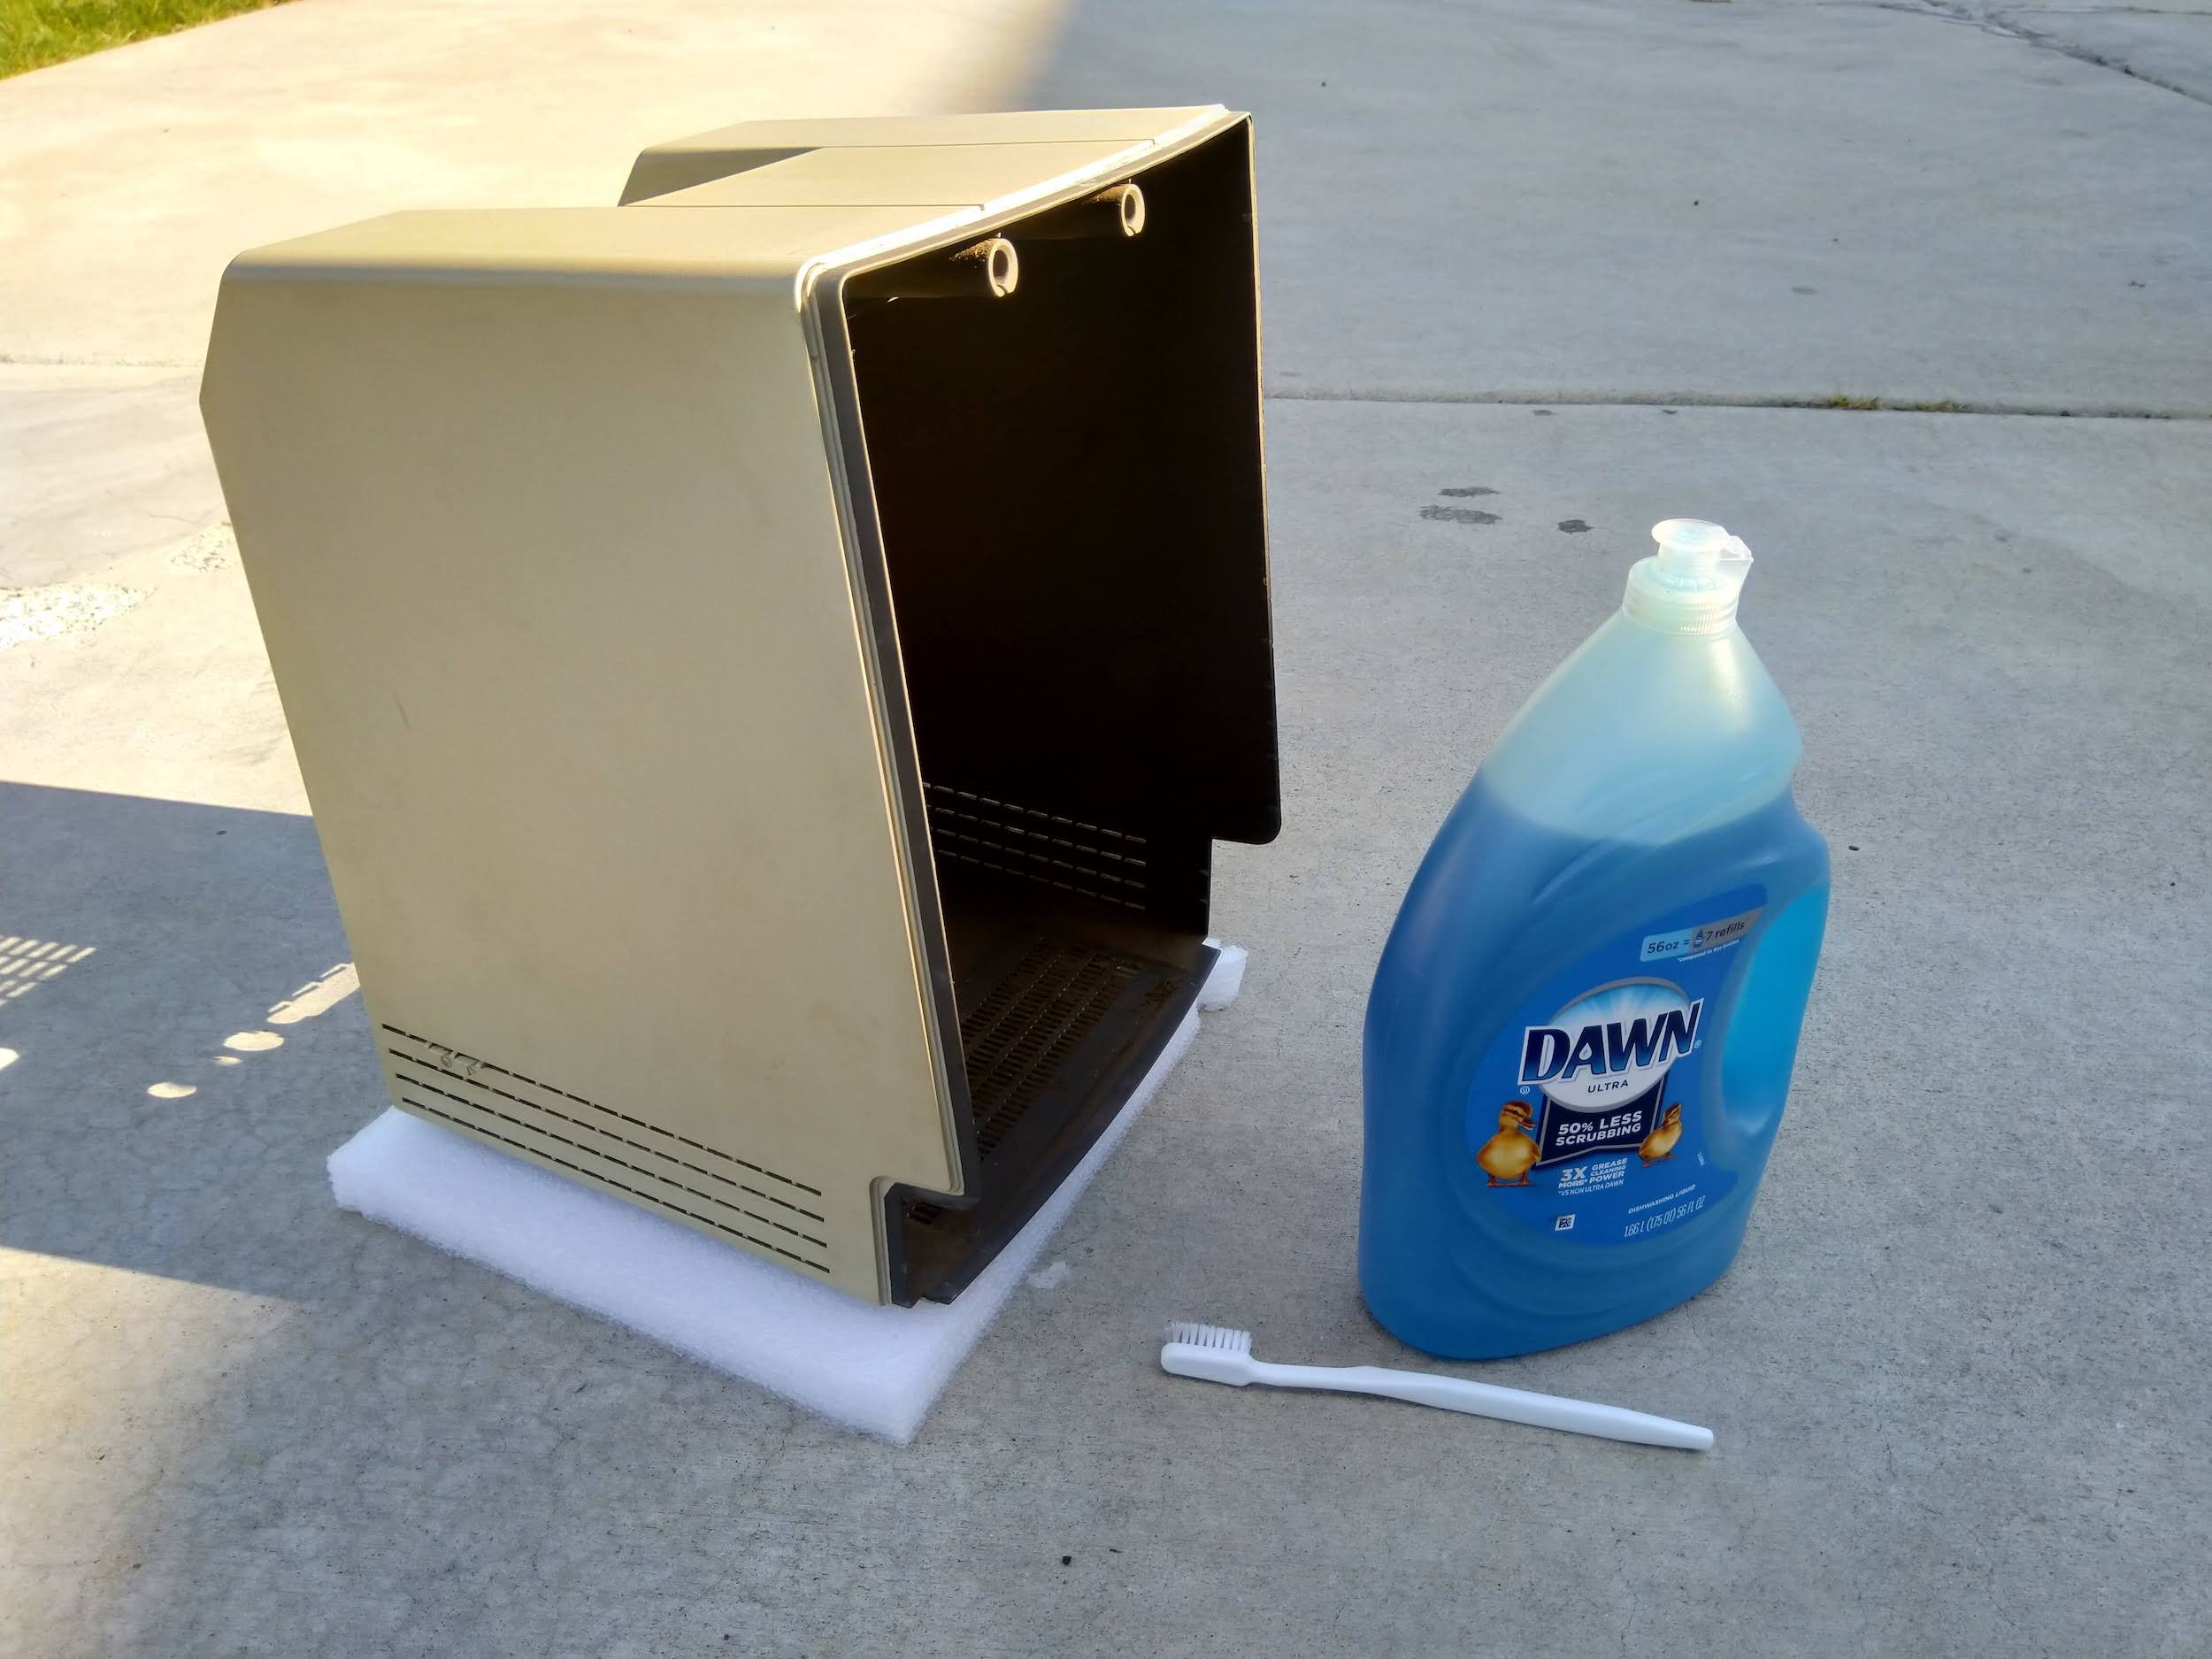
As I normally do with these machines, I decided to pop the case off and work on cleaning that for a bit to let the CRT bleed off, before extracting the hard drive and floppy drive. I took it outside, and went after it with dishwasher detergent and a soft toothbrush.
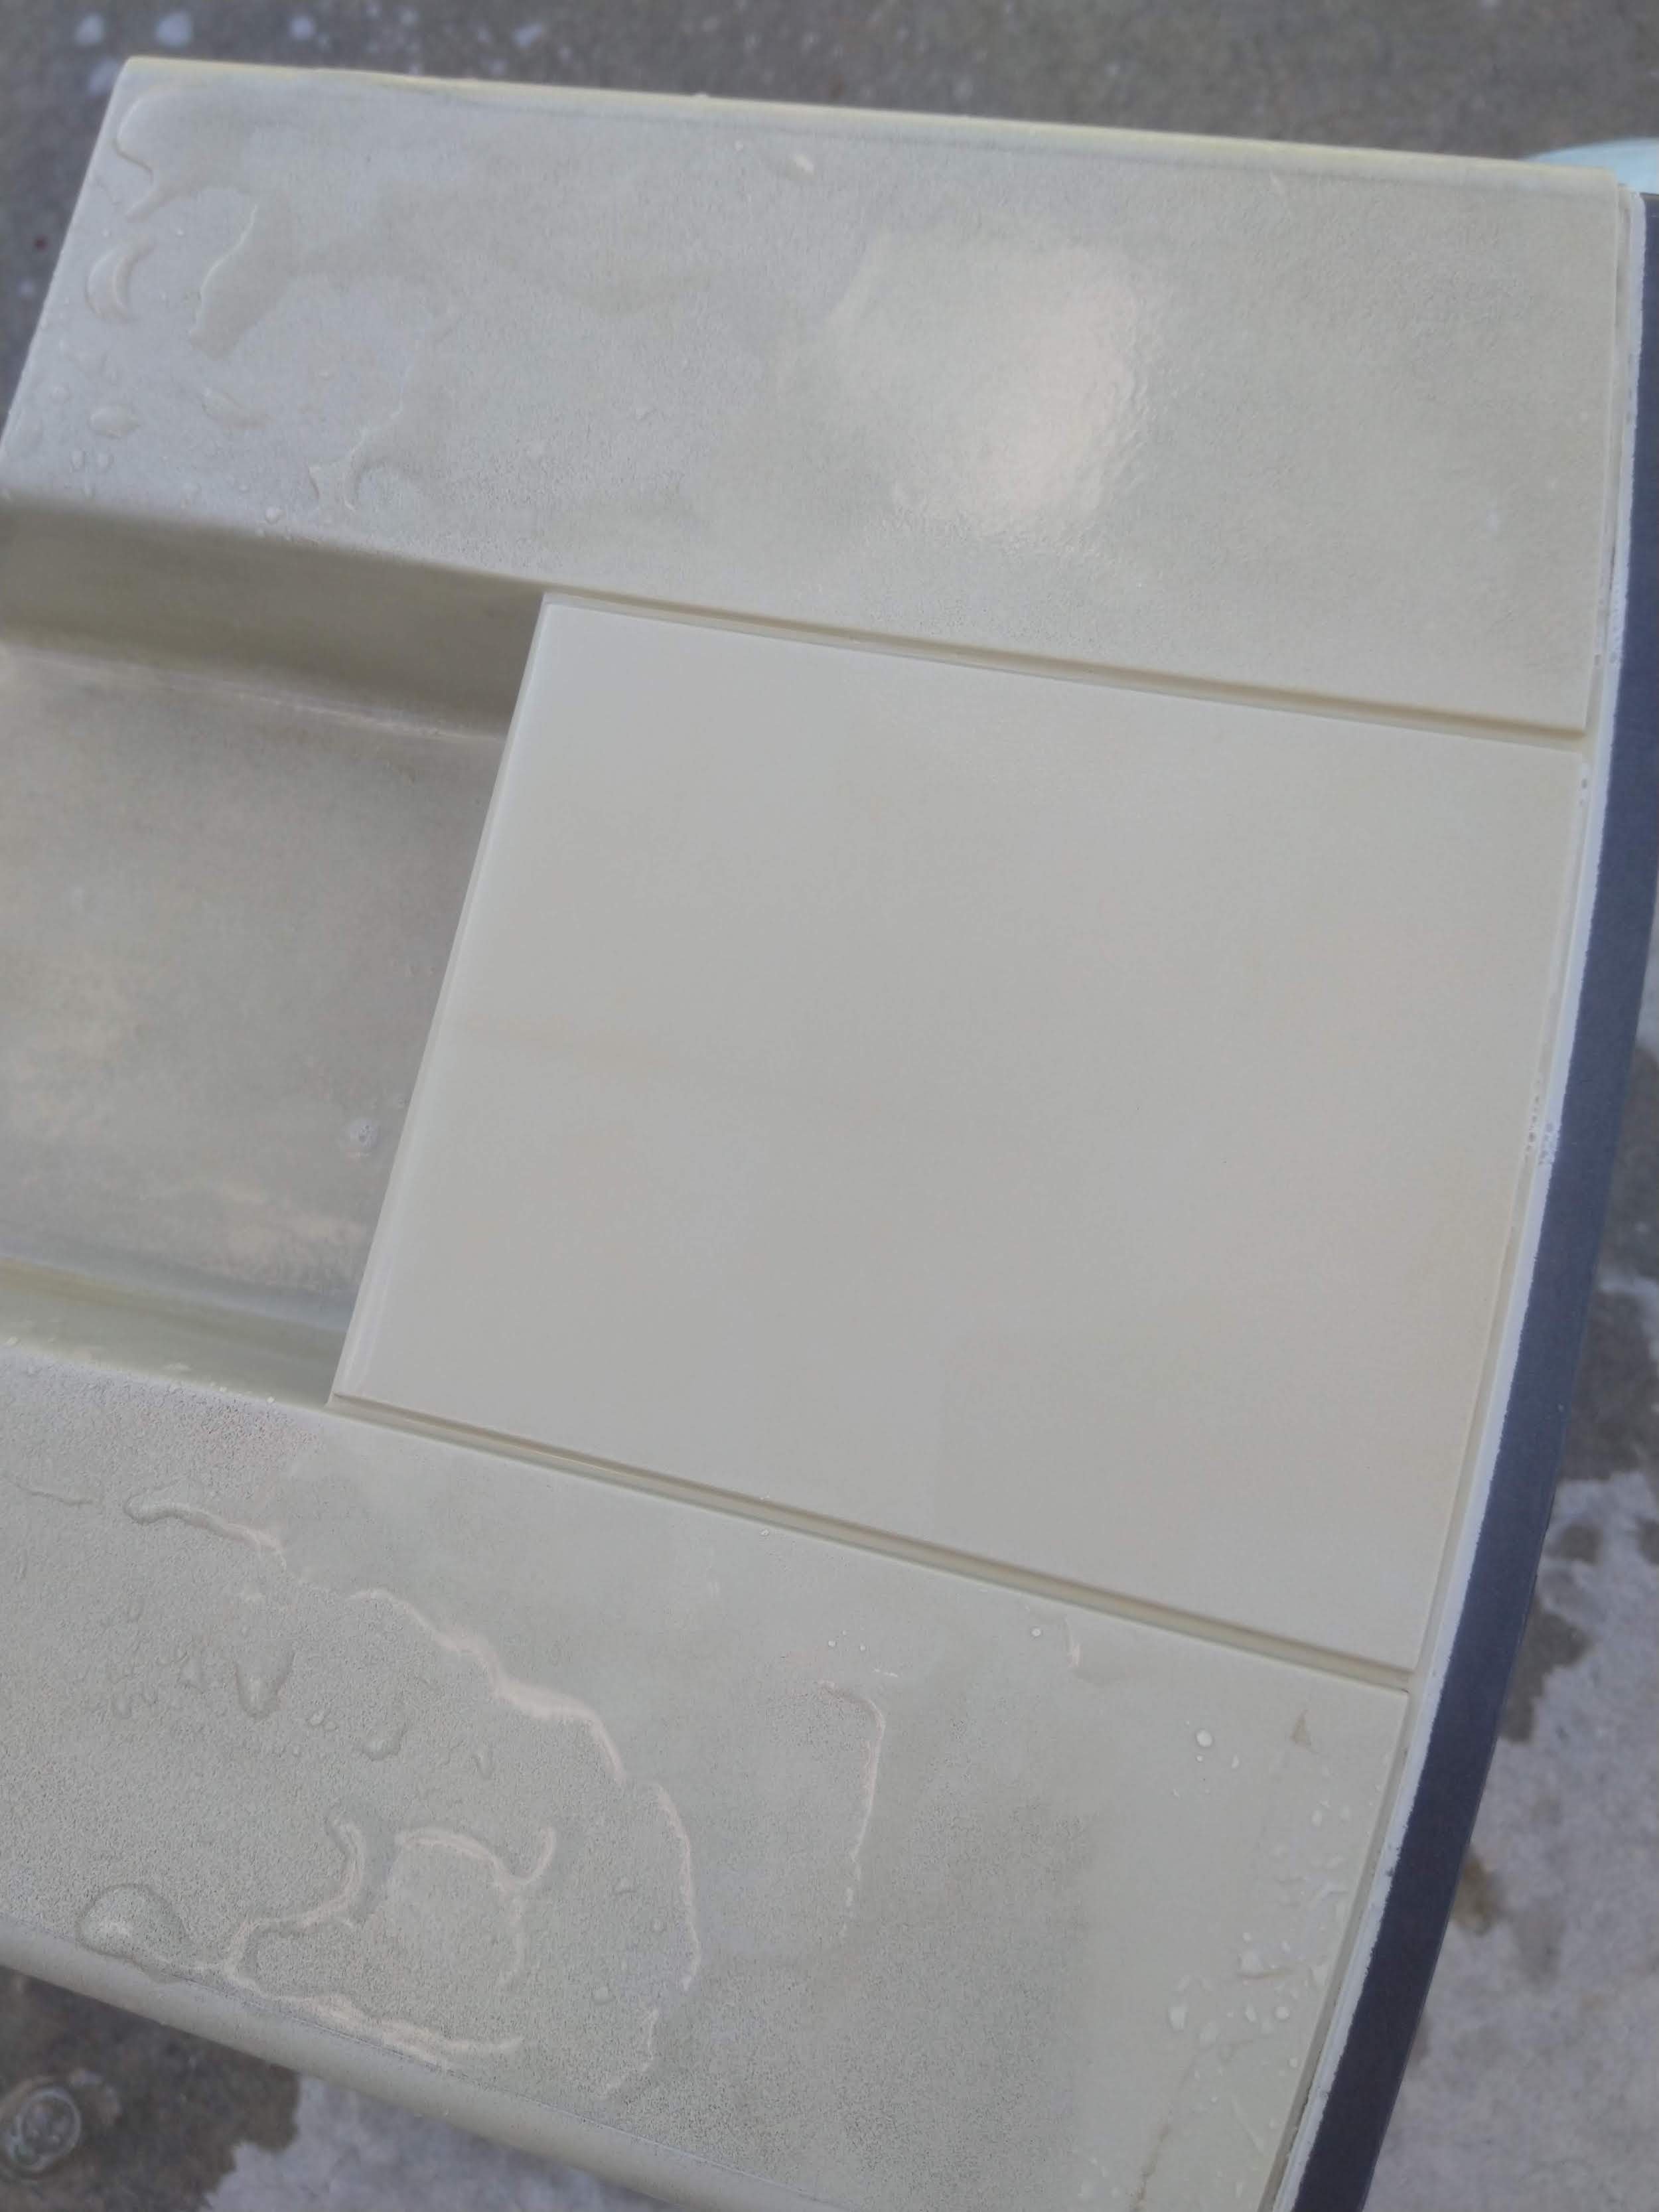
First, I did a small area on top to see if it made a difference, and it definitely did!
For all of the stubborn marks on the case, I used a wet paper towel and baking soda. I always use care with this as it acts as a minor abrasive and removes a bit of texture, but losing a tiny bit of texture to have it look completely clean is worth it to me.

So satisfying! I’ll post a bunch of before and after pics of the case later so you can see the full transformation.
Floppy Drive
Next it was time to service the floppy drive.
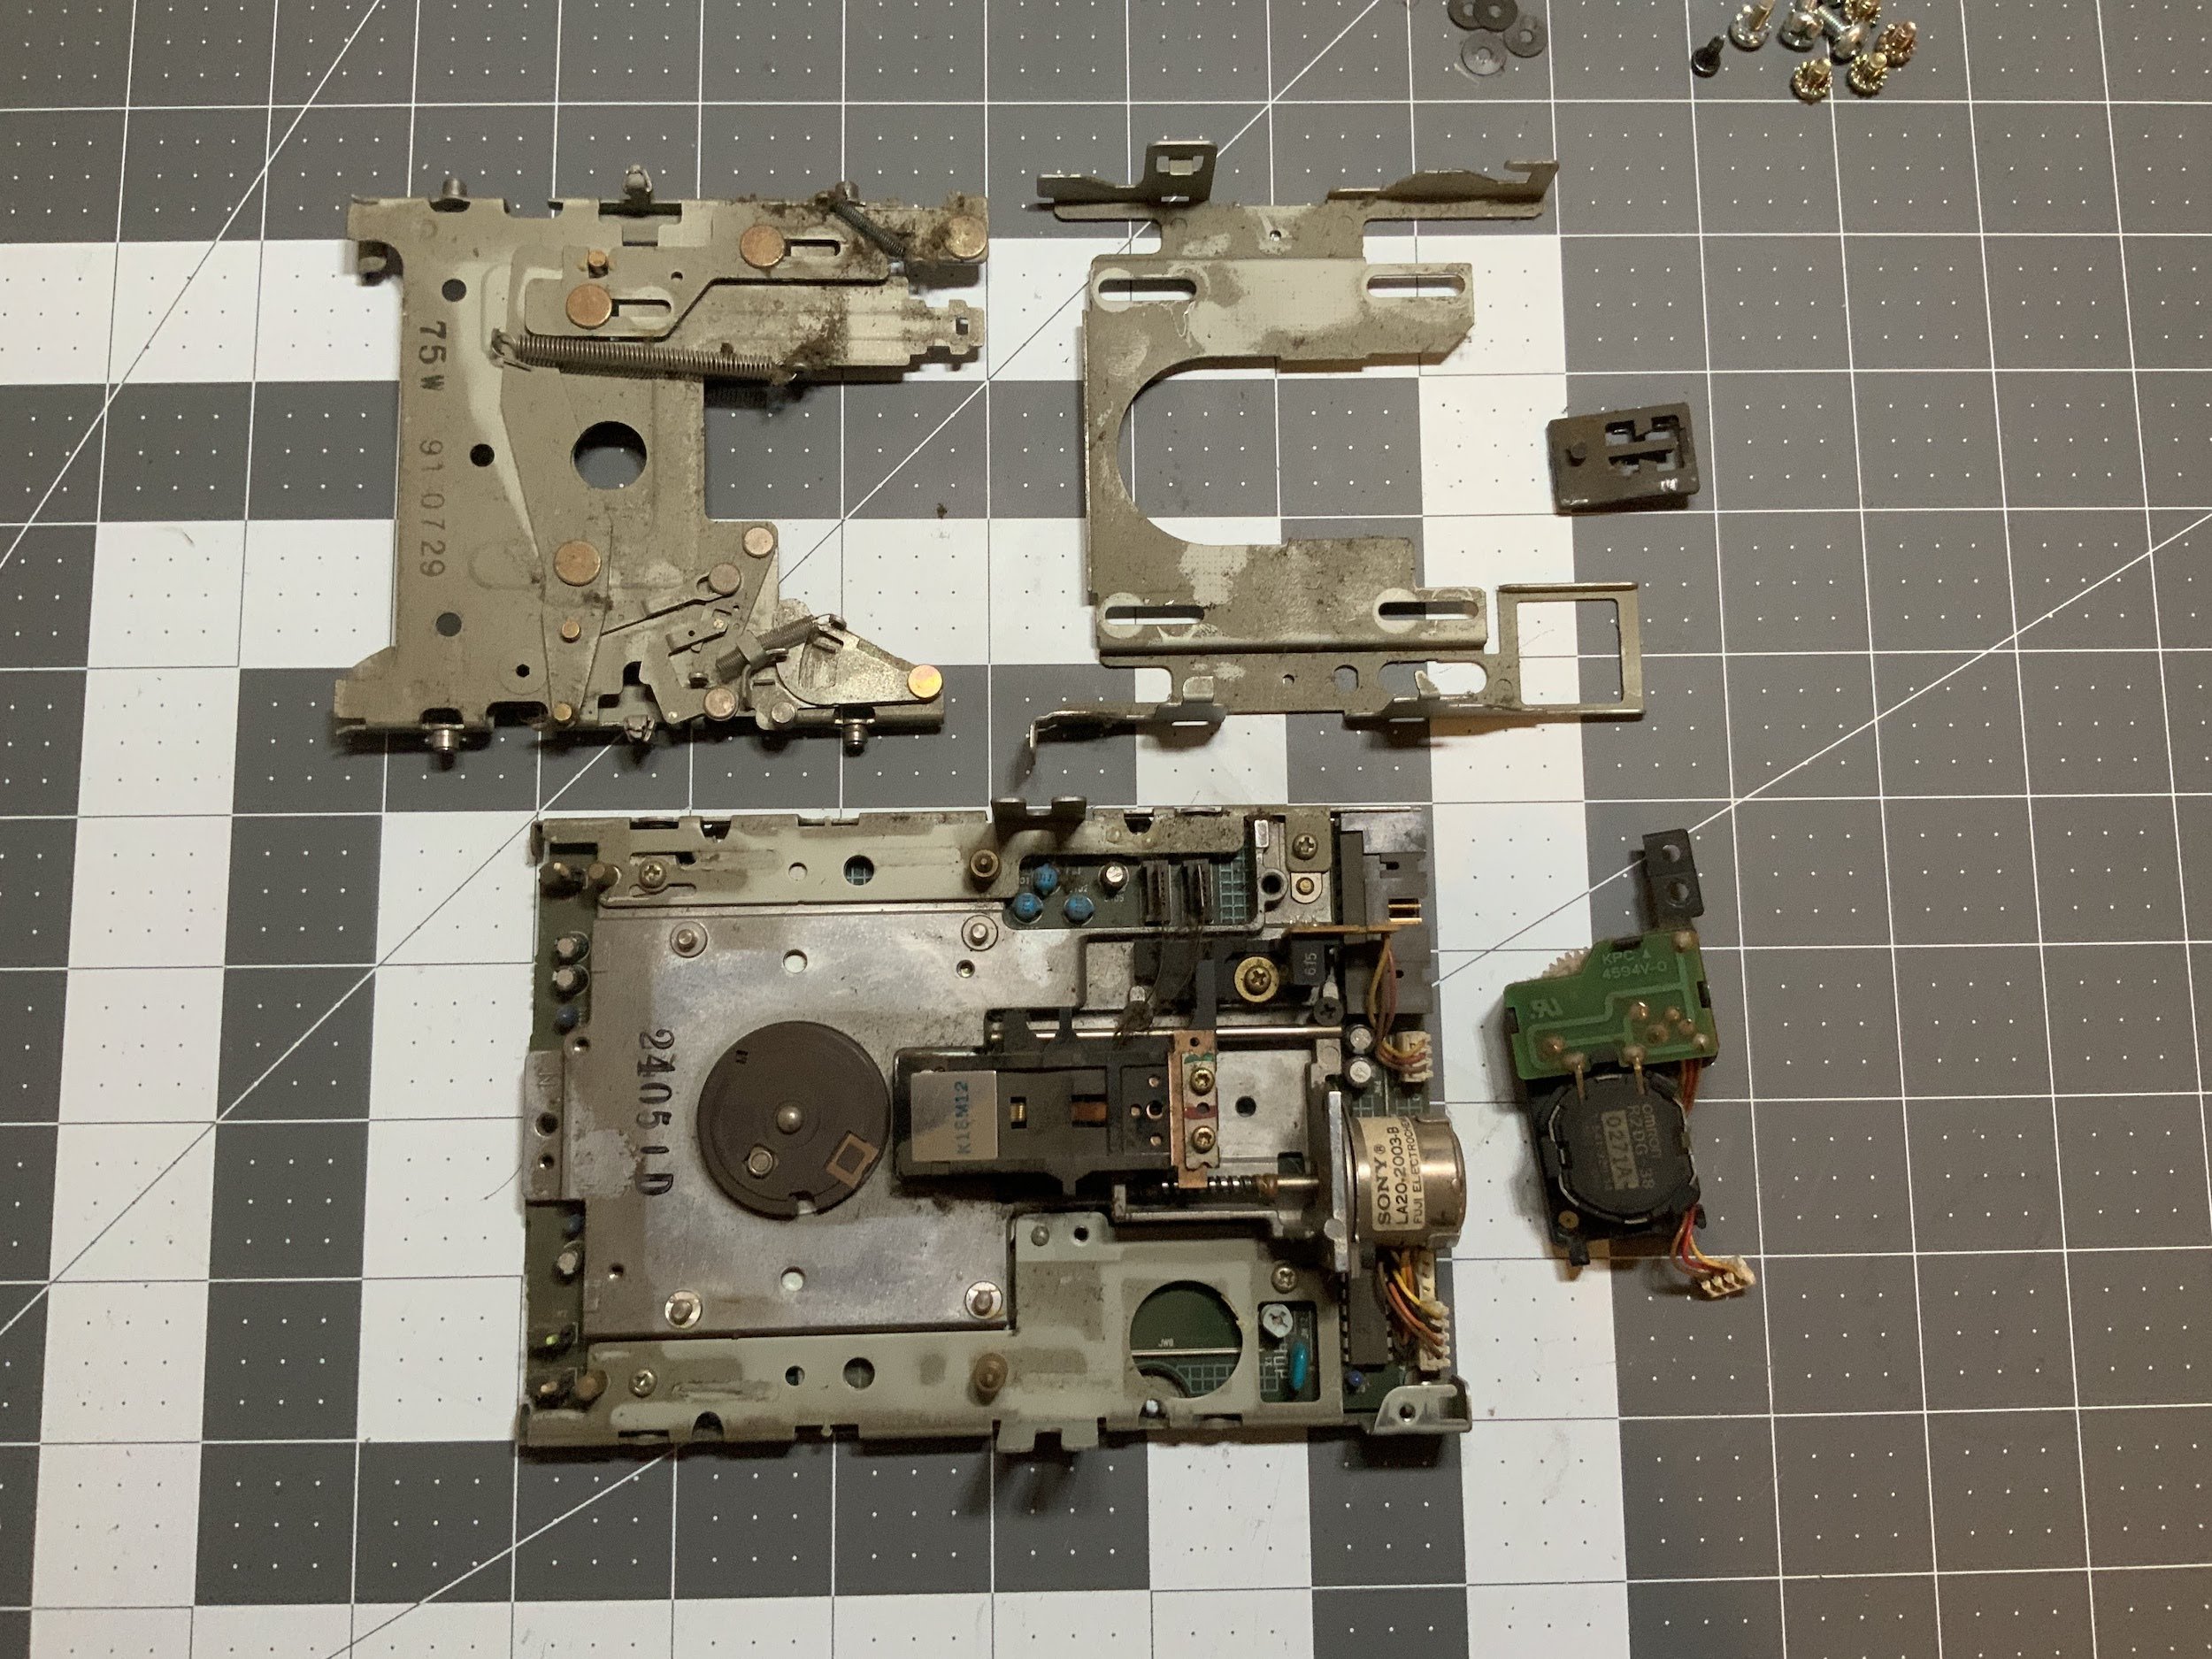
Disassembly
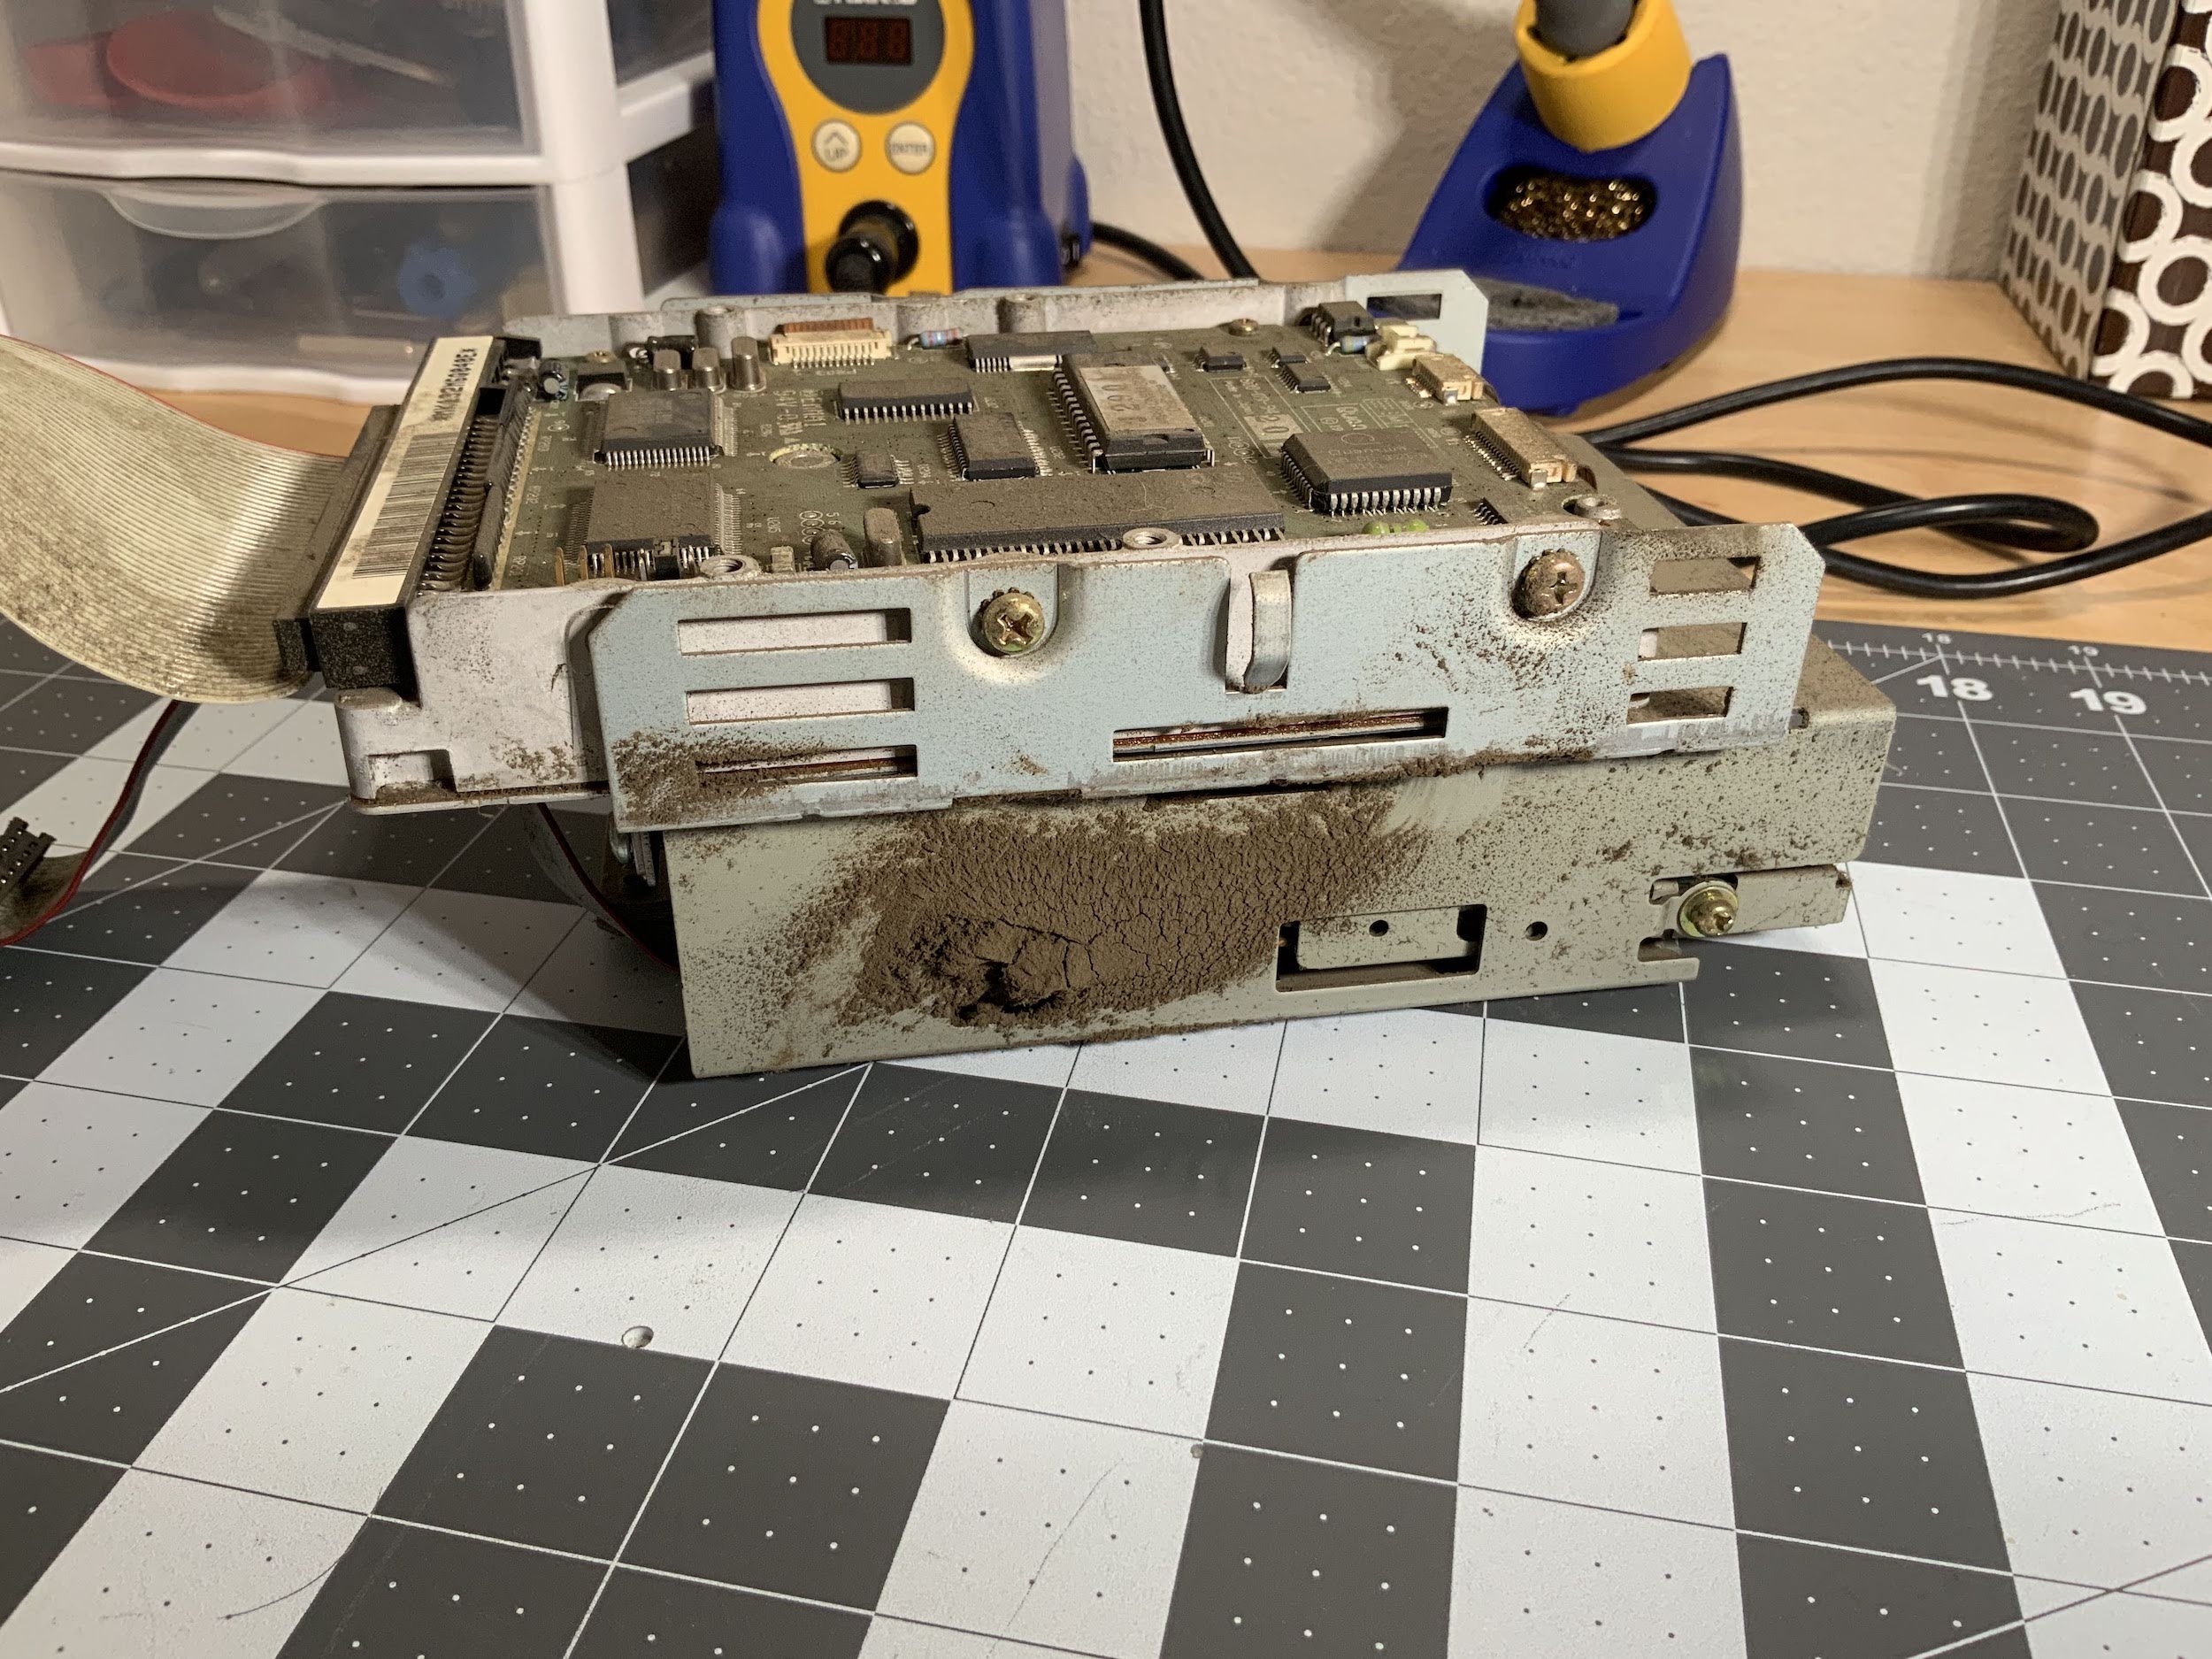
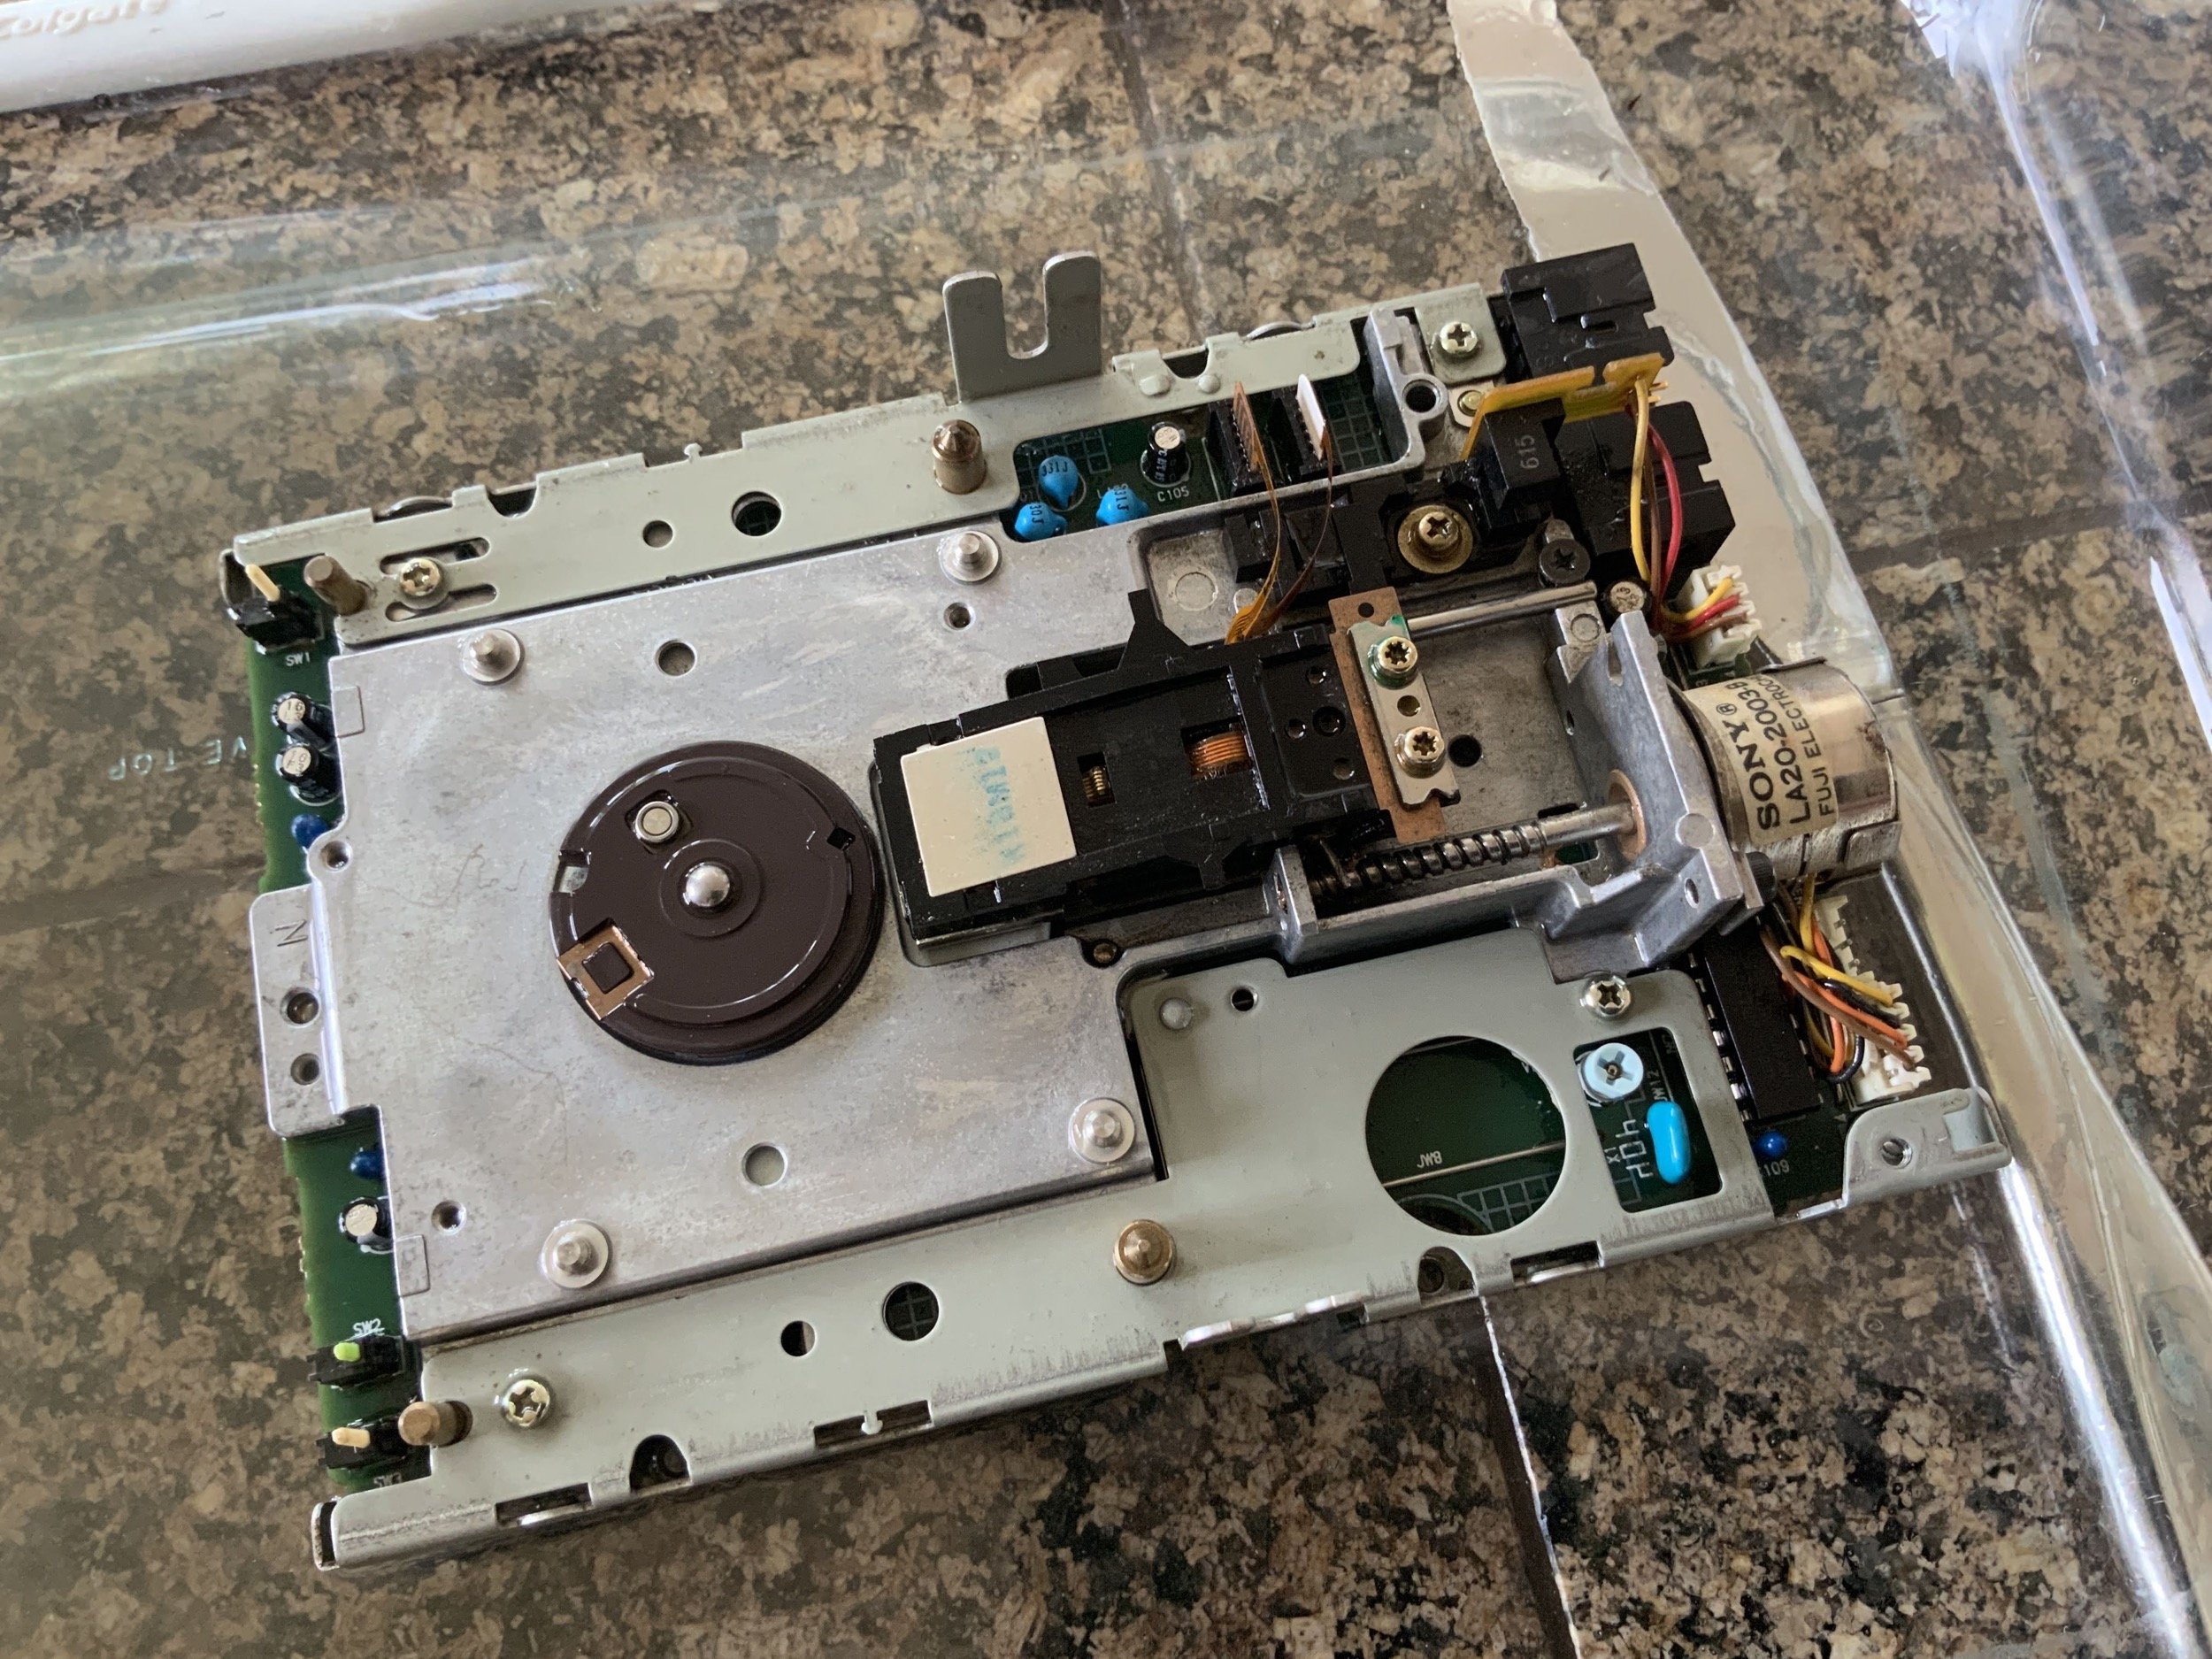
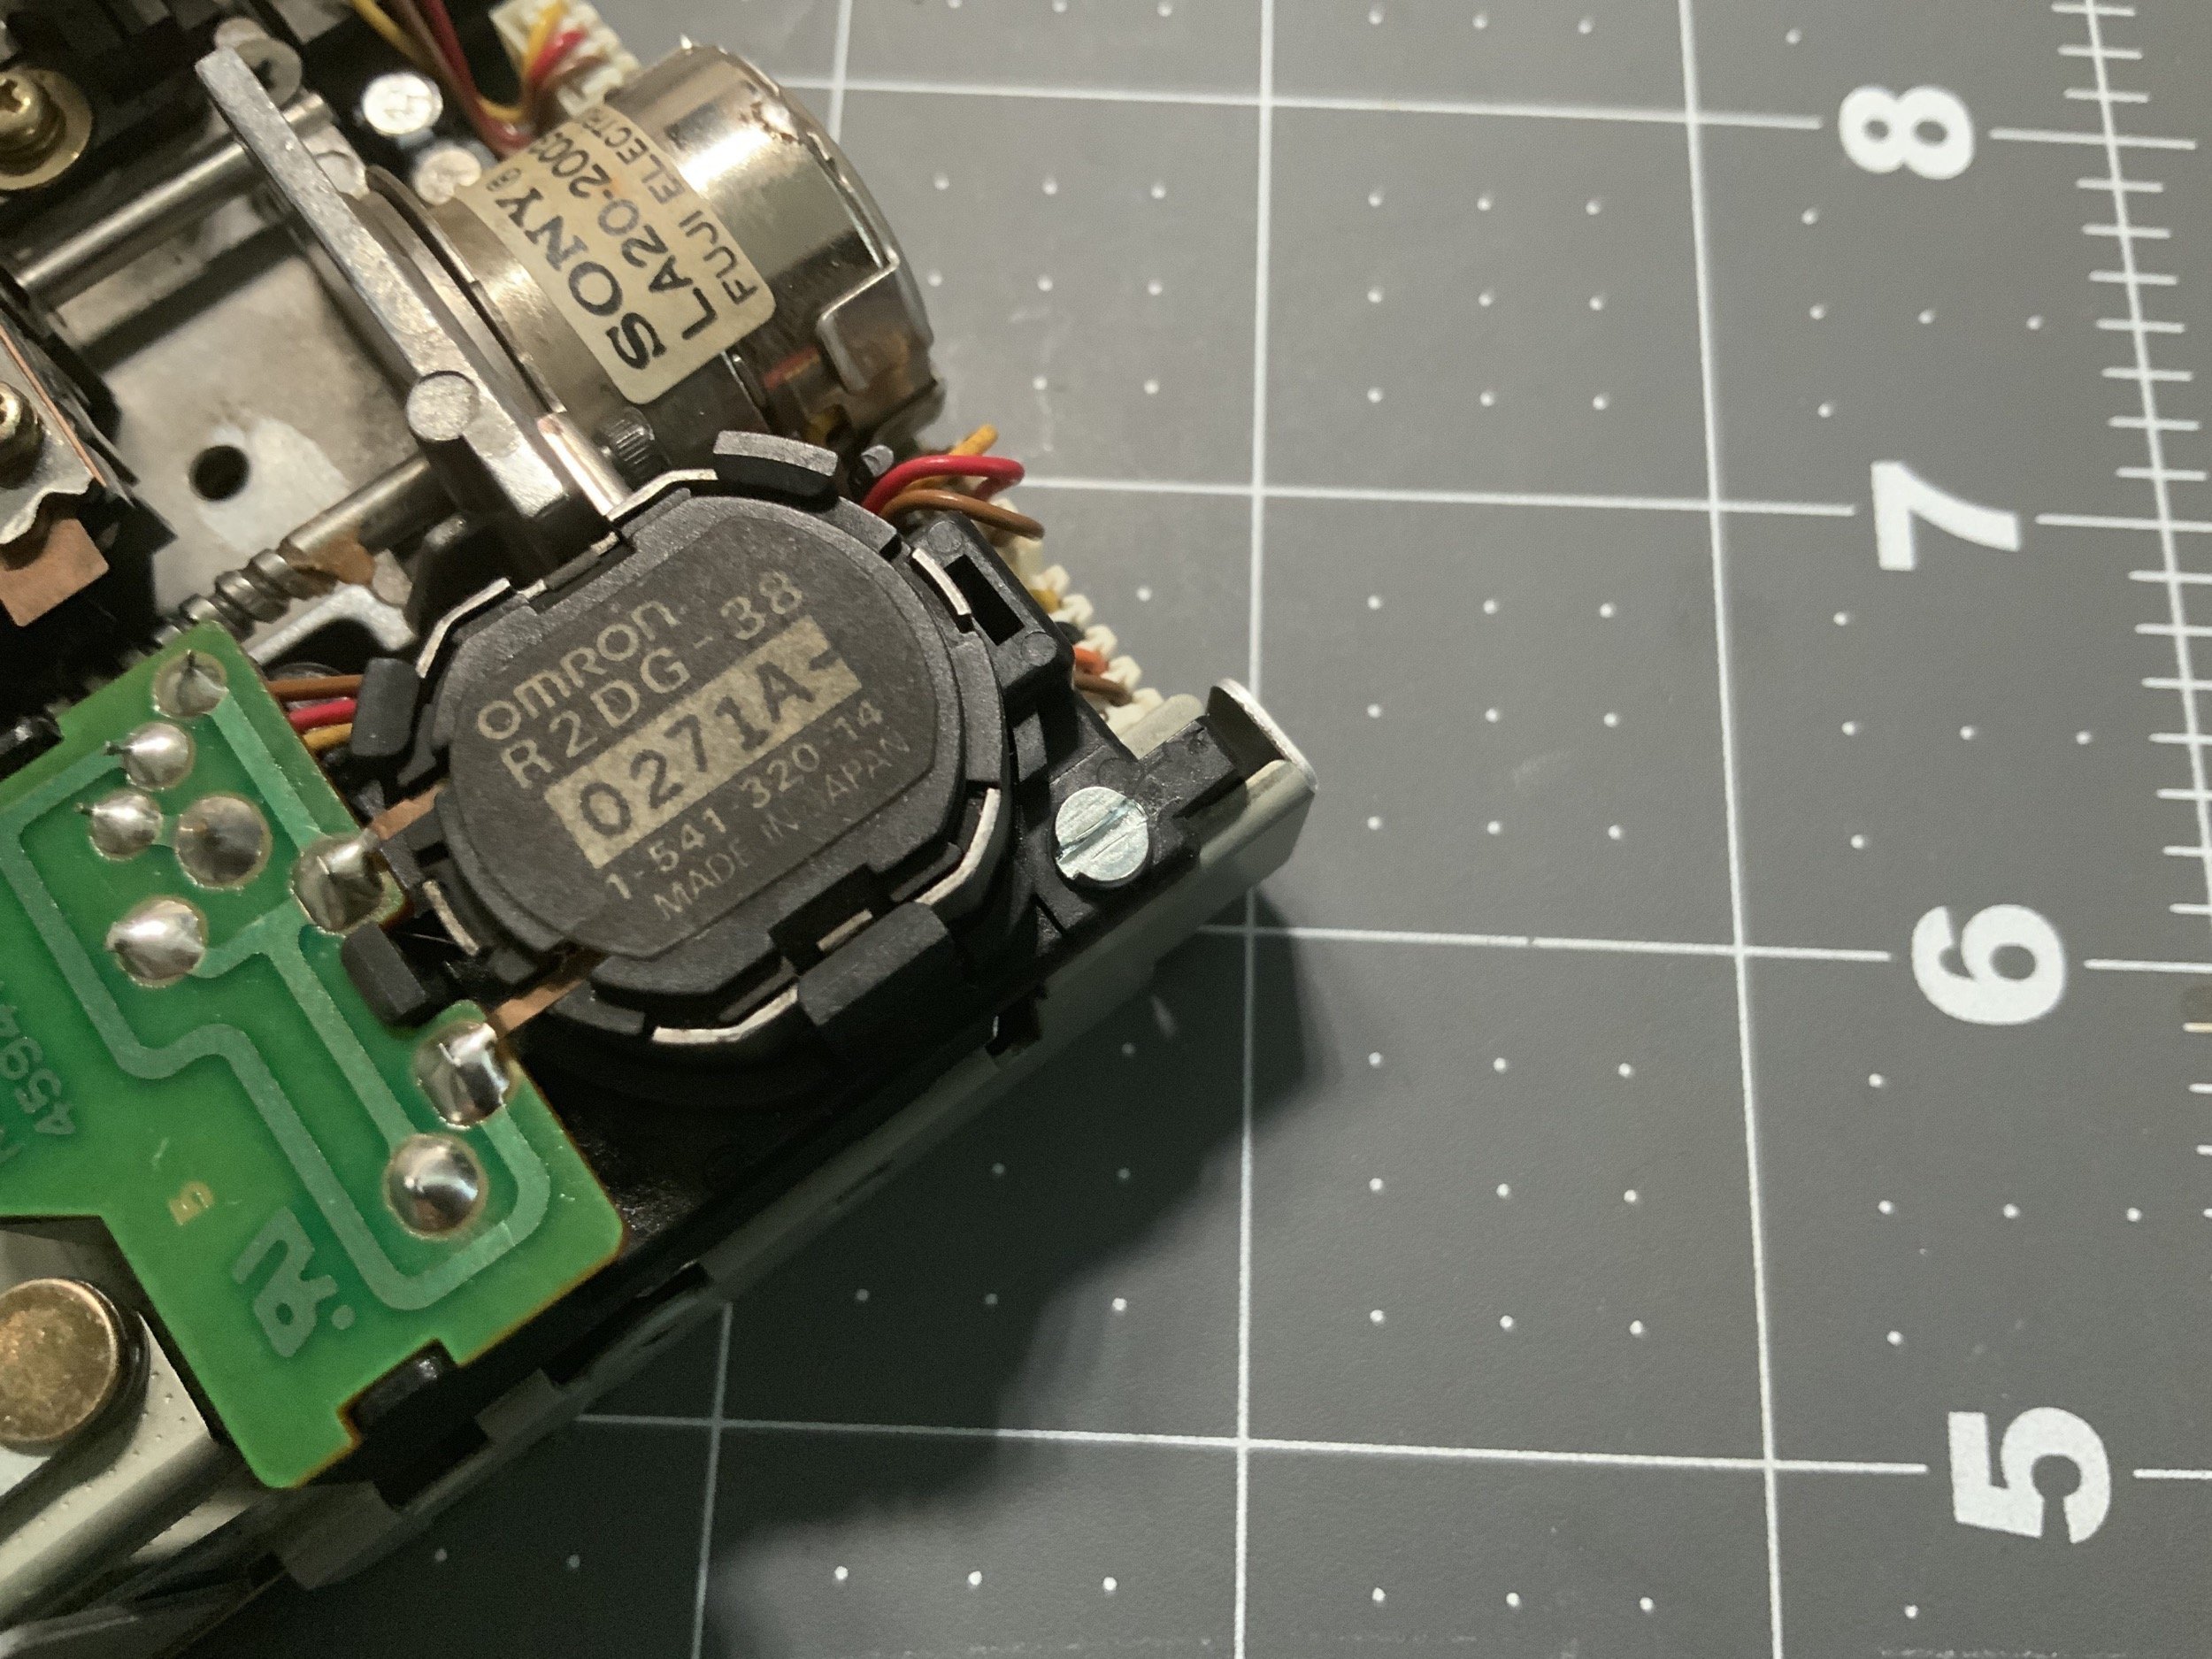
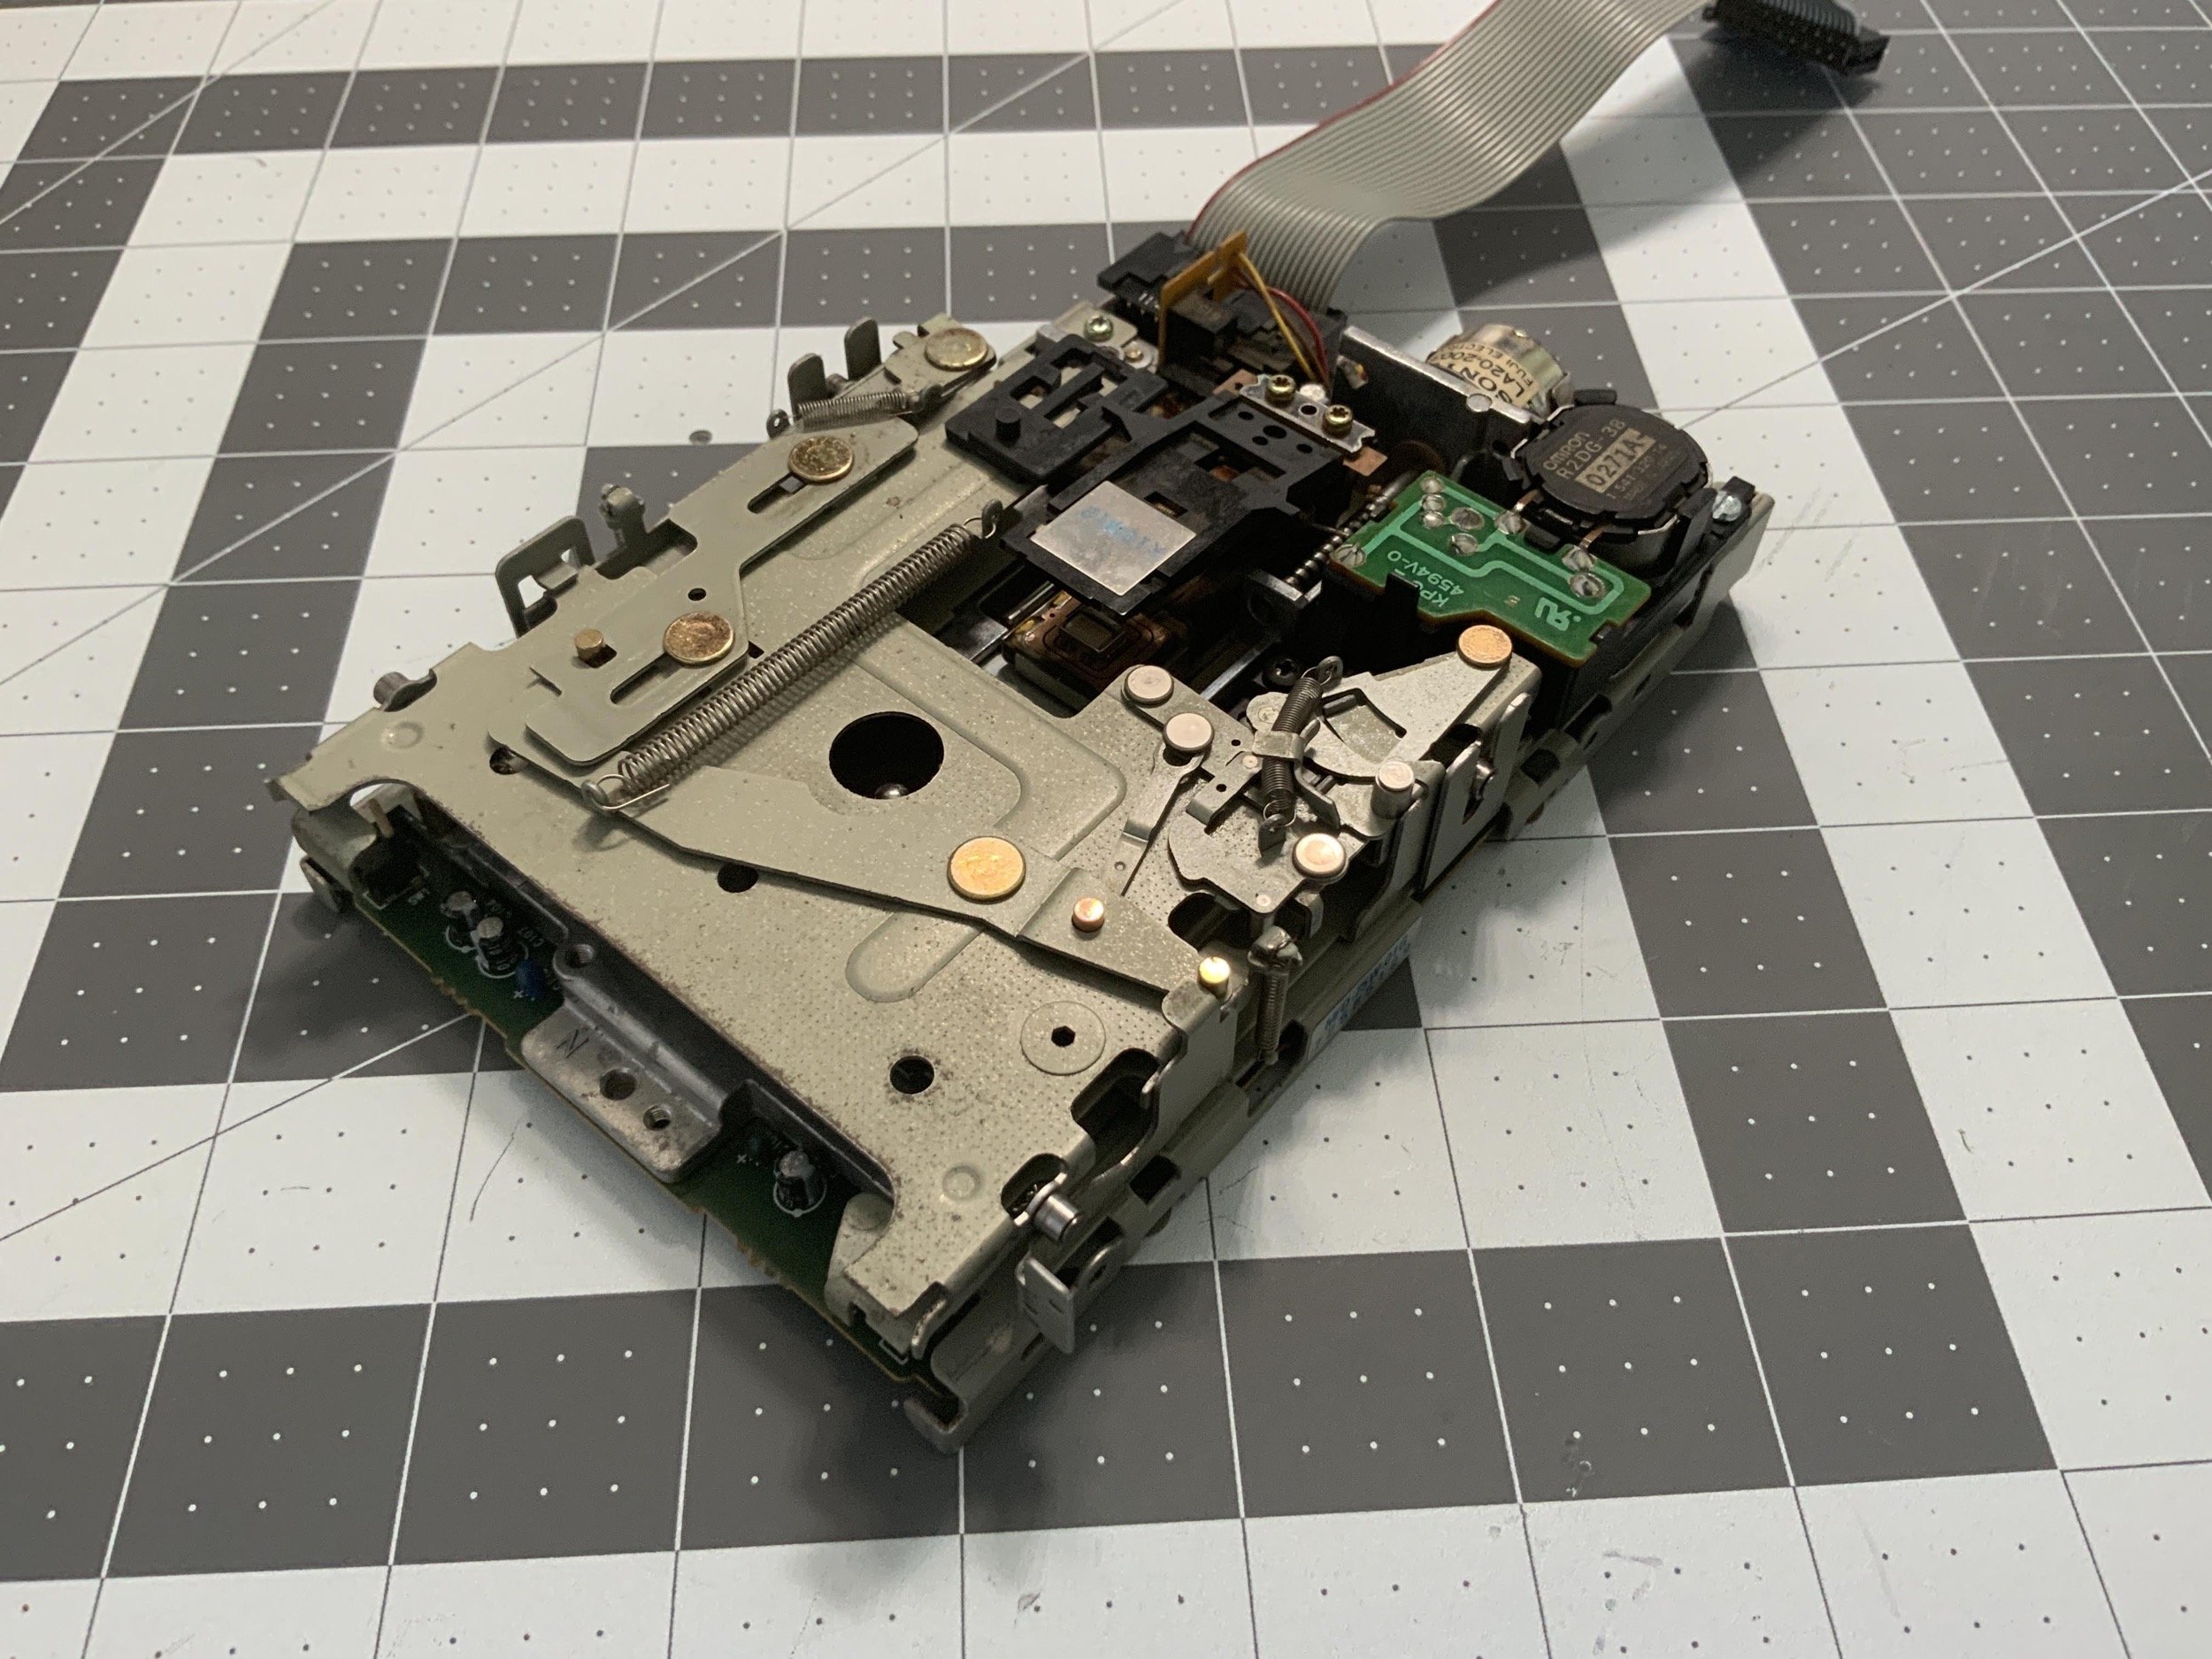
I got it out of the drive backet to get a better look.
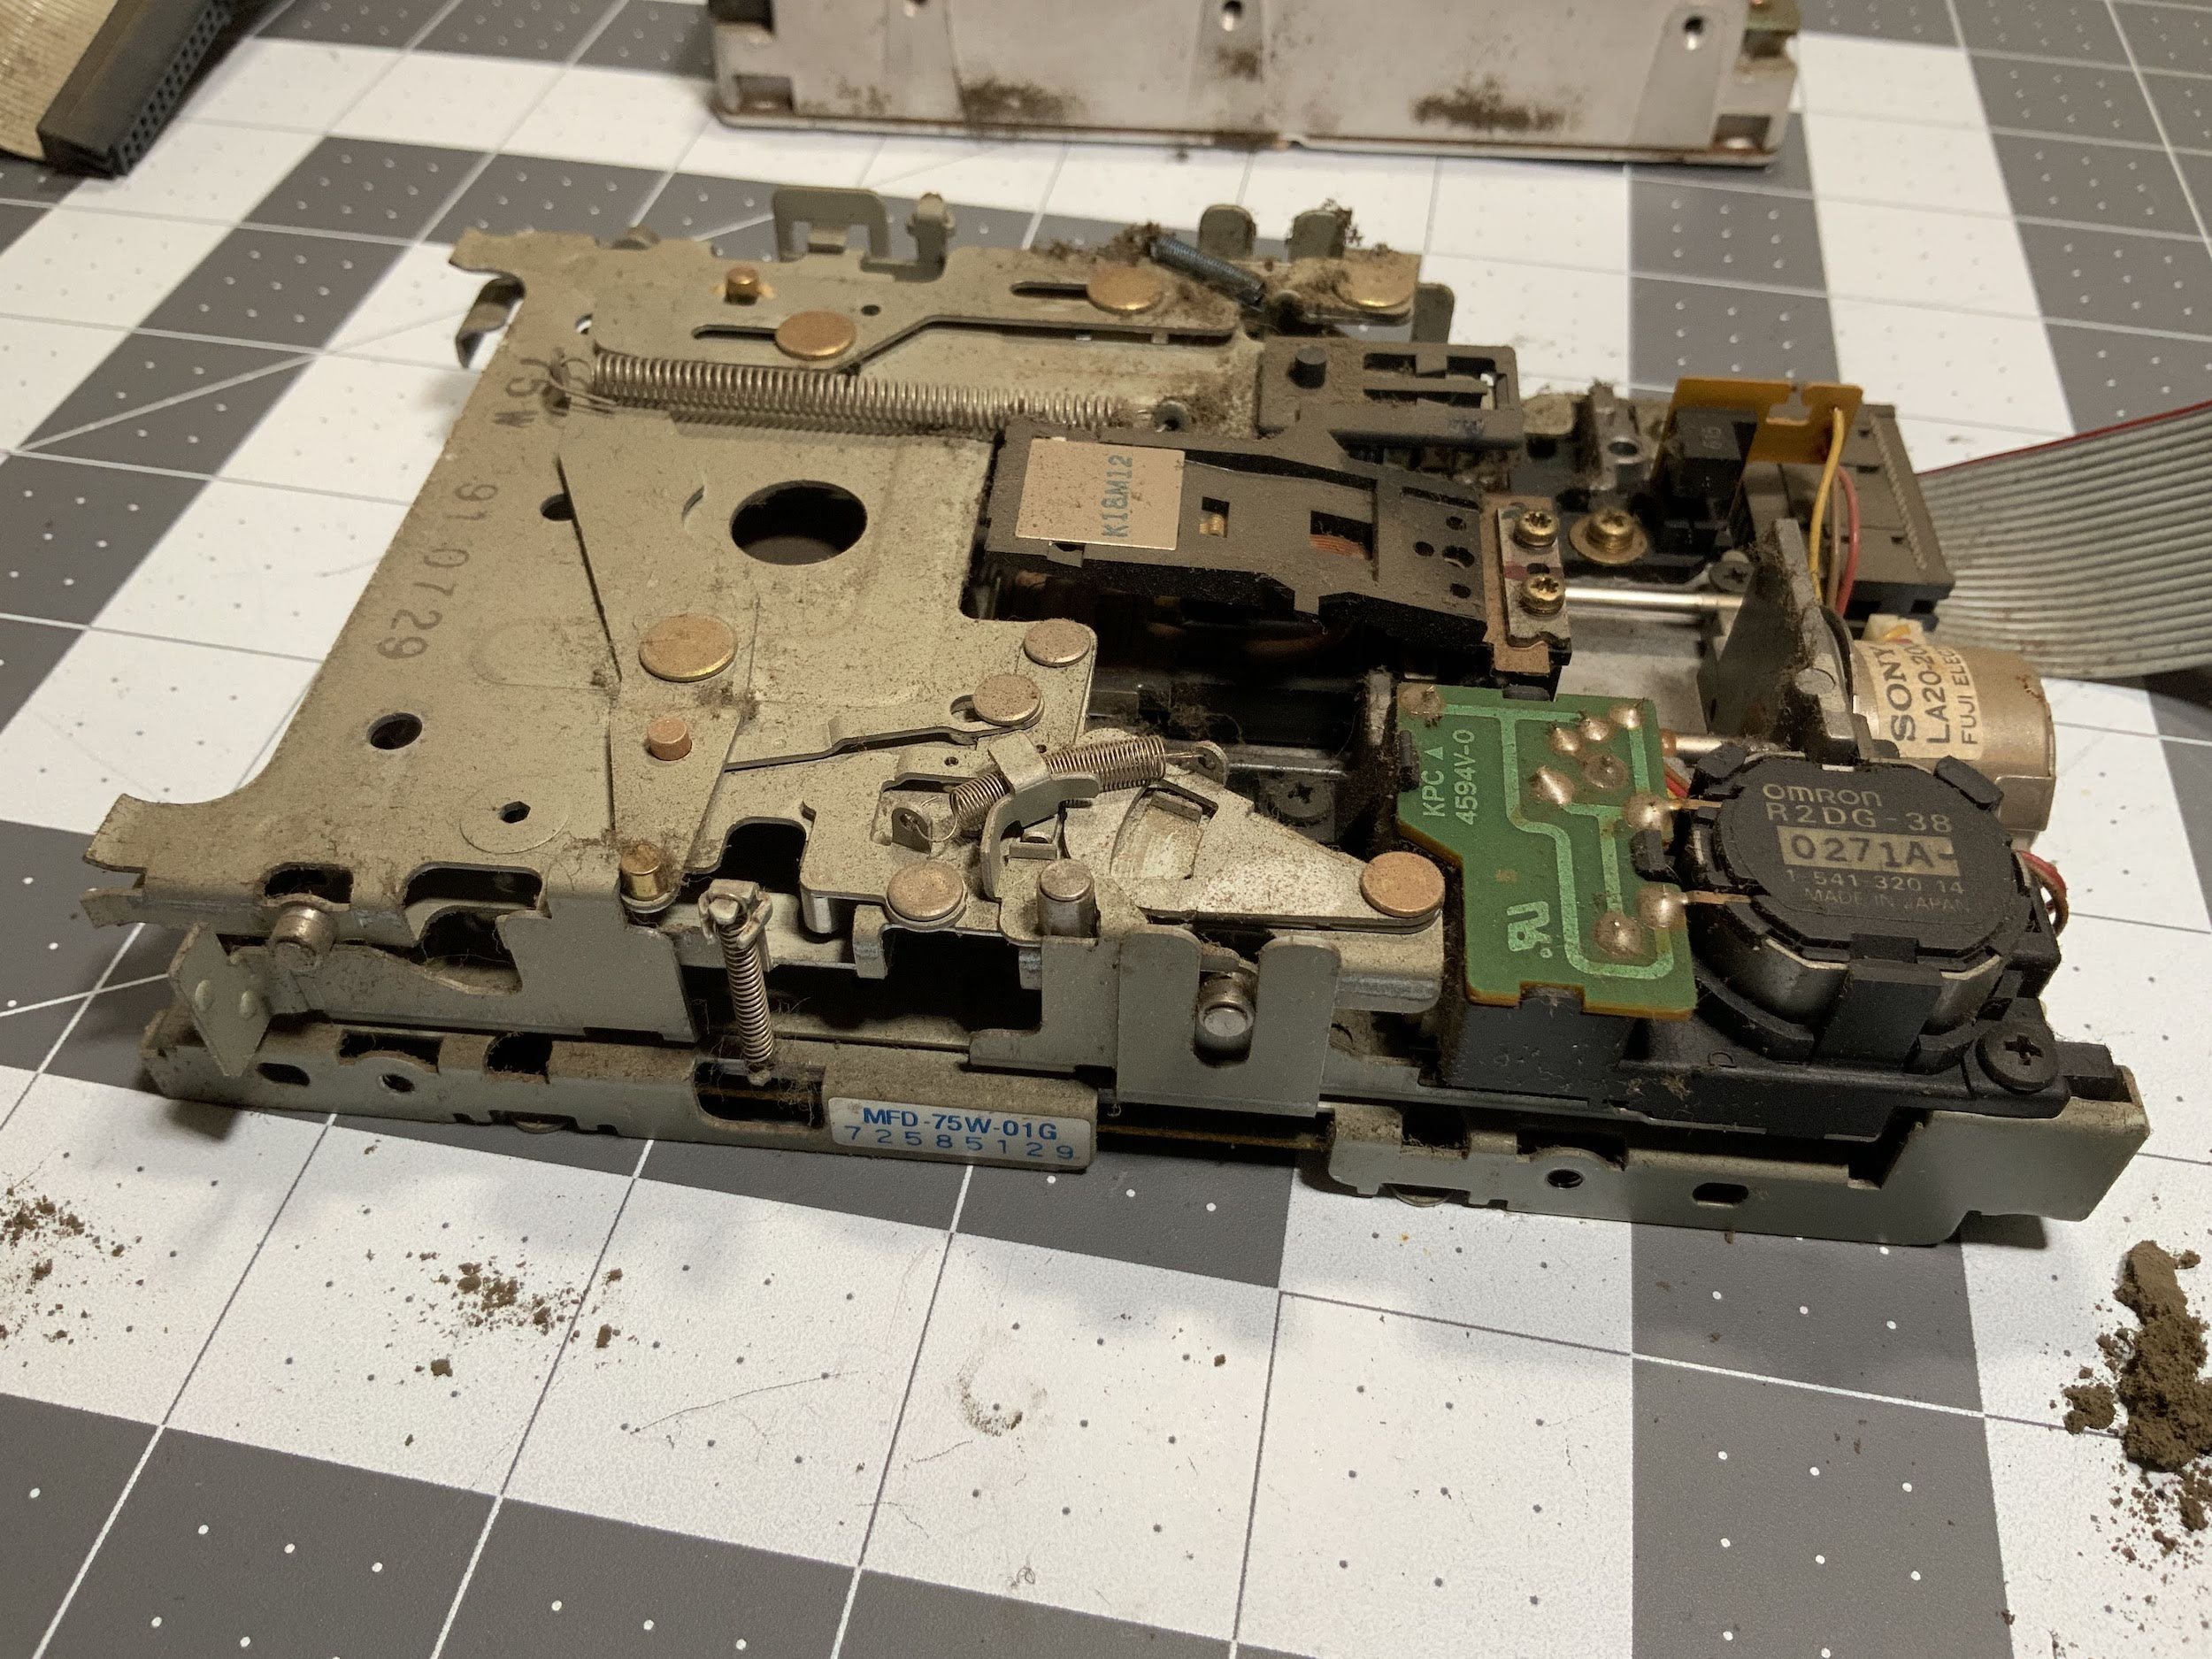
I’m sure there are worse floppy drives out there, but this is the dustiest one I’ve ever encountered, including one I cleaned out of a Machintosh Plus that lived in an aircraft hangar.
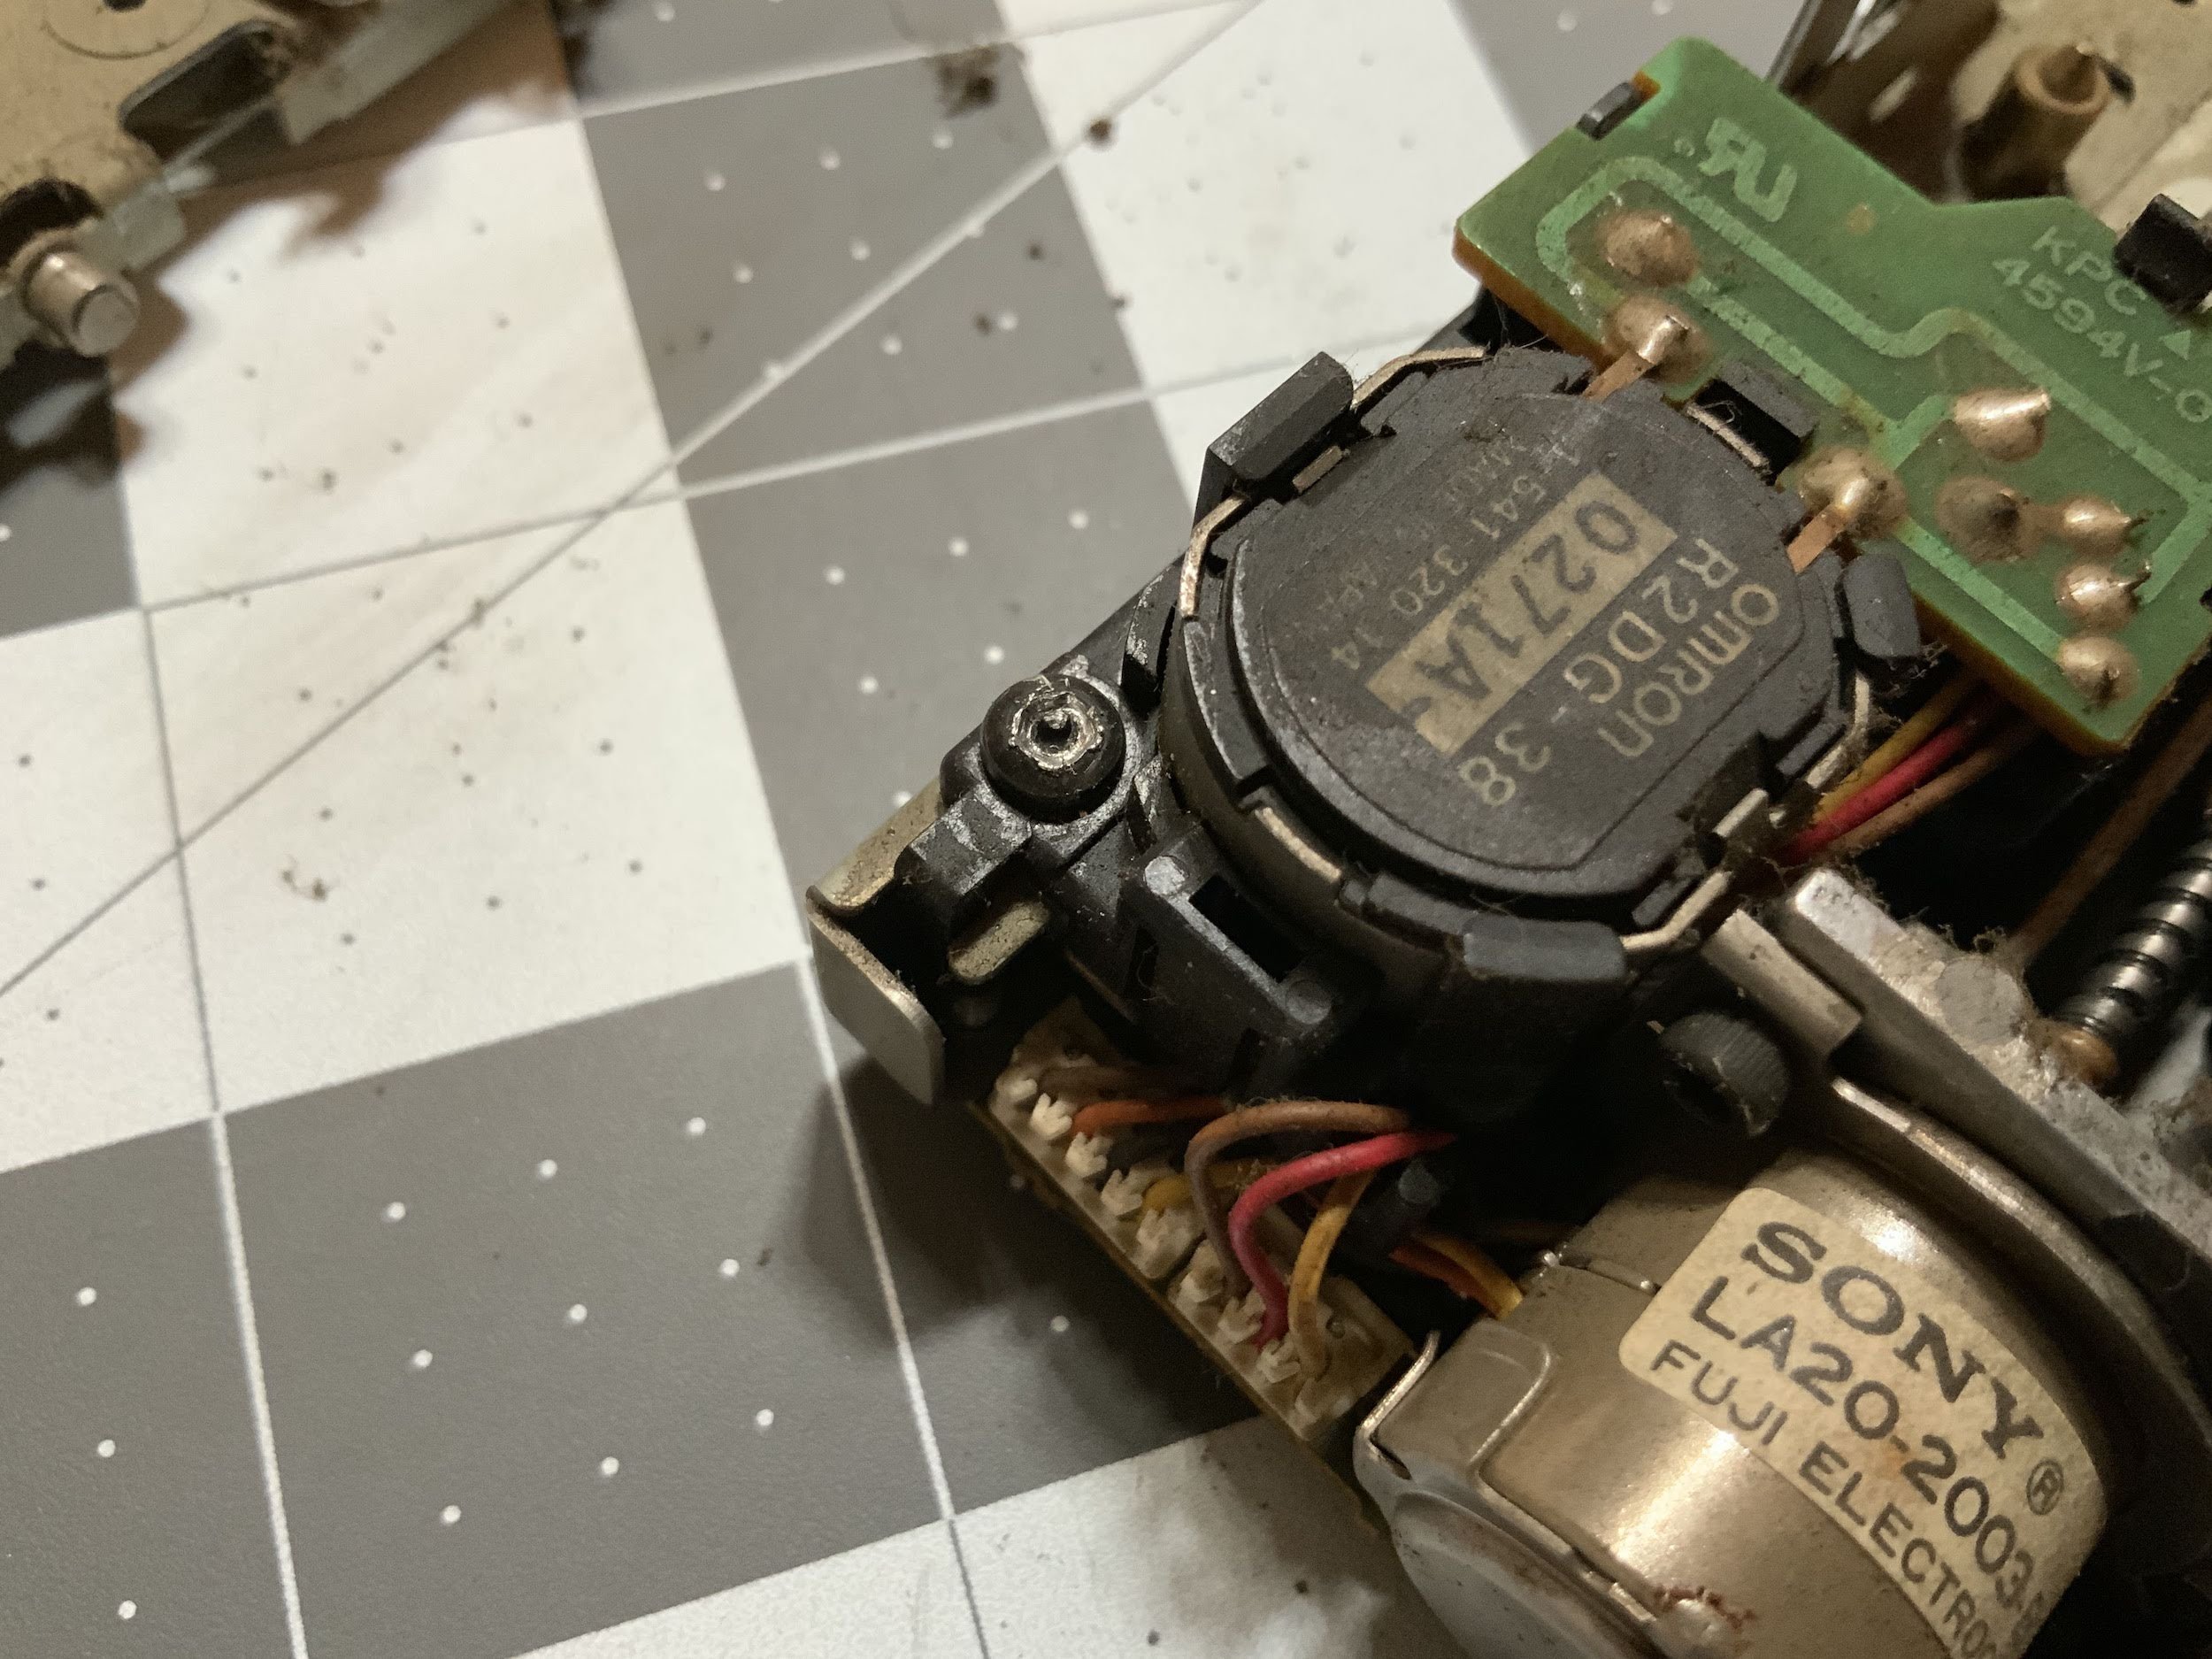
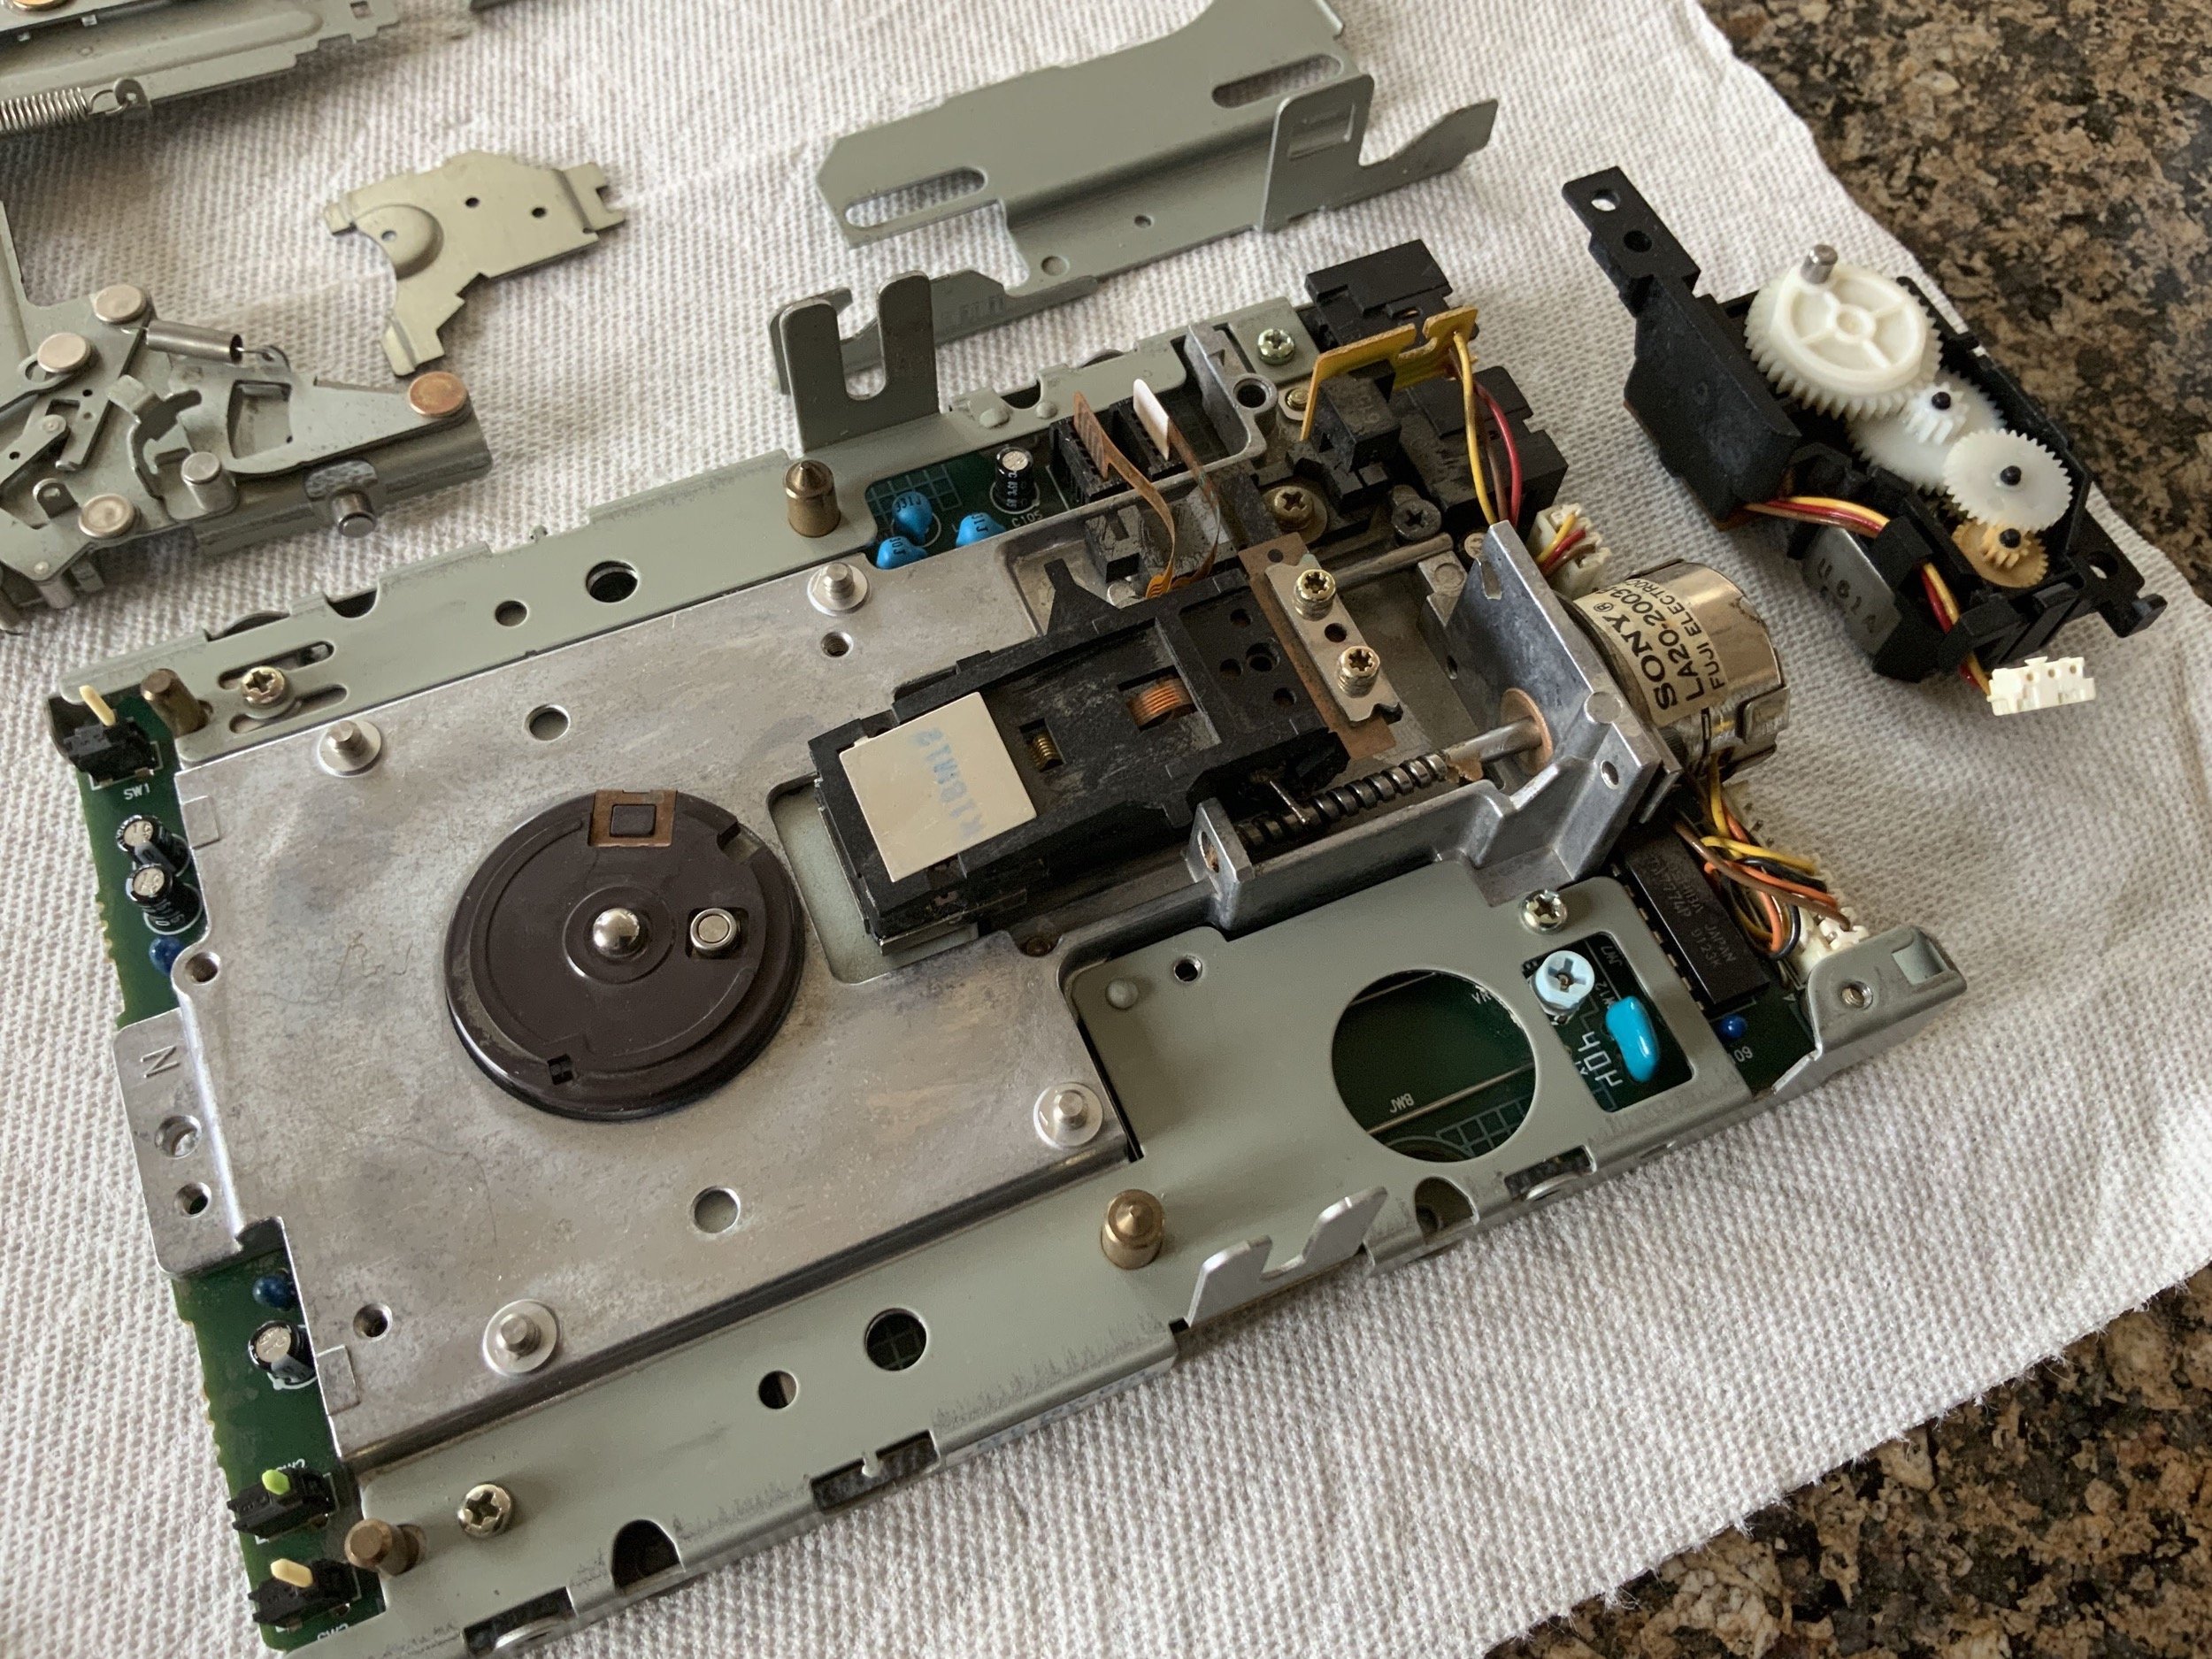
Using this video by What’s Up TK Here as a guide, I disassembled the drive to clean it, but I ran into a problem when I tried to take off the eject mechanism. One of the Phillips screws was so tight that I rounded off the head when I tried to remove it.
I tried the rubber band trick, I tried my impact driver, and even tried a screw extractor, but eventually, I just gave up and drilled it off. I had the vacuum cleaner right next to the screw to immediately remove metal shavings (those are probably not good for the floppy drive). Since this is a prized 1.44 MB drive, I didn’t want to replace it.
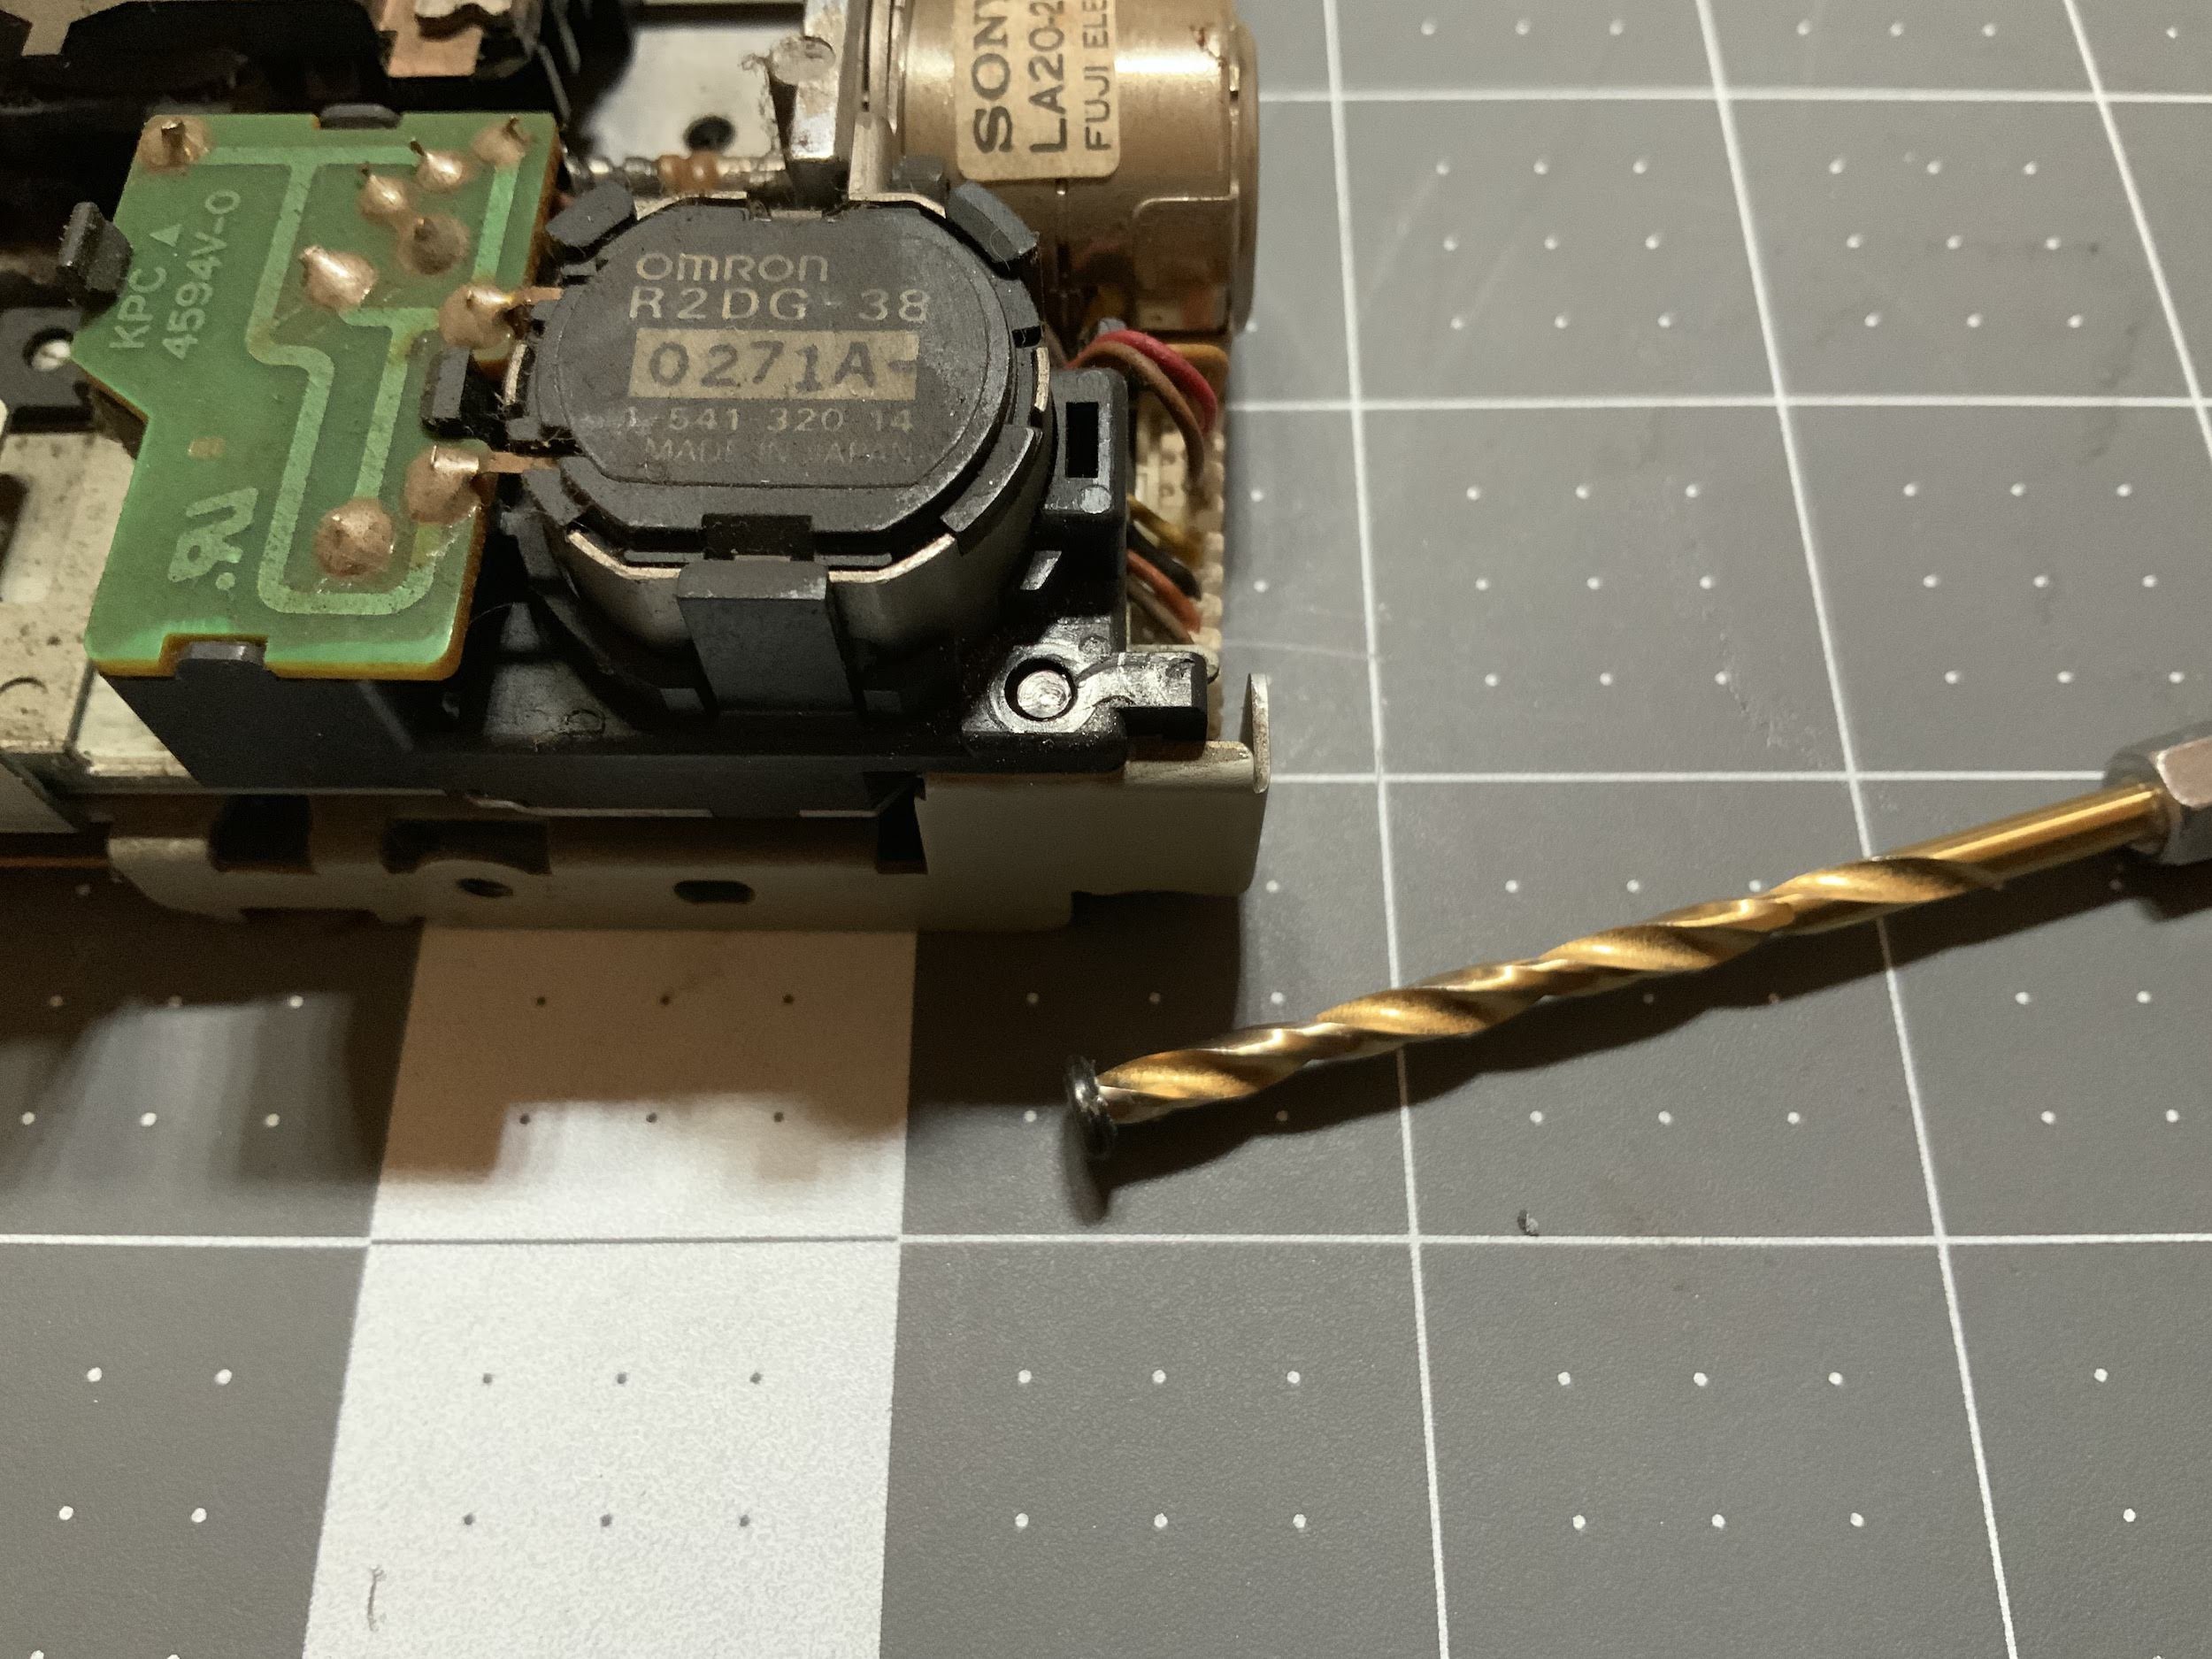
Curiously, I removed what was left of the screw with my fingers. It looked like an M2 or M2.5, which I had to hunt for at the hardware store.
Cleaning
First, submerged most of the disassembled drive in 91% Isopropyl alcohol in a Pyrex pan, and gently scrubbed it with a soft toothbrush.
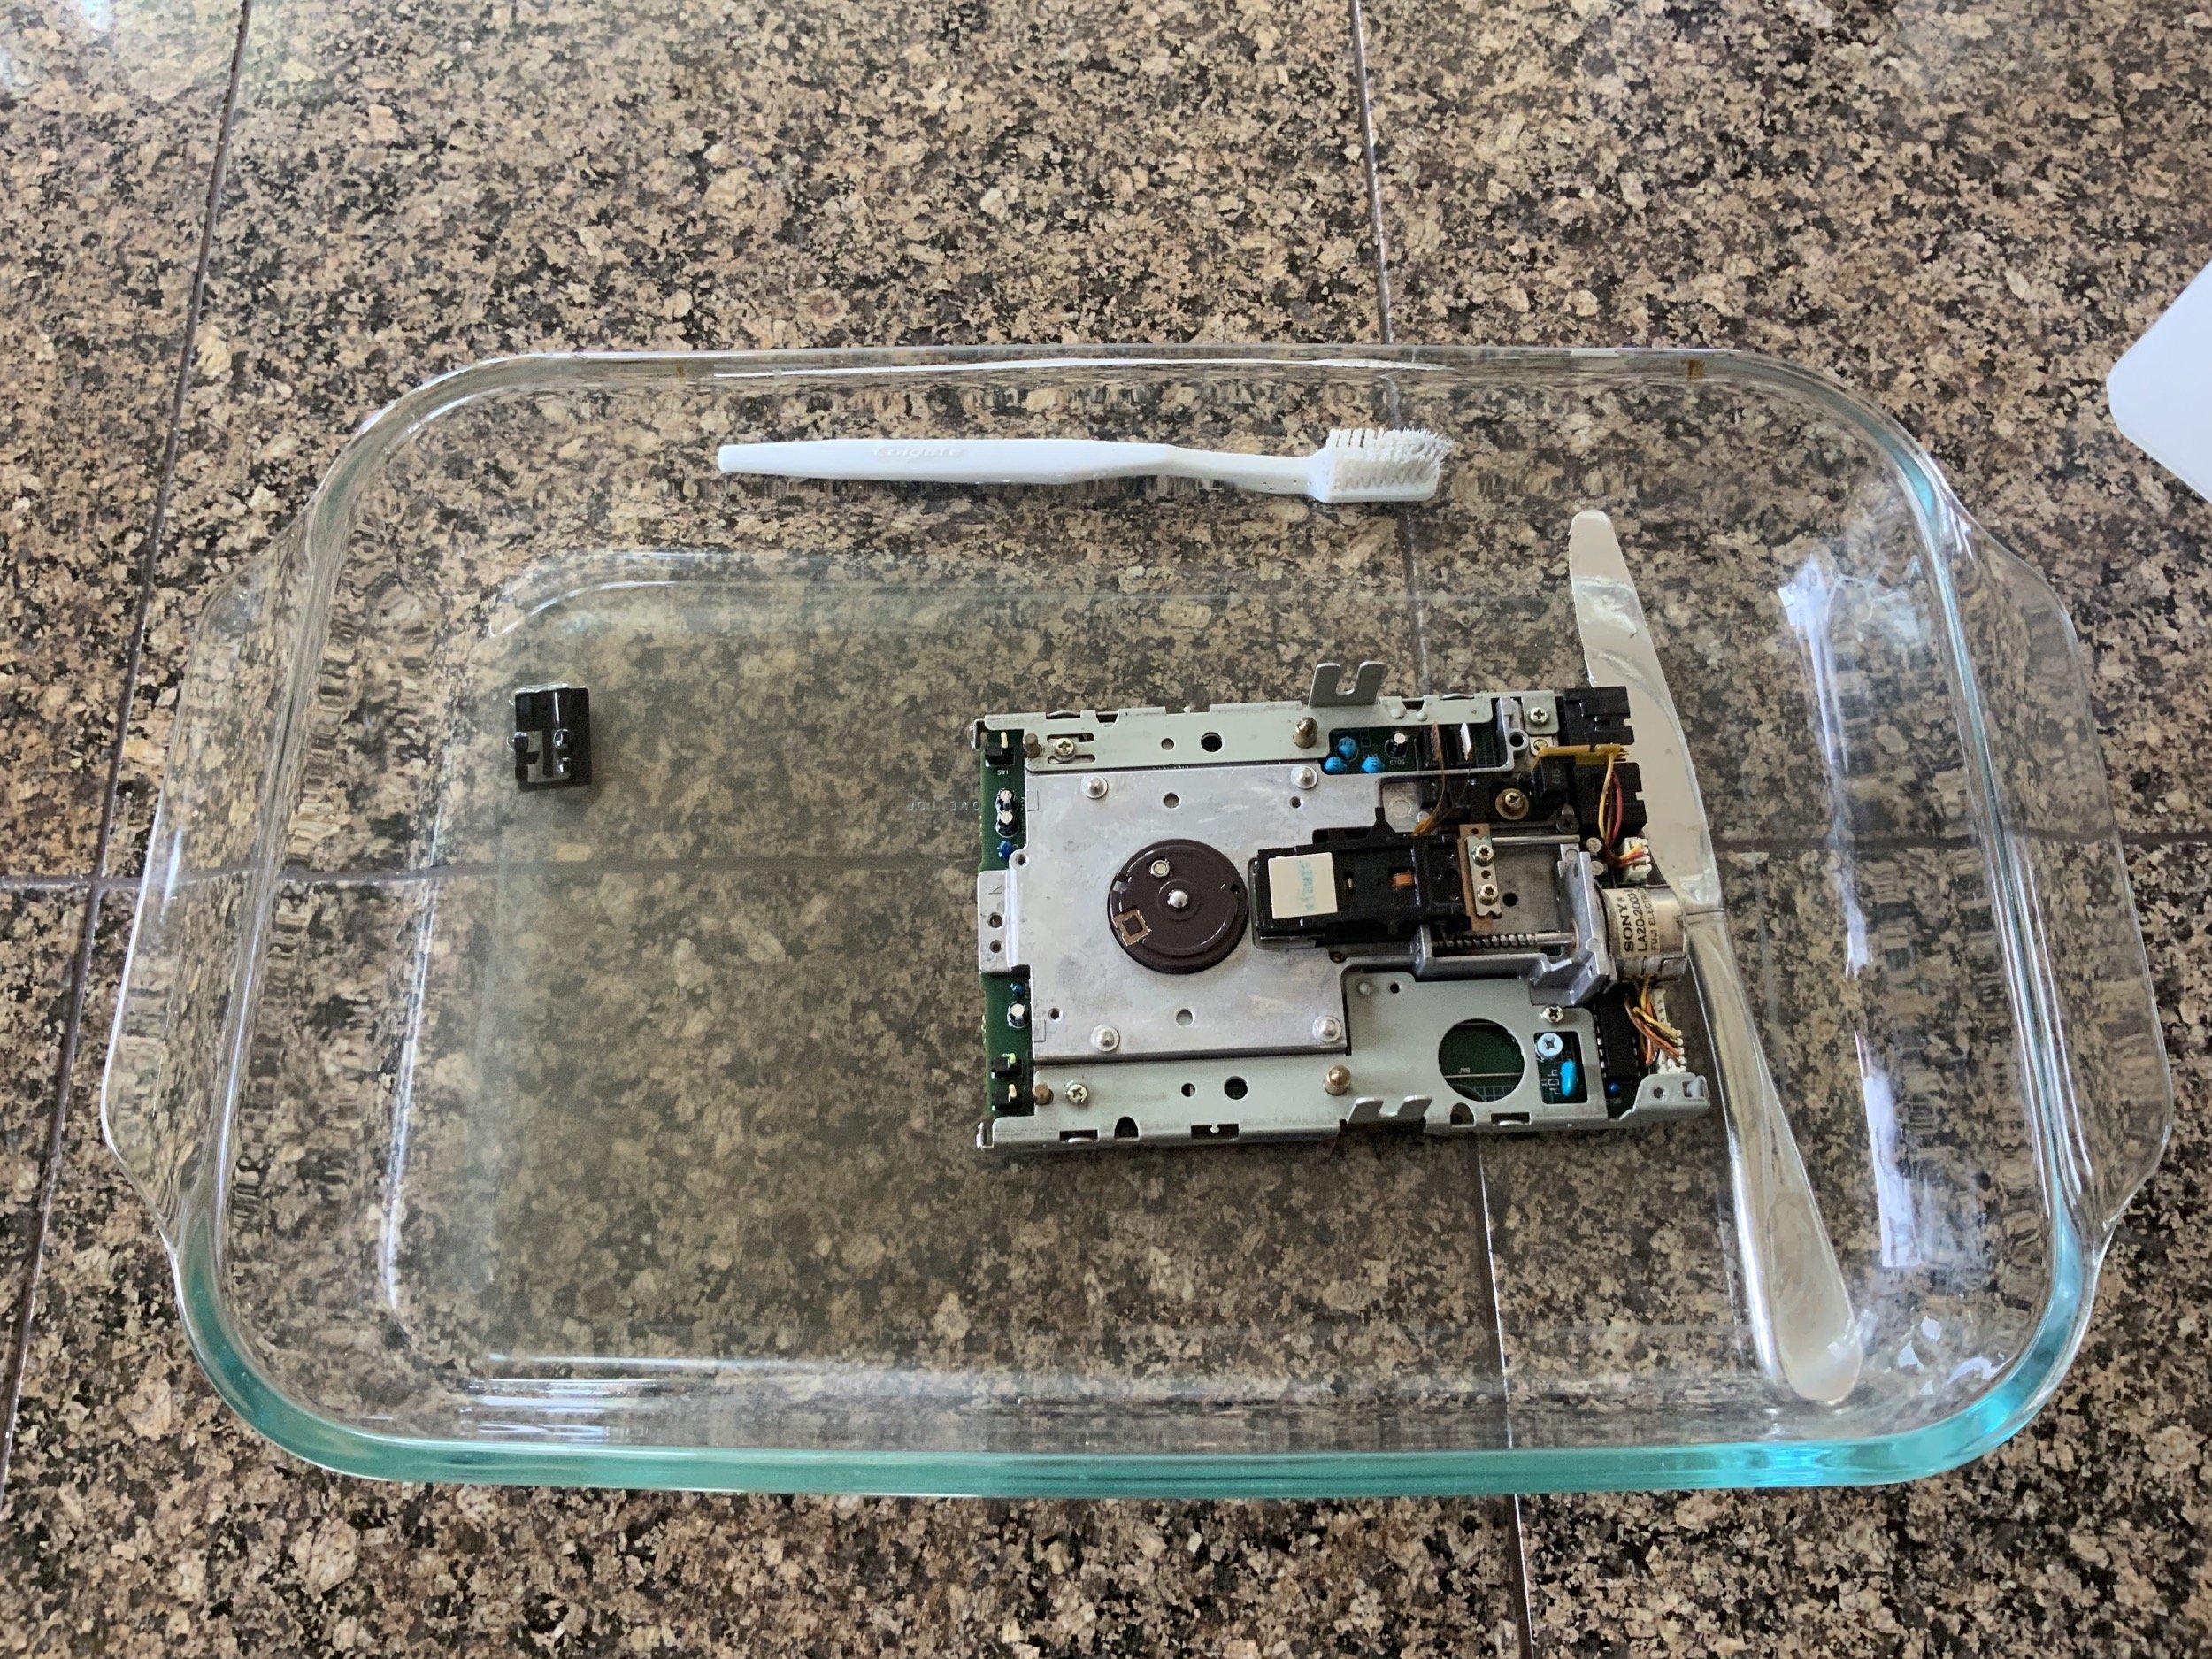
I gently scrubbed everything down, even the read/write heads (but with extreme care).
As soon as it was clean, I took it out to the air compressor and blew as much of the alcohol out as possible. Instead of letting the air compressor fill up, I started using it immediately to avoid hitting the drive with high pressure. Then, I let it air-dry overnight.
Remember that Phillips screw that I cammed out? Three hardware stores in, I found a couple of M2.5 screws, but they’re way too long. Anything smaller than M3 is very hard to find in a hardware store in the United States. I screwed on a nut, cut the screw short with some cutters, and then backed the nut off to reform the threads.
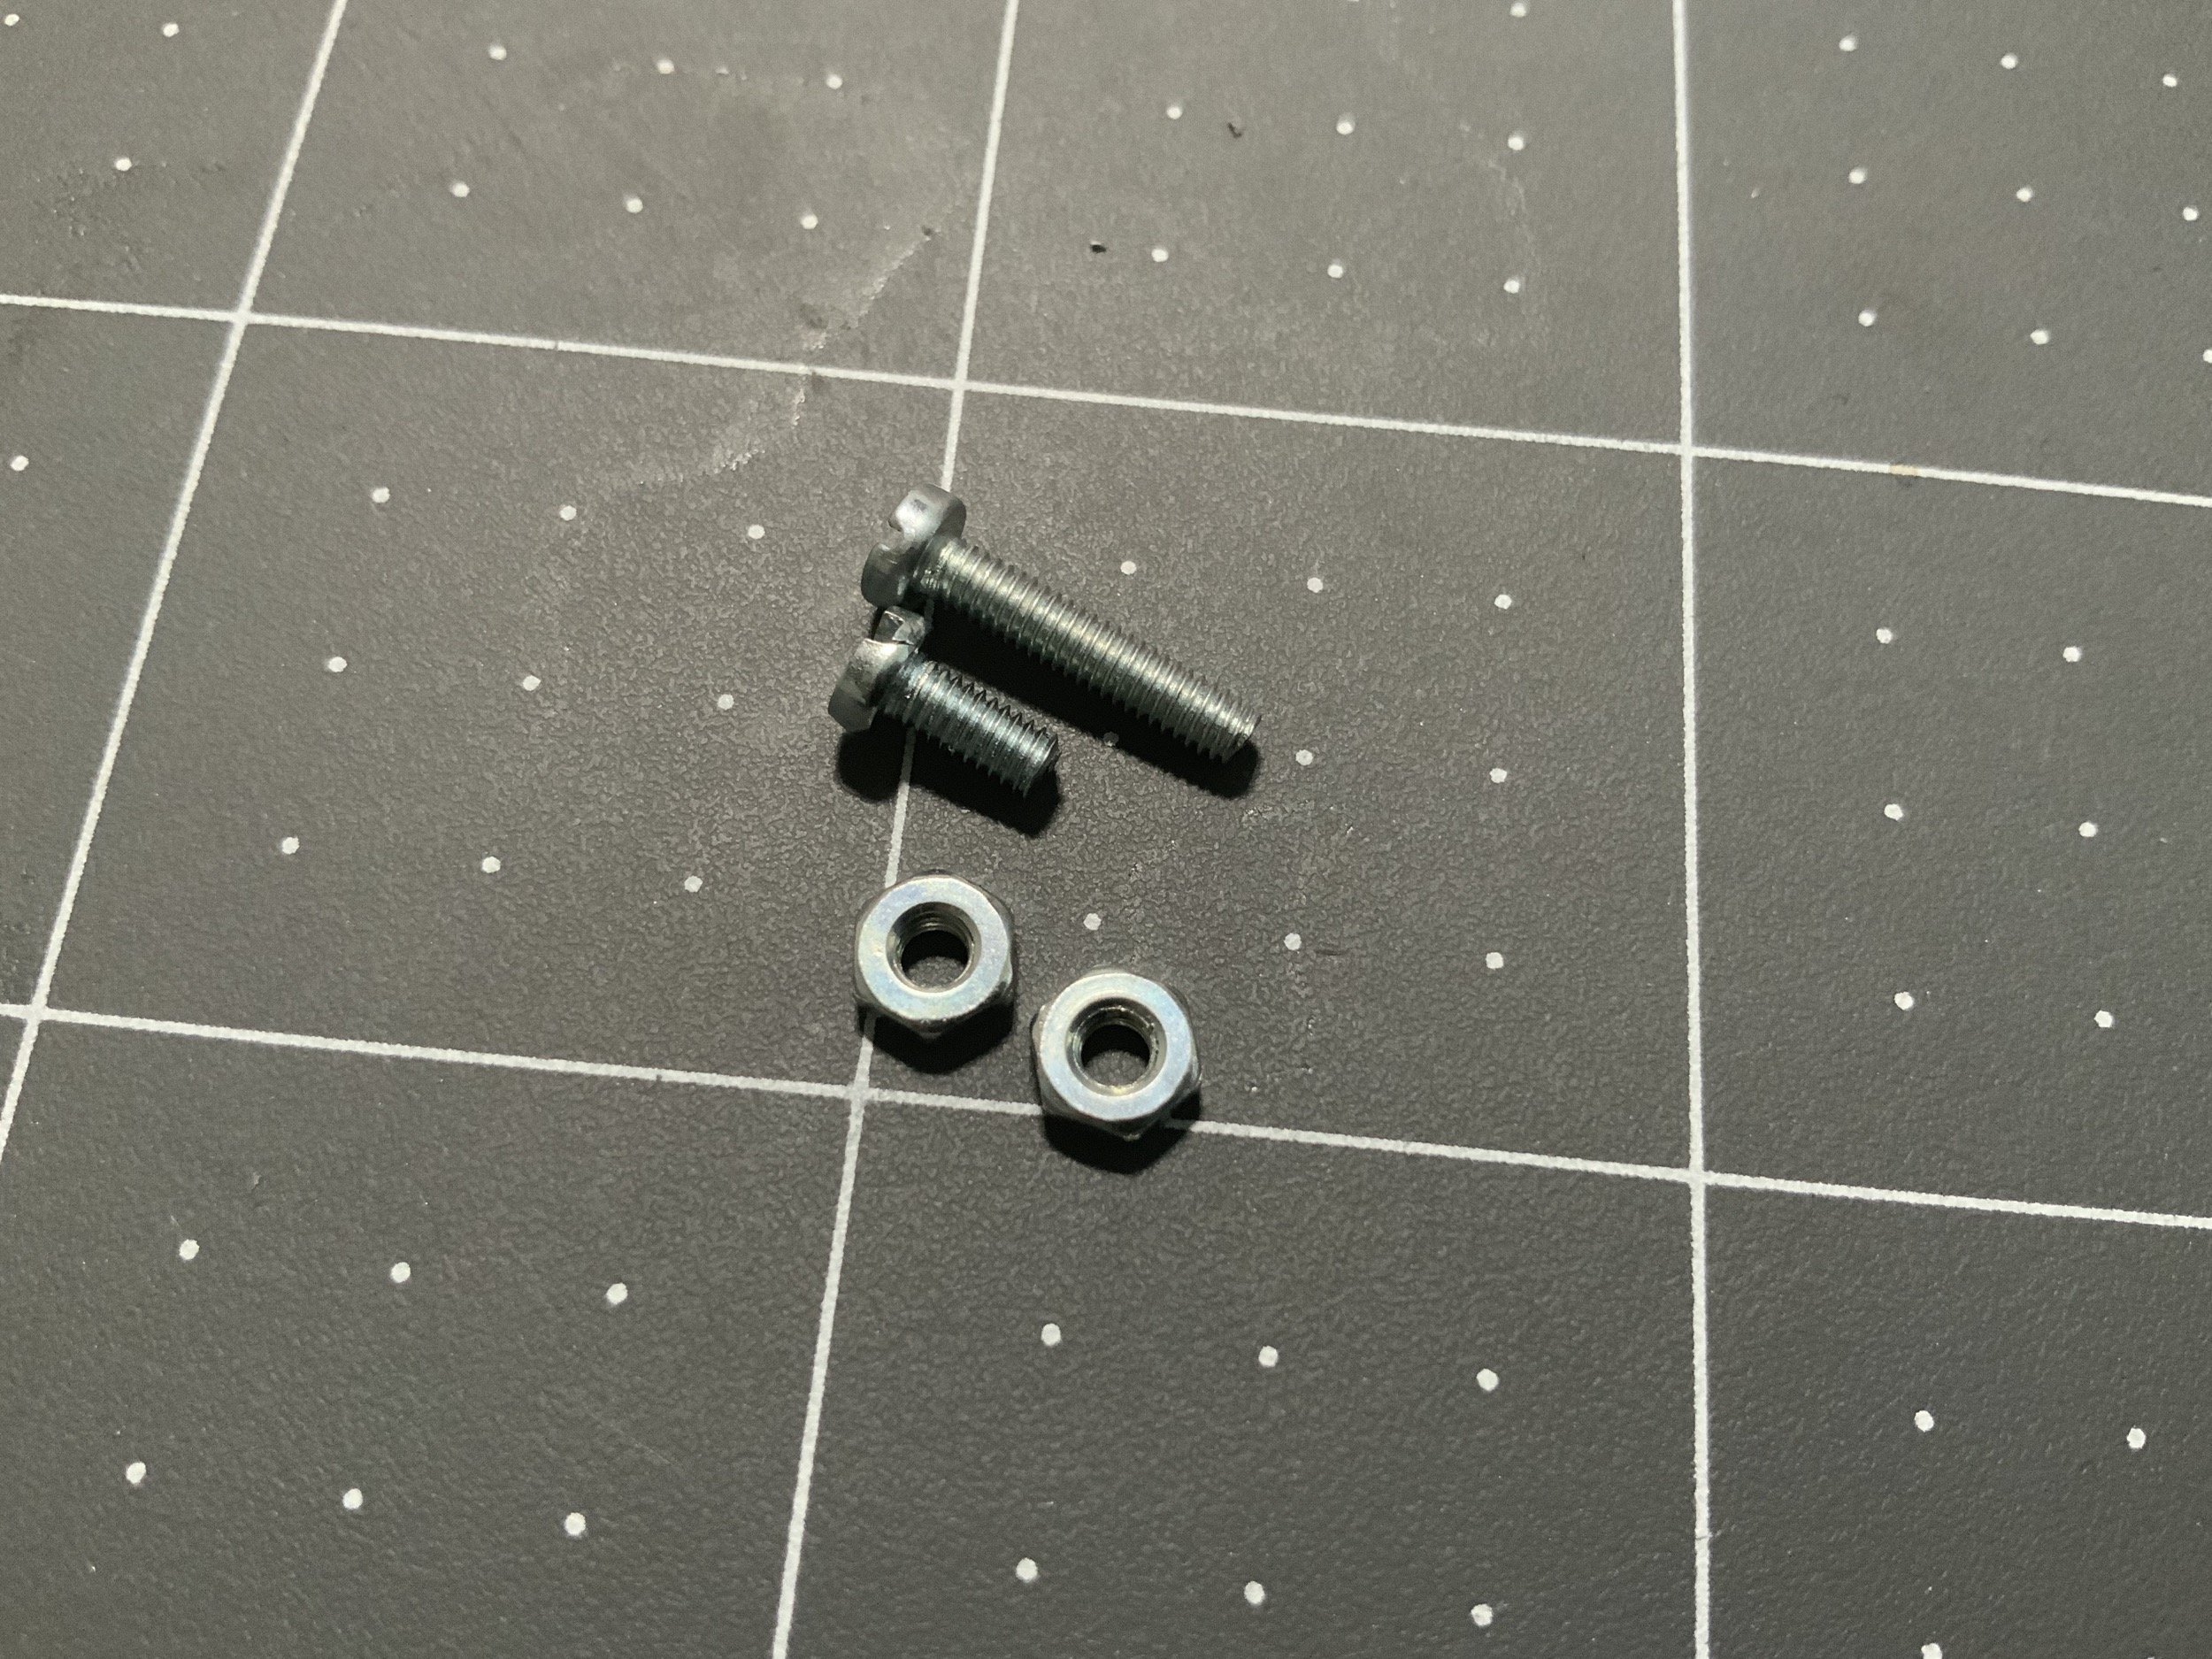
It worked! The flat screw head looks a bit silly on there, but whatever.
And here is the reassembled drive! For lubrication, I used Dupont Teflon Silicone Lubricant. It stays clean, and doesn’t get sticky. Now,floppy disks are extremely satisfying to pop into the drive, and they basically fly out when you eject manually. Perfect!
Boot Attempt
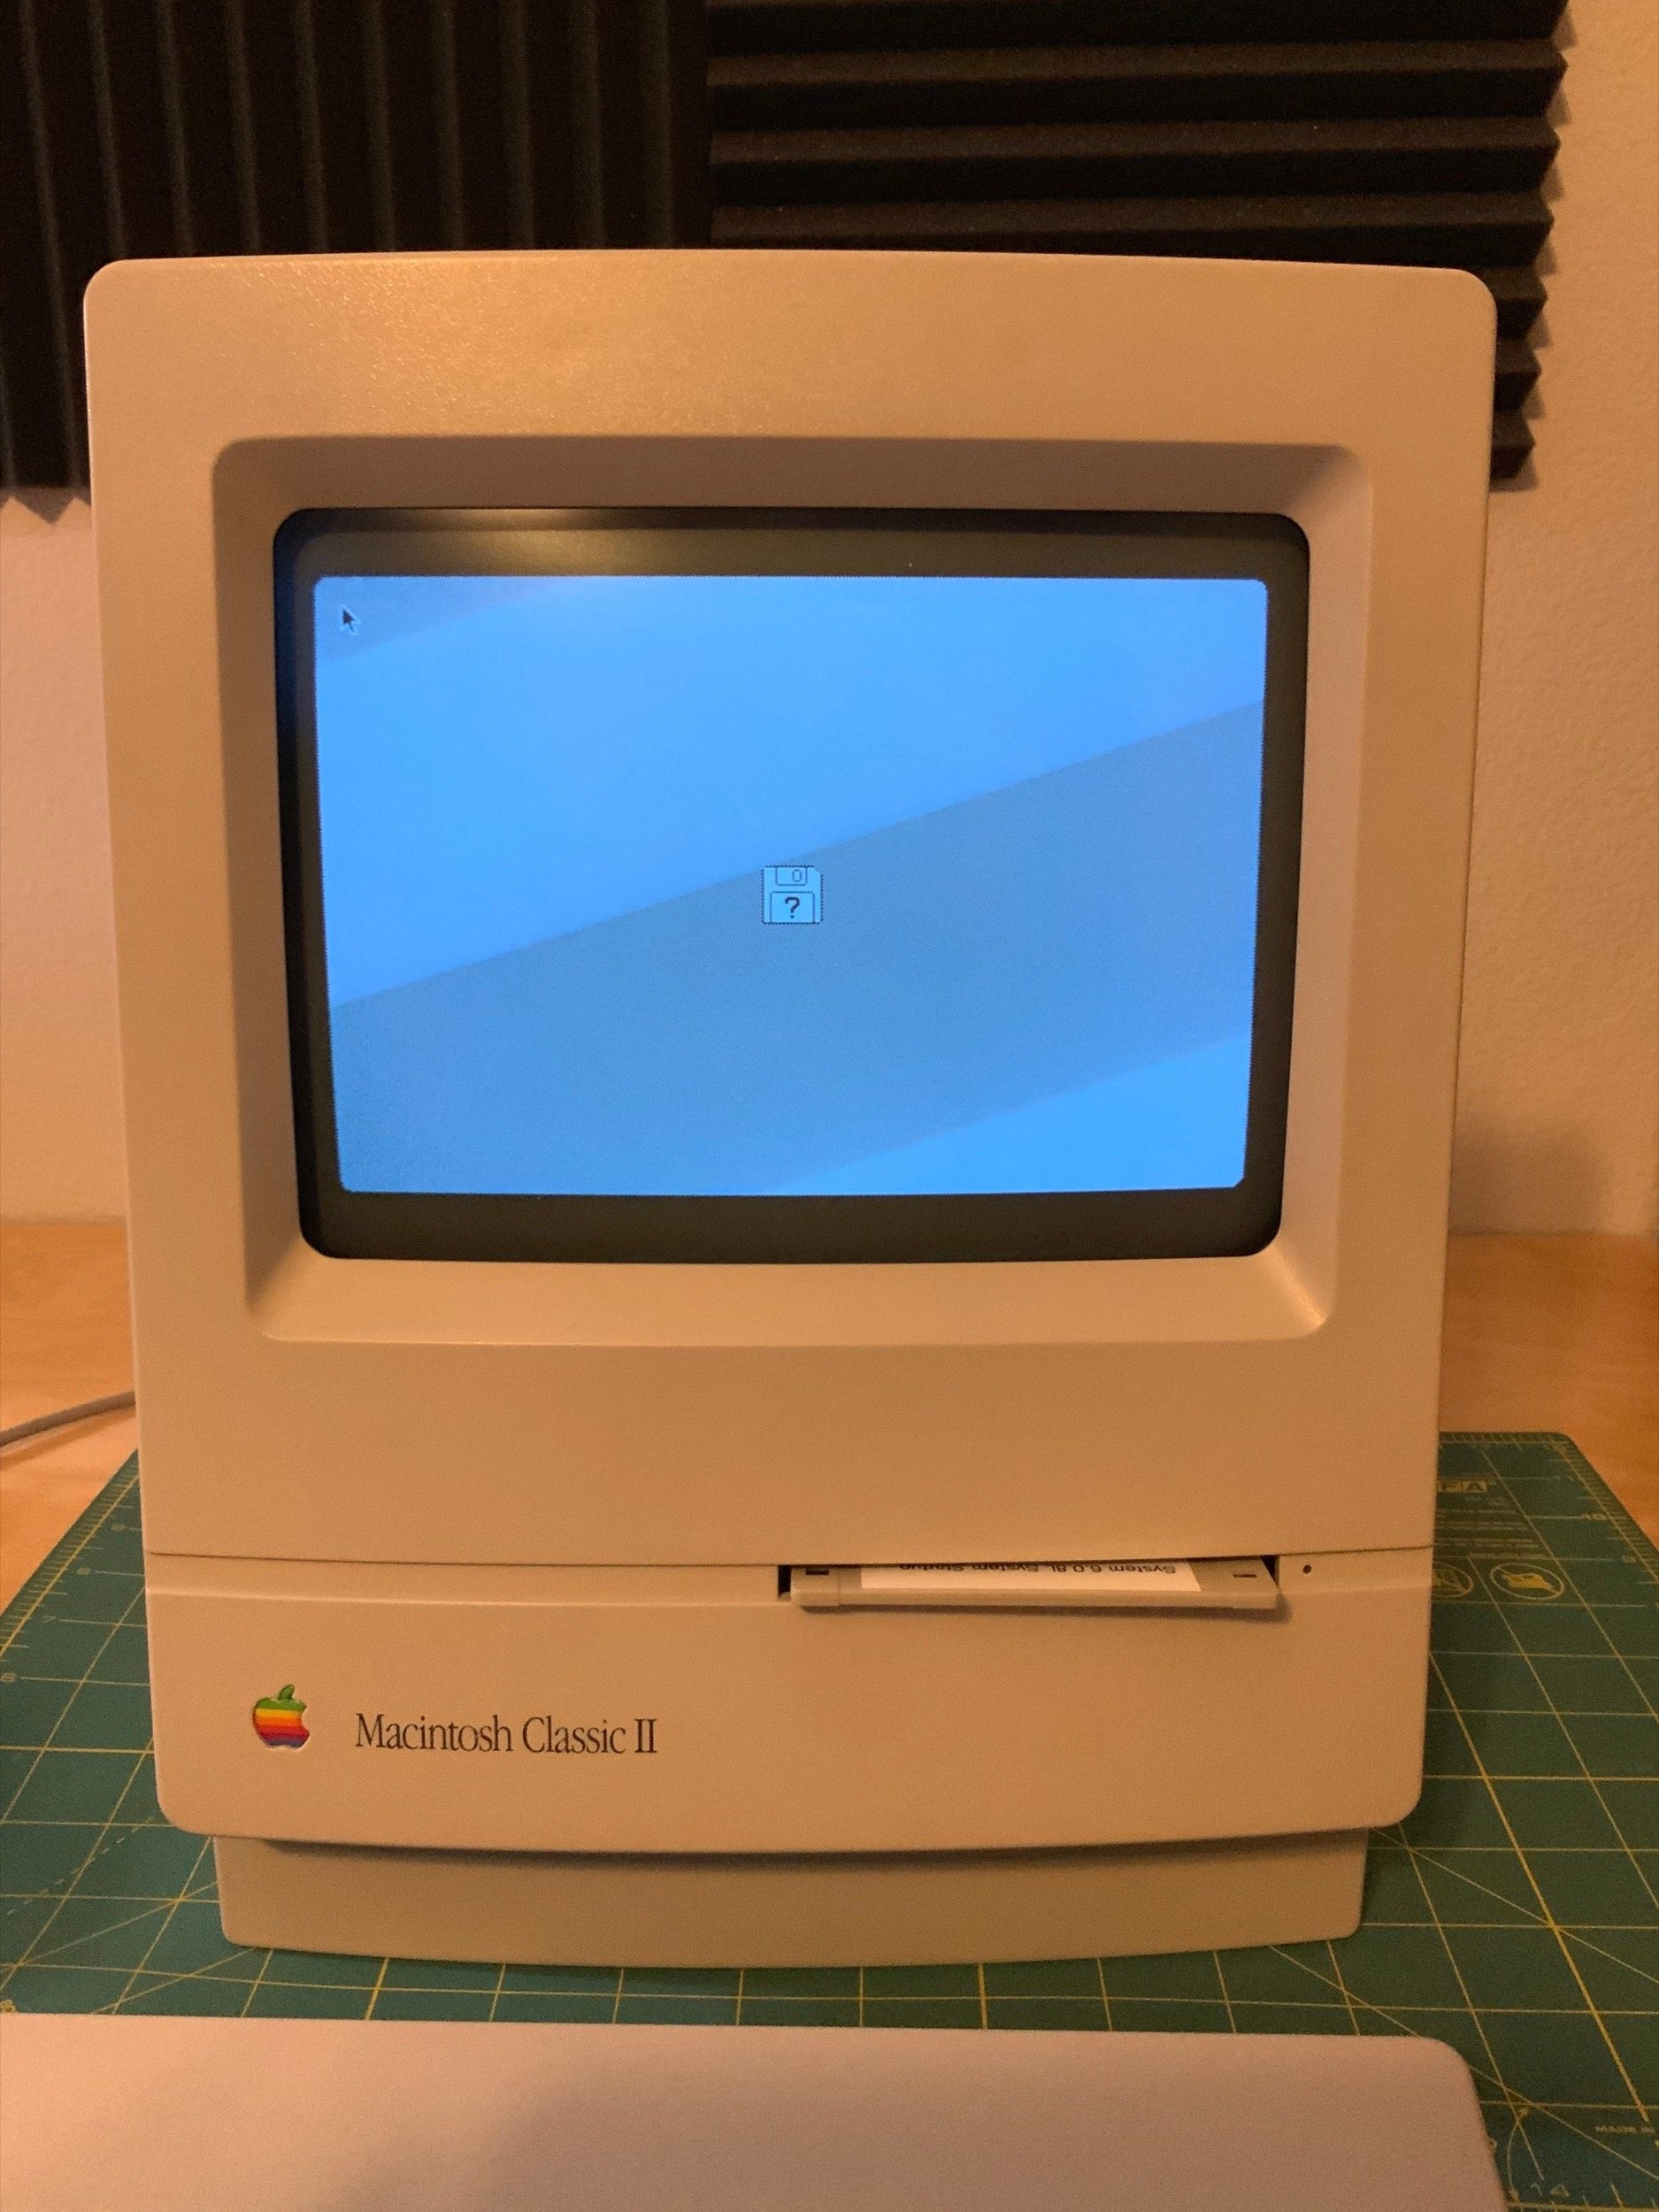
So… will it read the disk and boot? Well, it will at least read the disk!
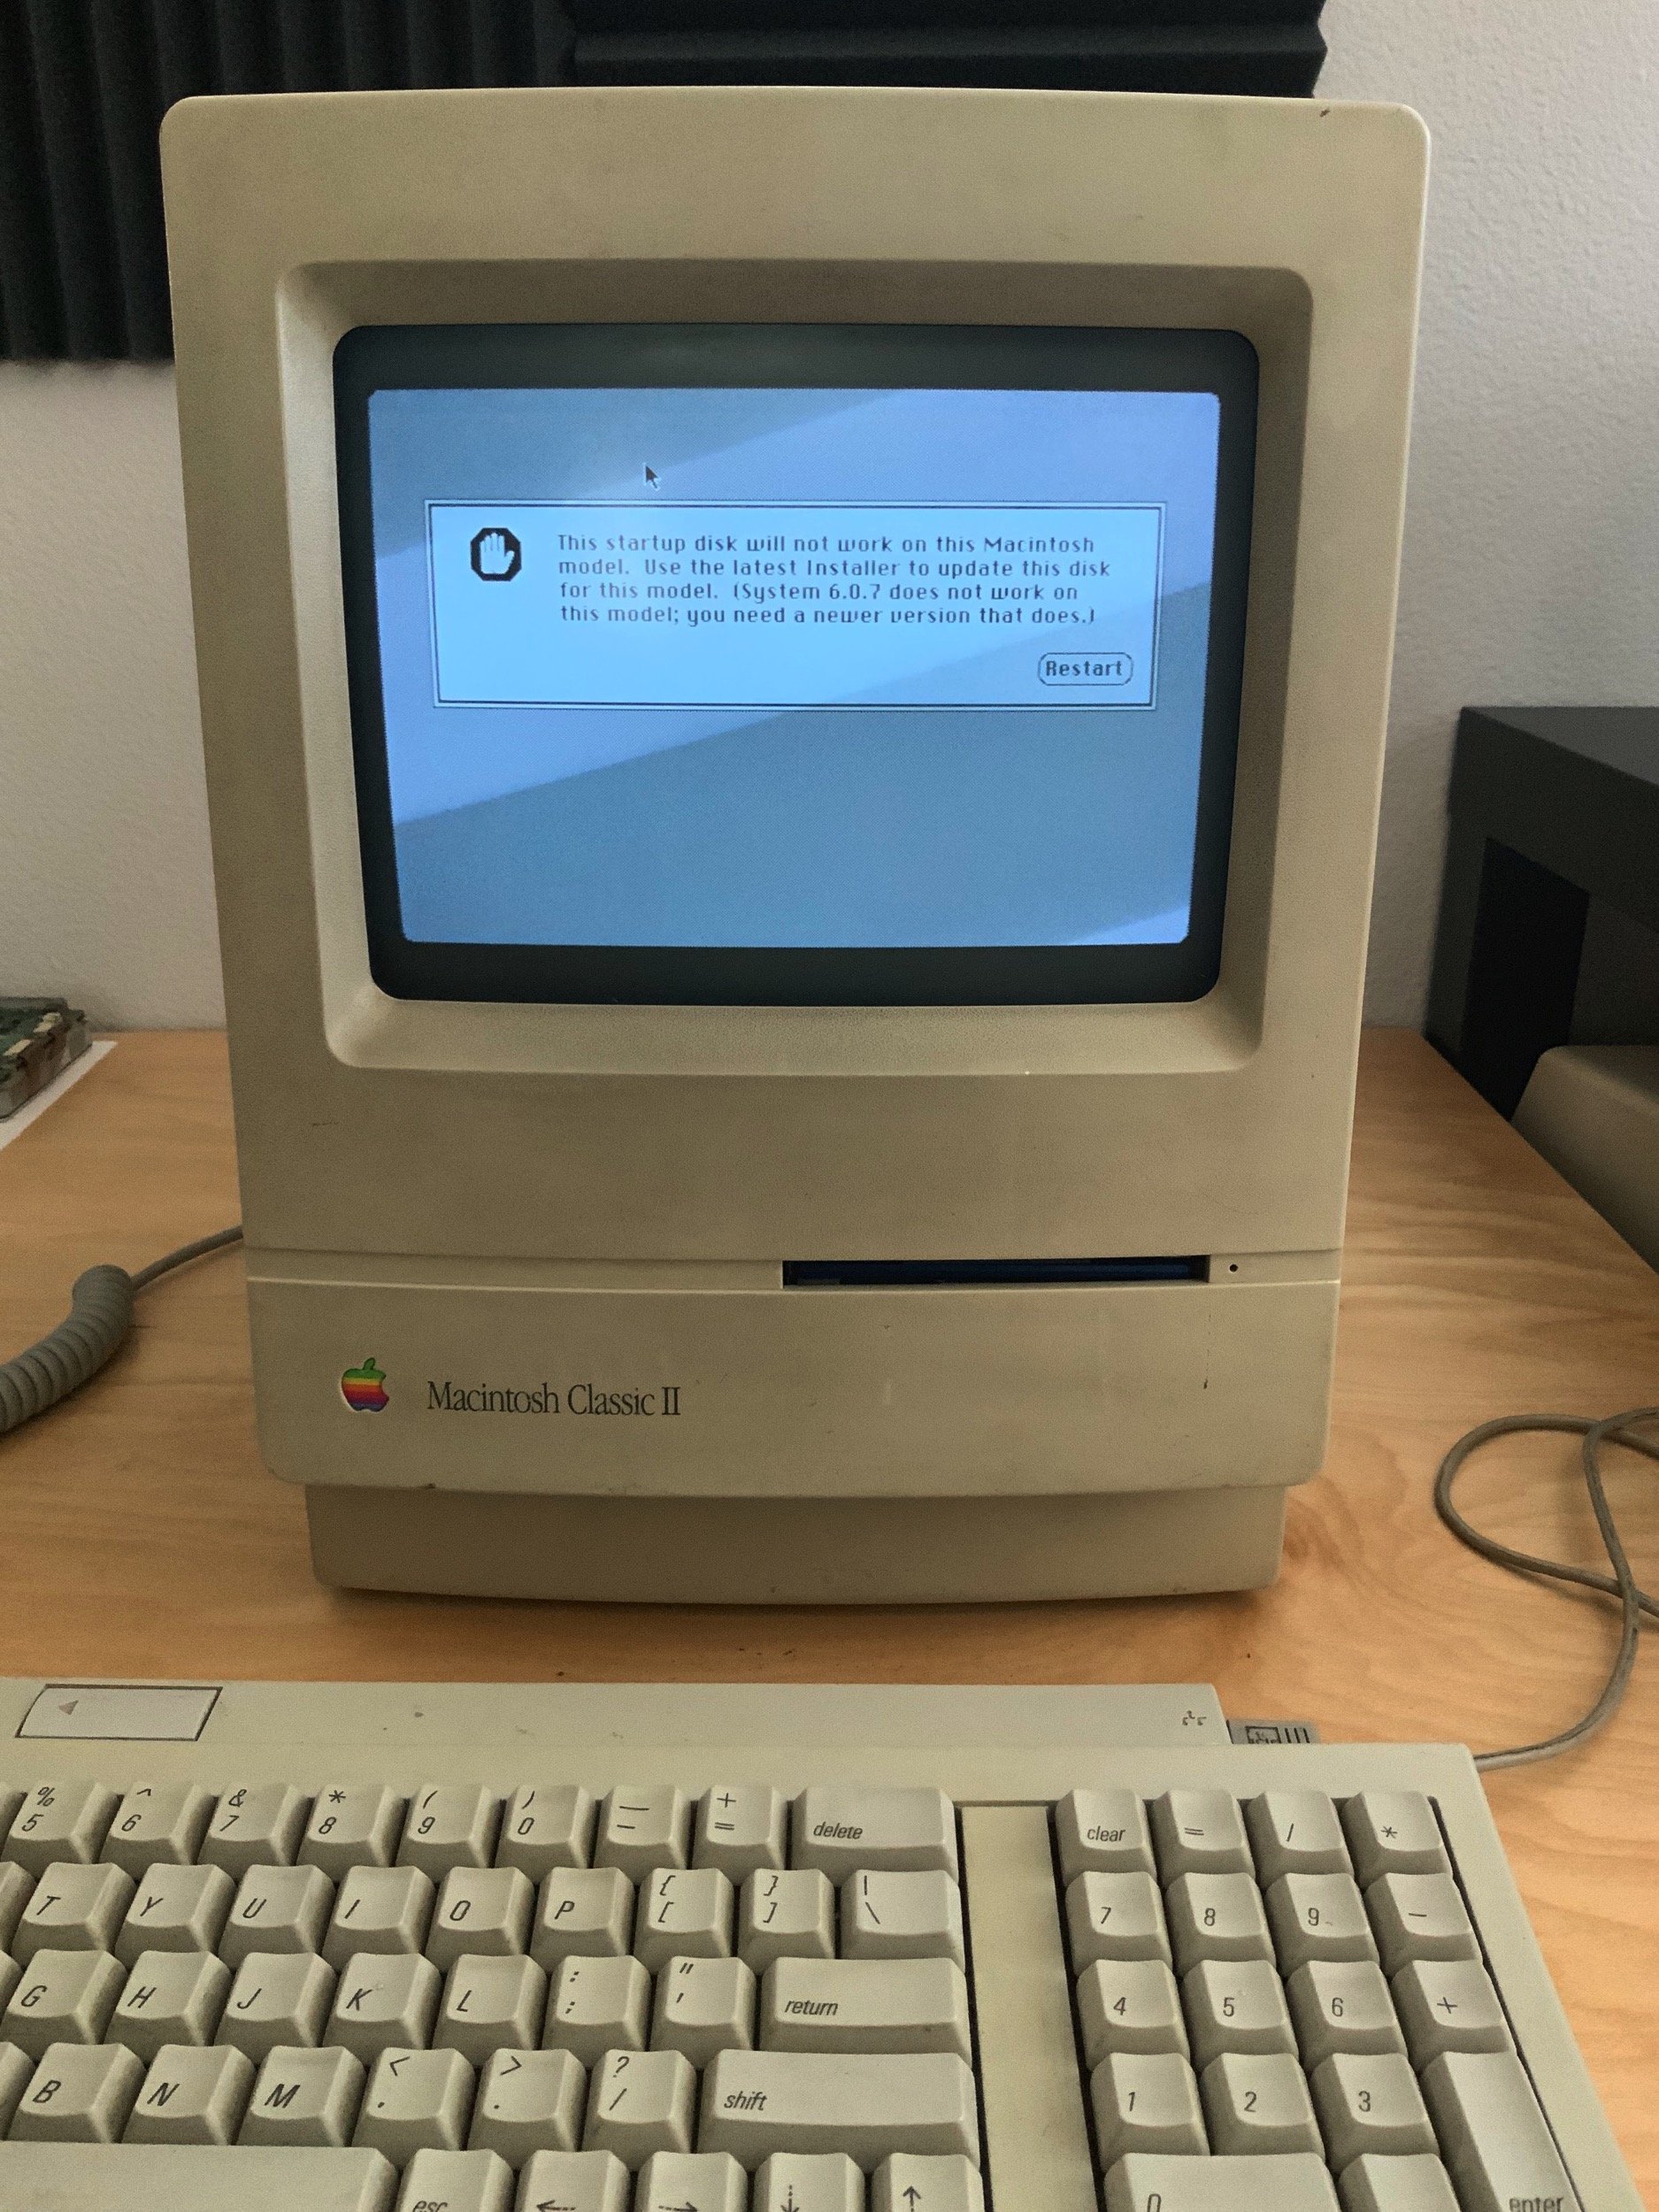
My 7.0.1 installation disk wouldn’t work, but I was happy to see that the drive was working! I tried a 6.0.8 disk next, with bad results.
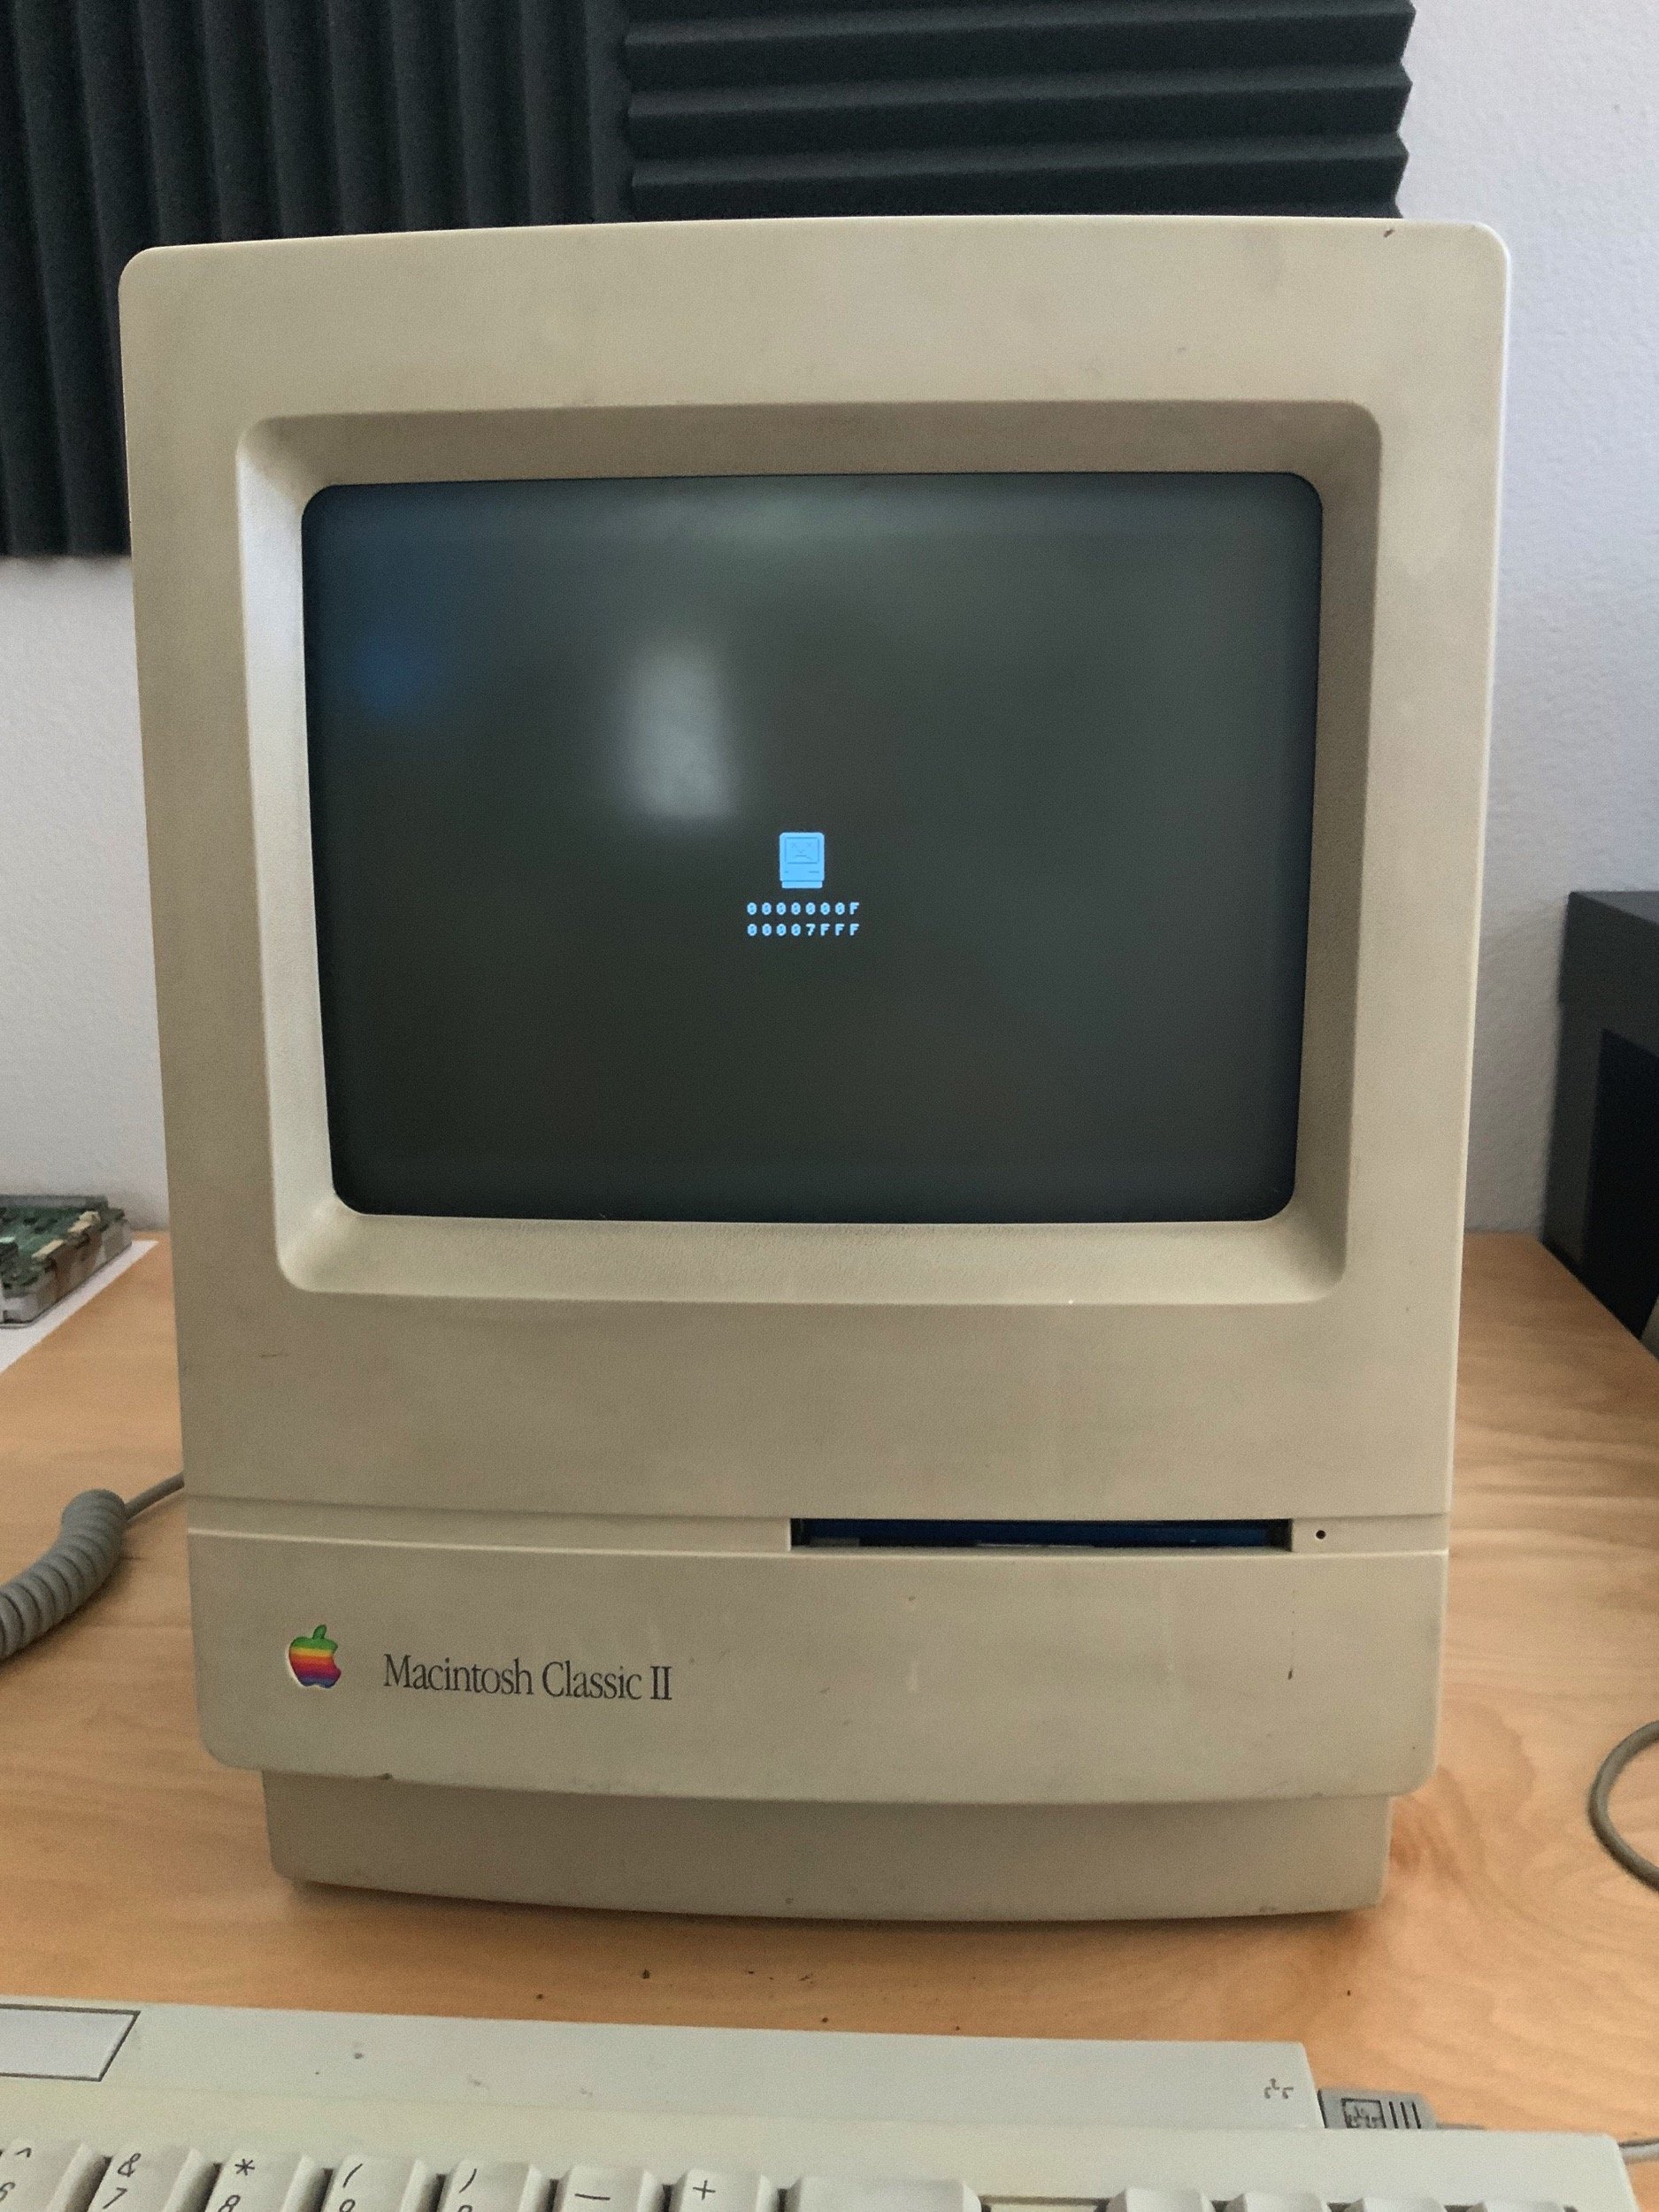
The Sad Mac error code here is:
0000000F 00007FFF
According to the Sad Mac Error Codes page, $000F is “Reserved for Macintosh Compatibility”, but it doesn’t get into what the second line means.
68kmla member sixsevenco pointed out that the Macintosh Classic II requires 6.0.8L, so I got to work getting disk image for it.
I then remembered reading that 6.0.8L added compatibility for the Classic/Classic II, but I’d completely forgotten about it.
I donwloaded System 6.0.8L images from The Macintosh Repository. After uncompressing the .SIT file, I placed the two images on my desktop and wrote them to a 1.44 mb floppy disk with DD in modern macOS and my USB floppy drive.
In the Terminal in macOS, I started by listing the available disks, and then identifed which one is the floppy drive:
1
diskutil list
macOS had already mounted the disk, so I unmounted it:
1
diskutil umountdisk /dev/disk6
Finally, I used DD to write an image to the disk:
1
sudo dd if=6.0.8L\ System\ Startup.img of=/dev/disk6 bs=84
The results:
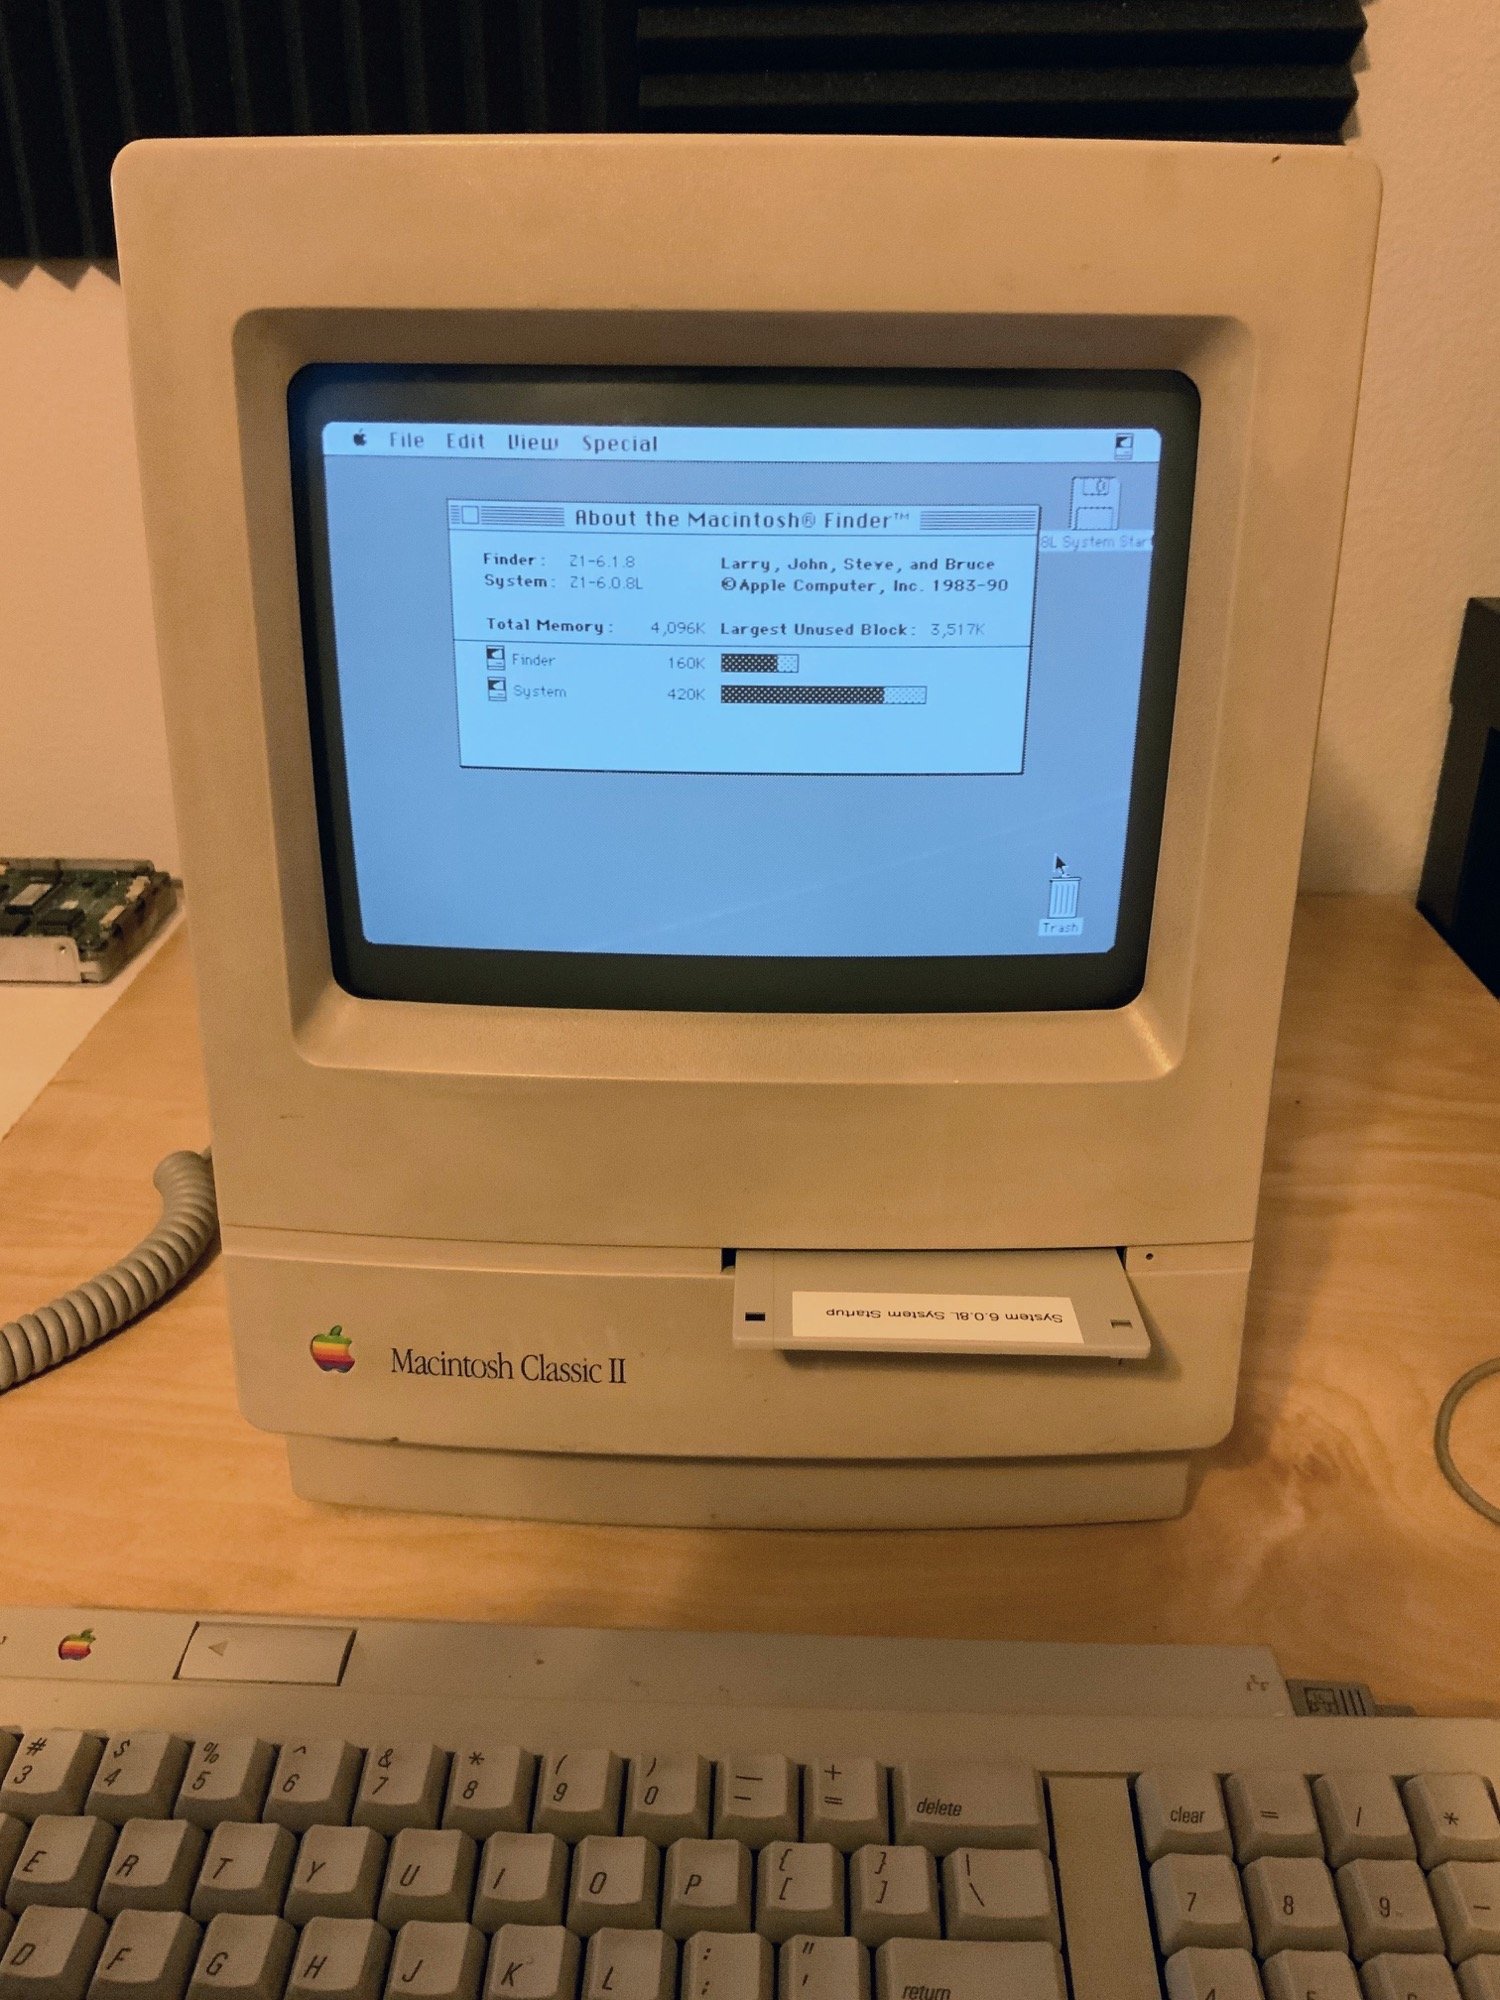
I was happy to see it boot up from the floppy drive! The machine had 4 MB of RAM, which is consistent with the 80 MB hard drive that was in it.
Retrobrite
At this point, I decided that it was time to retrobrite the machine, hopefully transforming it from yellow to it’s original beige-white.
Teardown
First, I needed to completely tear it down. It always place my machines face-down on a towel when I take them apart. In the case of the Classic II, I always need to slide an old debit card between the front and back housings to get it to pop apart.
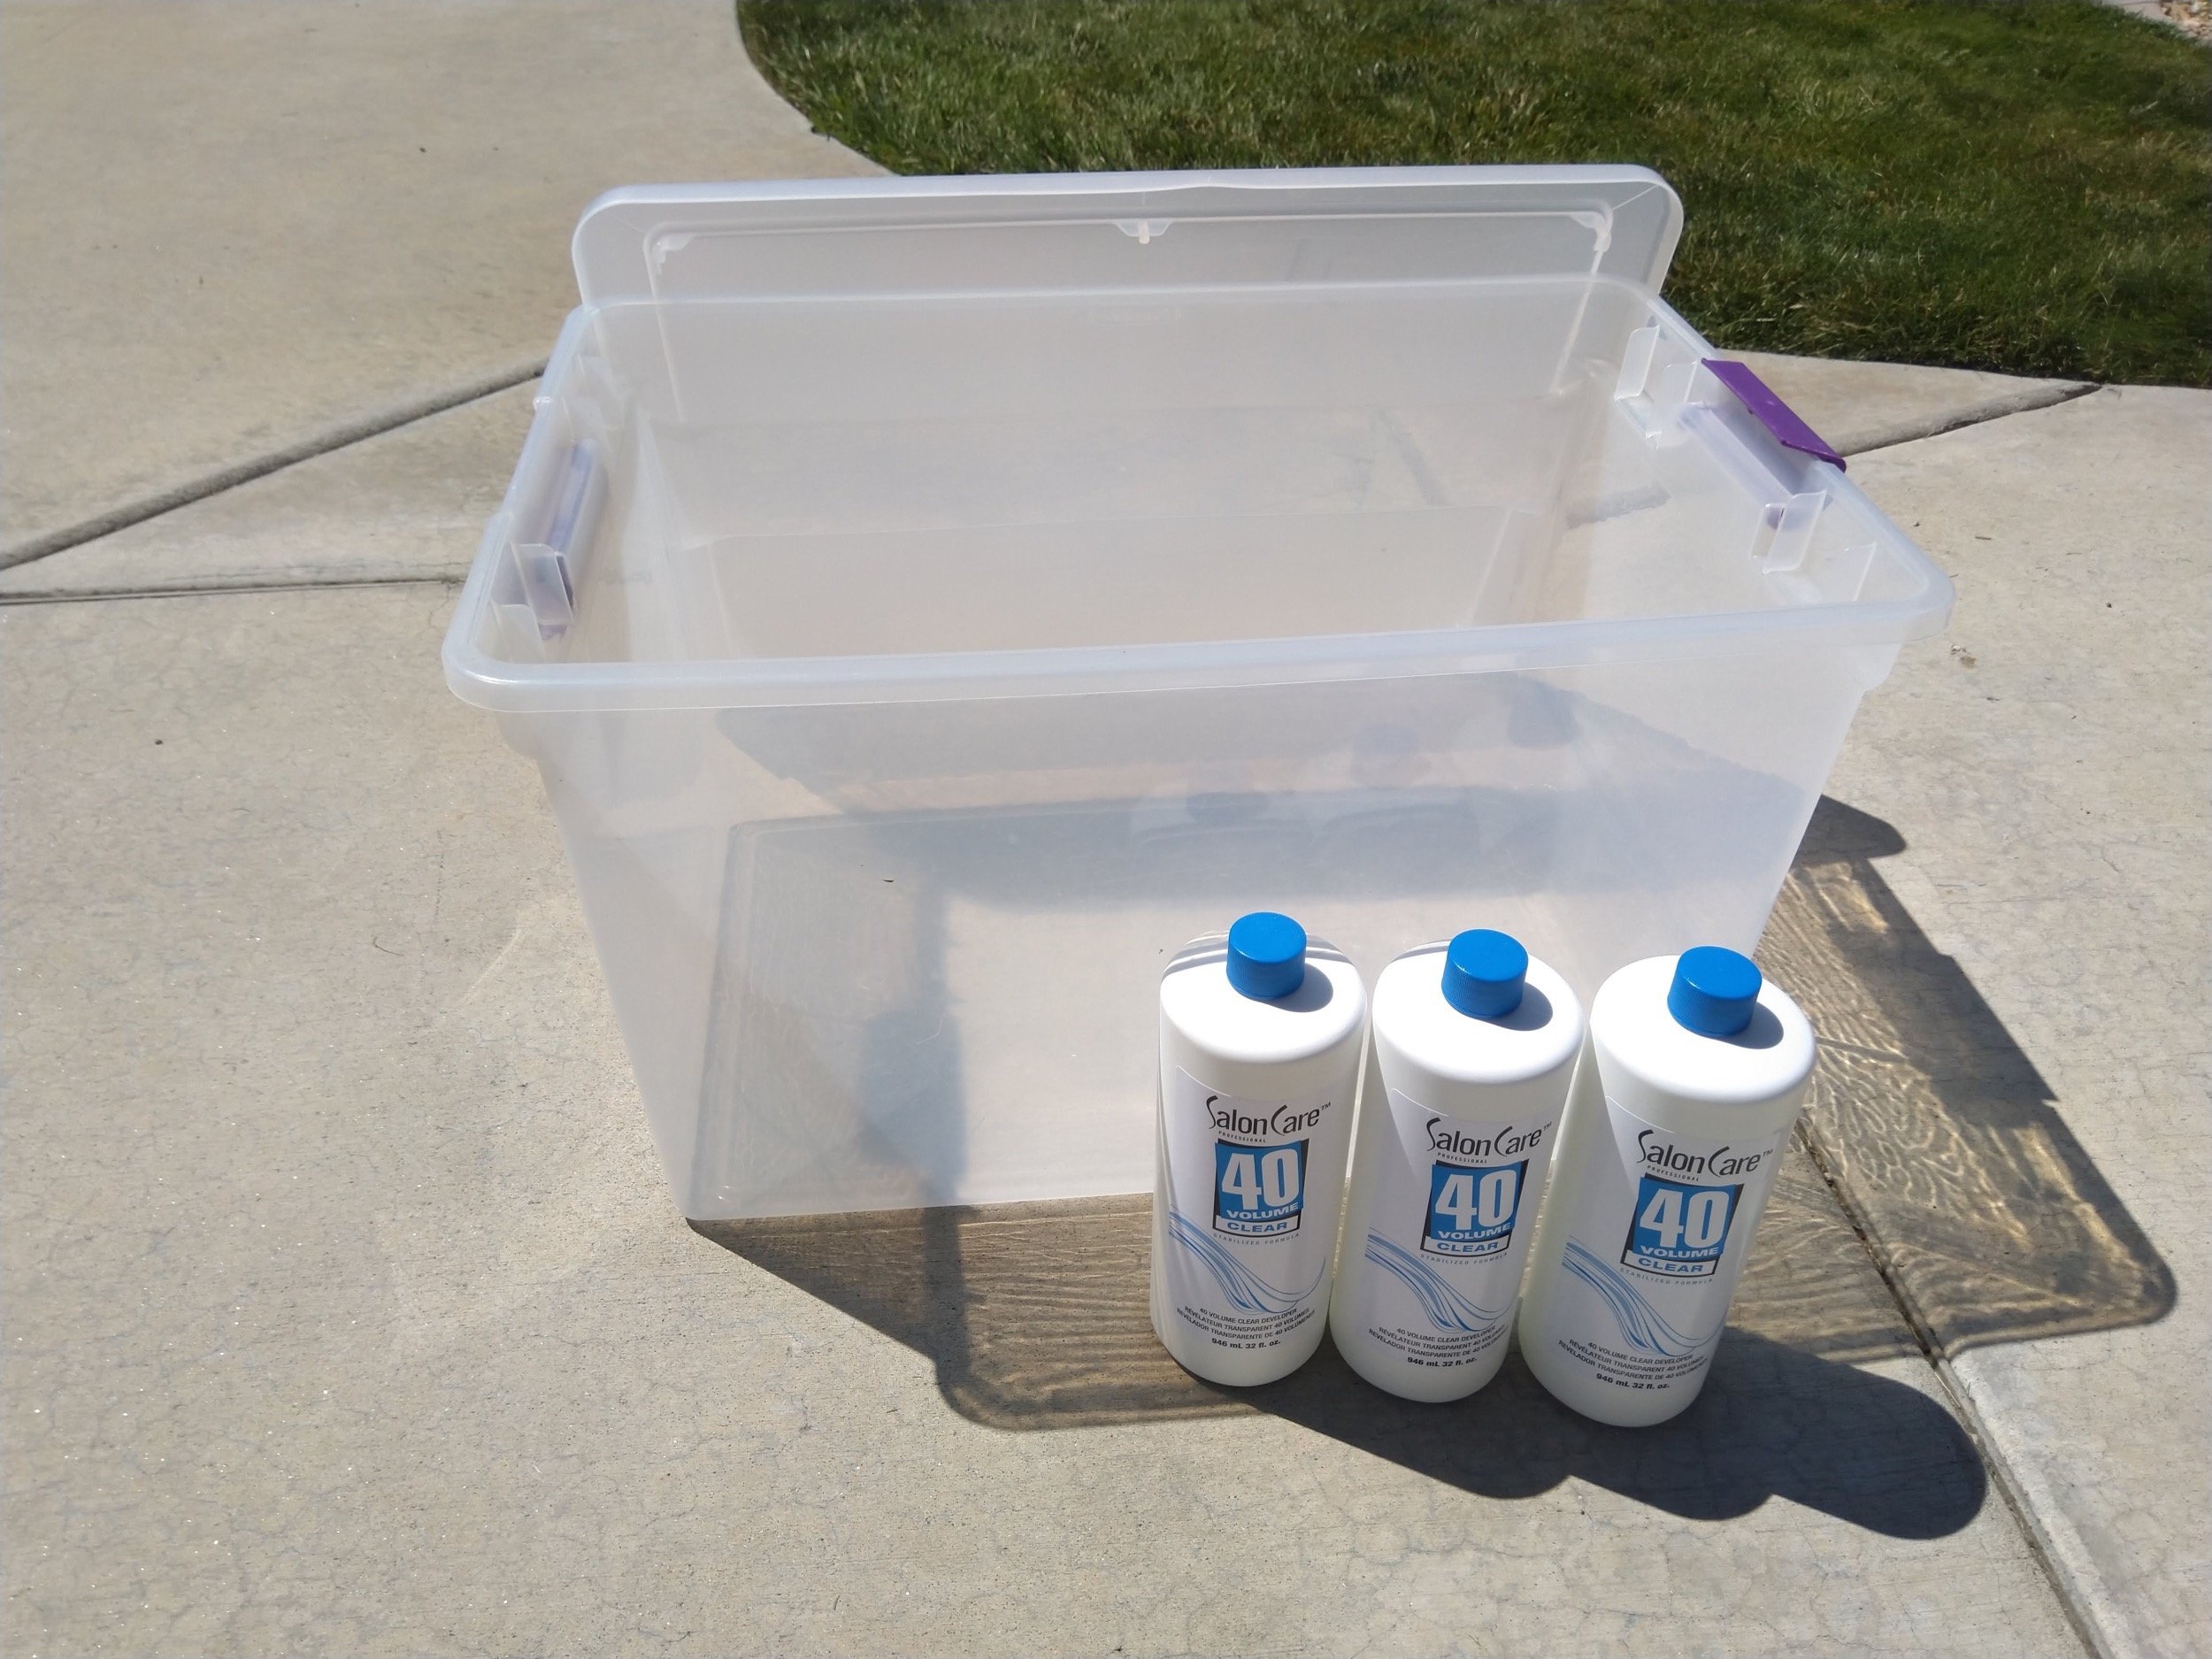
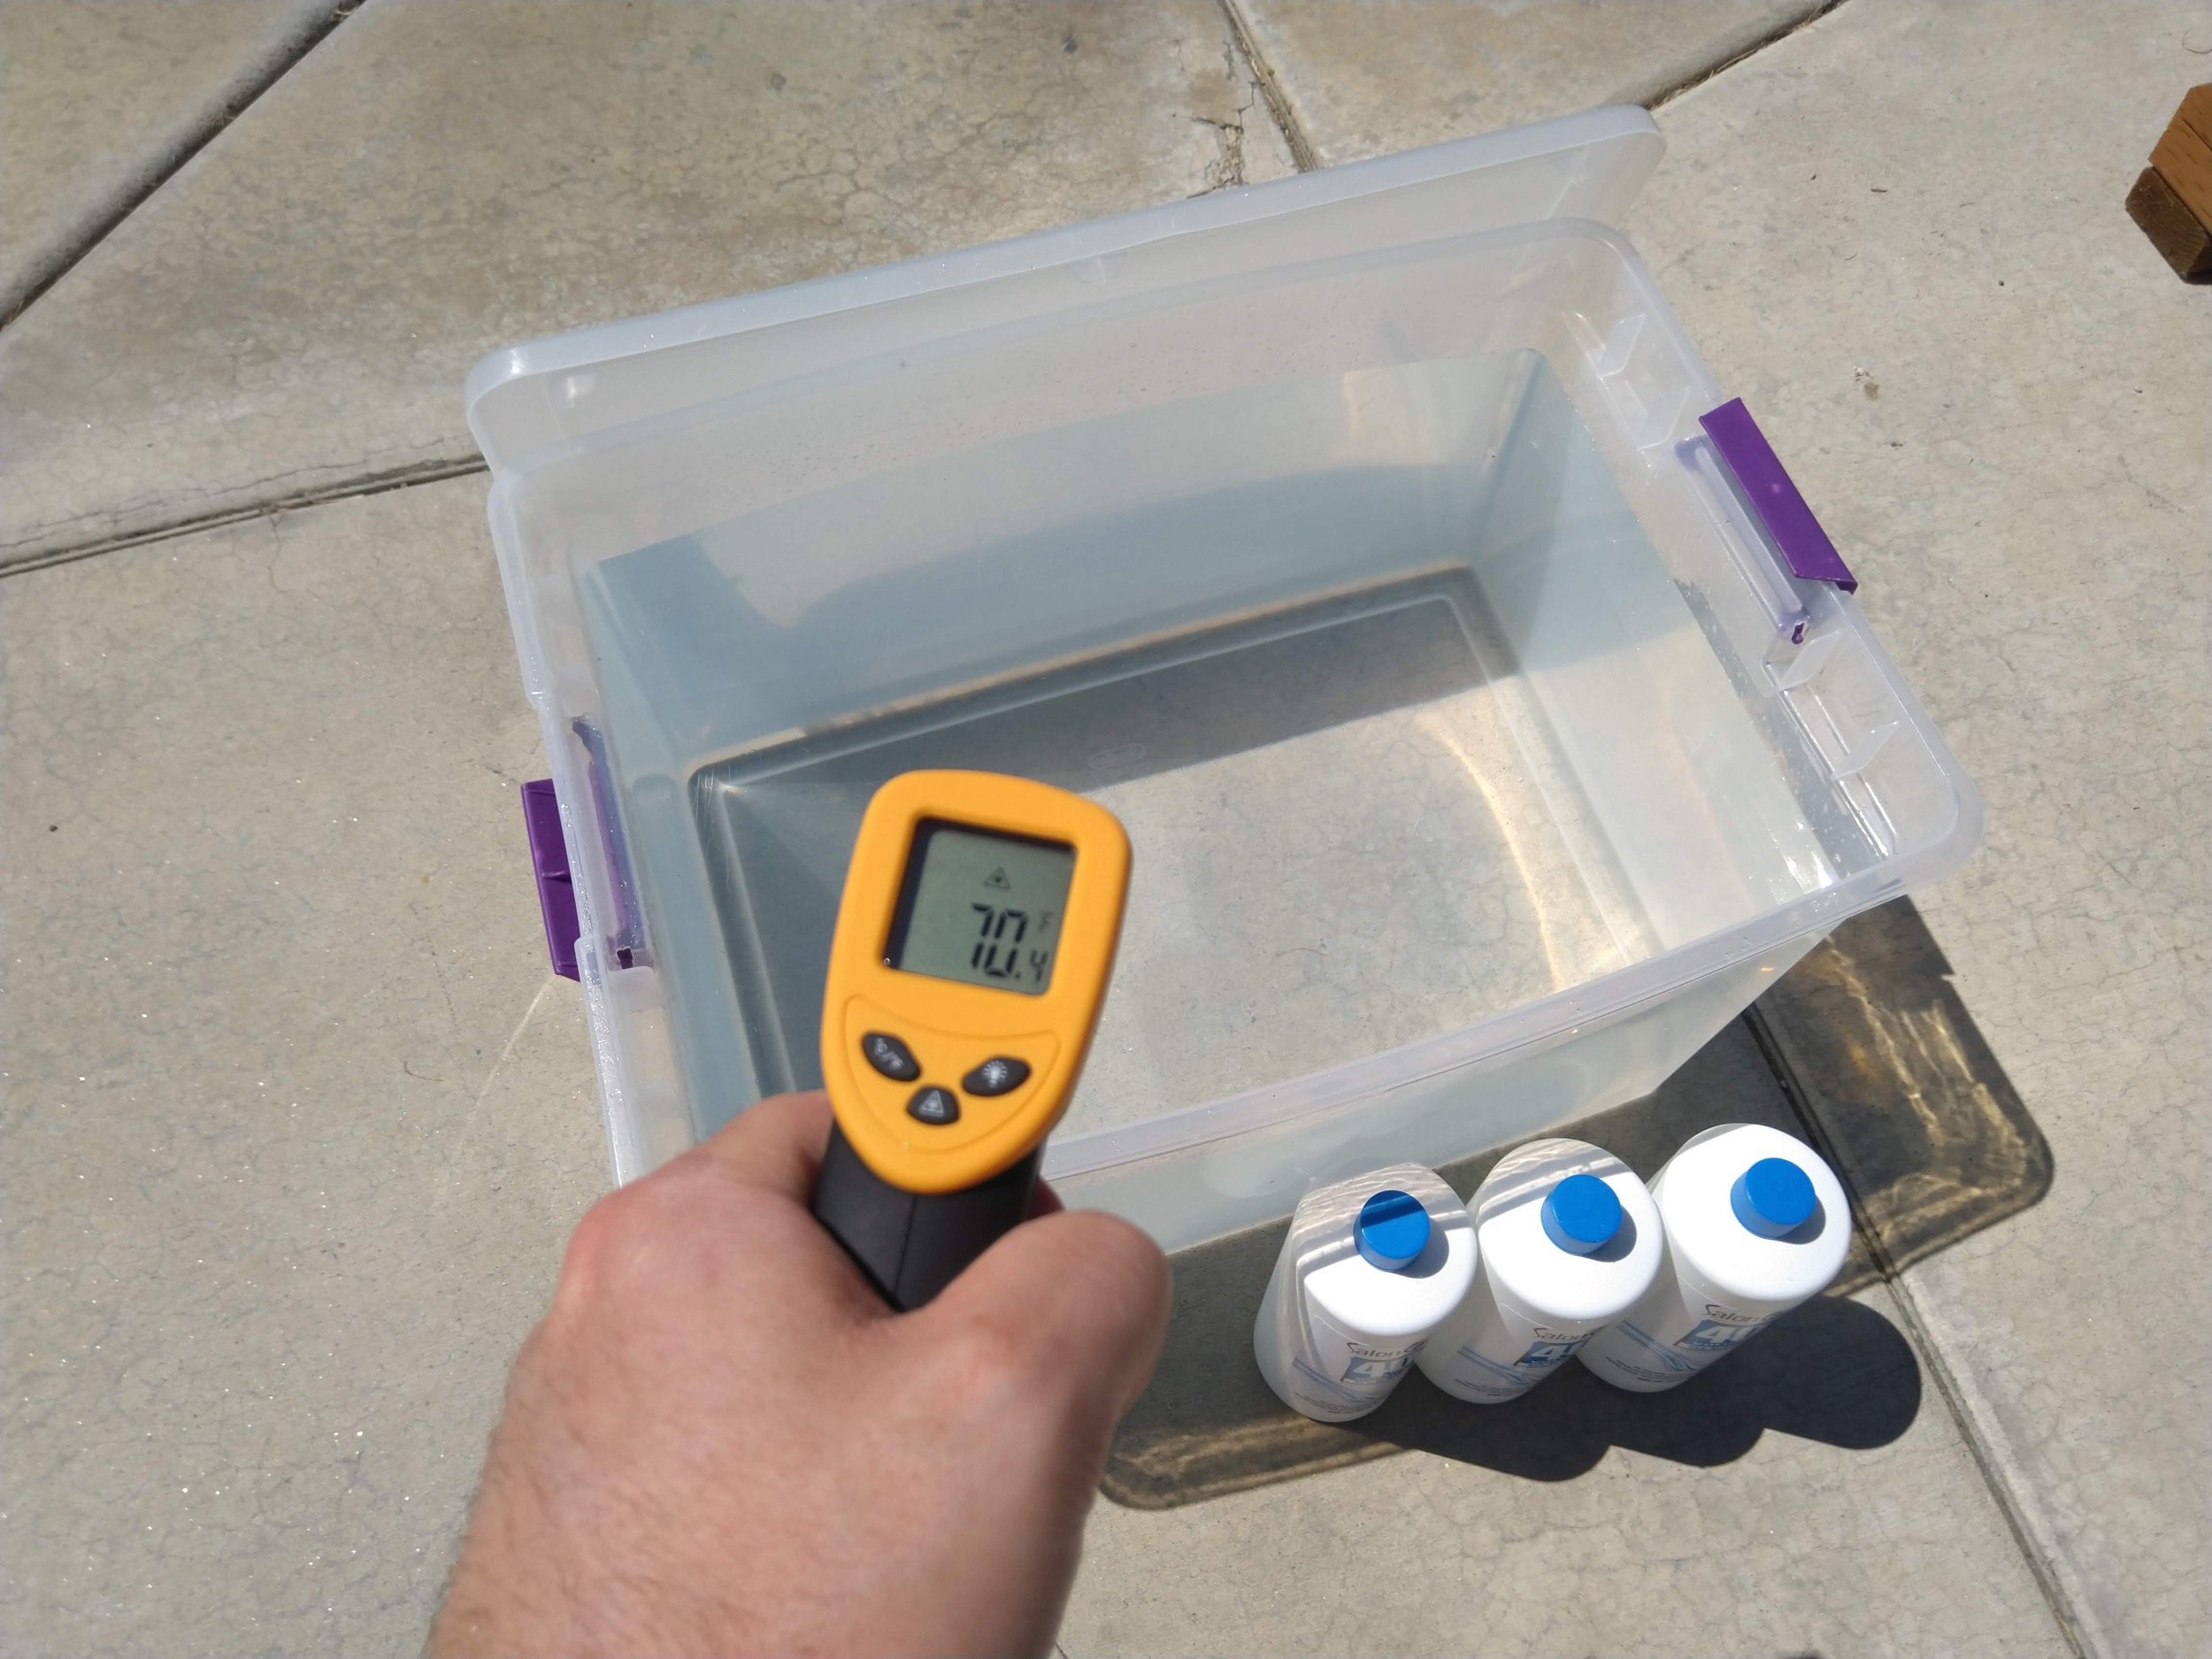
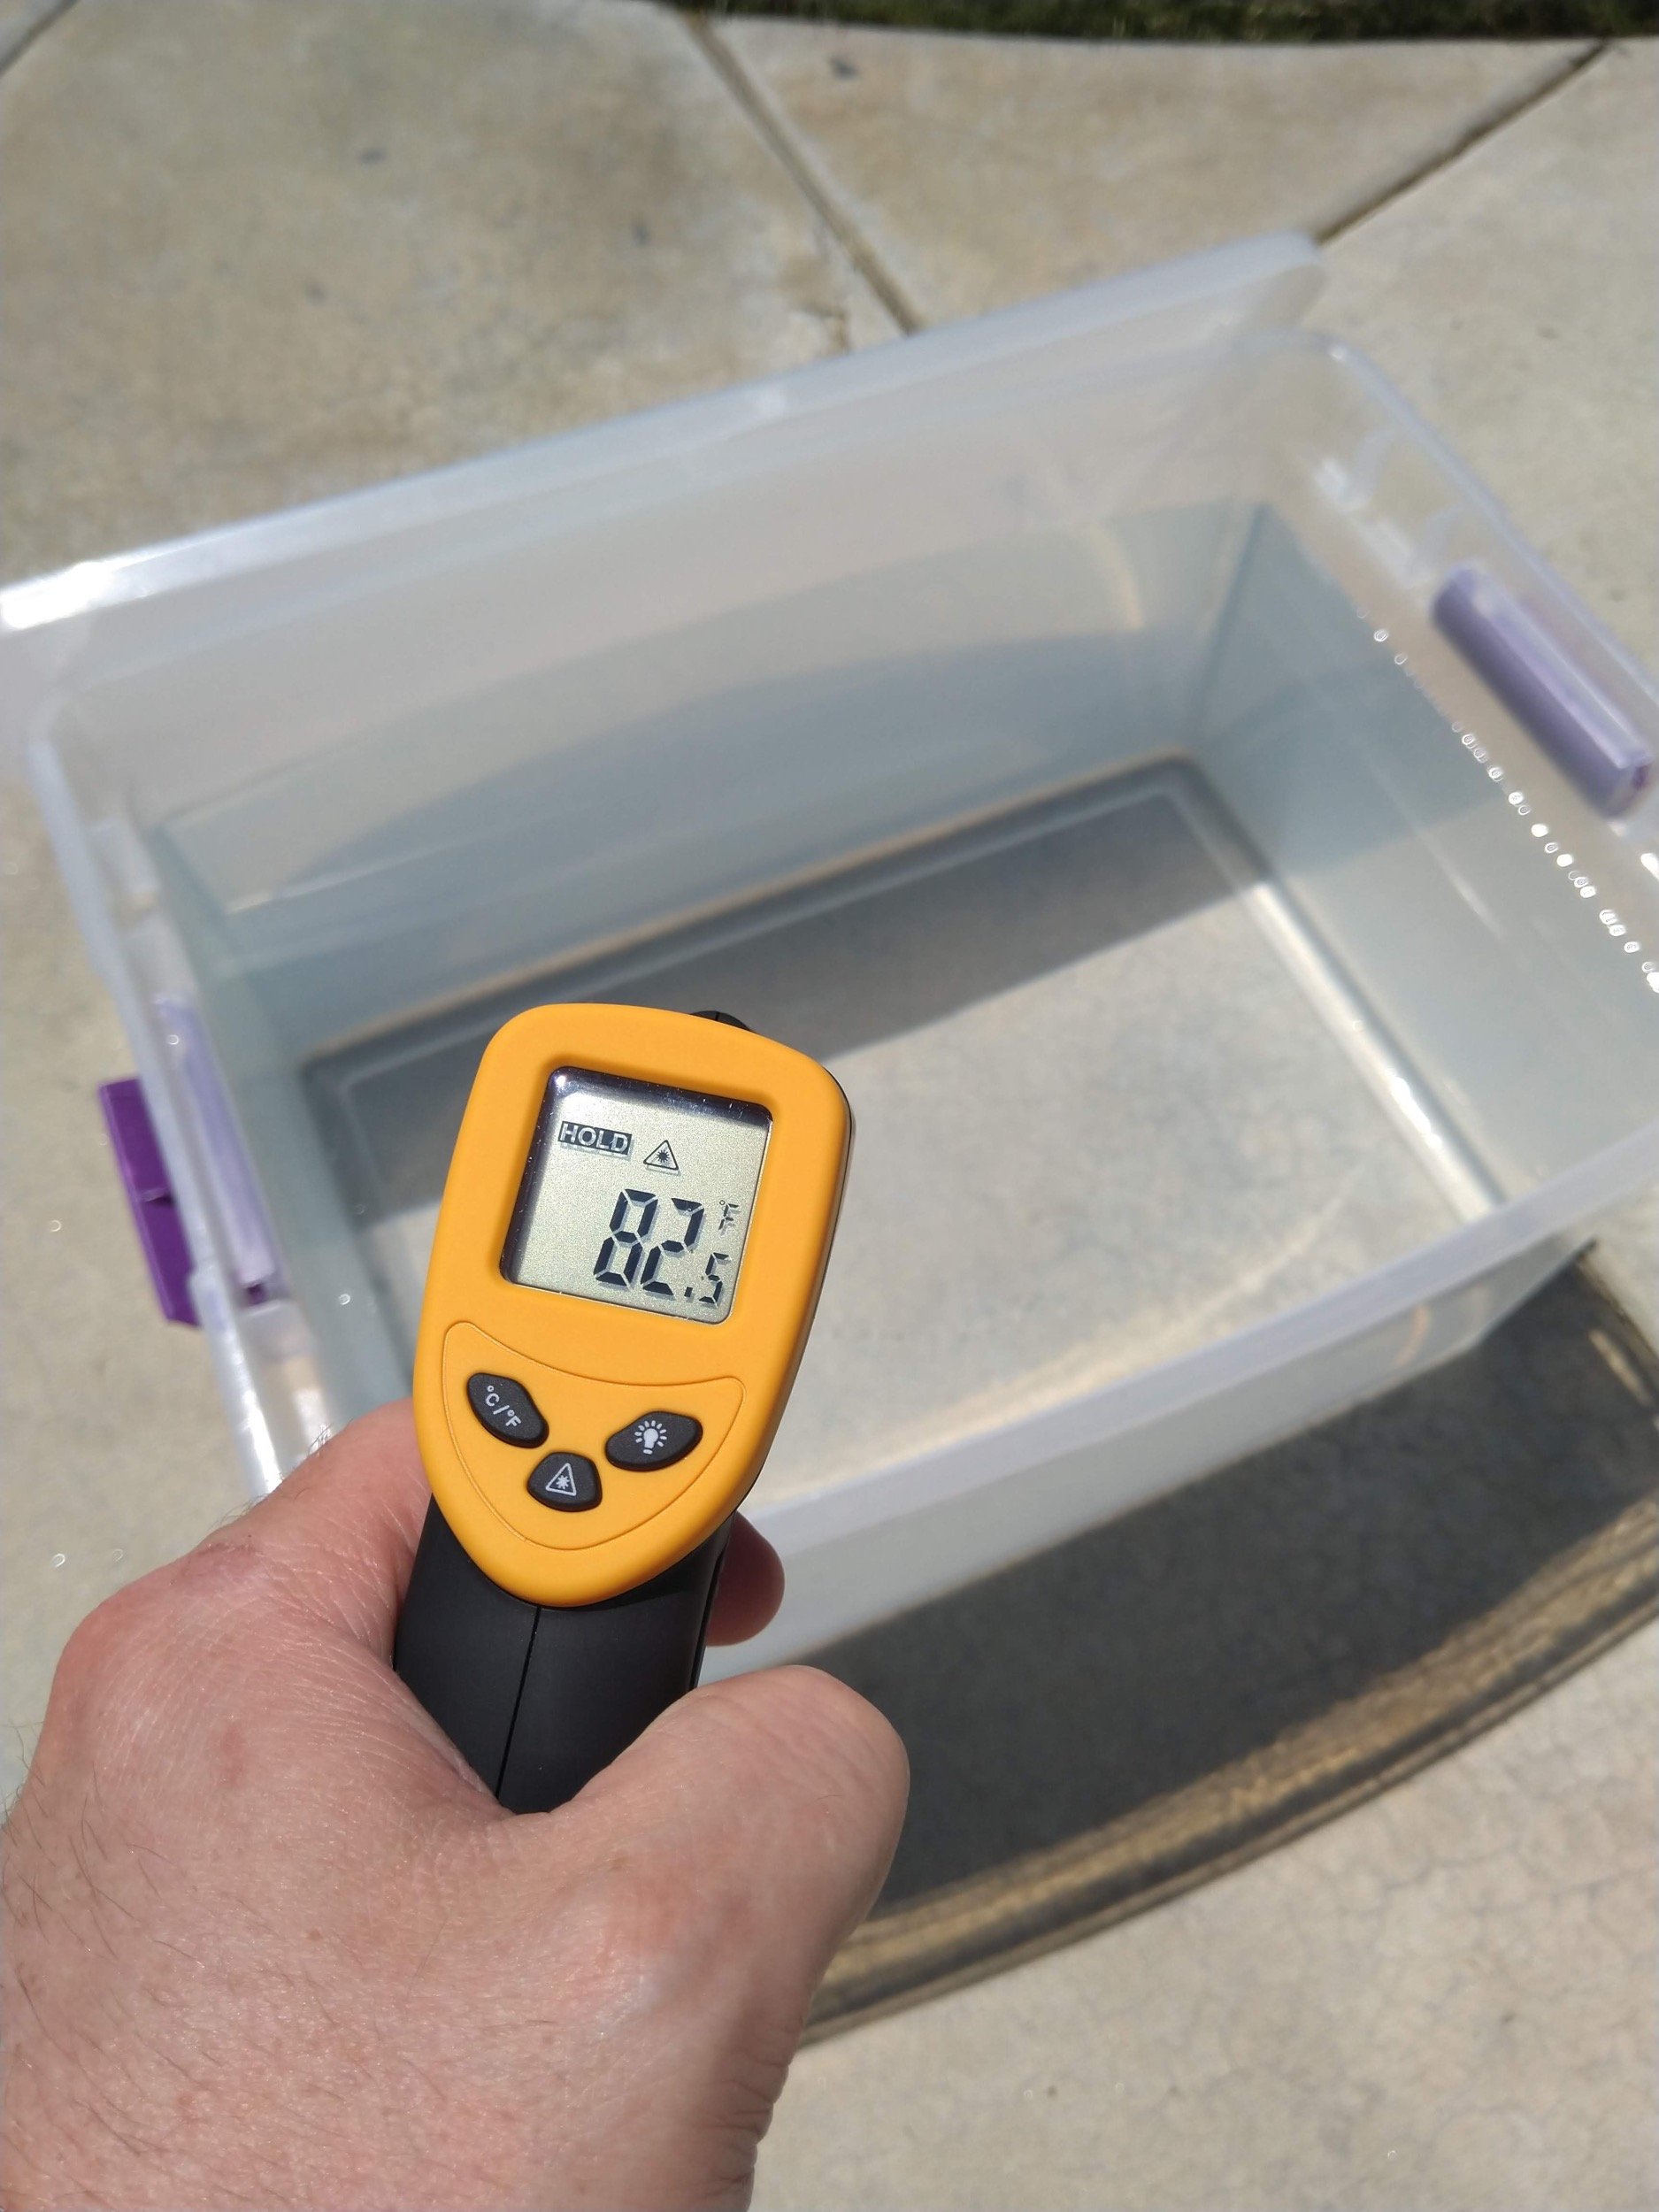
Before I went any further, I decided to get my hydrogen peroxide “preheating” in the sun. I stole one of the kids’ LEGO Duplo containers, poured in 3 bottles of Salon Care 40-Proof hyrdrogen peroxide, and filled the rest with water. I’ve settled on using the full submersion + sun method for larger parts like this, because it seems to completely eliminate the possibility of the “marble” effect caused by the “cream and plastic wrap” method. One caveat: you do have to be very careful that the parts don’t float. If they do, the parts above the liquid will bleach very bright, and there’s nothing that you can do that I know of to fix it. Beyond that, the method seems to be pretty foolproof.
The starting temperature was 21°C (70°F). That’s not bad, but 27°F (80°F) or 32°C (90°F) would be a lot better. Some time in the sun should help with that.
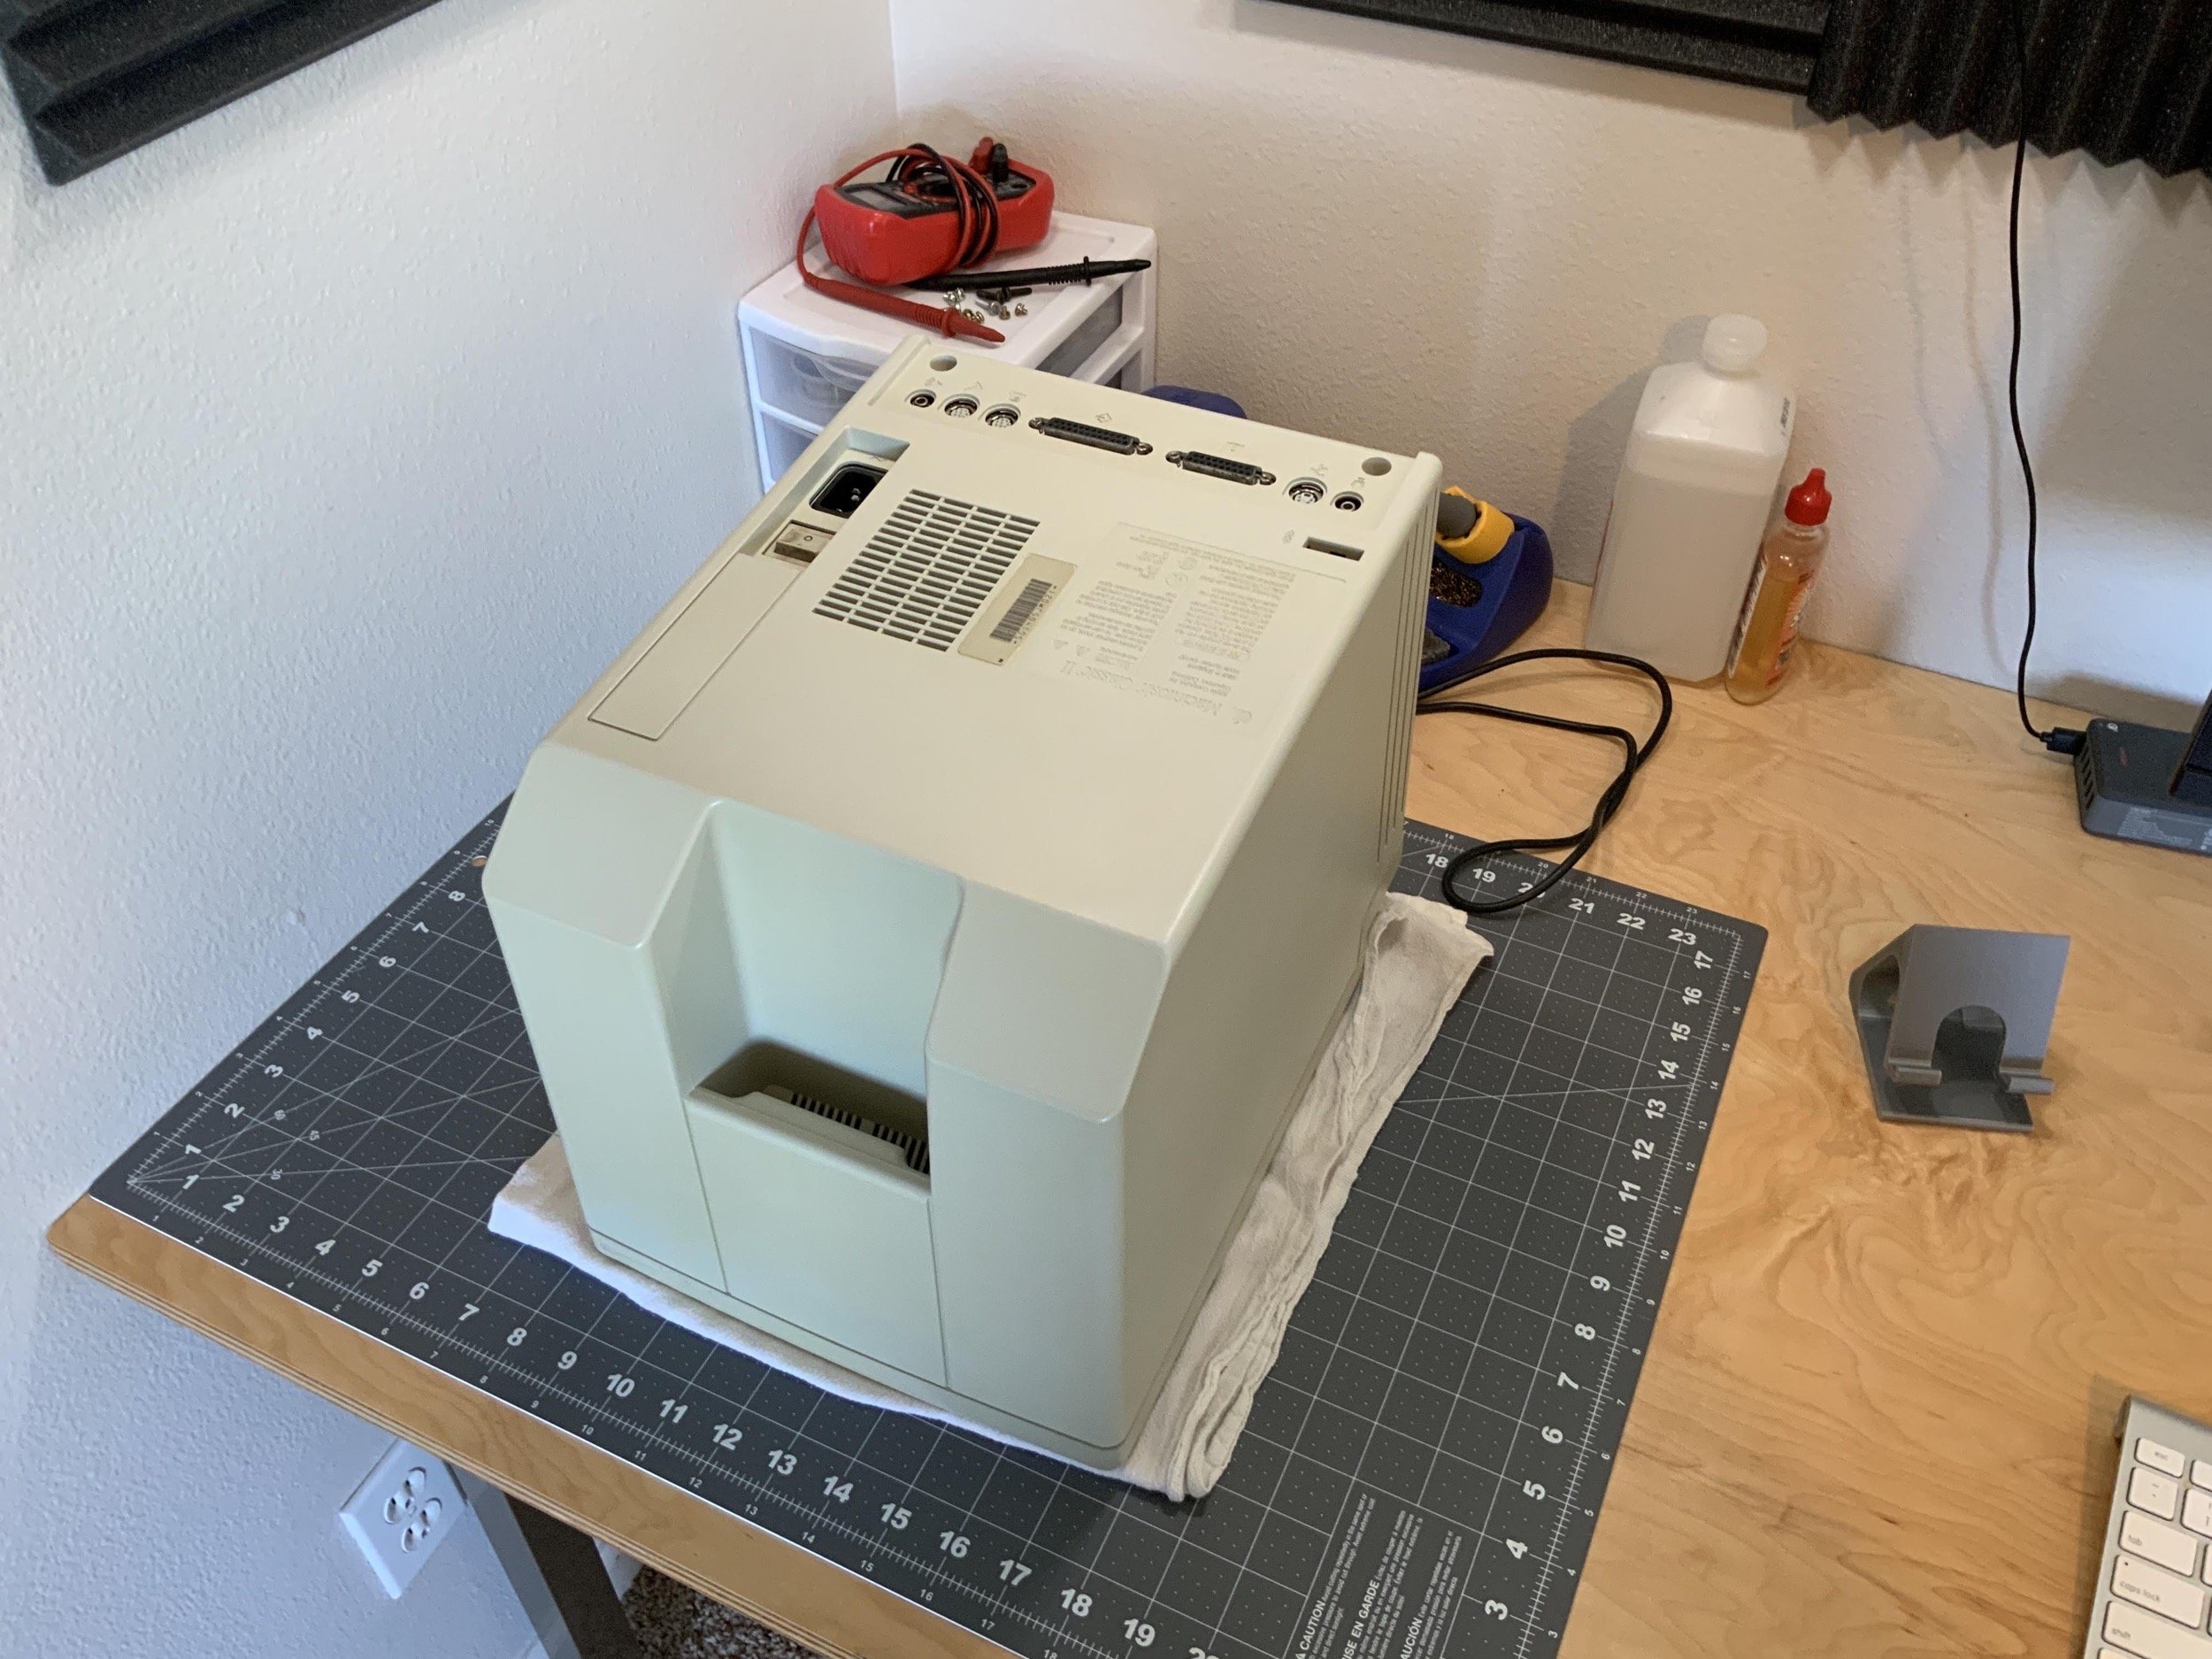
Even though it had been sitting for several days, the very first thing I did was follow the CRT discharge procedure. I always do this, but I’ve never heard even a little “snap” (even on my Mac Plus, which does not have a resistor to bleed off the CRT). I think it’s because I always let them sit for at least 4 hours (but usually a day) before discharging.
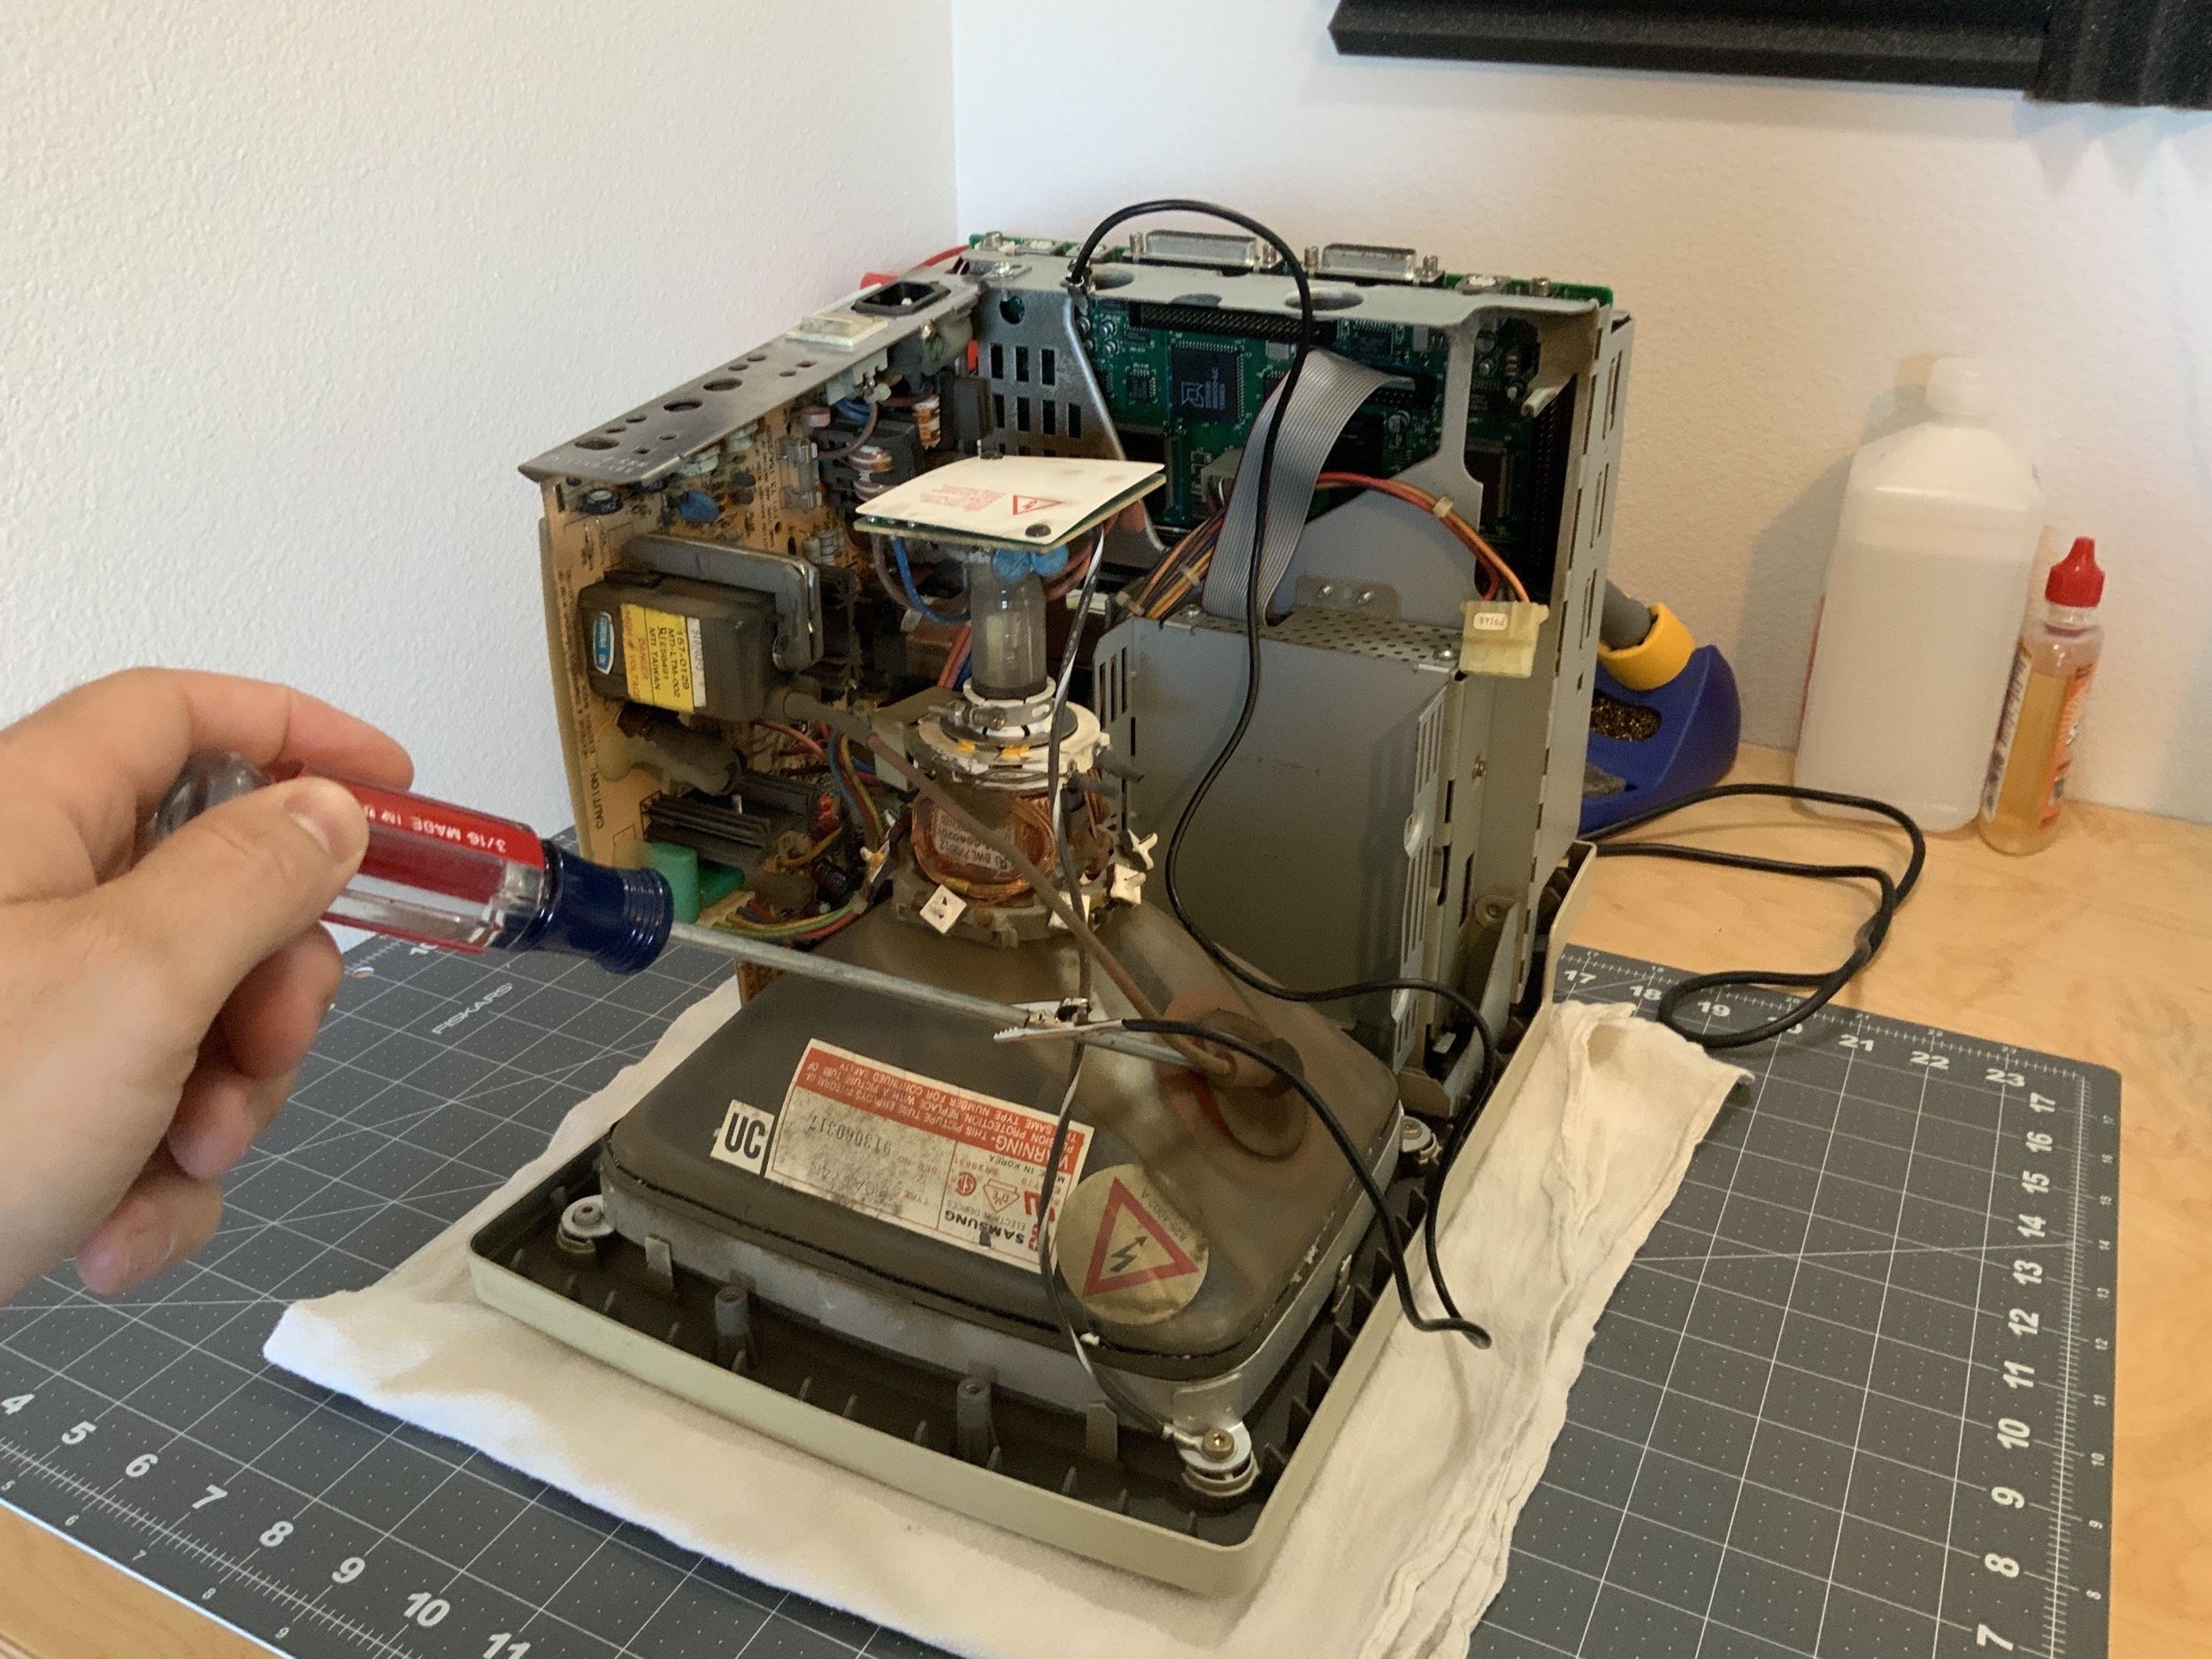
I found that the chassis and fan shroud are one piece, as the shroud posts are melted into place. I decided to keep these two parts together.
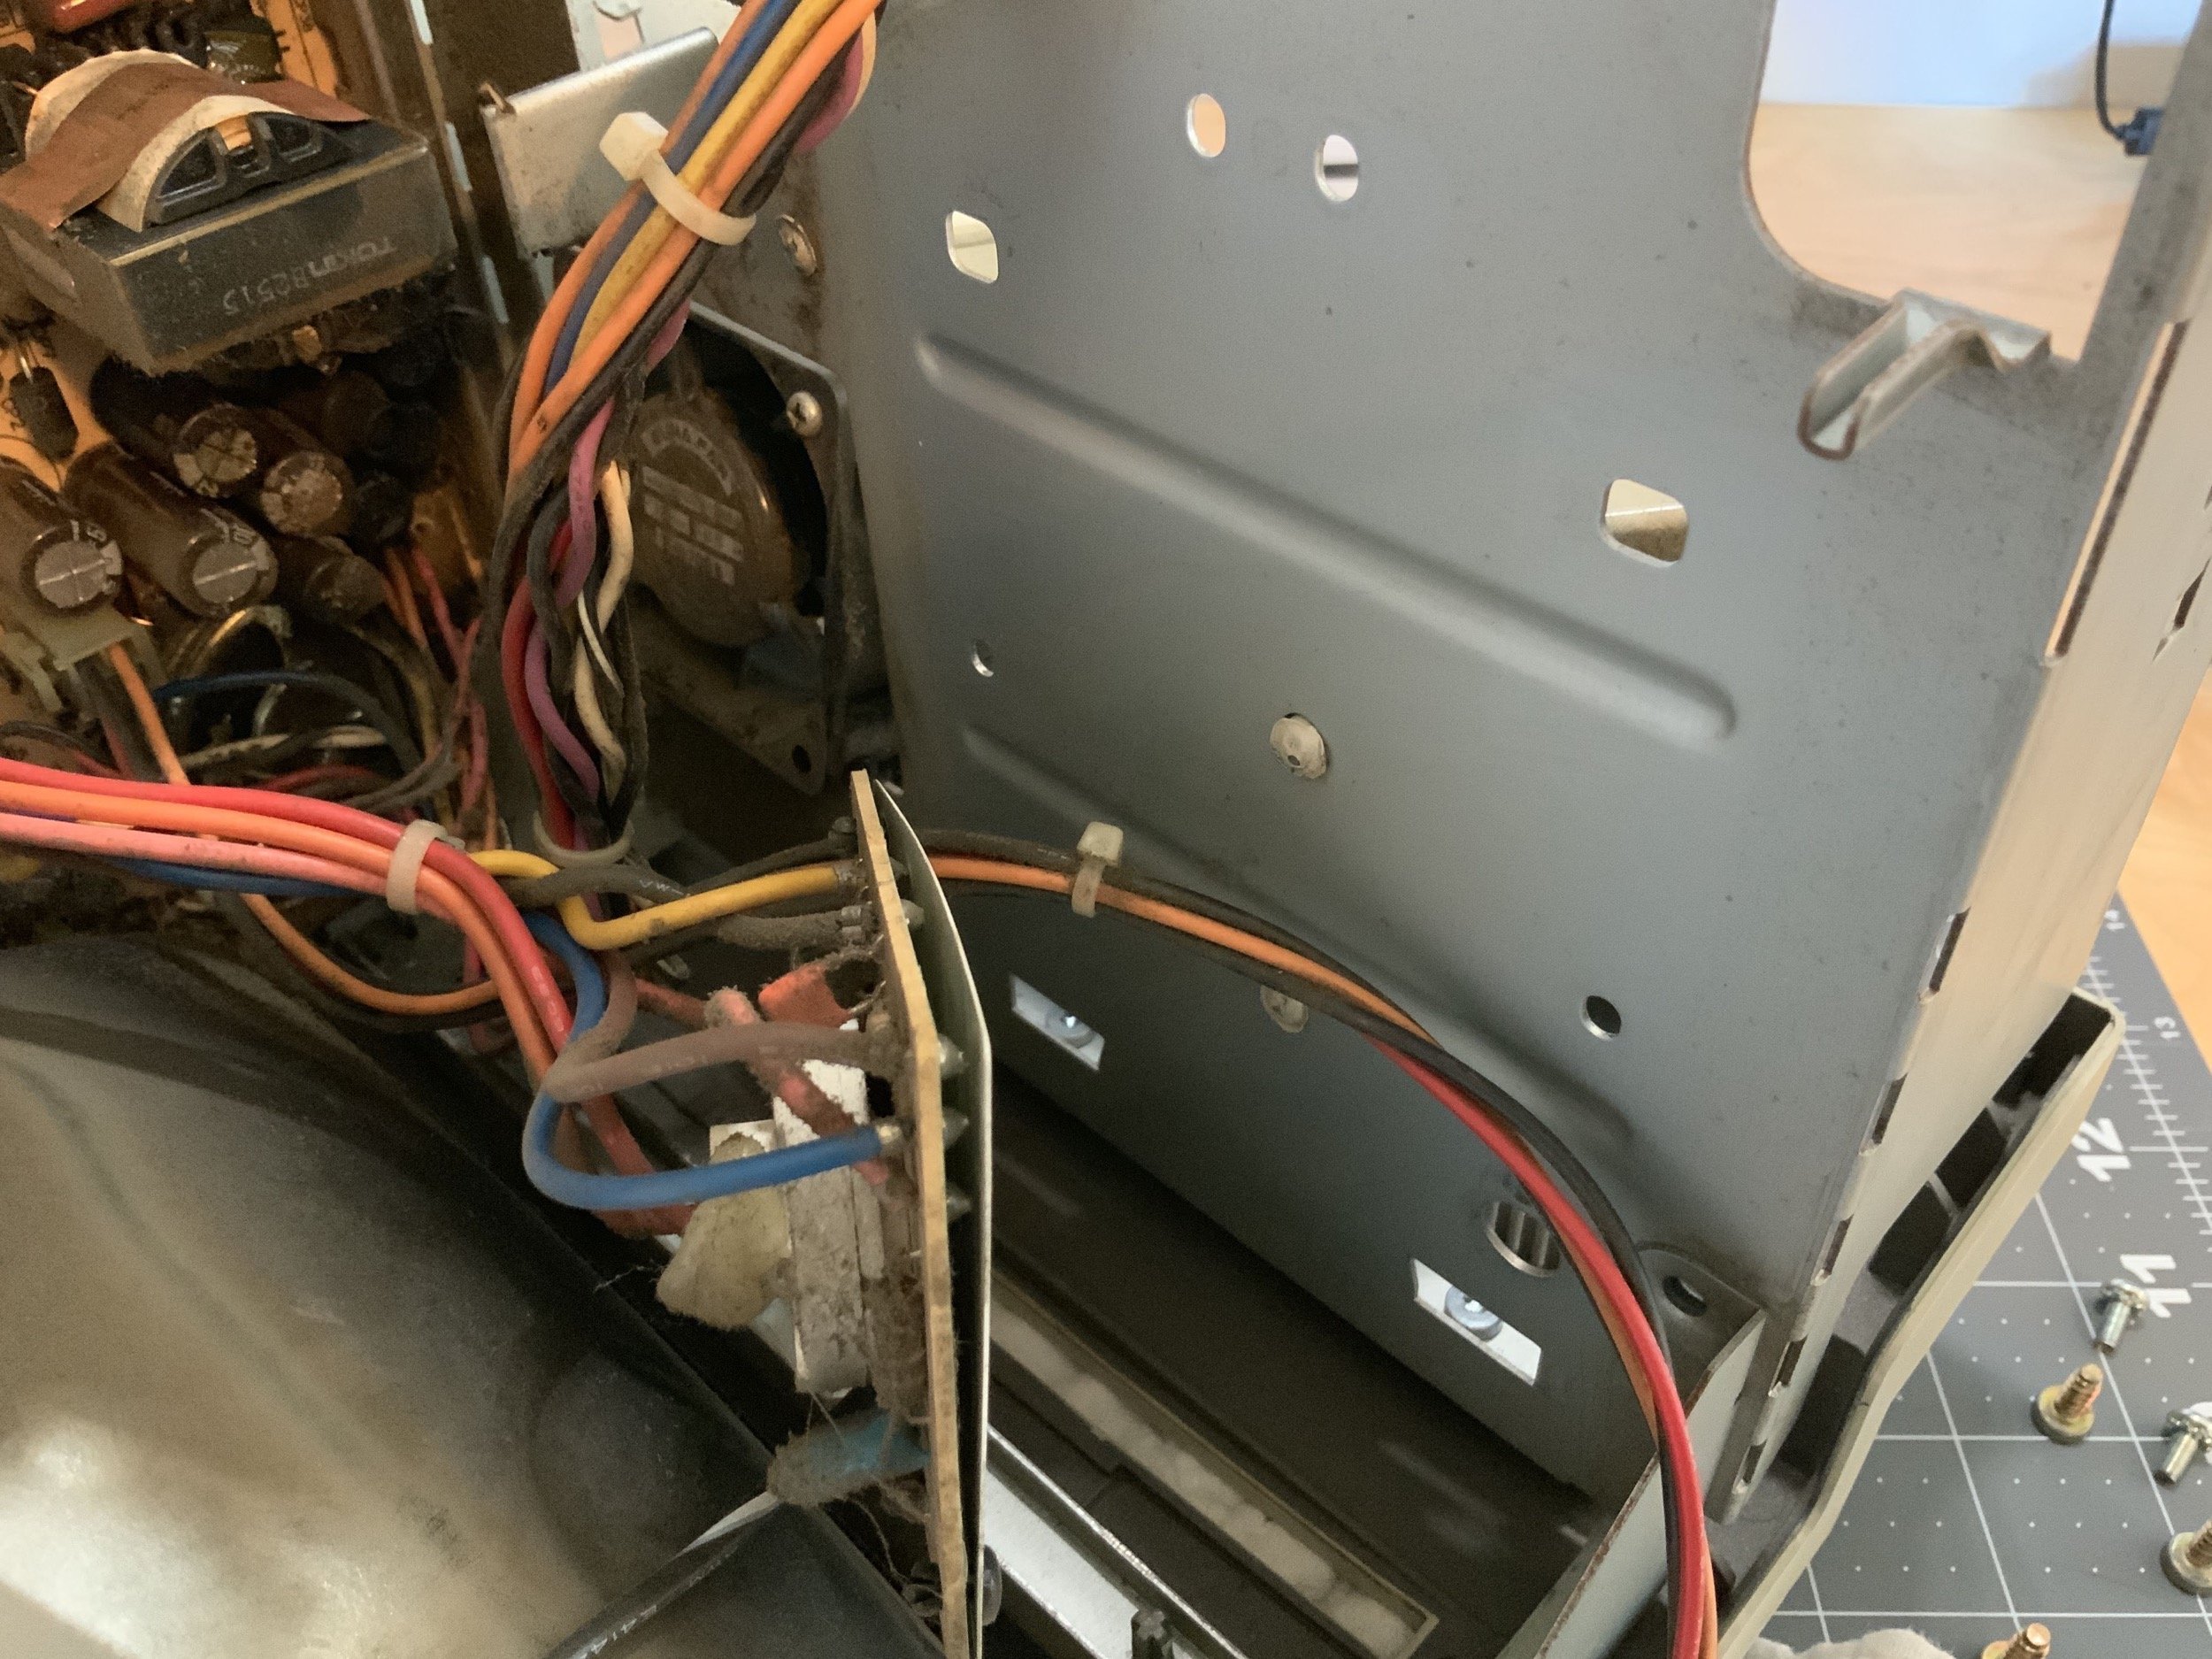
Compared to other black-and-white compact Macs, the Classic II comes apart super easily. The Macintosh Plus has awful analog to logic board connectors, the SE is very cramped for disconnecting things, and the SE also has the screen brightness knob to sneak in and out. There is nothing of the sort on the Classic II, just plenty of room for unplugging HDD, FDD, and power cables.
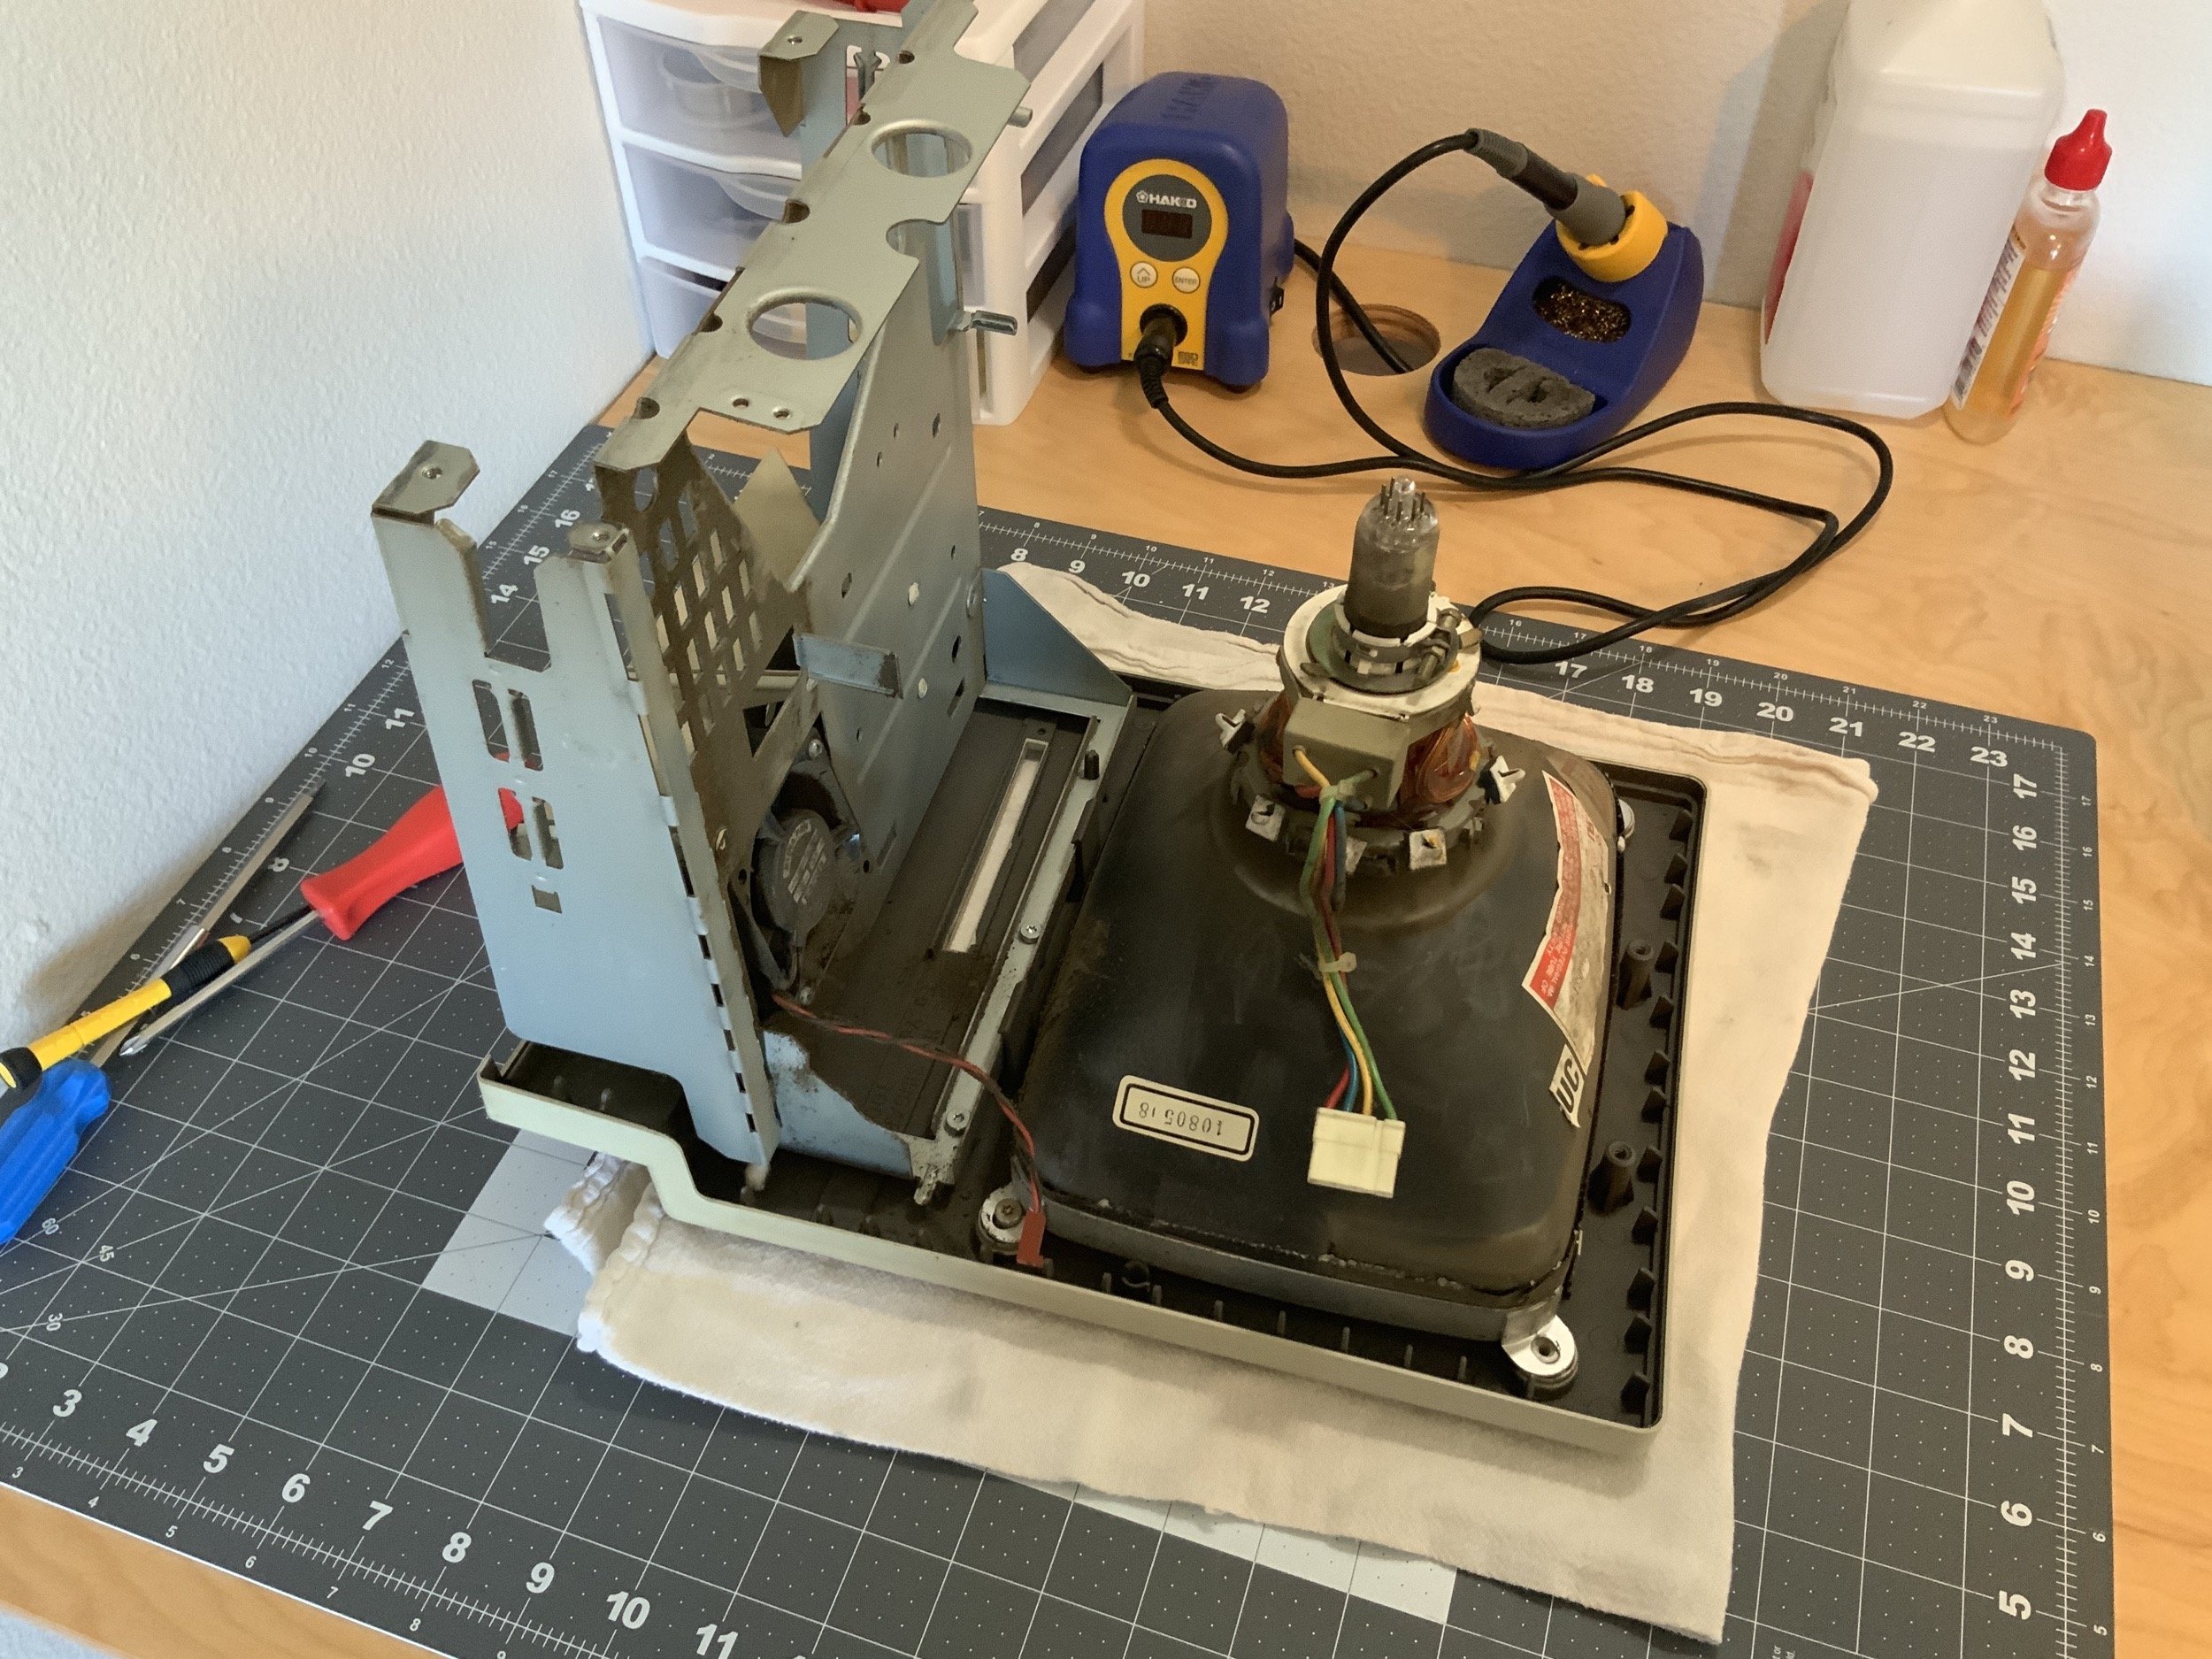
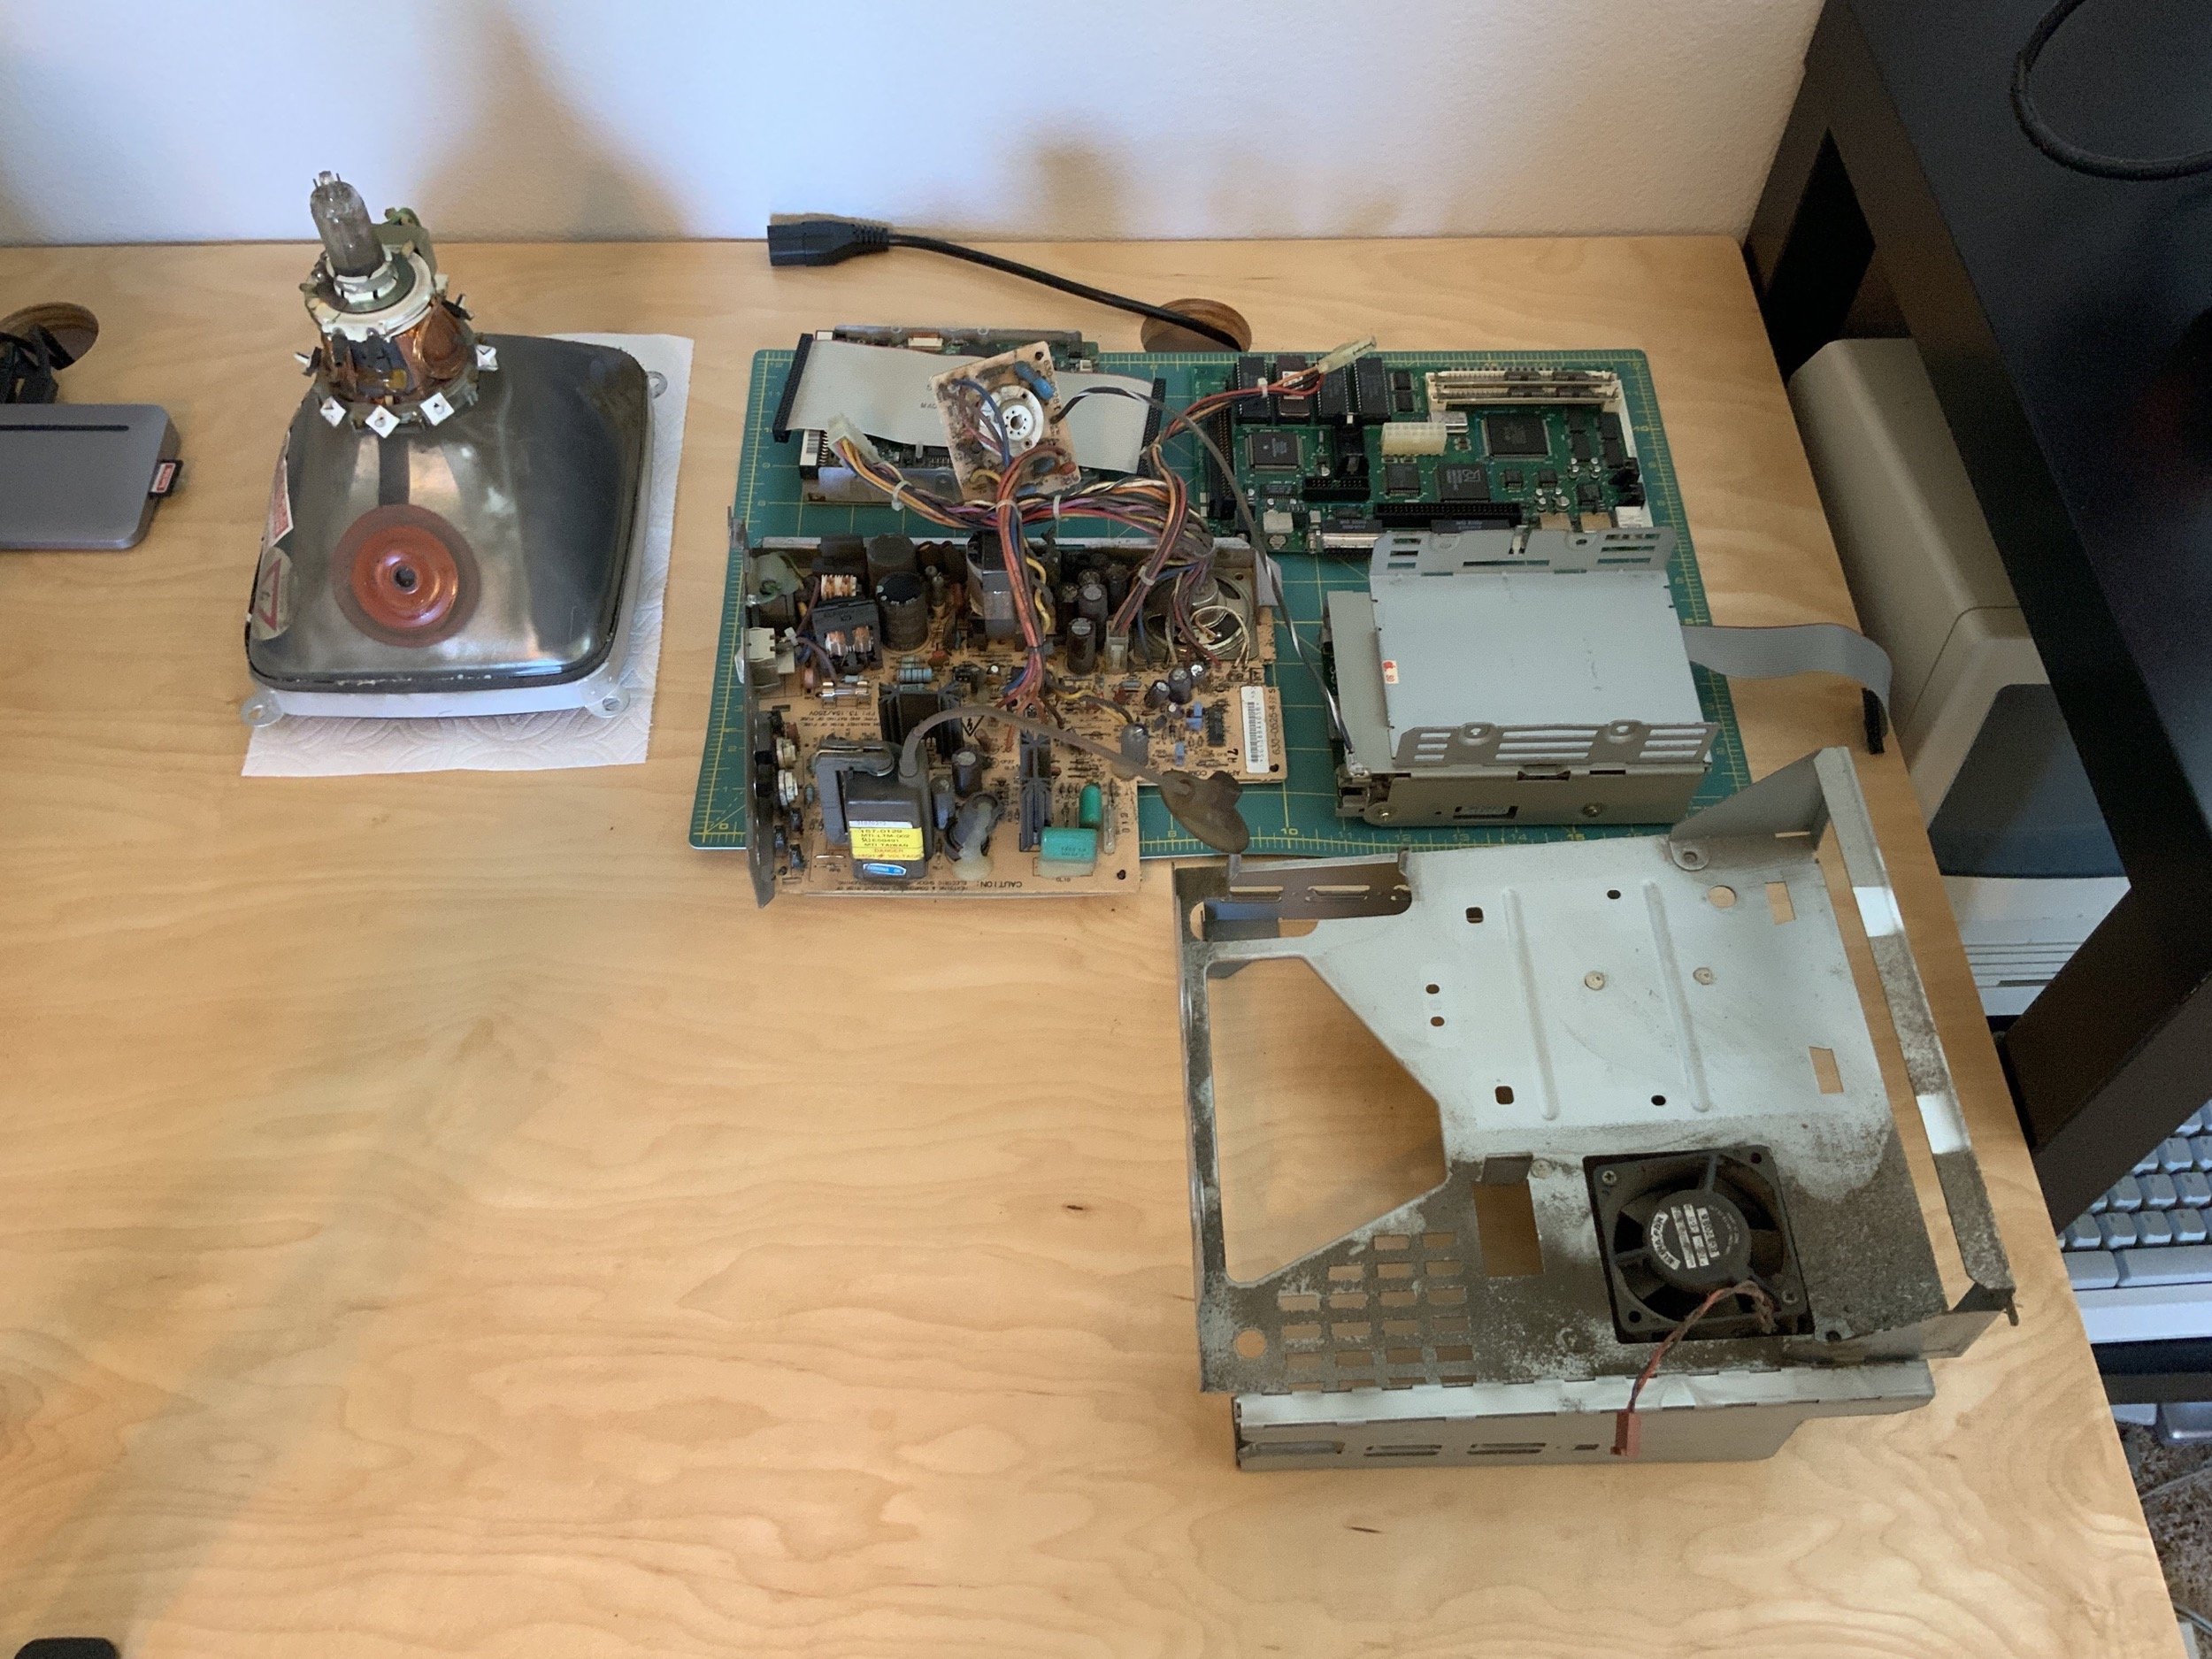
At this point, it was completely apart.
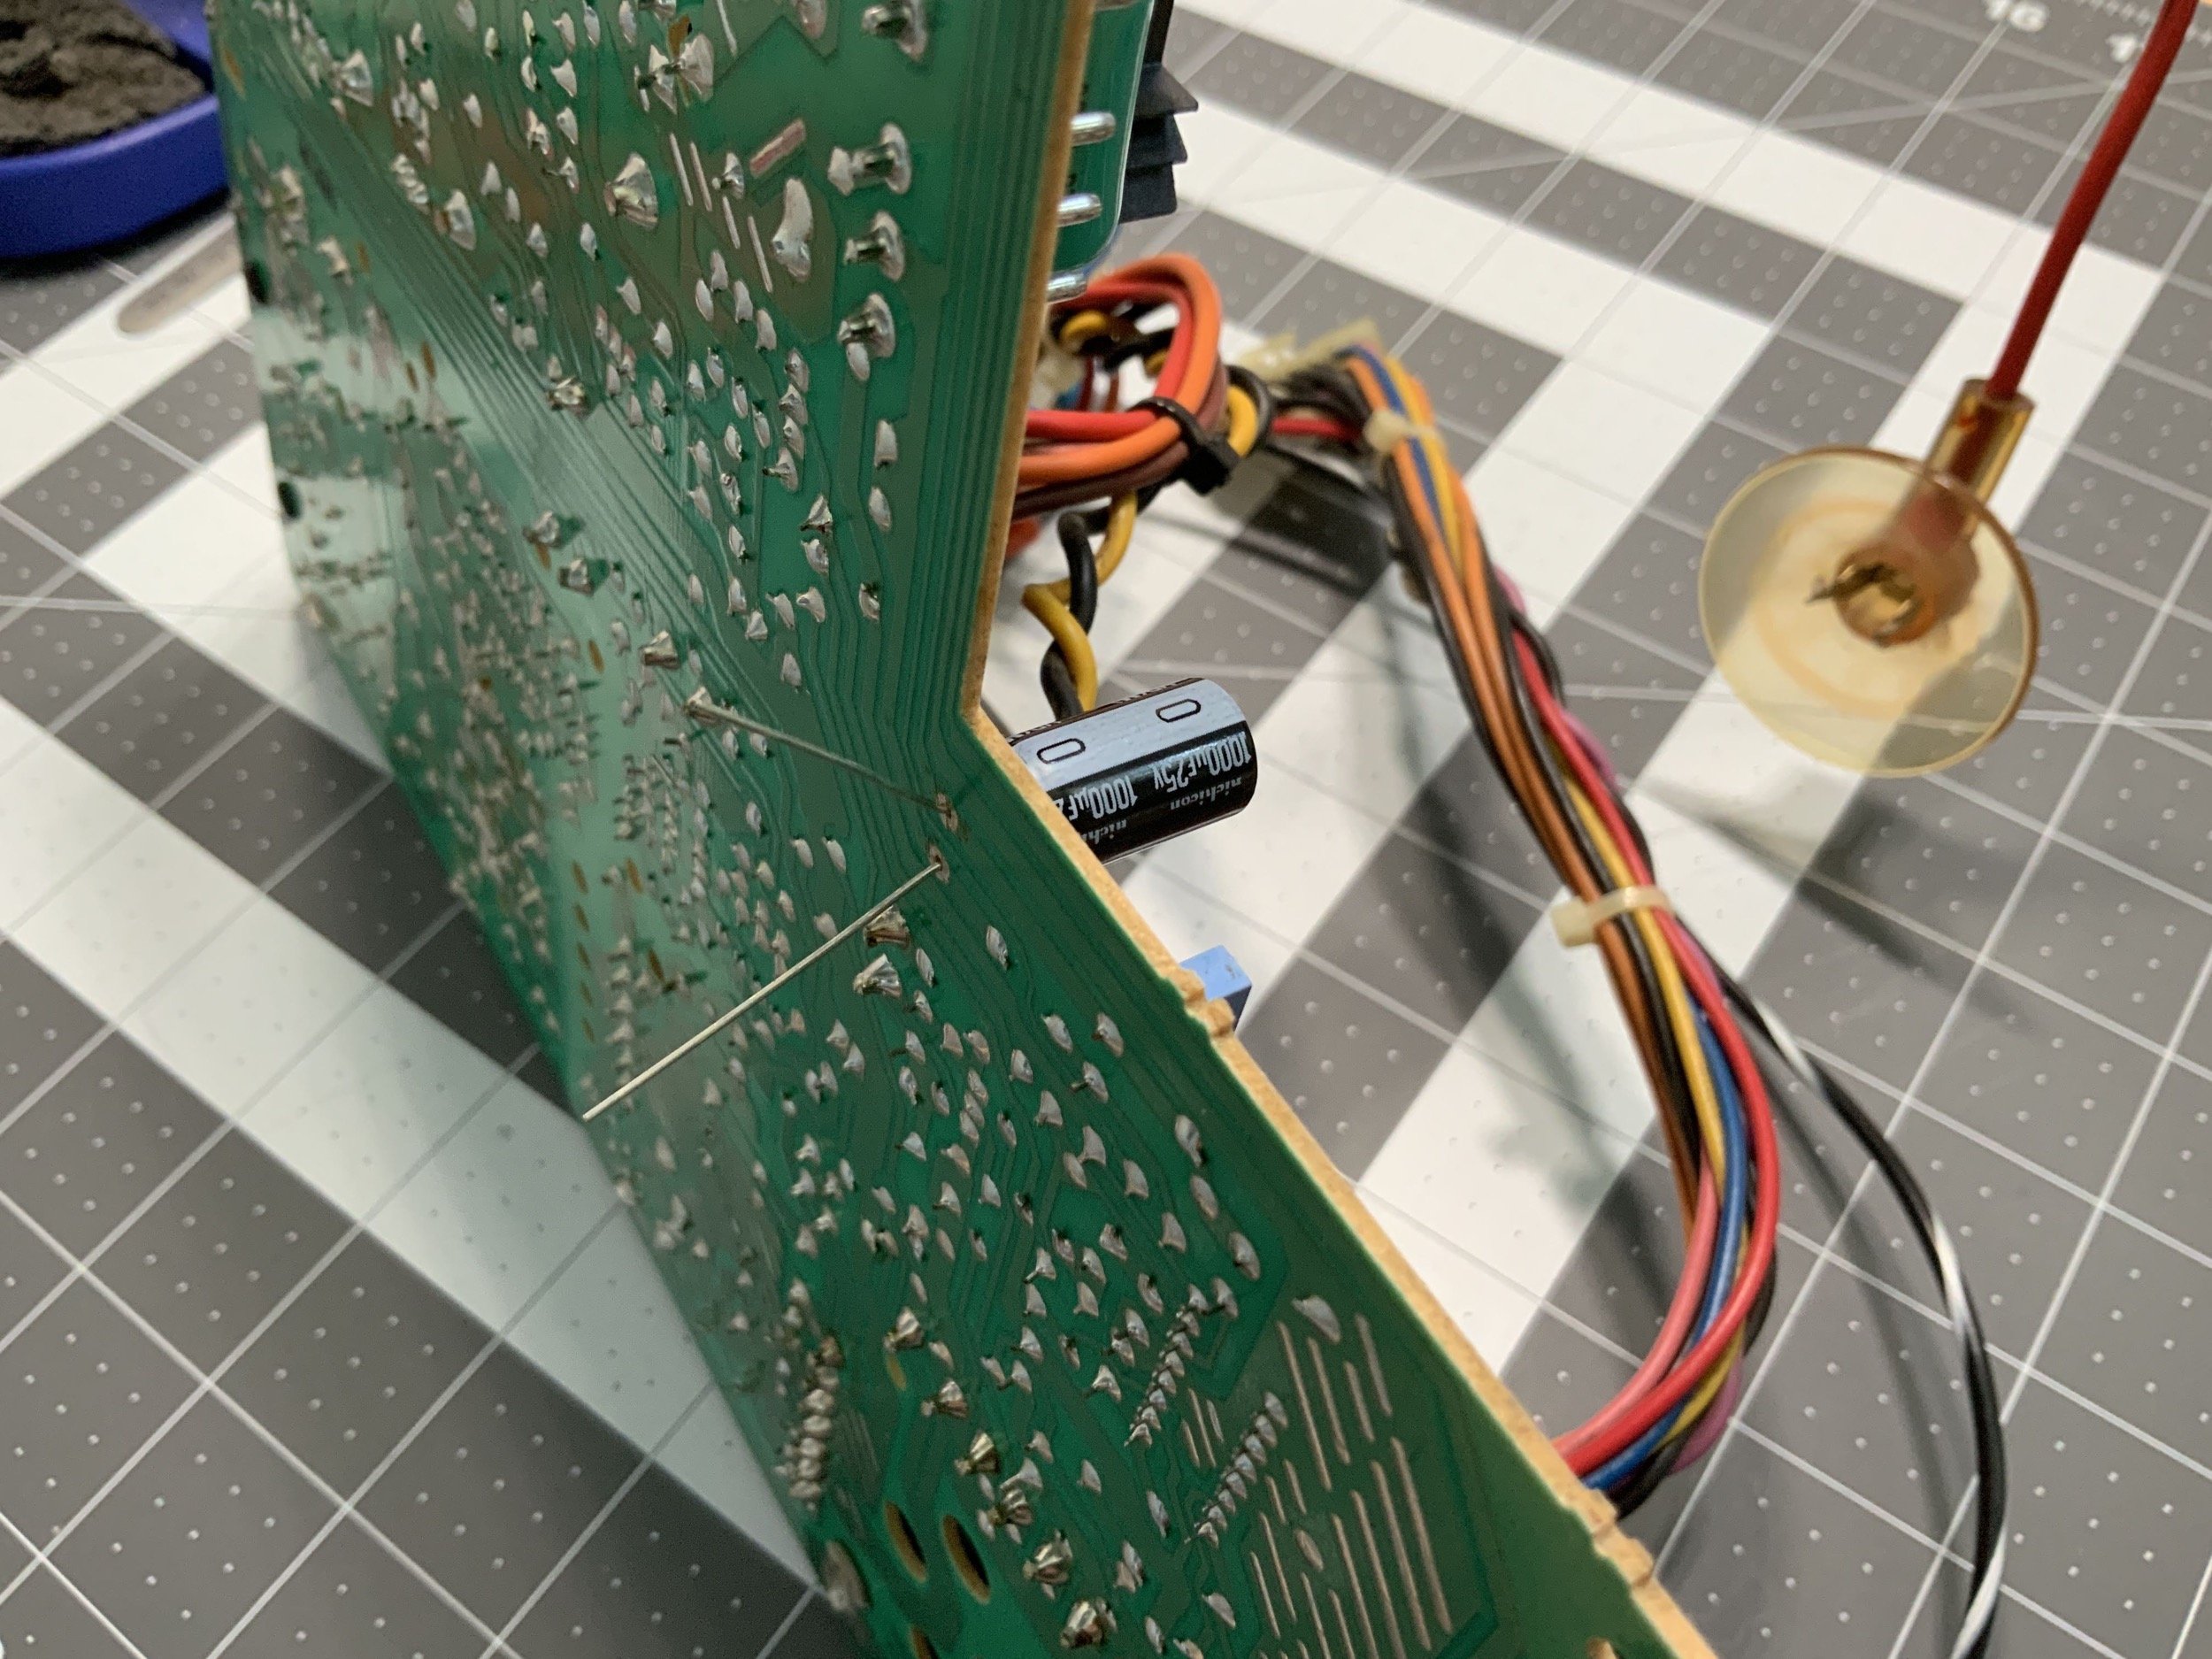
With everything apart, I could inspect the analog board. I was not at all surprised to notice several bulging and leaking capacitors, and ordered new ones right away (but I’ll get into the specifics later).
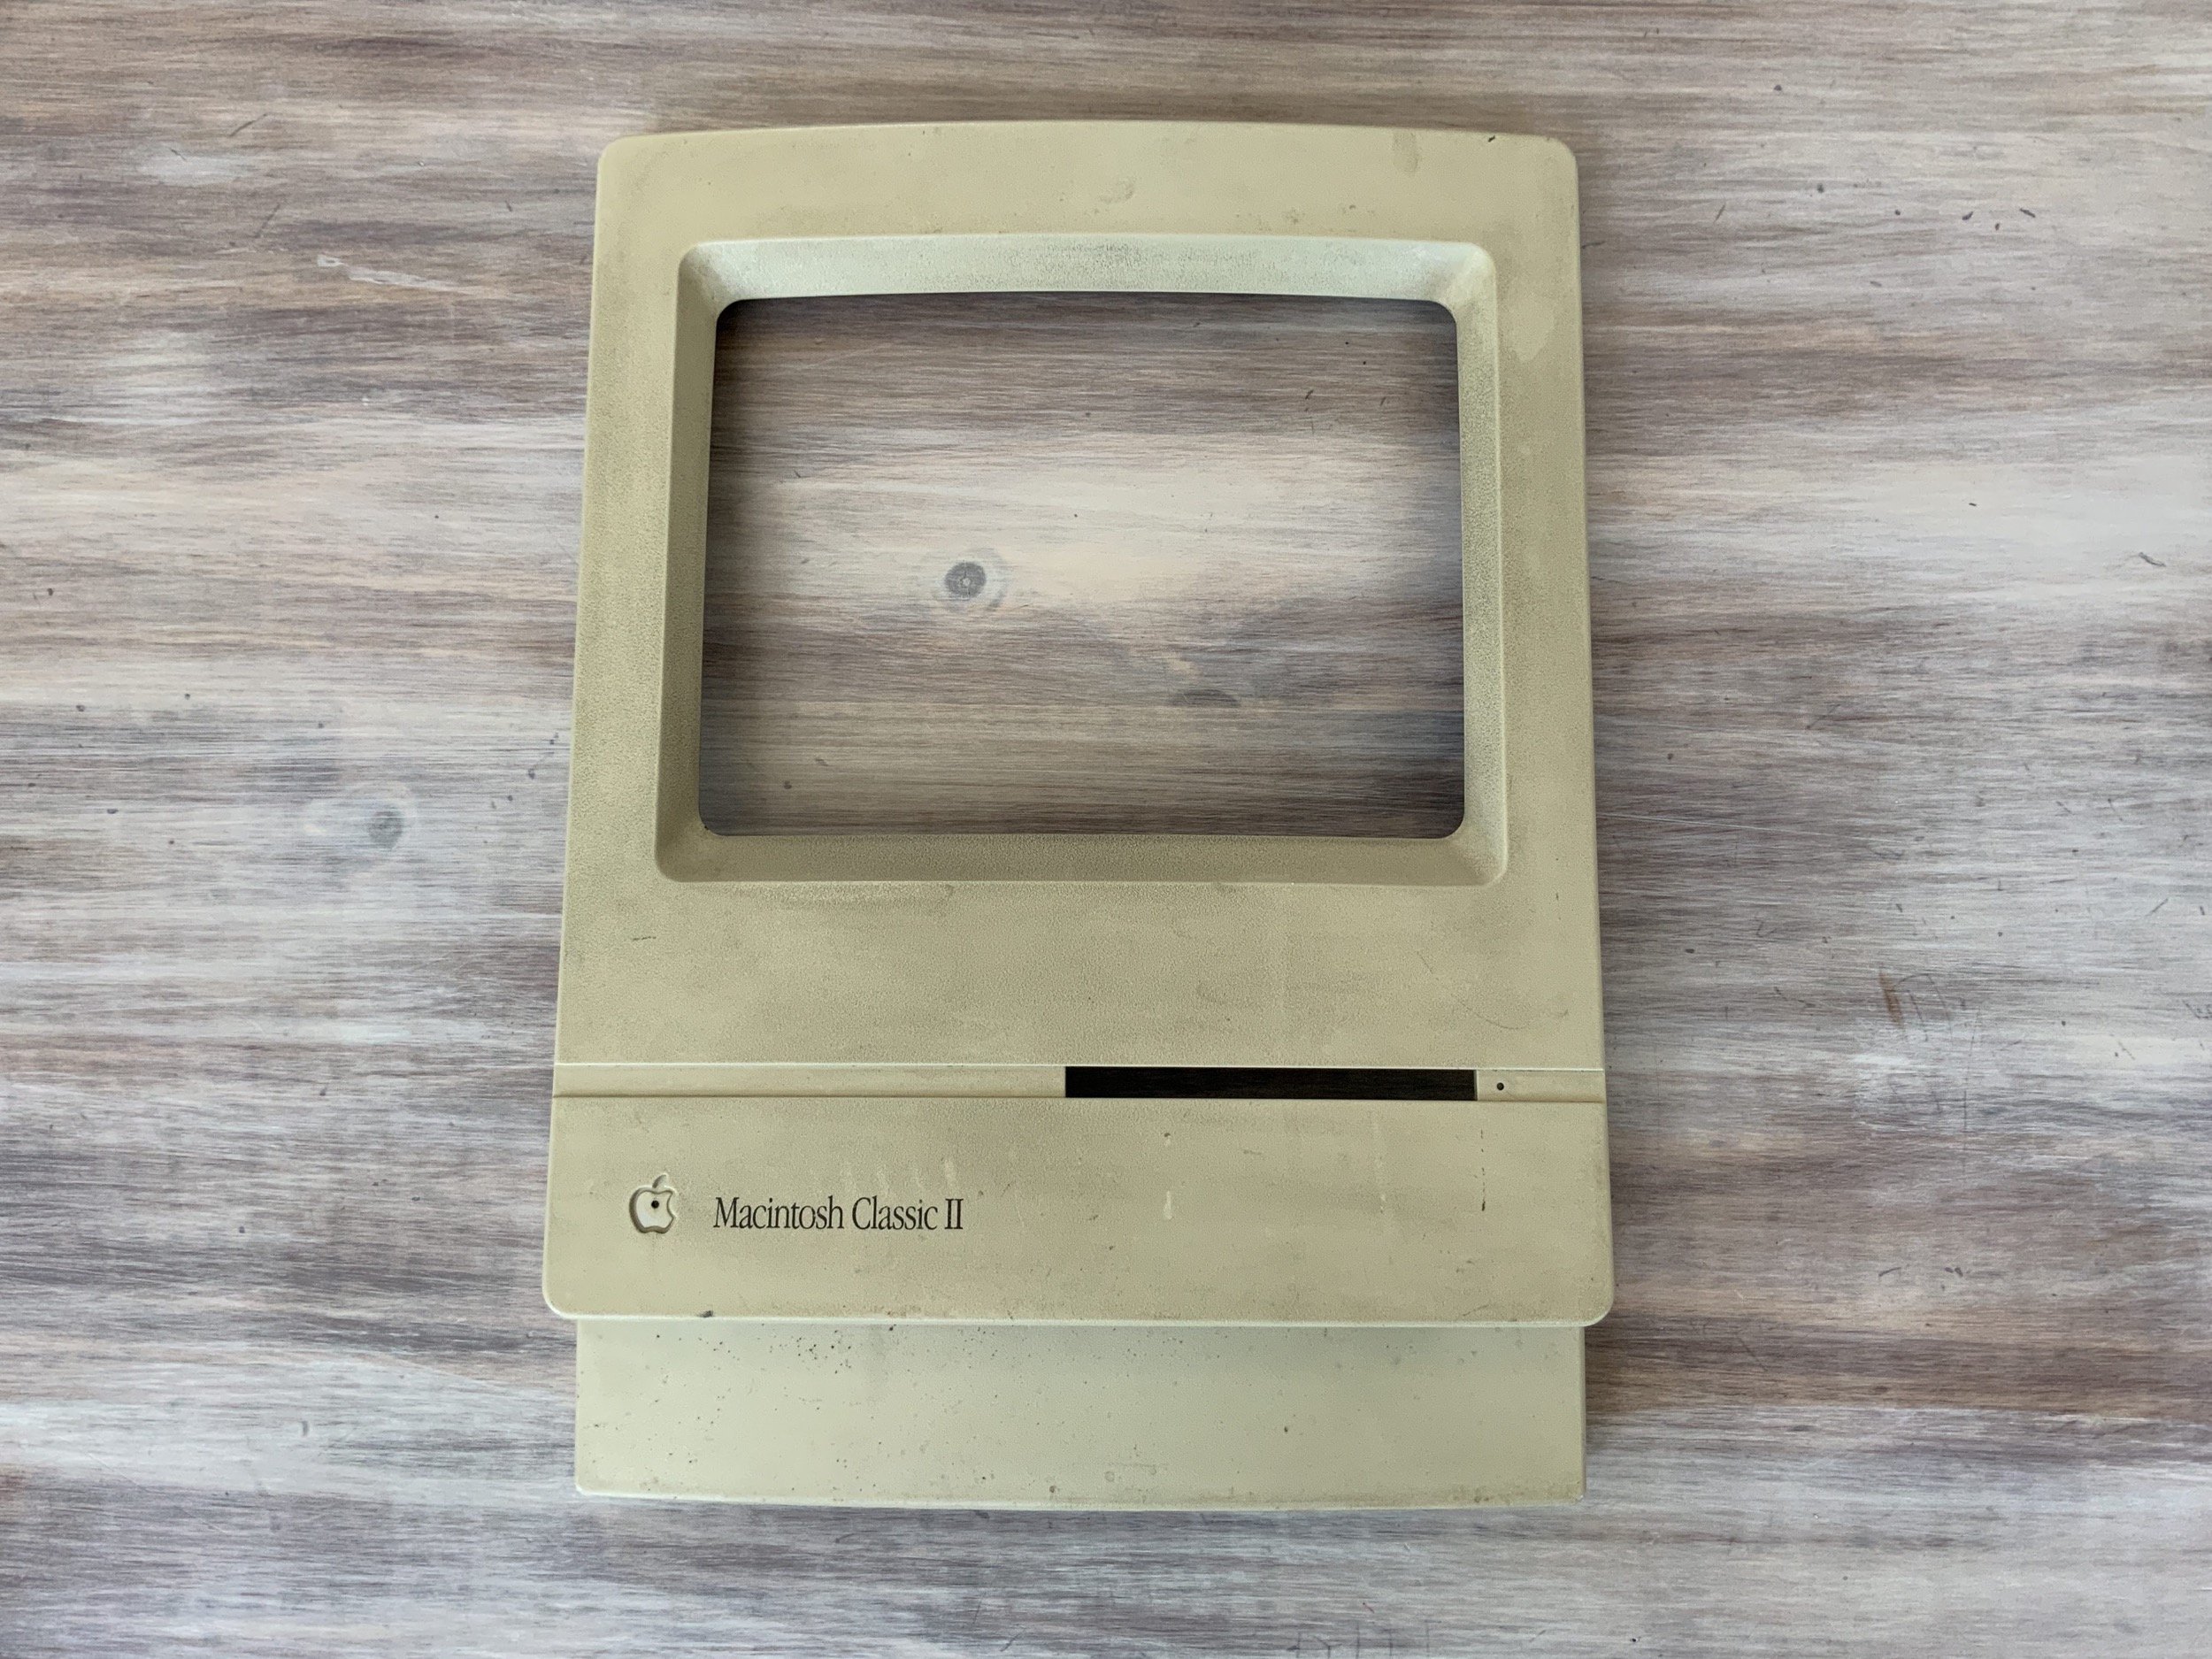
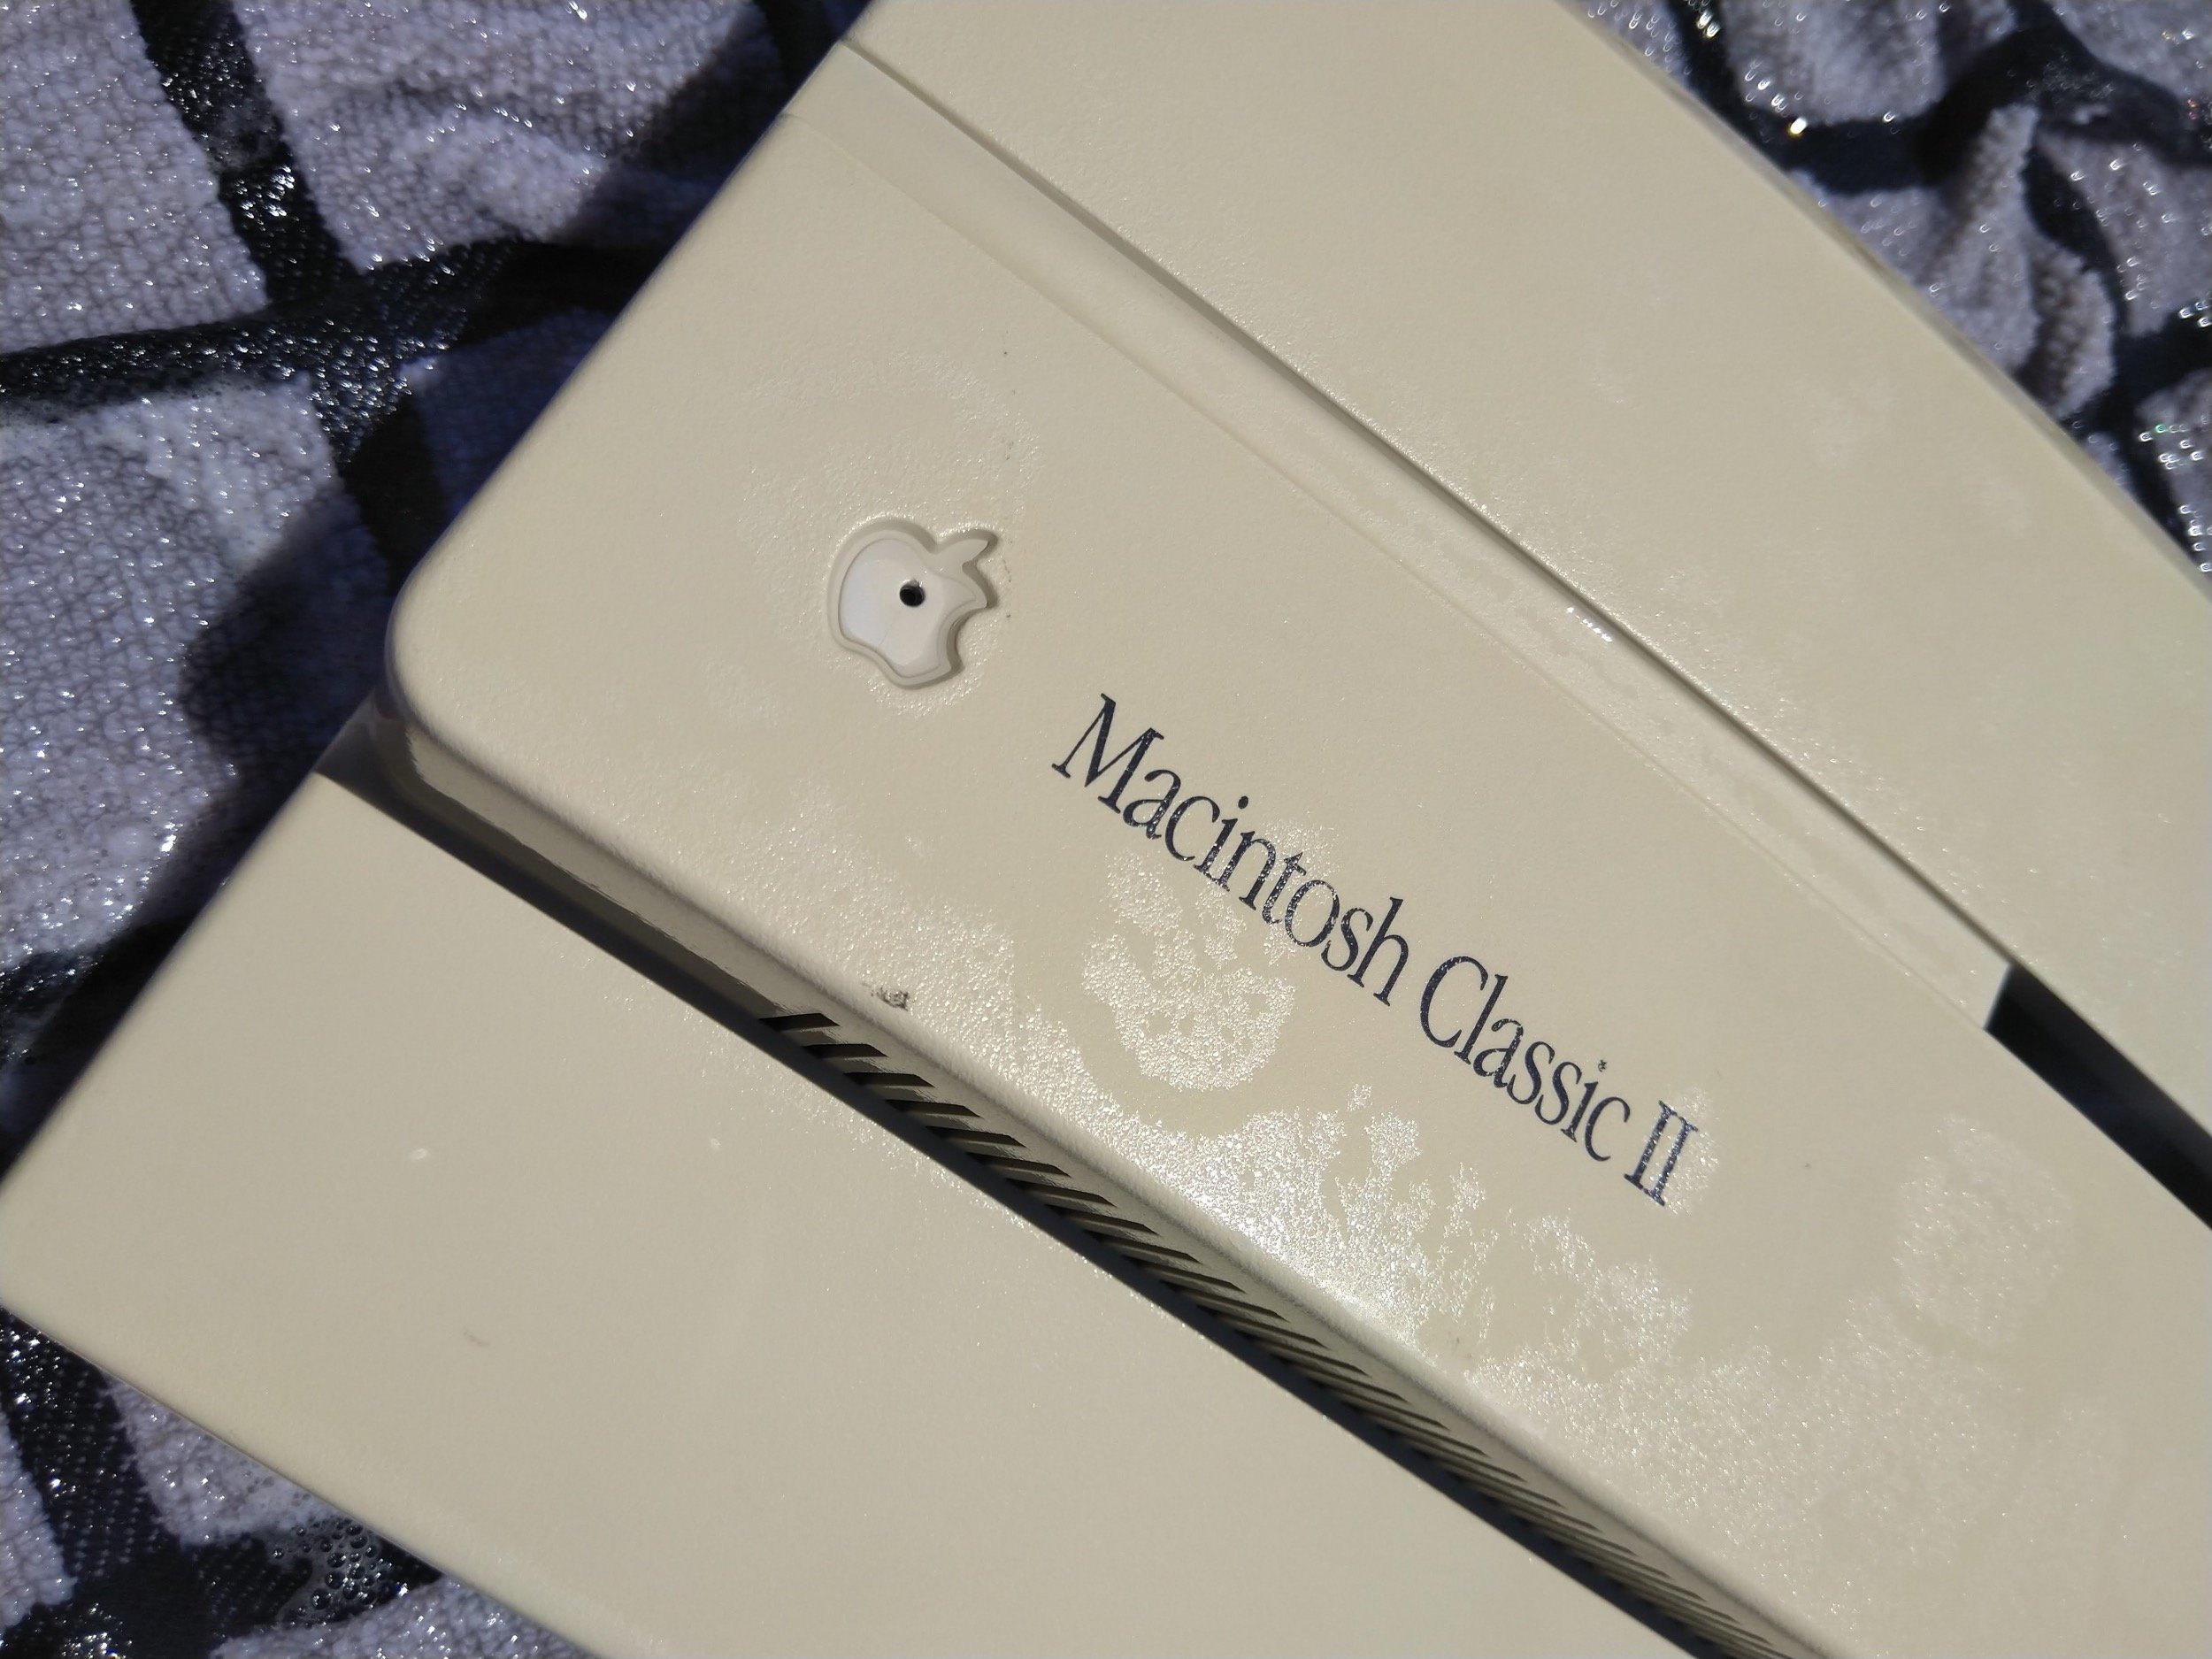
It’s important to pop the Apple badge out with something small enough to go through the hole, but not sharp enough to puncture the logo (which I’ve done). Removing this is critical when using sunlight and/or heat in the retrobrite process. I had previously learned this the hard way on an M0116 keyboard, where I bleached the red stripe completely out.
It’s also nice to use the plastic behind the badge to see how the retrobrite is coming along.
![]()
For comparison, here’s the front before cleaning.
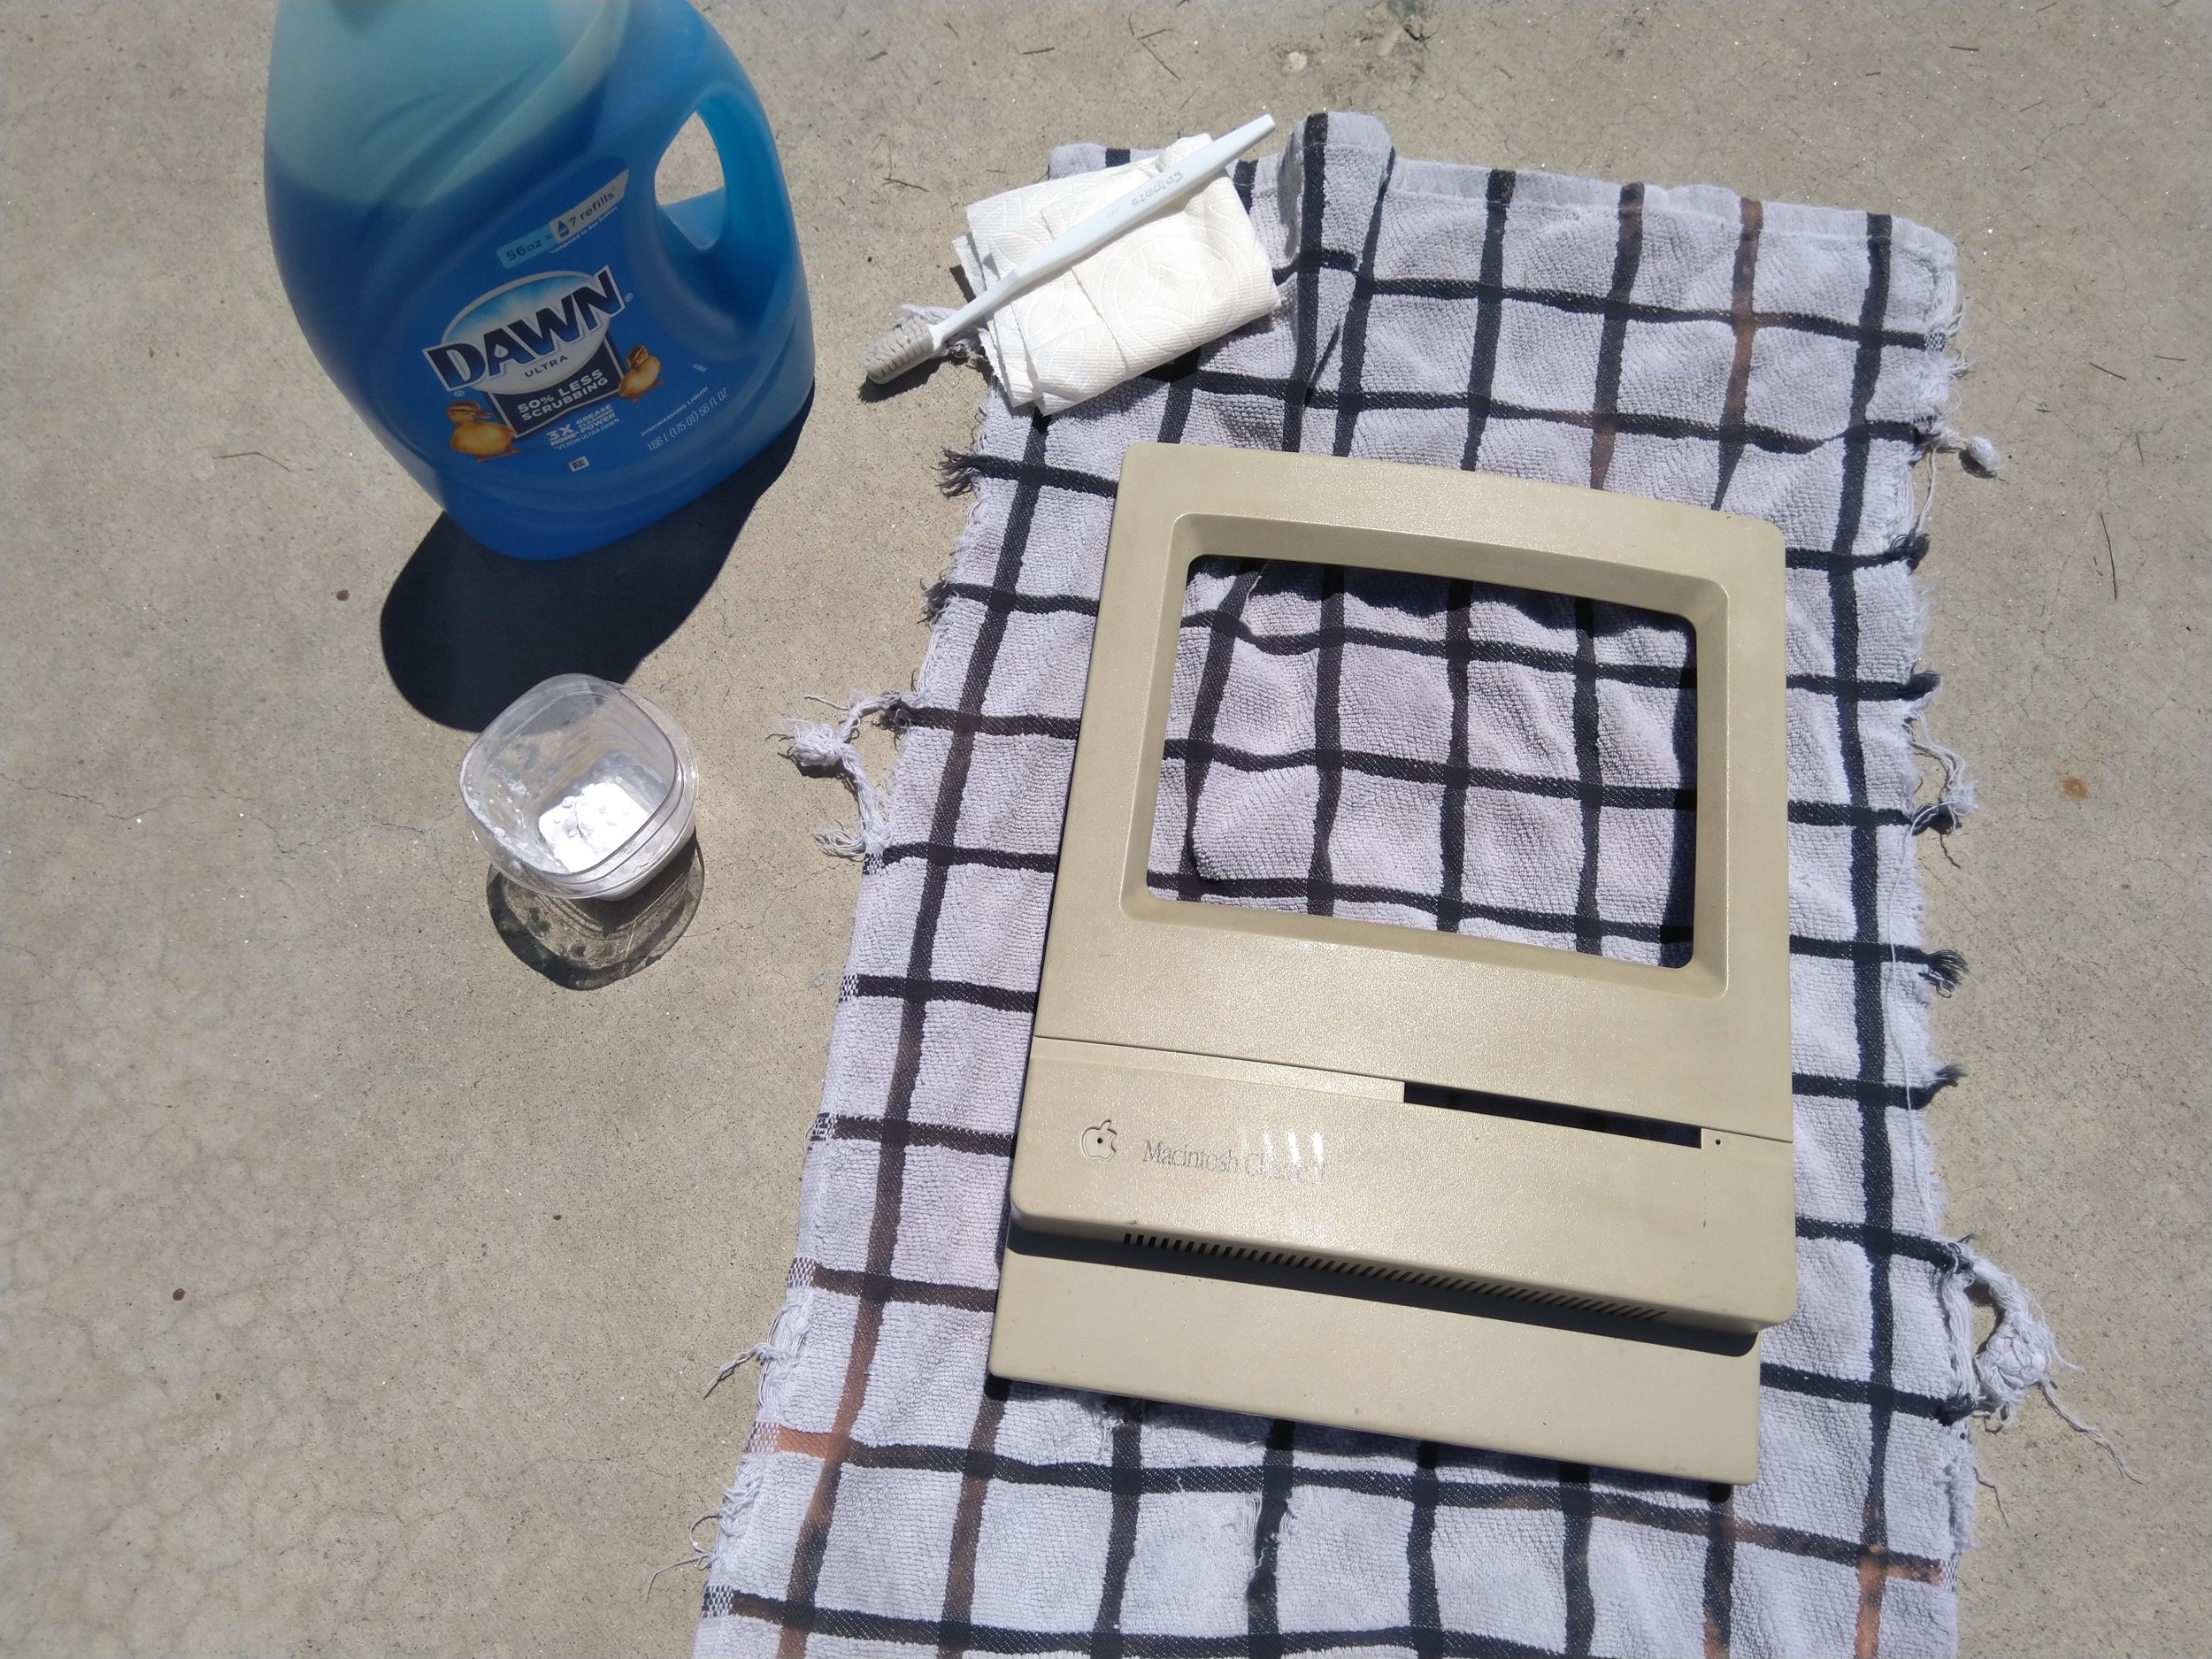
Cleaning
Finally, the moment we’ve all been waiting for: cleaning! I used the usual supplies here: Dawn dishwasher detergent, a cheap toothbrush from a hotel, and for the stubborn stuff, a wet paper towel and baking soda.
Look at the grease coming off! So satisfying! The effect was even greater in person.
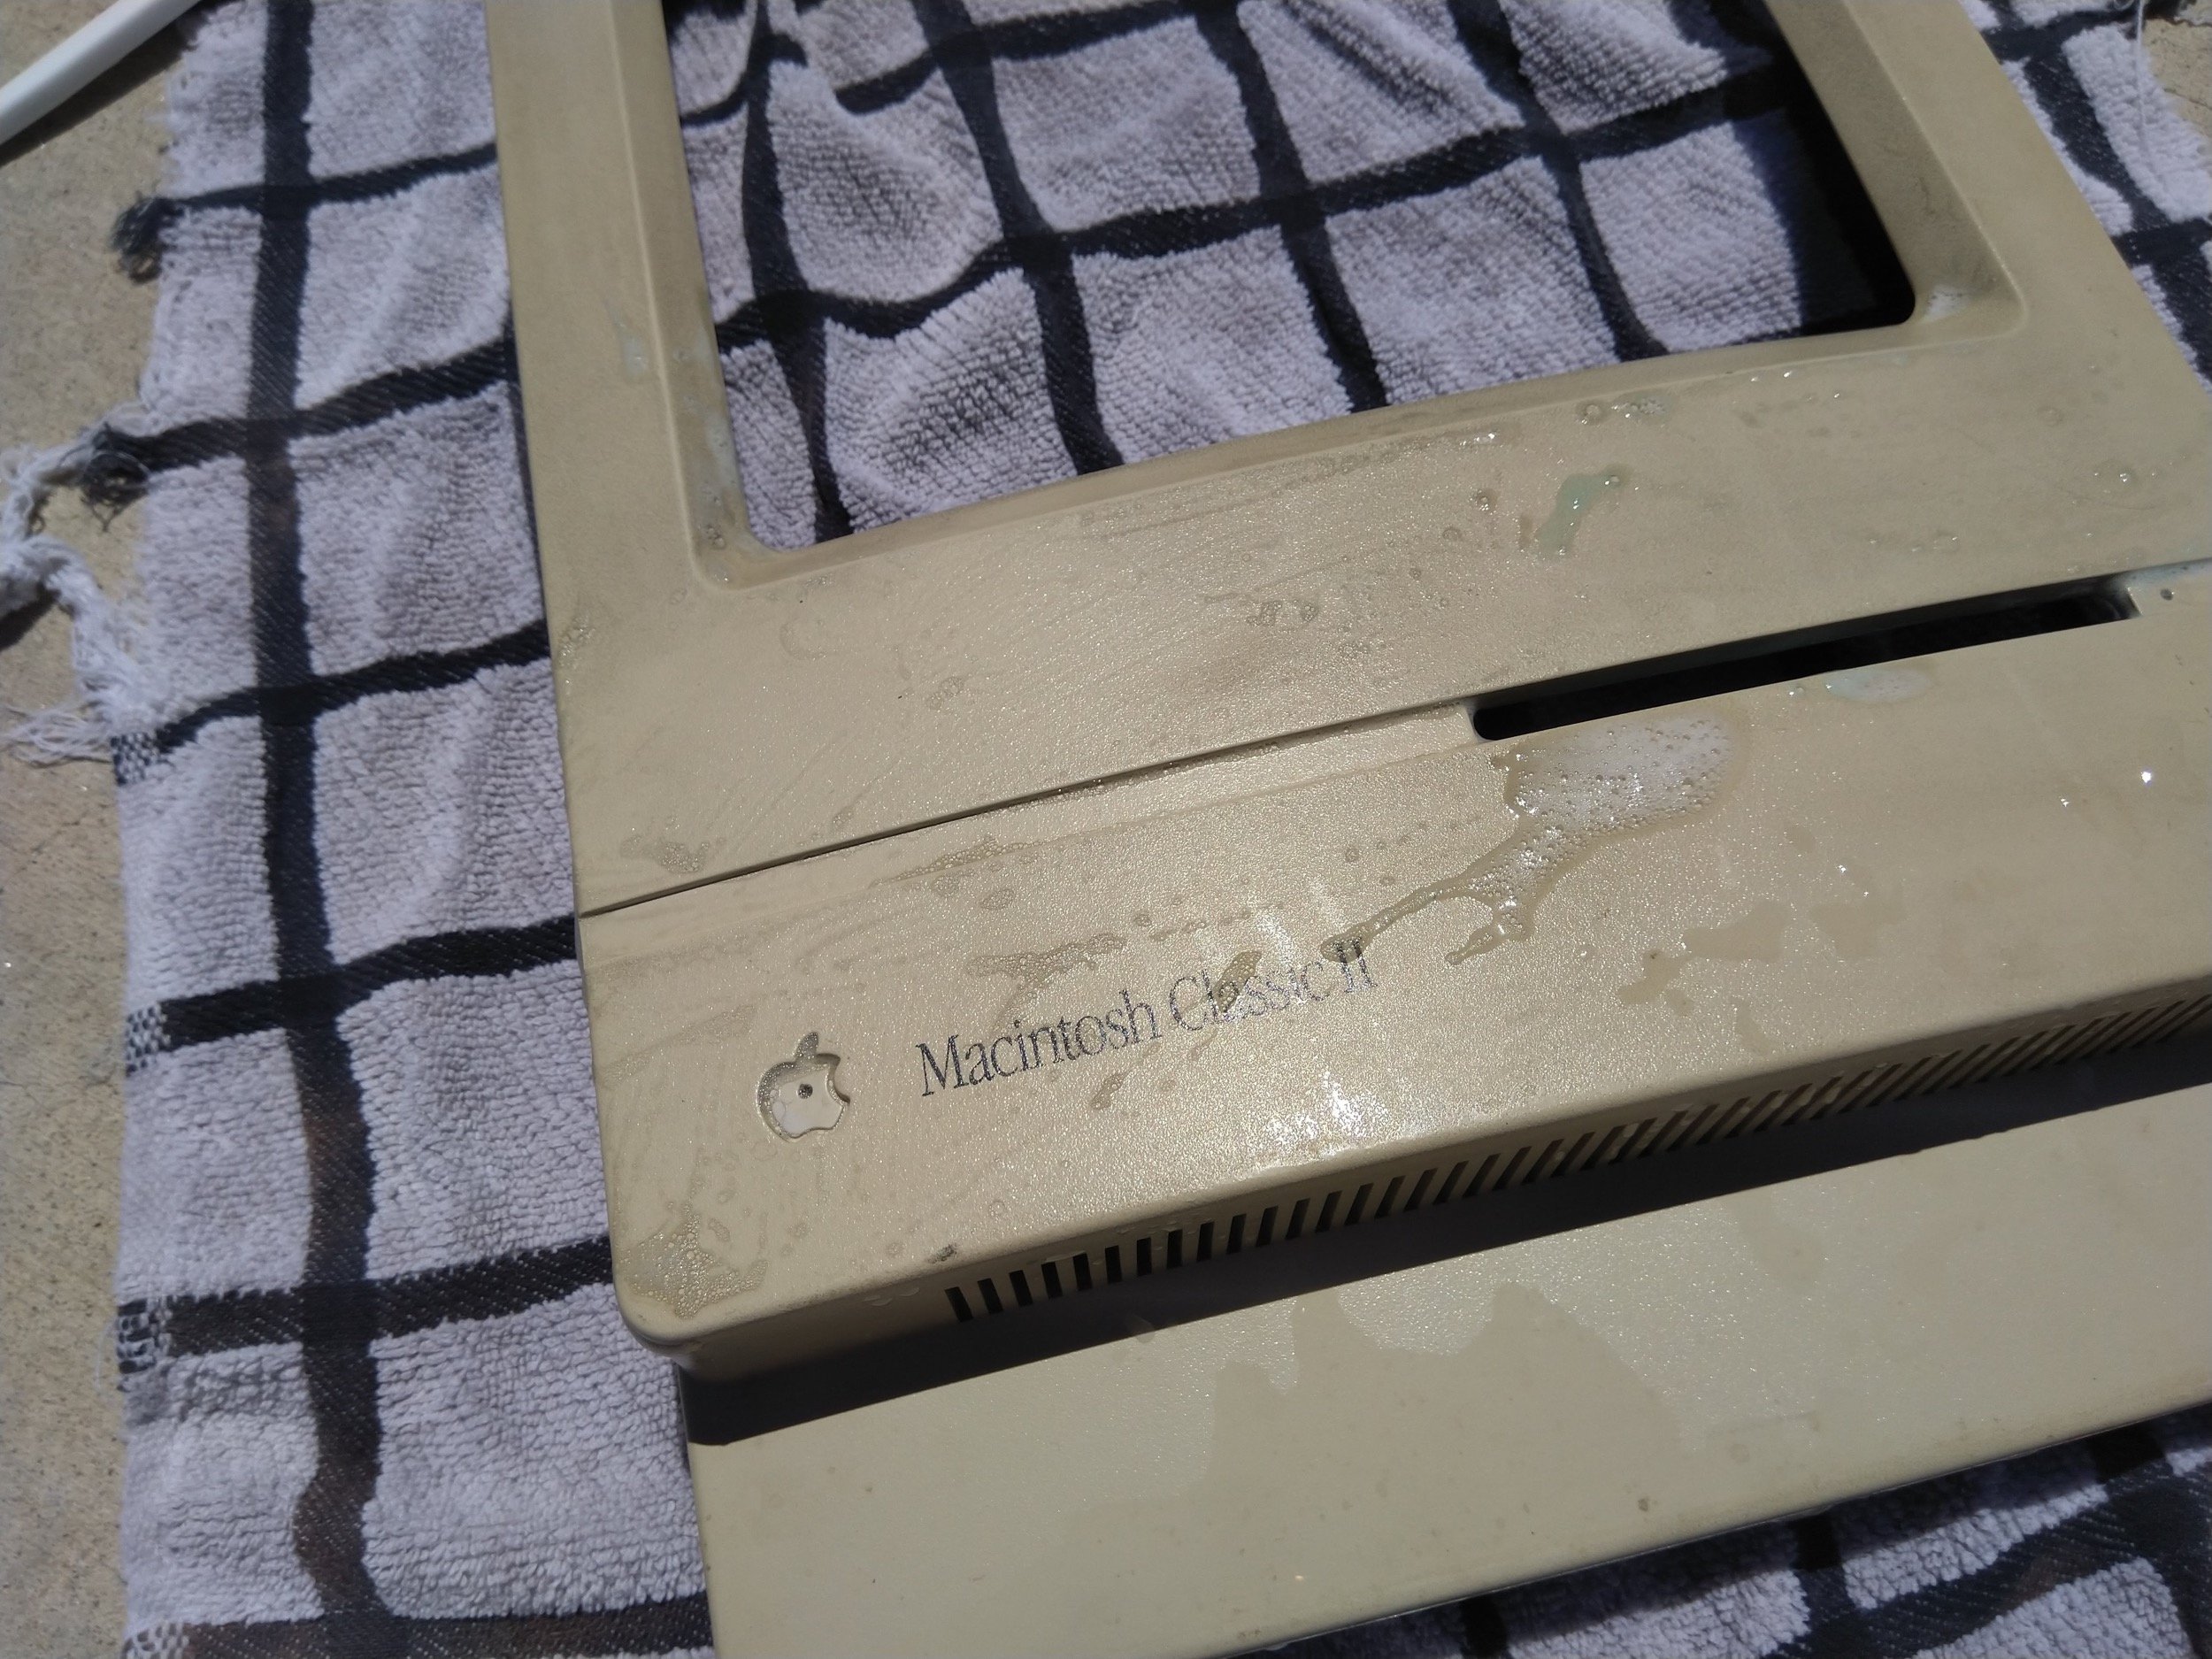
The first round of scrubbing with soap and water worked miracles!
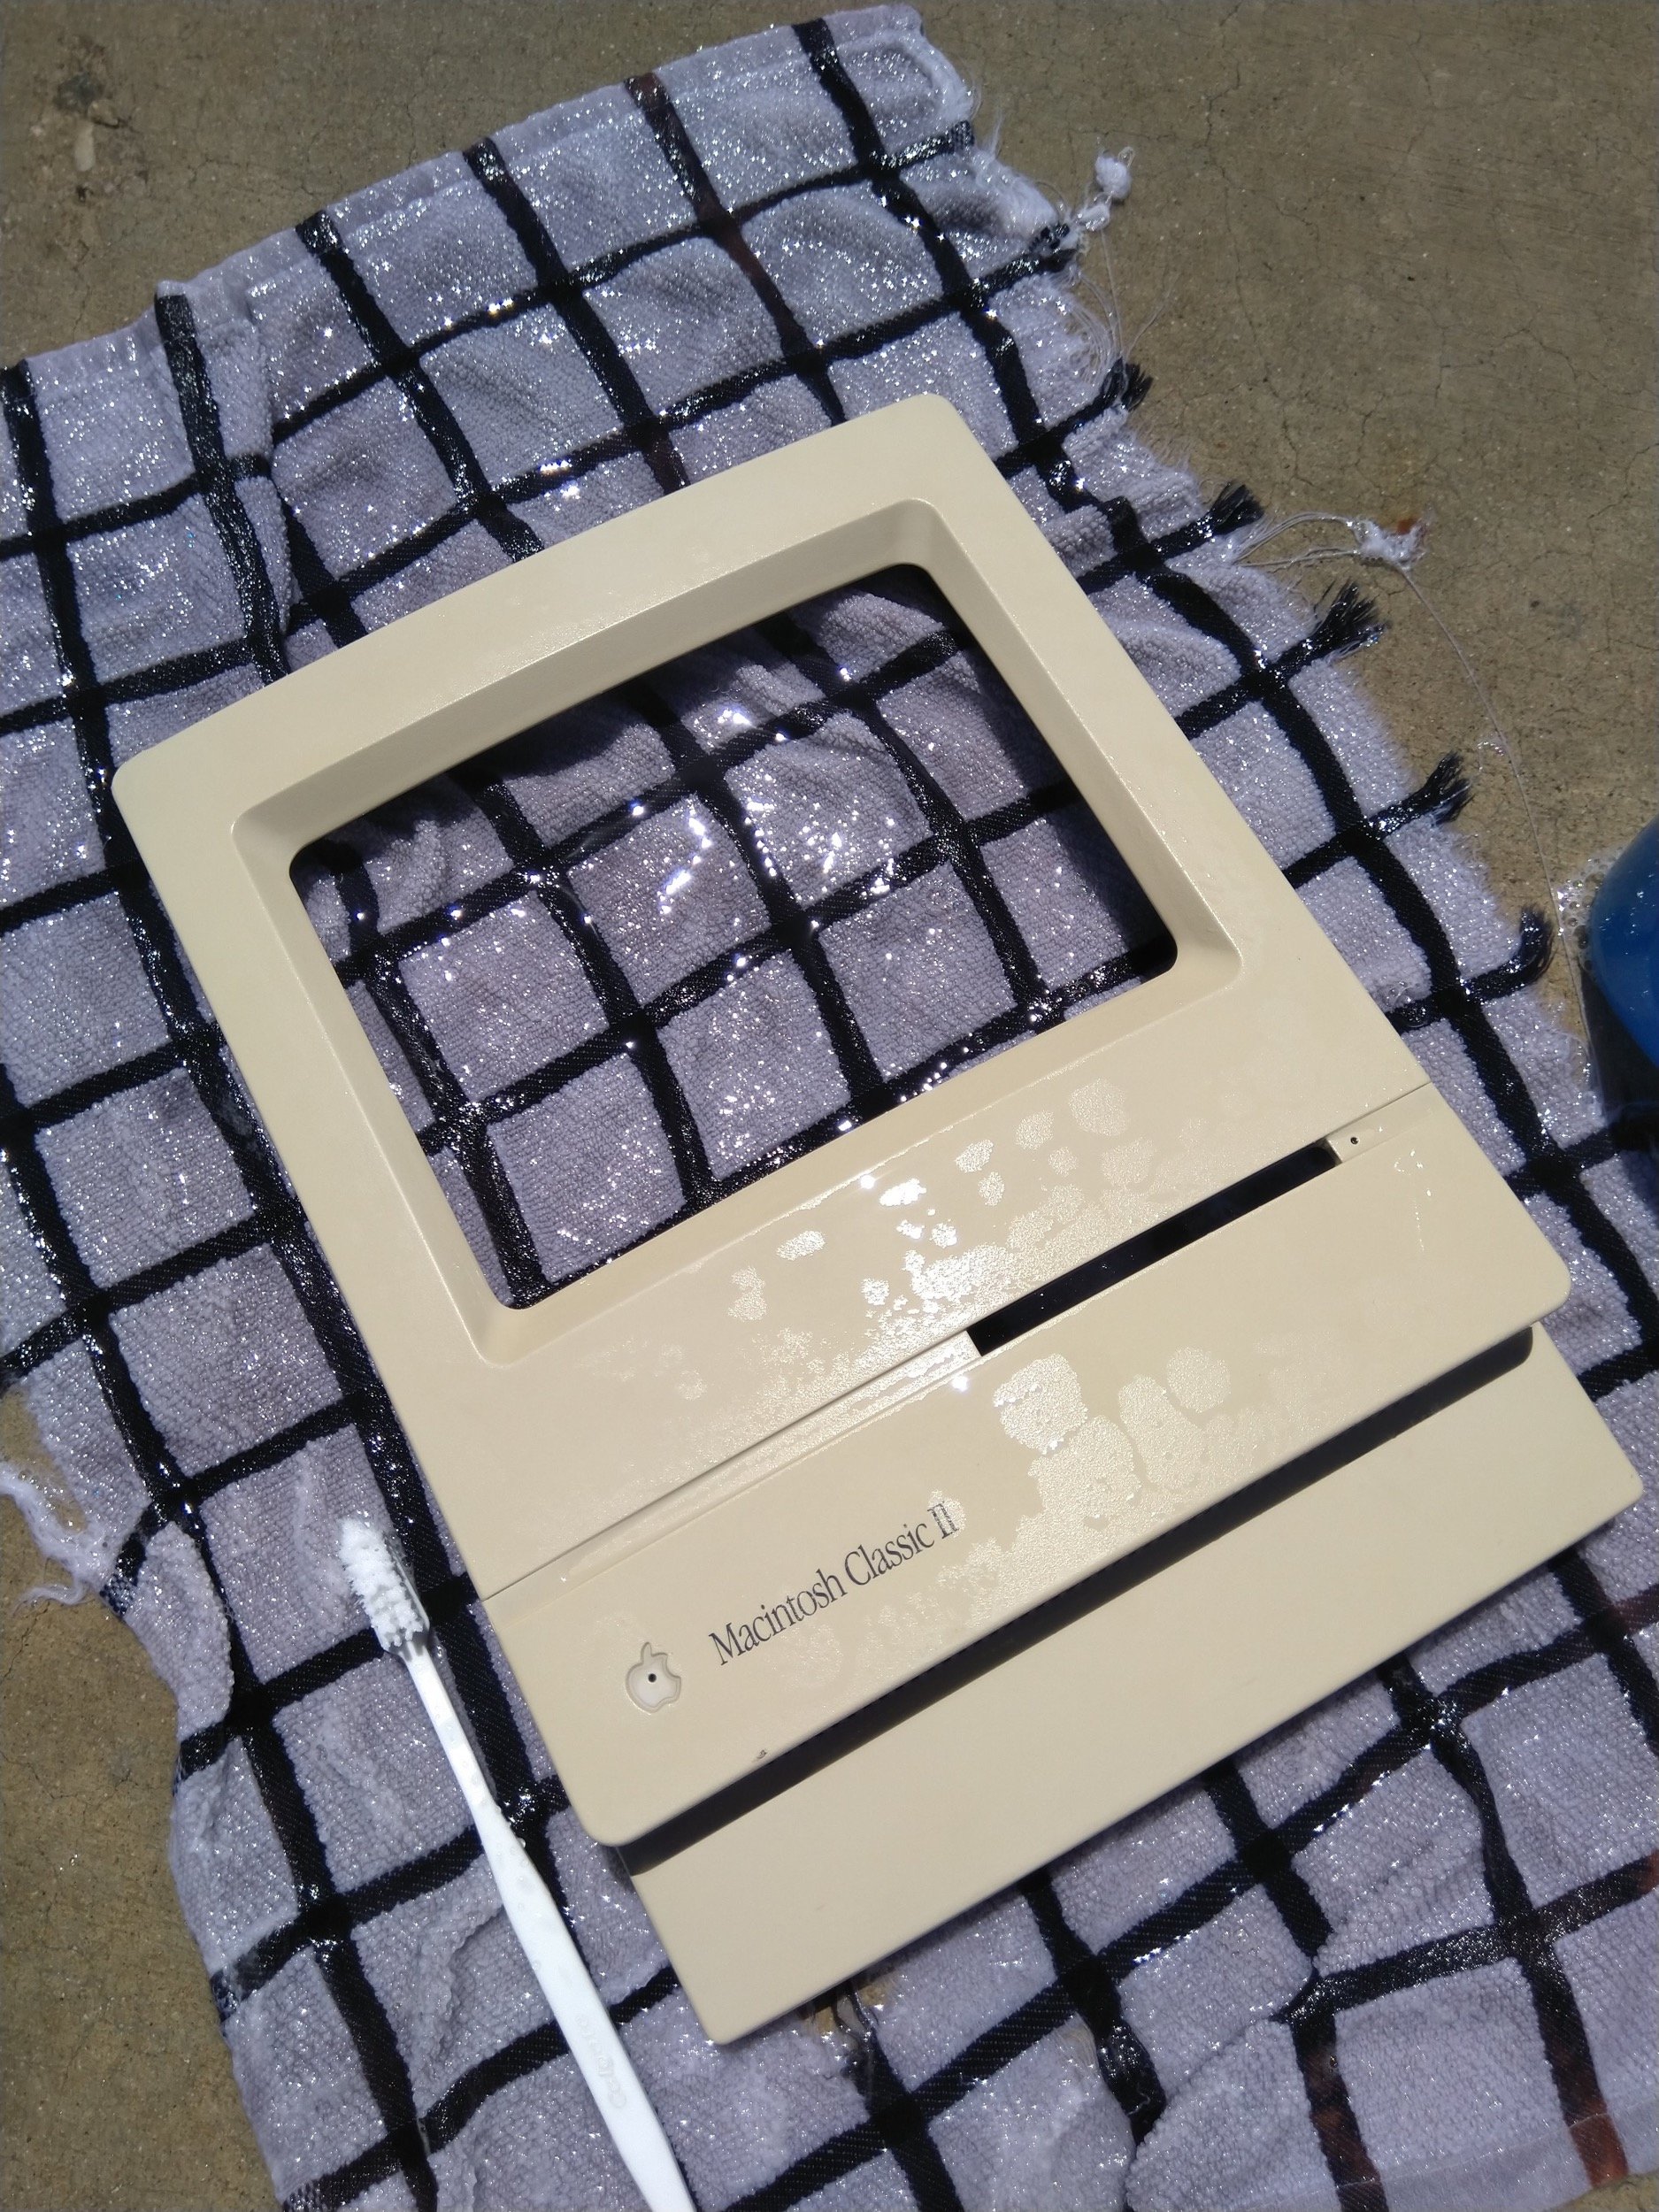
Now to deal with these black marks… there weren’t many, but I wanted to remove them, so I went to work with the wet paper towel and baking soda like I had on the “bucket” before.
Retrobrite
Next, it was time for the retrobrite!

The liquid was at 28°C (82.5°F), which wasn’t bad for an hour or two in the Idaho sun.
I started out with both parts are the same time, rotating once every 20 minutes, but after about 4 rotations, I decided to split them up into two bins.
Sadly, I couldn’t finish them up that day because we had evening commitments, and I wasn’t willing to leave the parts alone, for fear that they would float. The next day, I spent a couple more hours on the front and back individually, rotating every 30 minutes. It took awhile because, of course, it was partially overcast. In total, the process took about 4 hours.
After they were done, I pulled the parts out and rinsed them with fresh water. Before cleaning:

After cleaning:
An finally, after retrobrite:
Here’s a close-up of the Apple bage, which I always use for comparison. It’s very close, but not perfect. Over the years of doing retrobrite, I’ve come to believe that retrobrite gets exponentially slower as it works, so the last little bit takes a long time with diminishing returns.
Here’s the front of the whole case:

Here’s the back. Notice that the serial number sticker peeled up a bit, which is a bit of a bummer (but worth it).
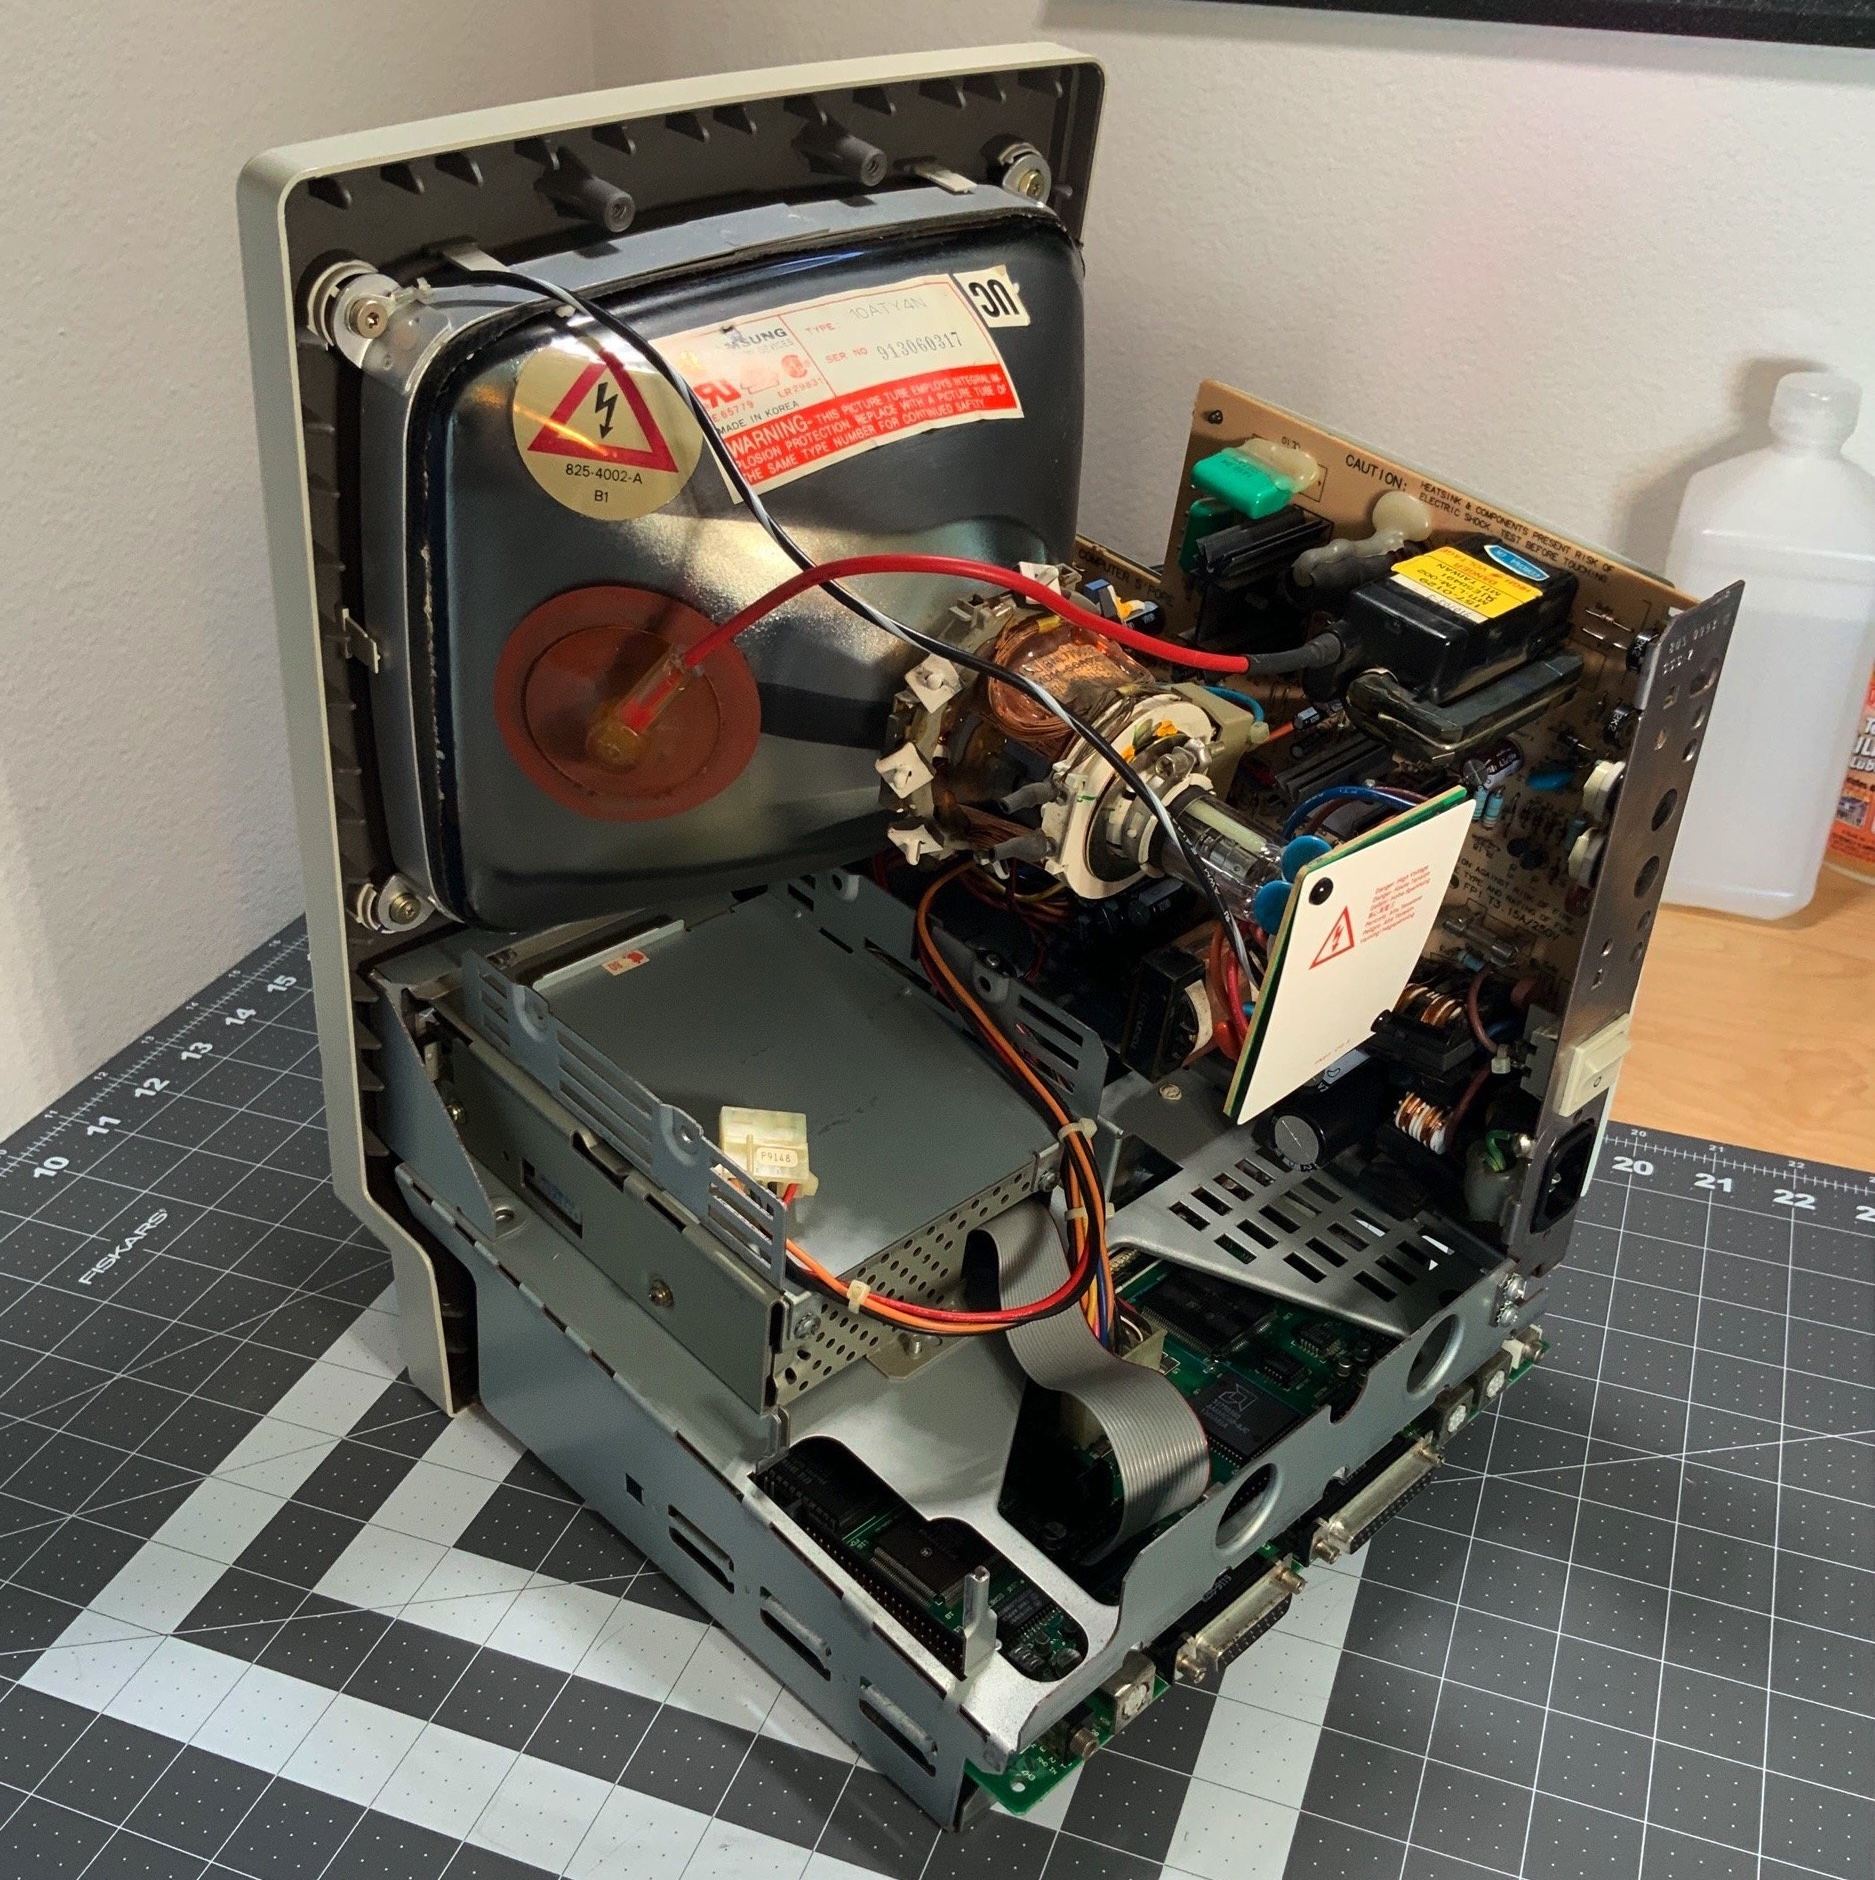
Interior Cleaning
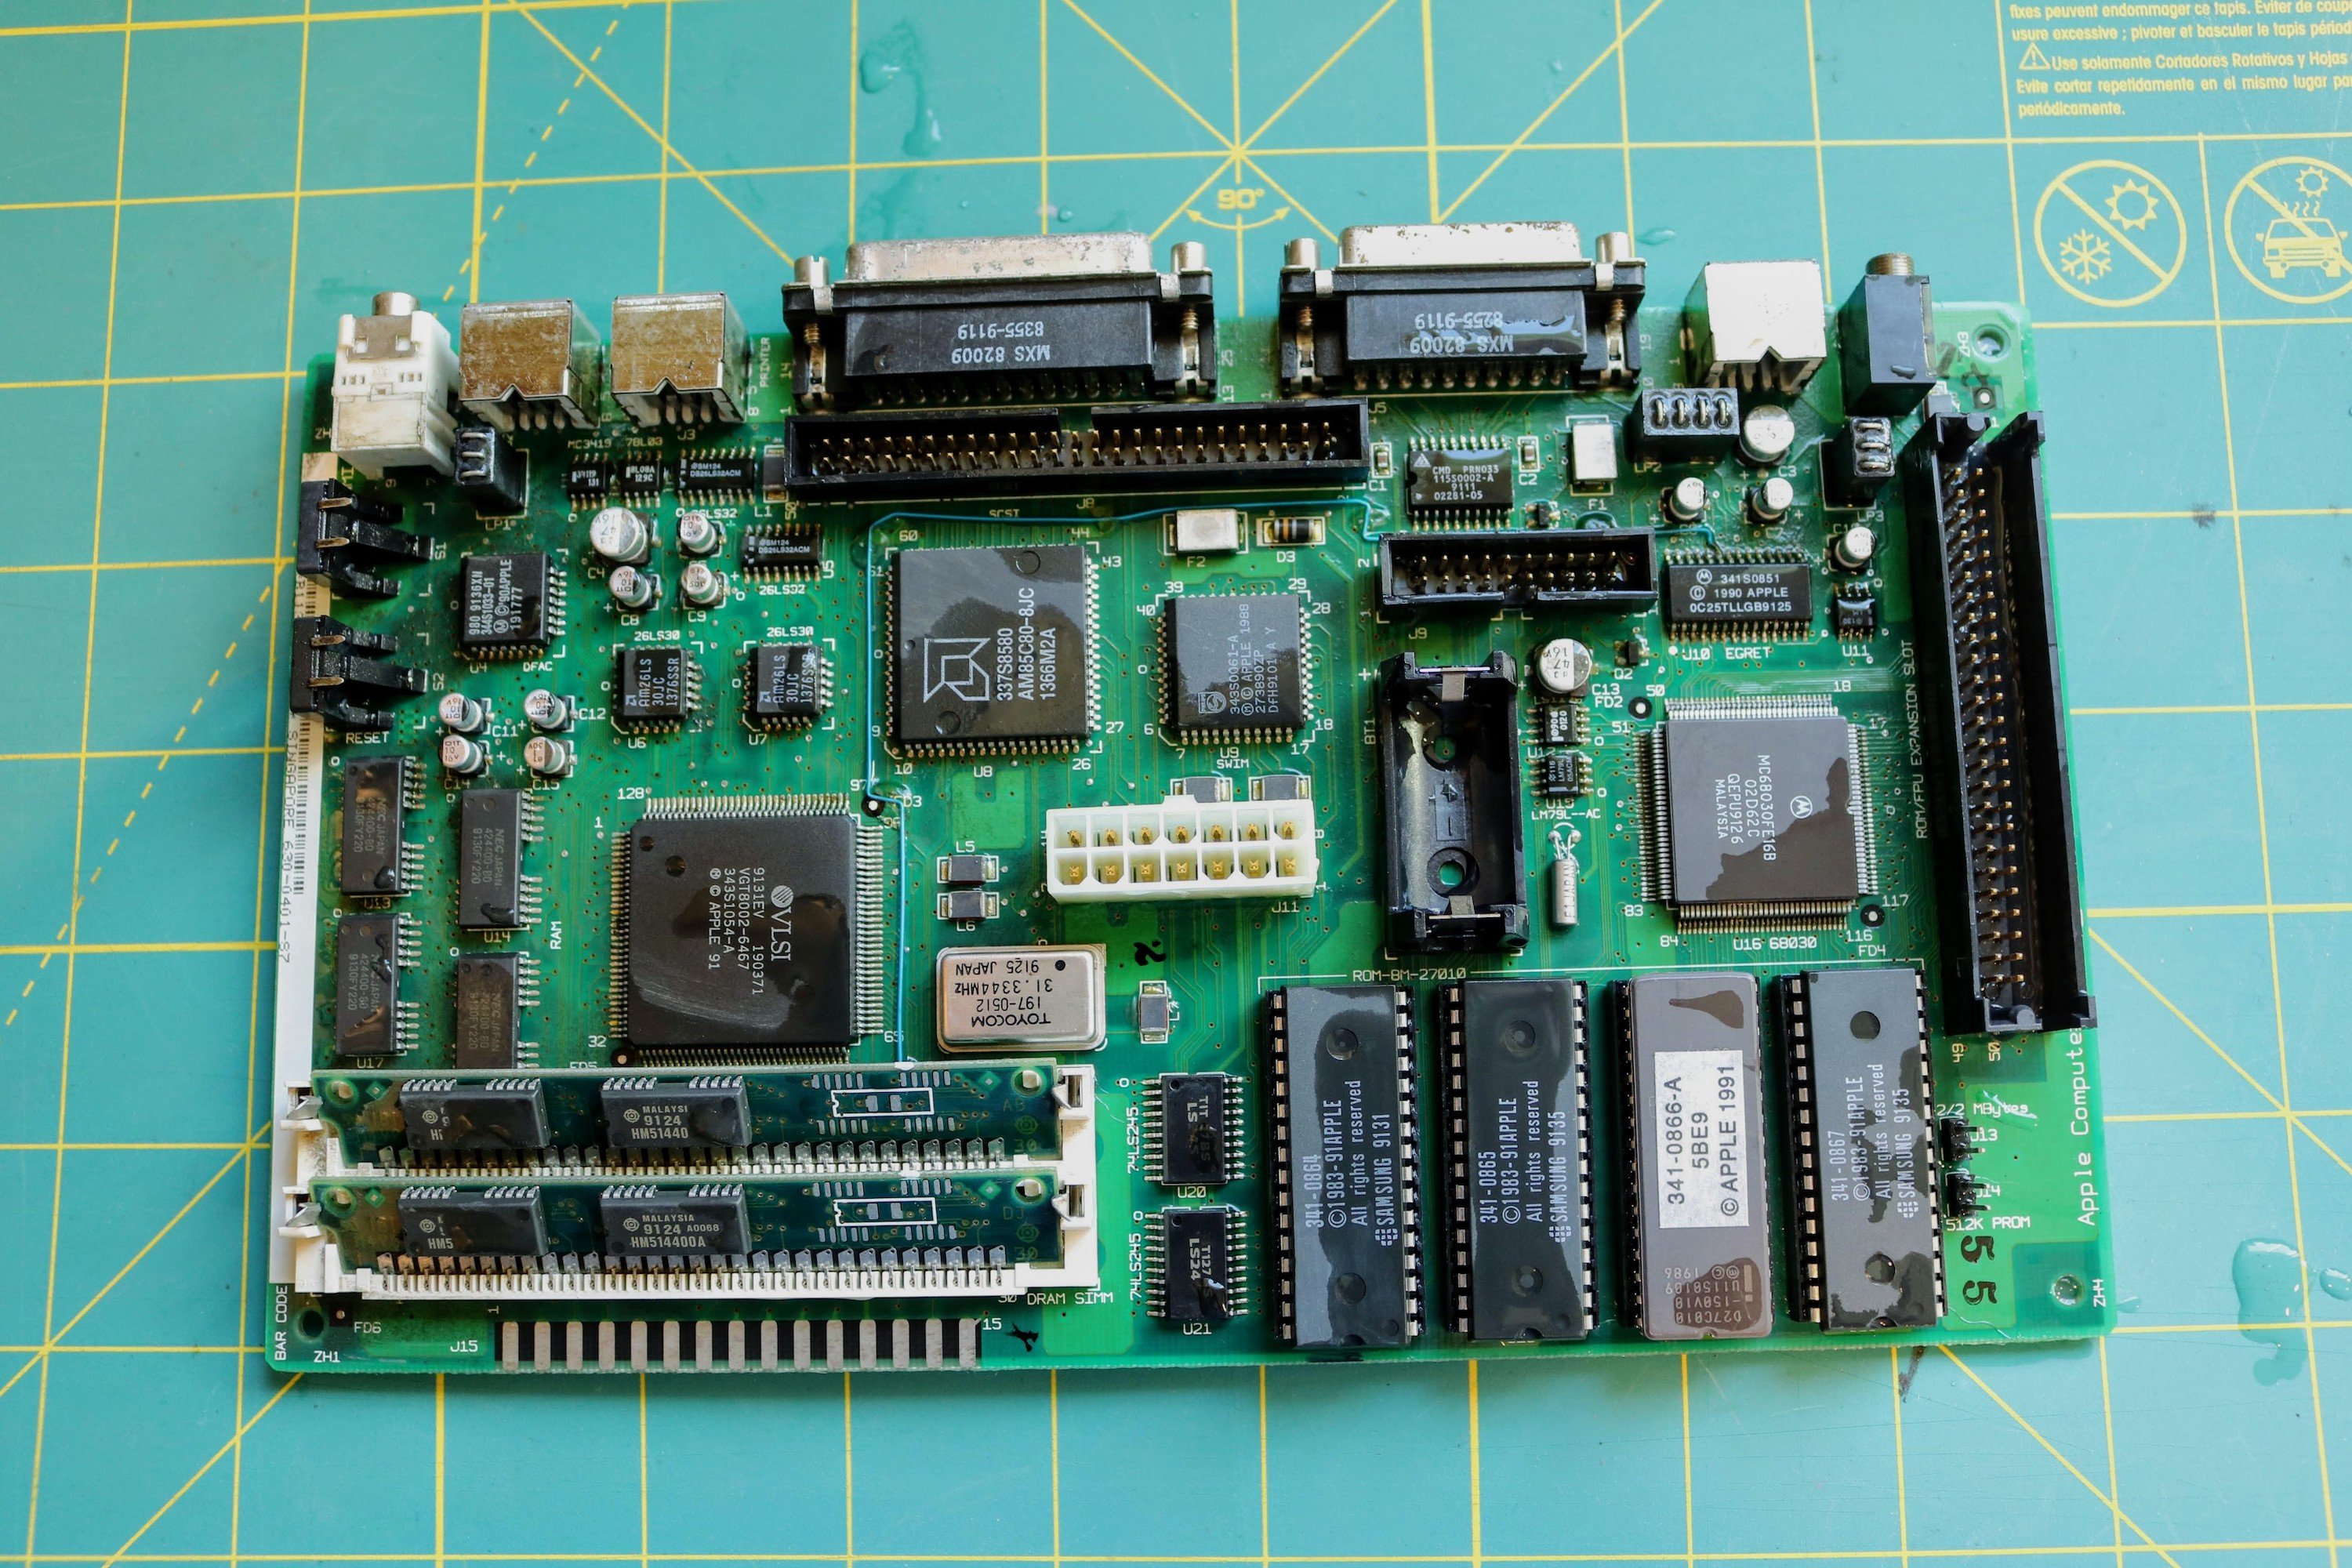
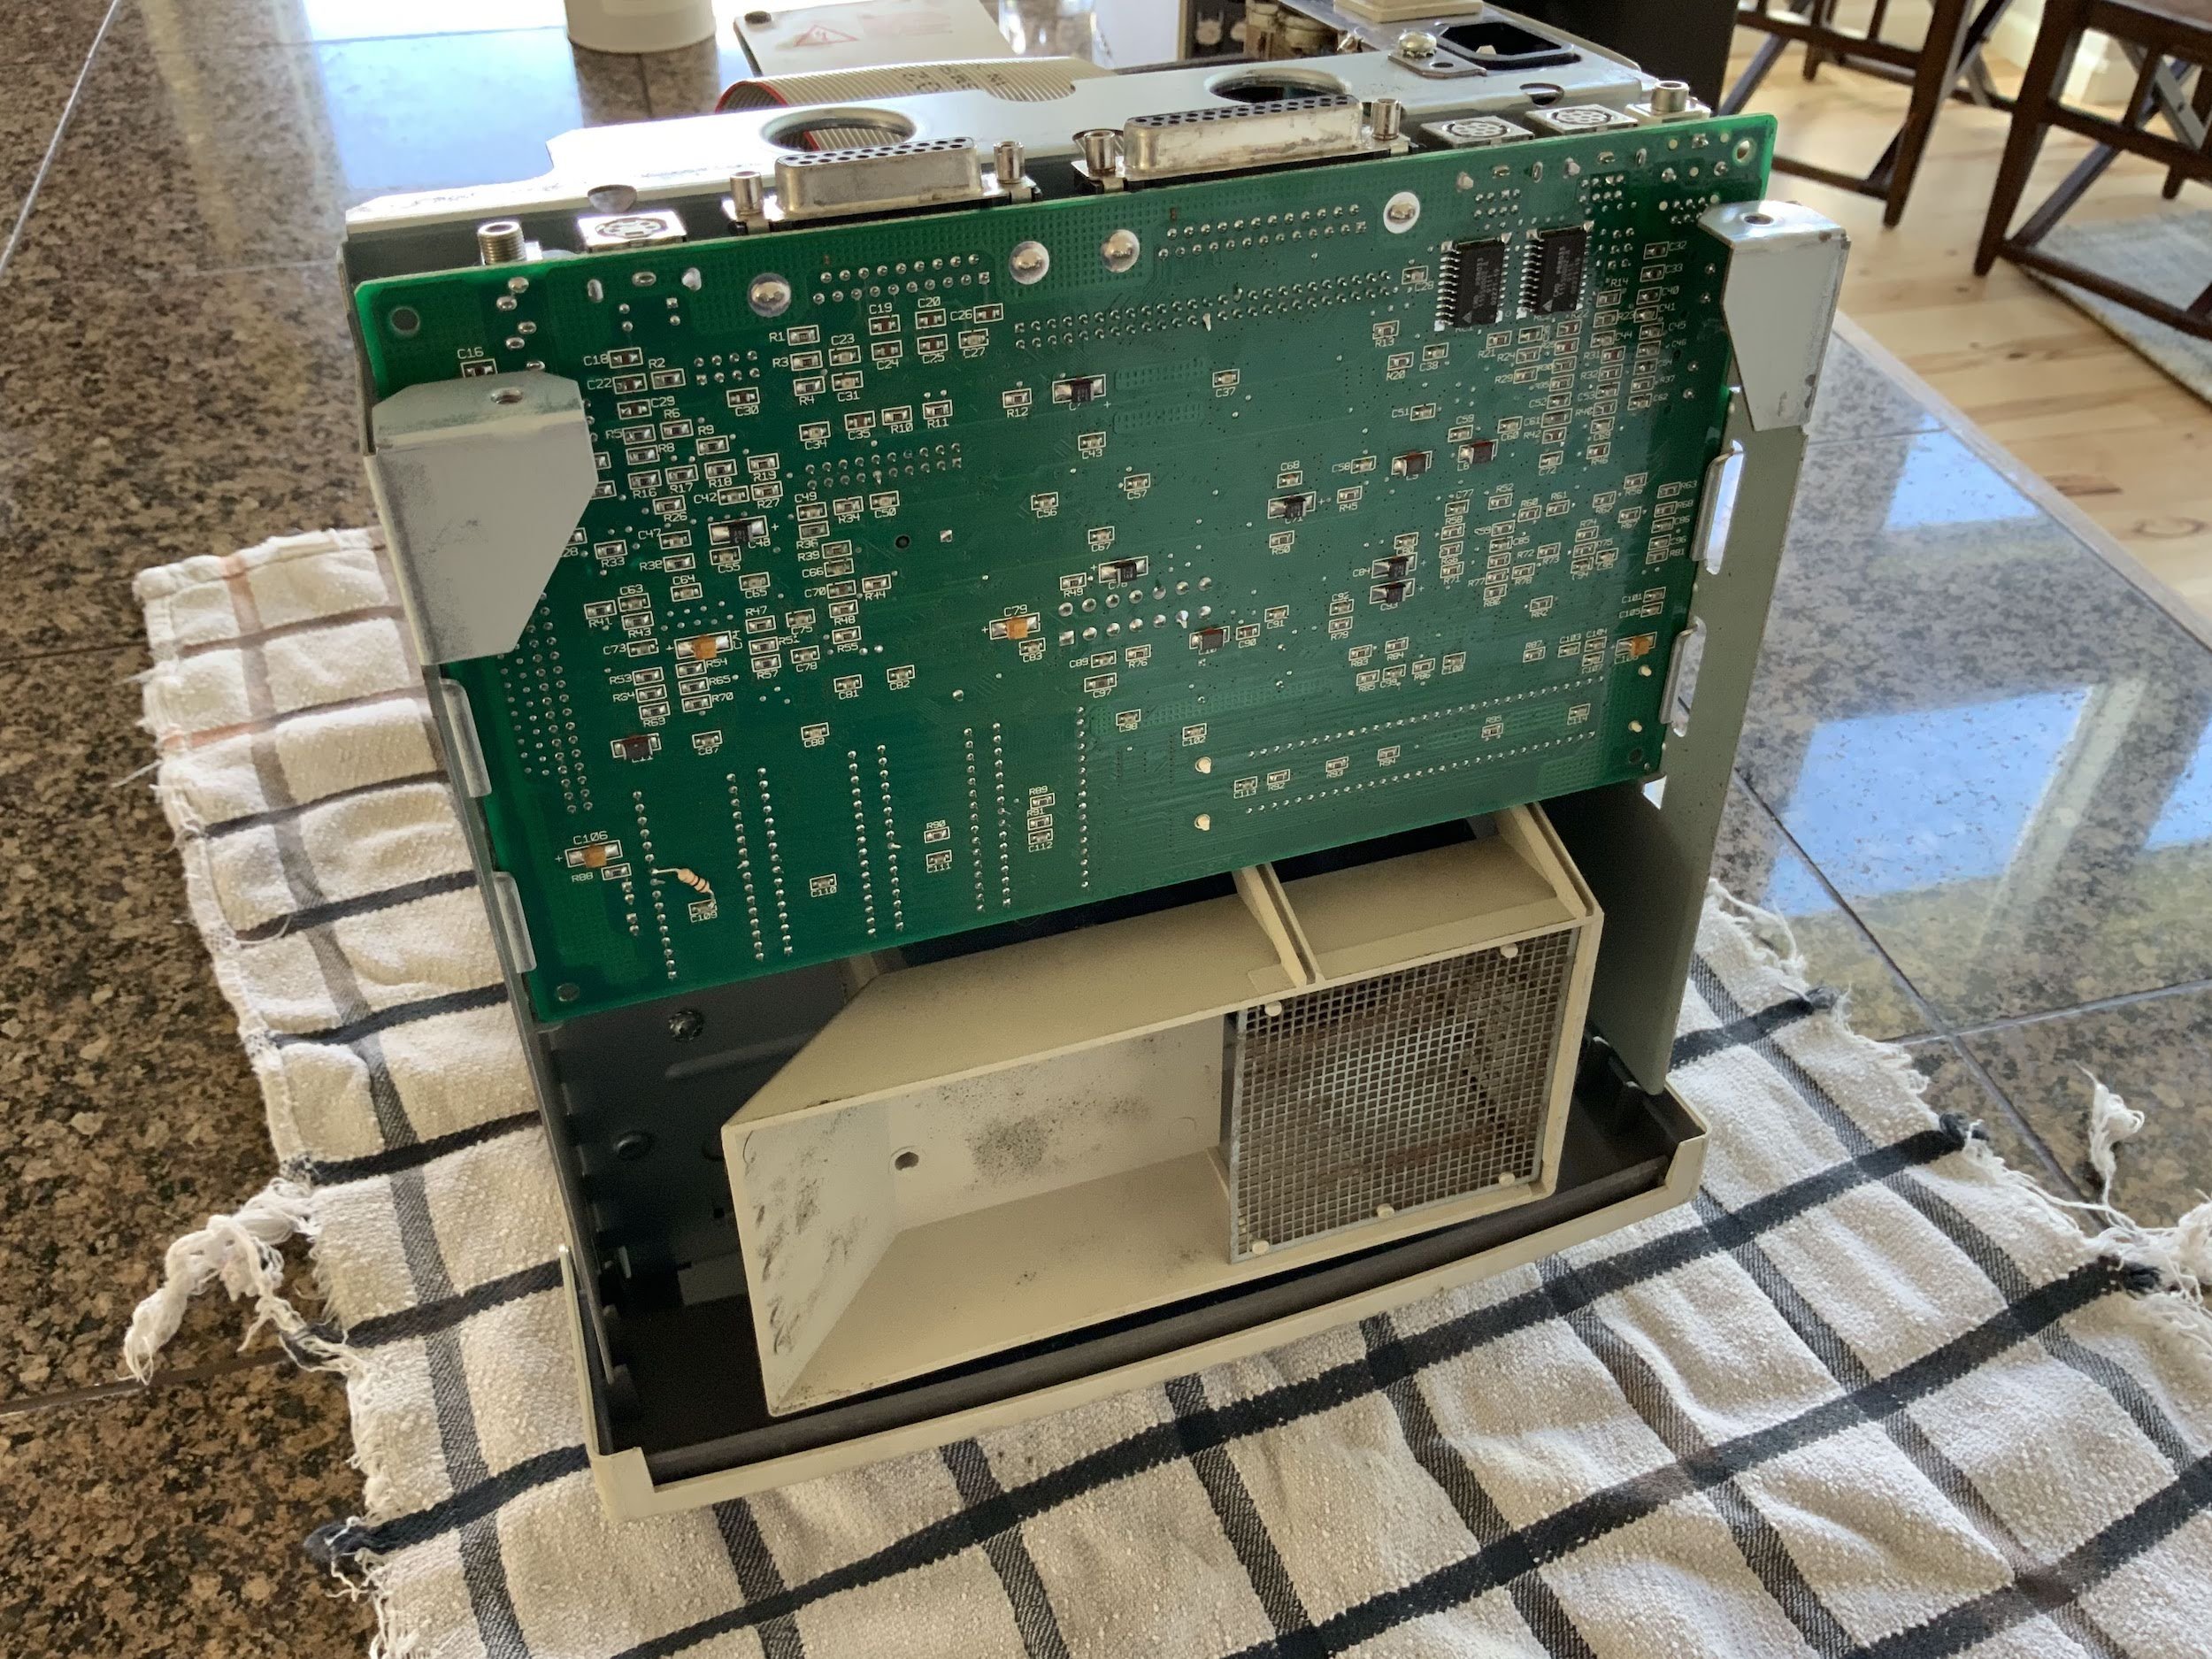
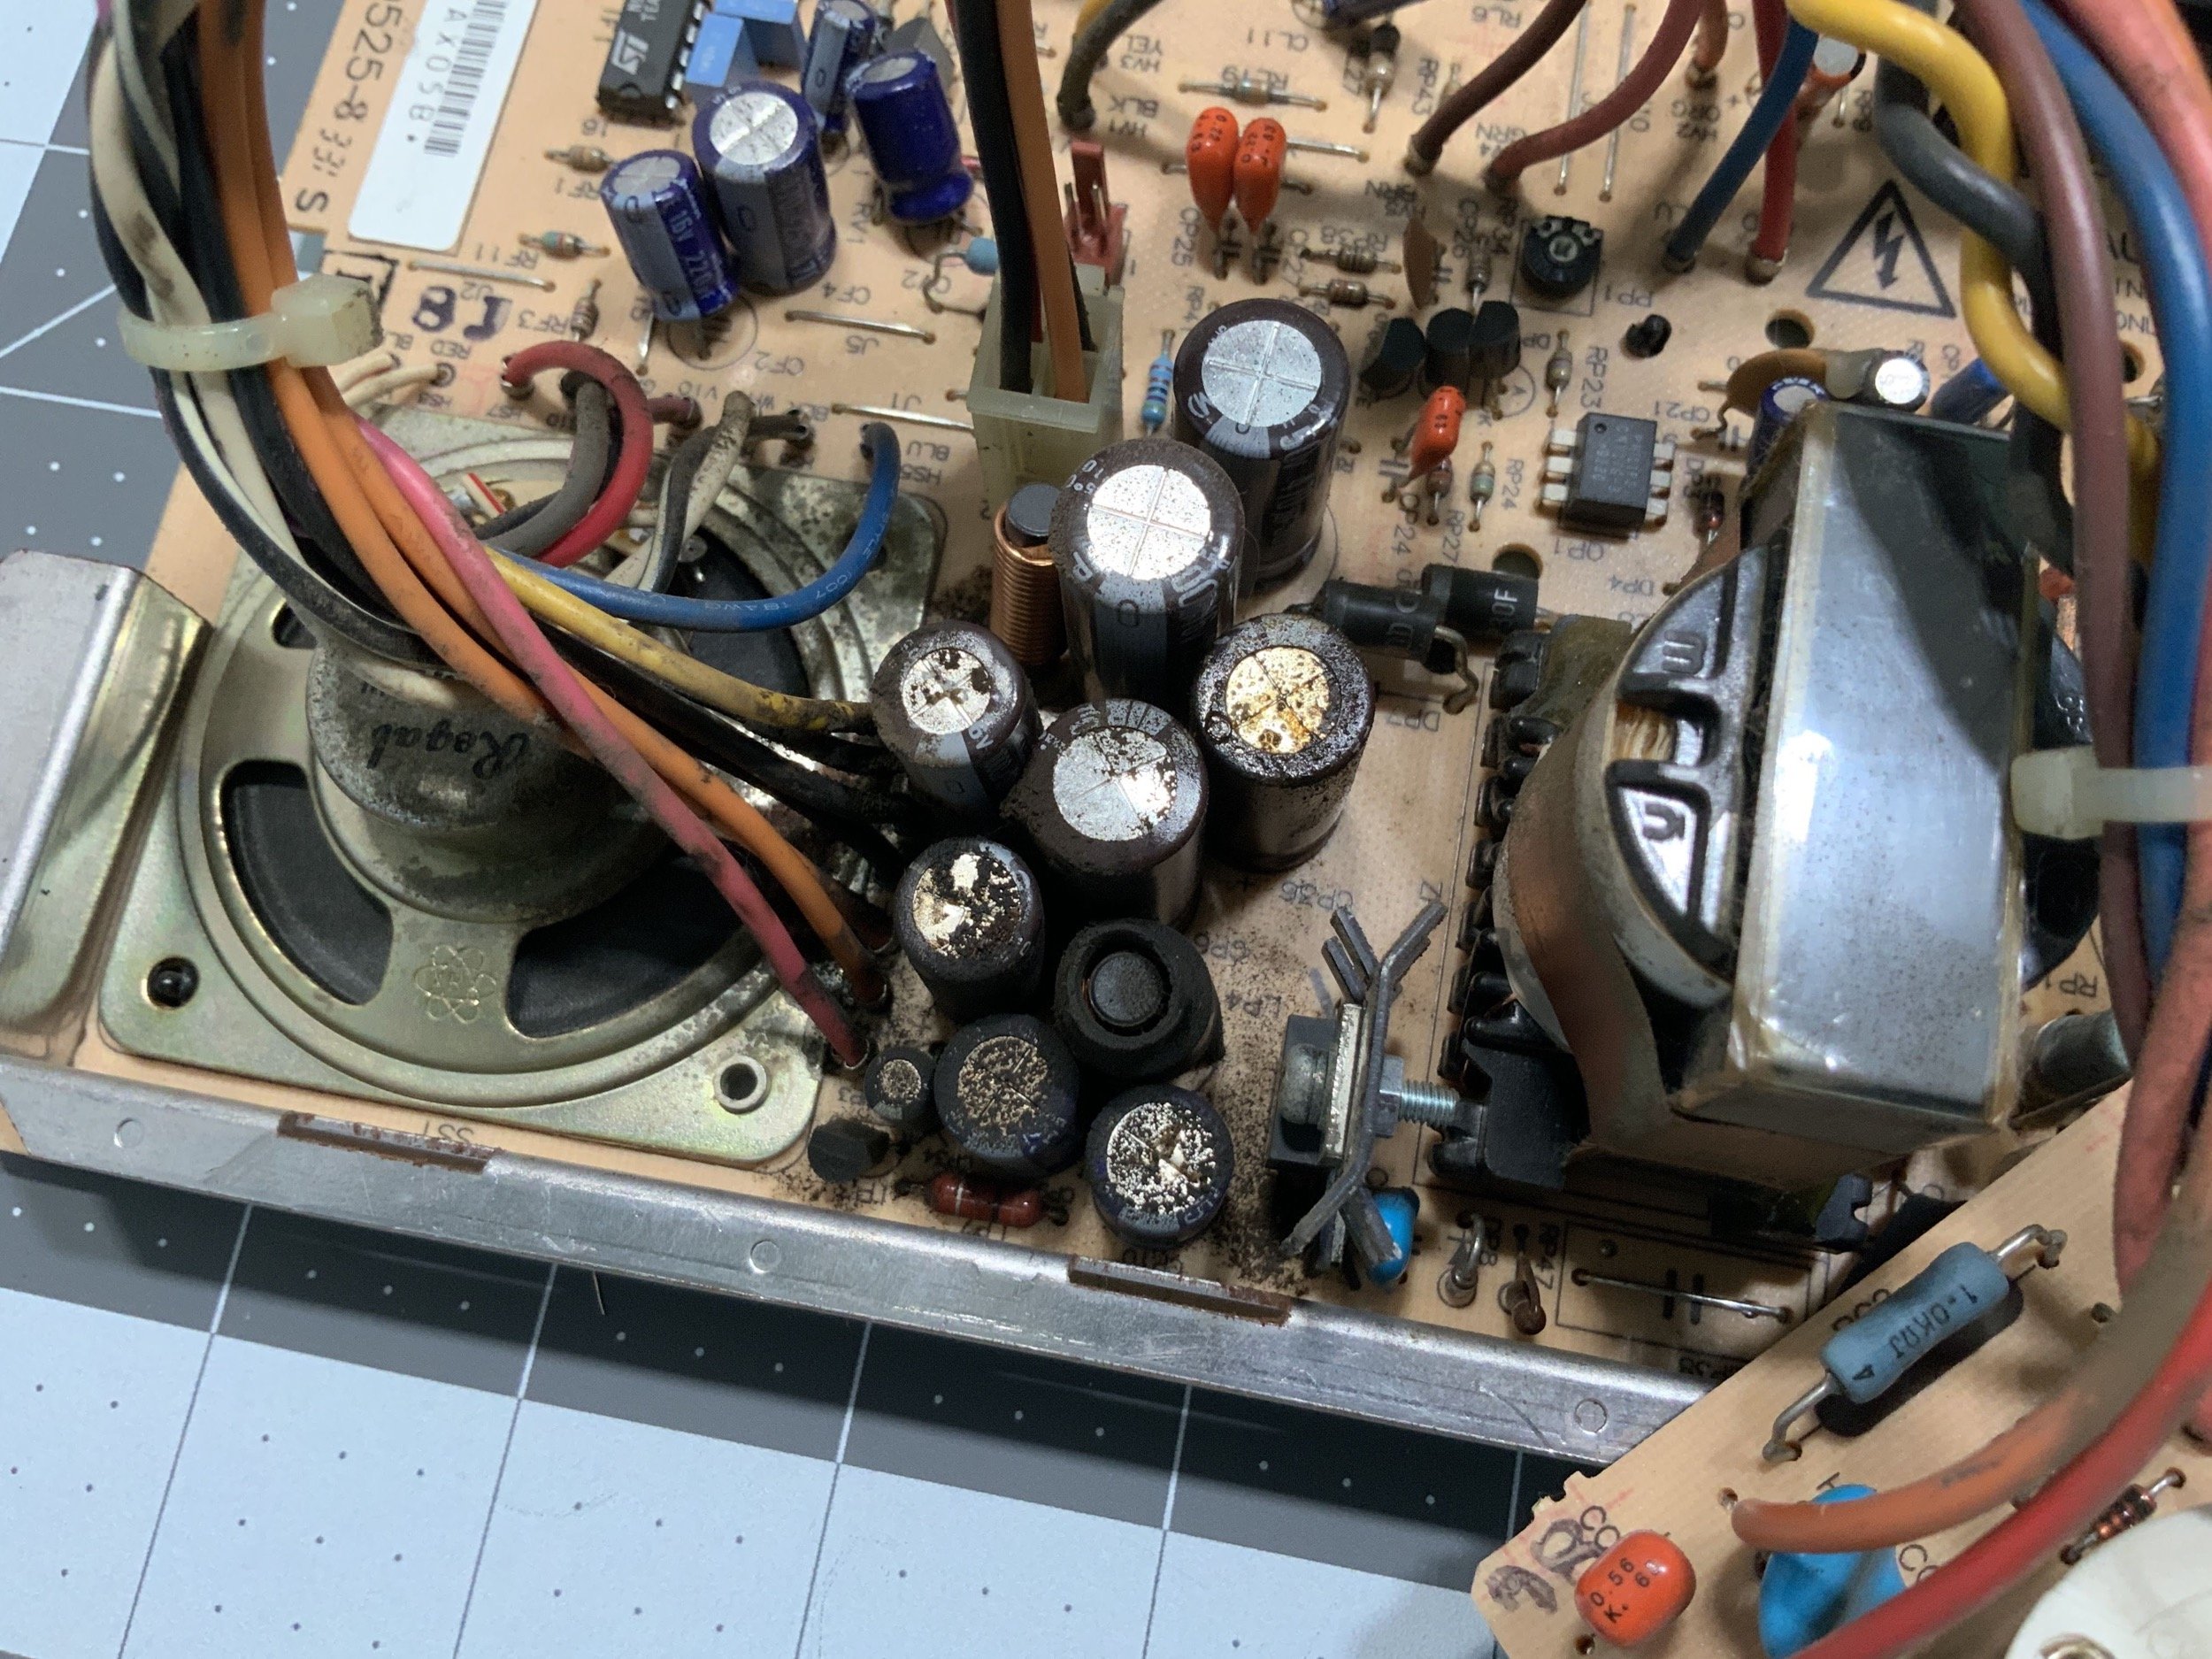
The analog board was a huge mess, which seems to be the case on pretty much every Classic and Classic II these days.
I took it outside and blew more dust off (this was the second pass). I was careful to avoid hitting the speaker with compressed air.
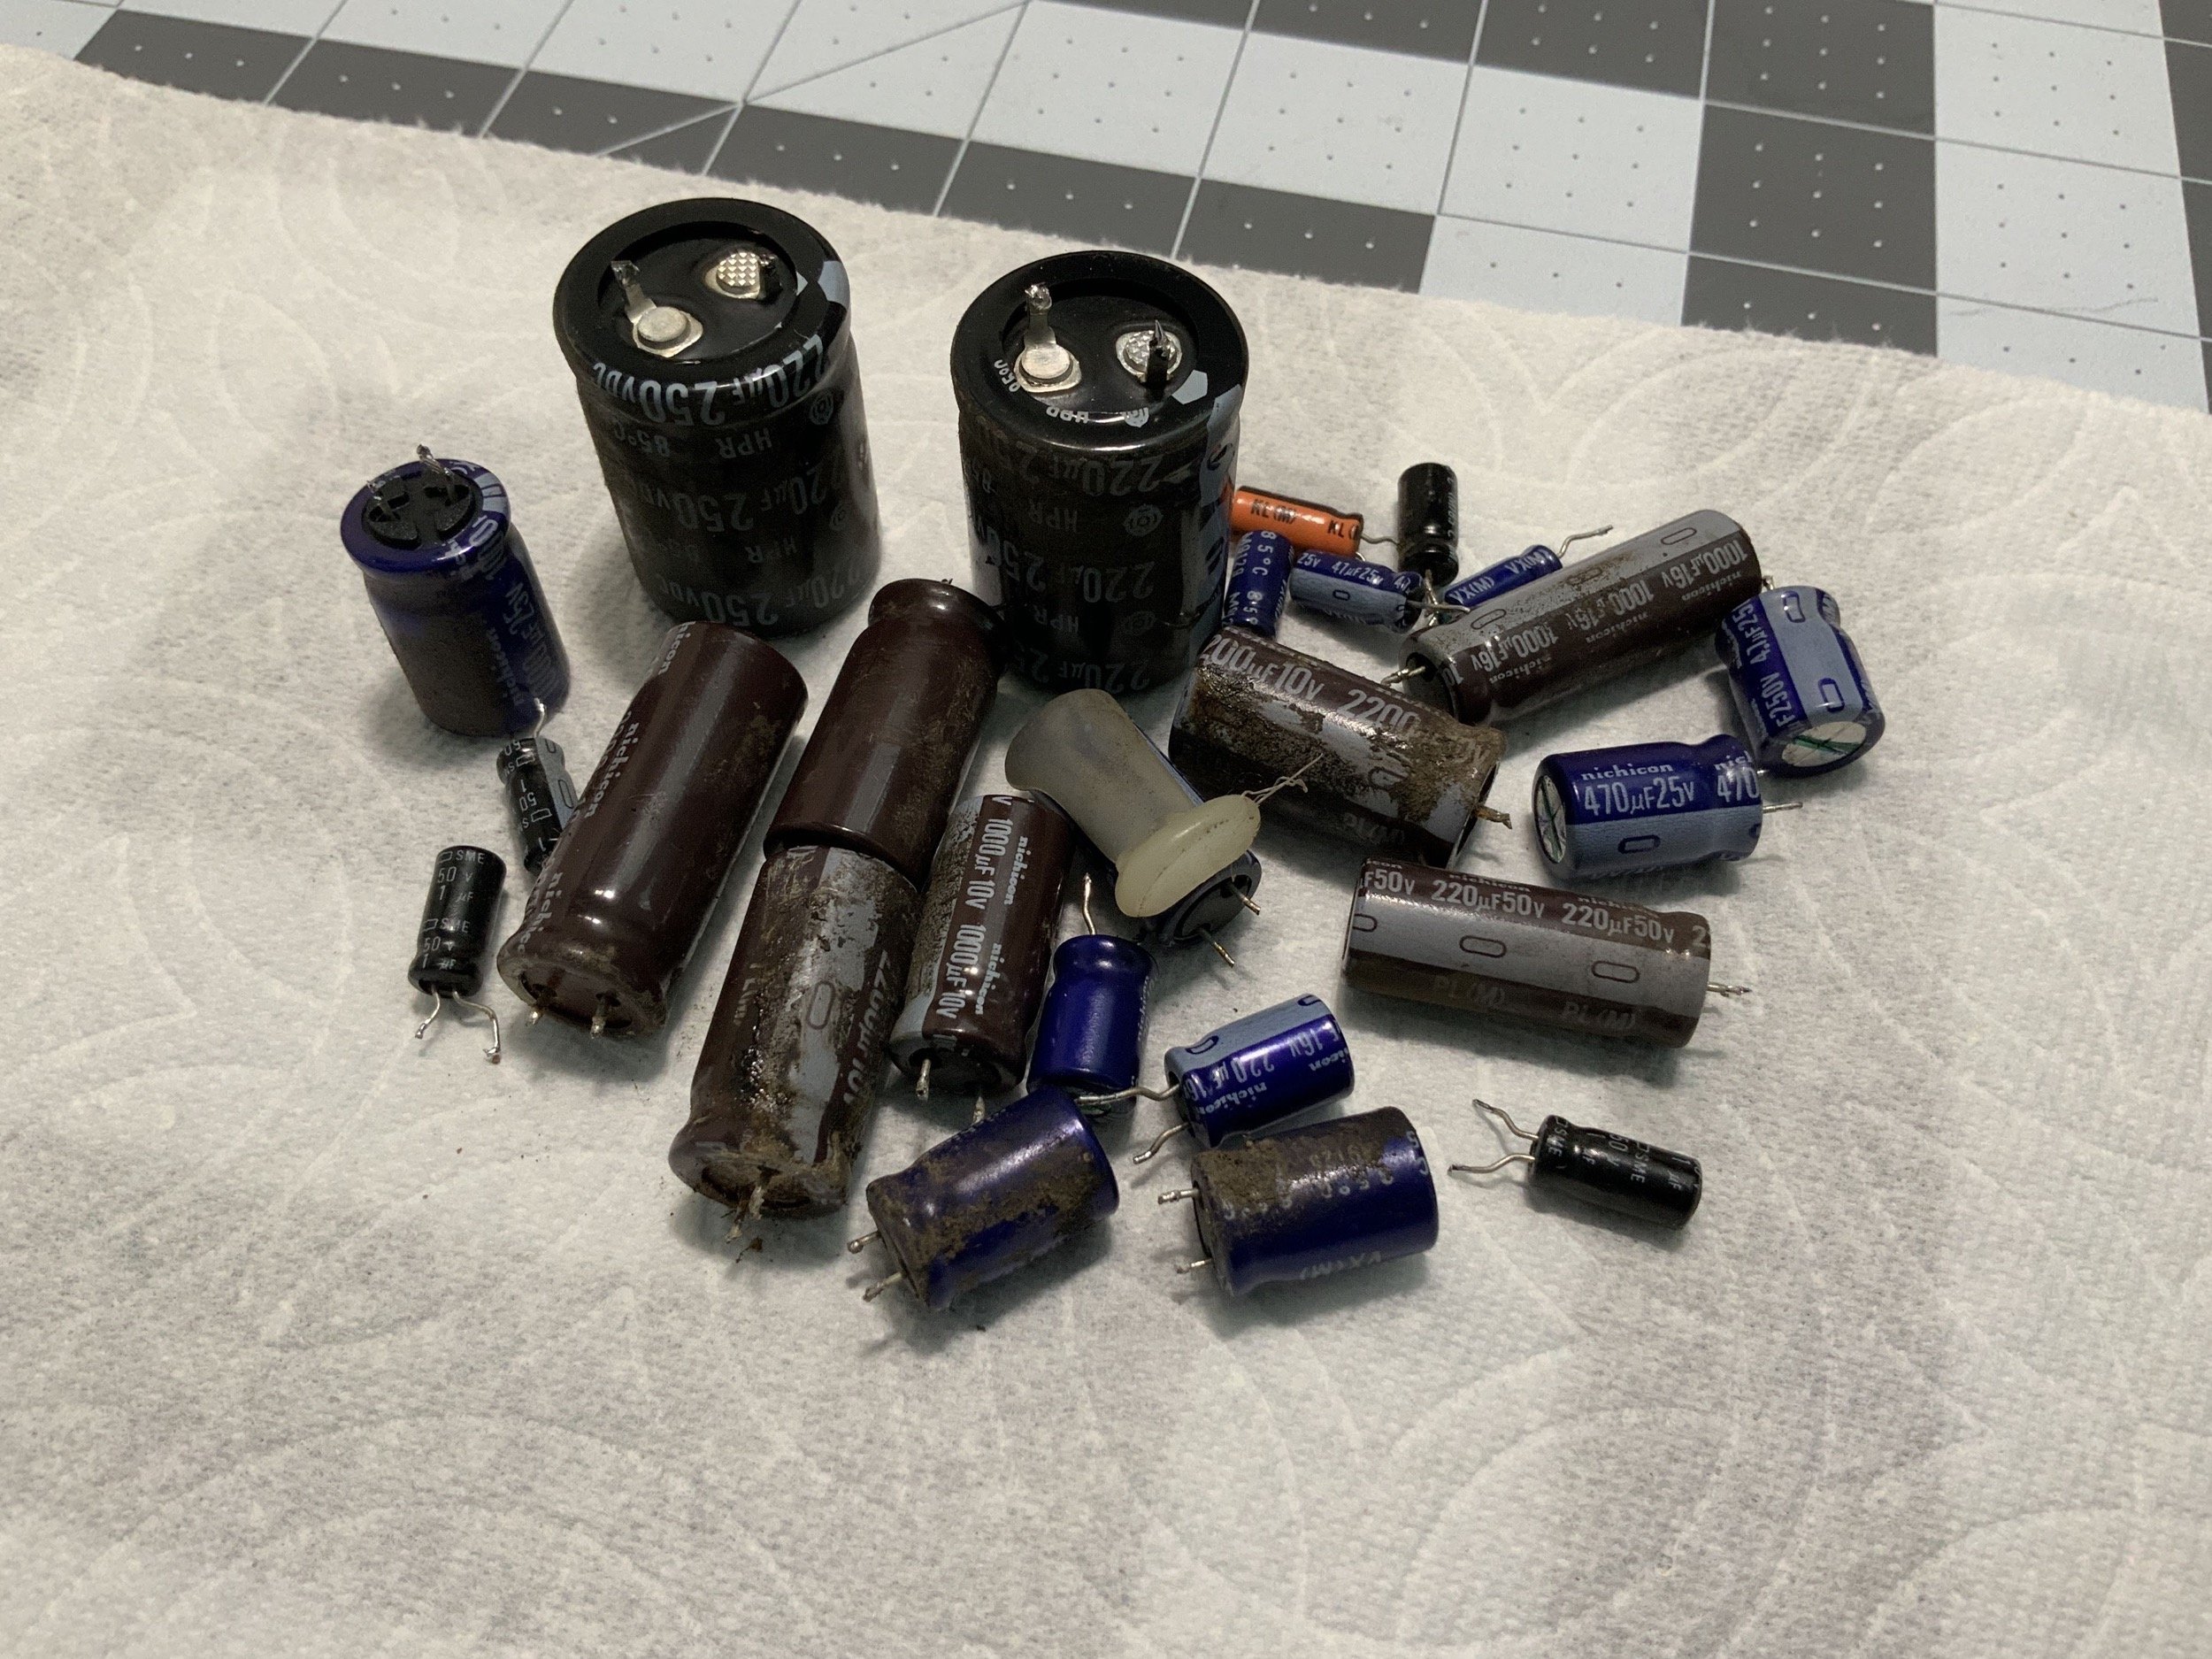
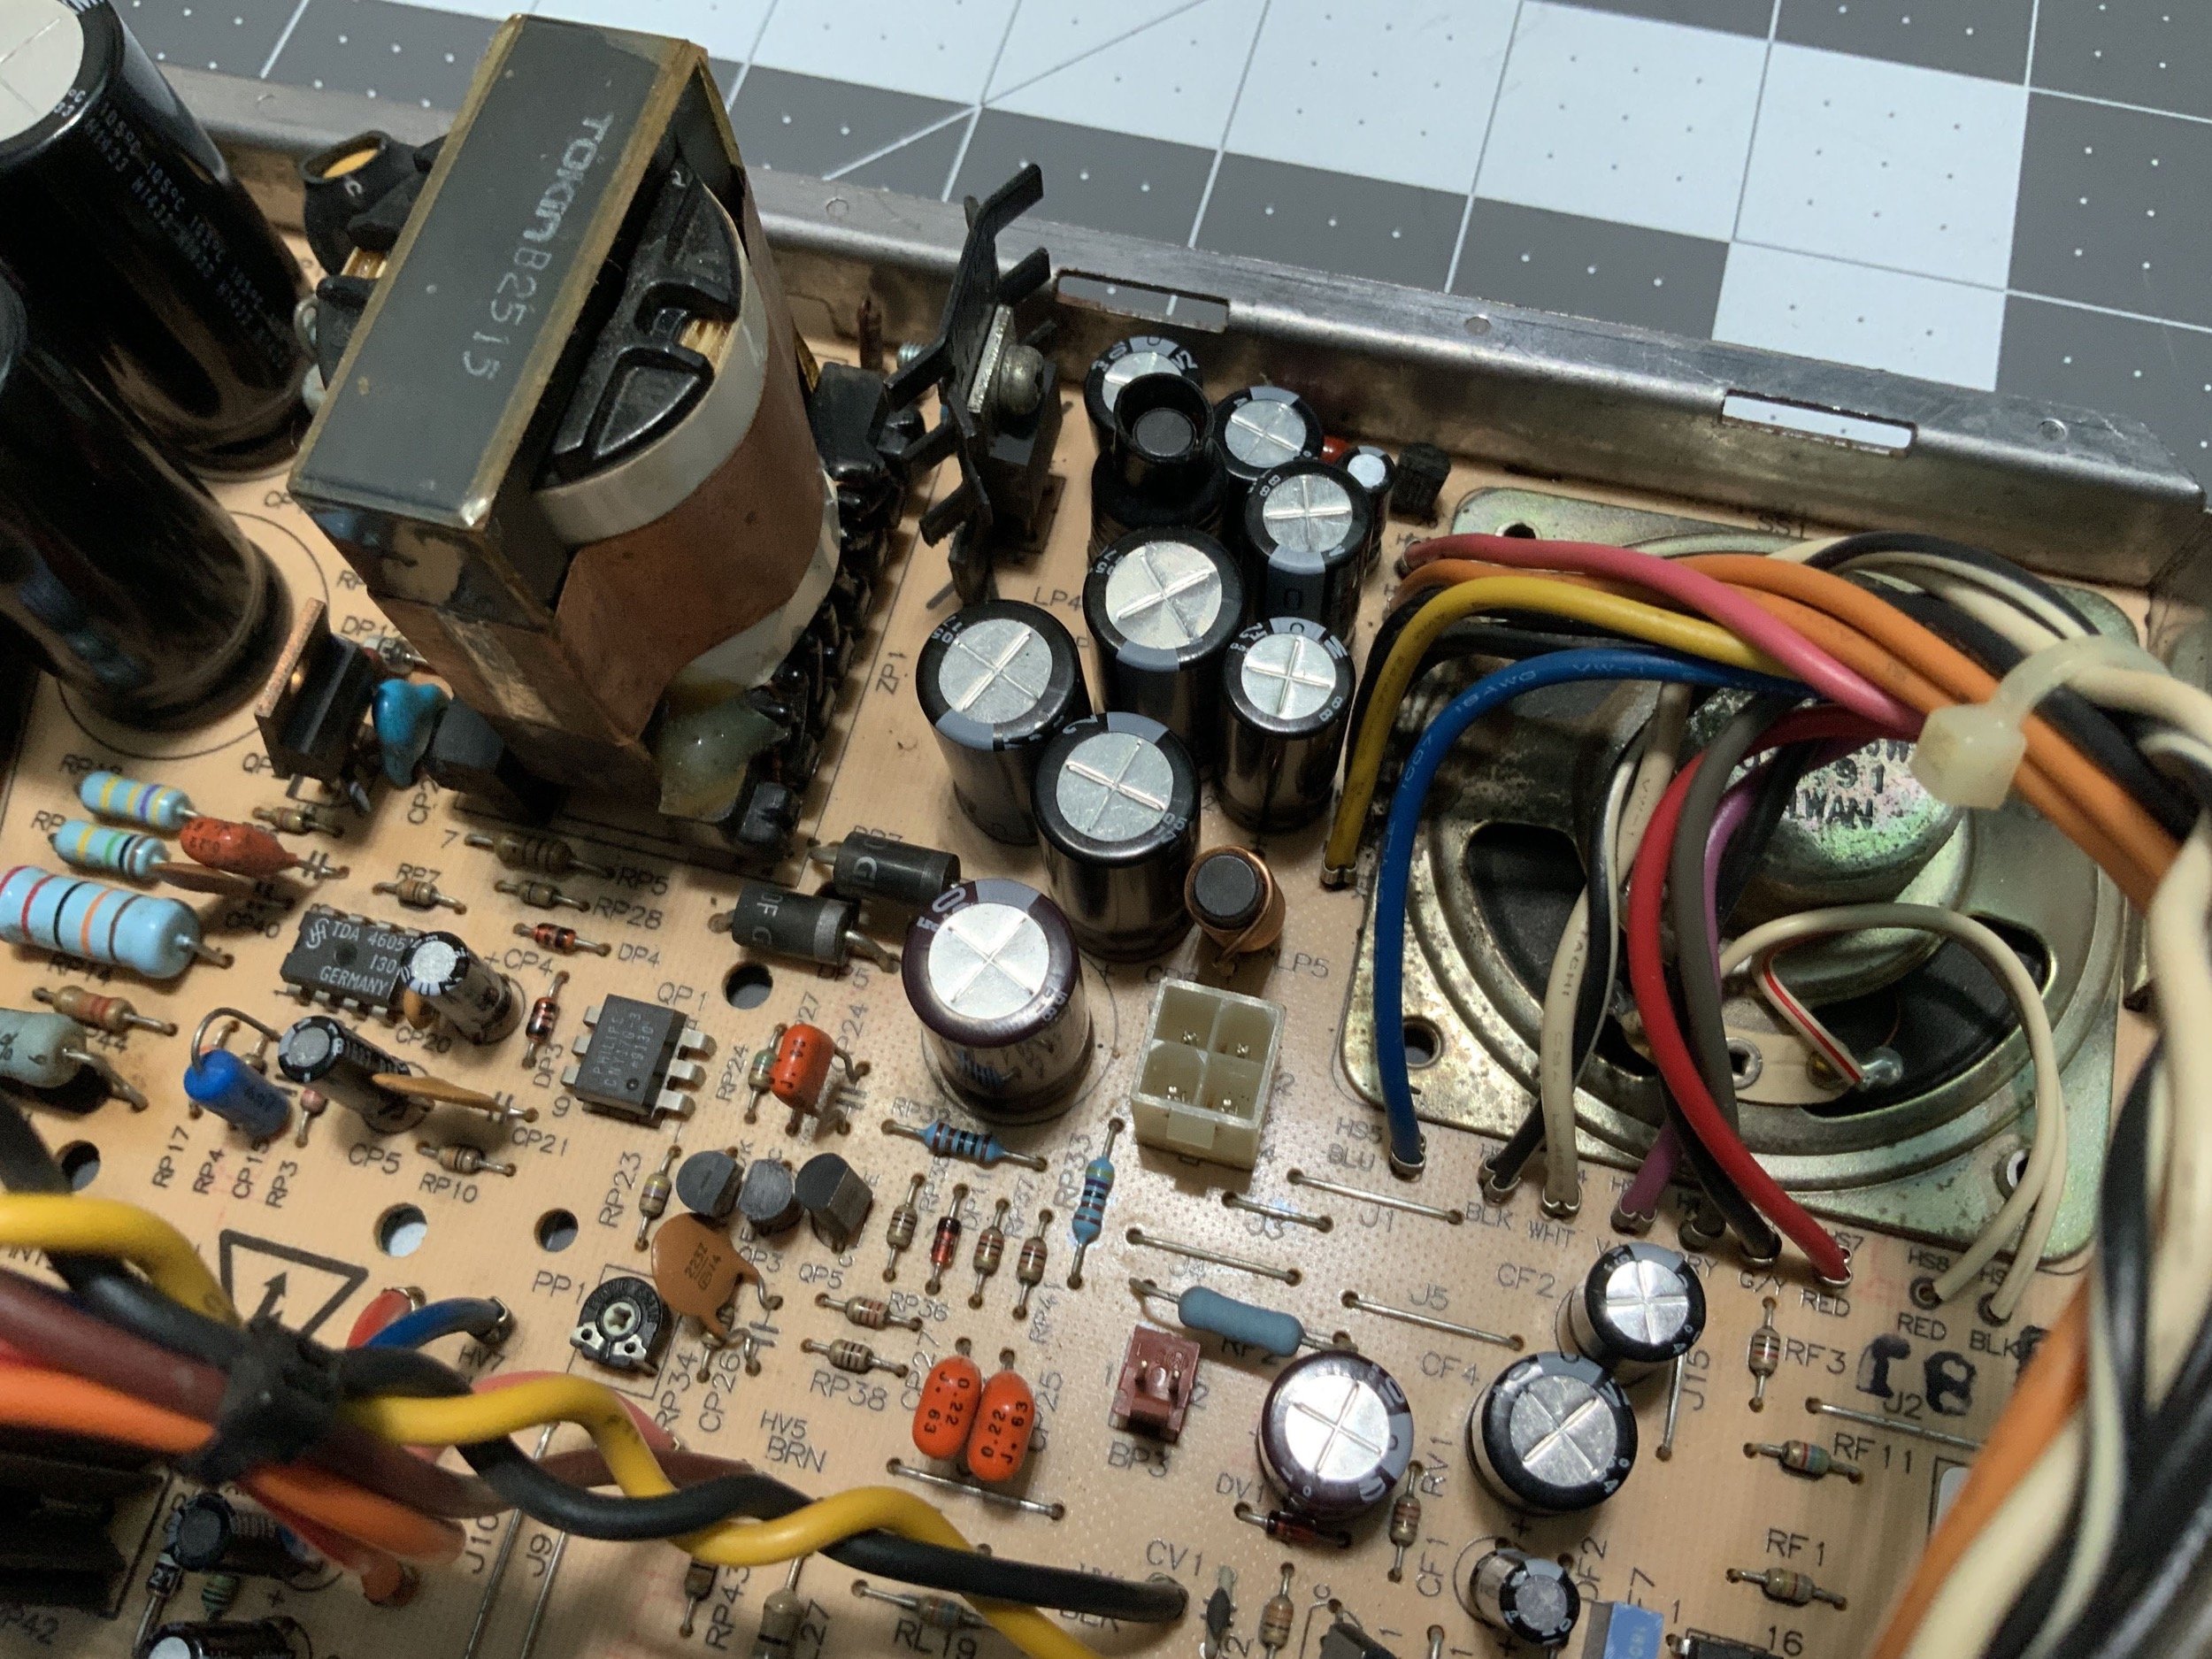
Yeah, these caps are hosed. The tops were all bubbled, and they had leaked everywhere. There was even rust on the speaker frame. I needed to identify all of the caps, but many of them are packed so closely on the Classic II analog board that they have to be desoldered for identiciation. For anyone else who needs to recap their analog board, I’ve listed them out in my capacitor spreadsheet.
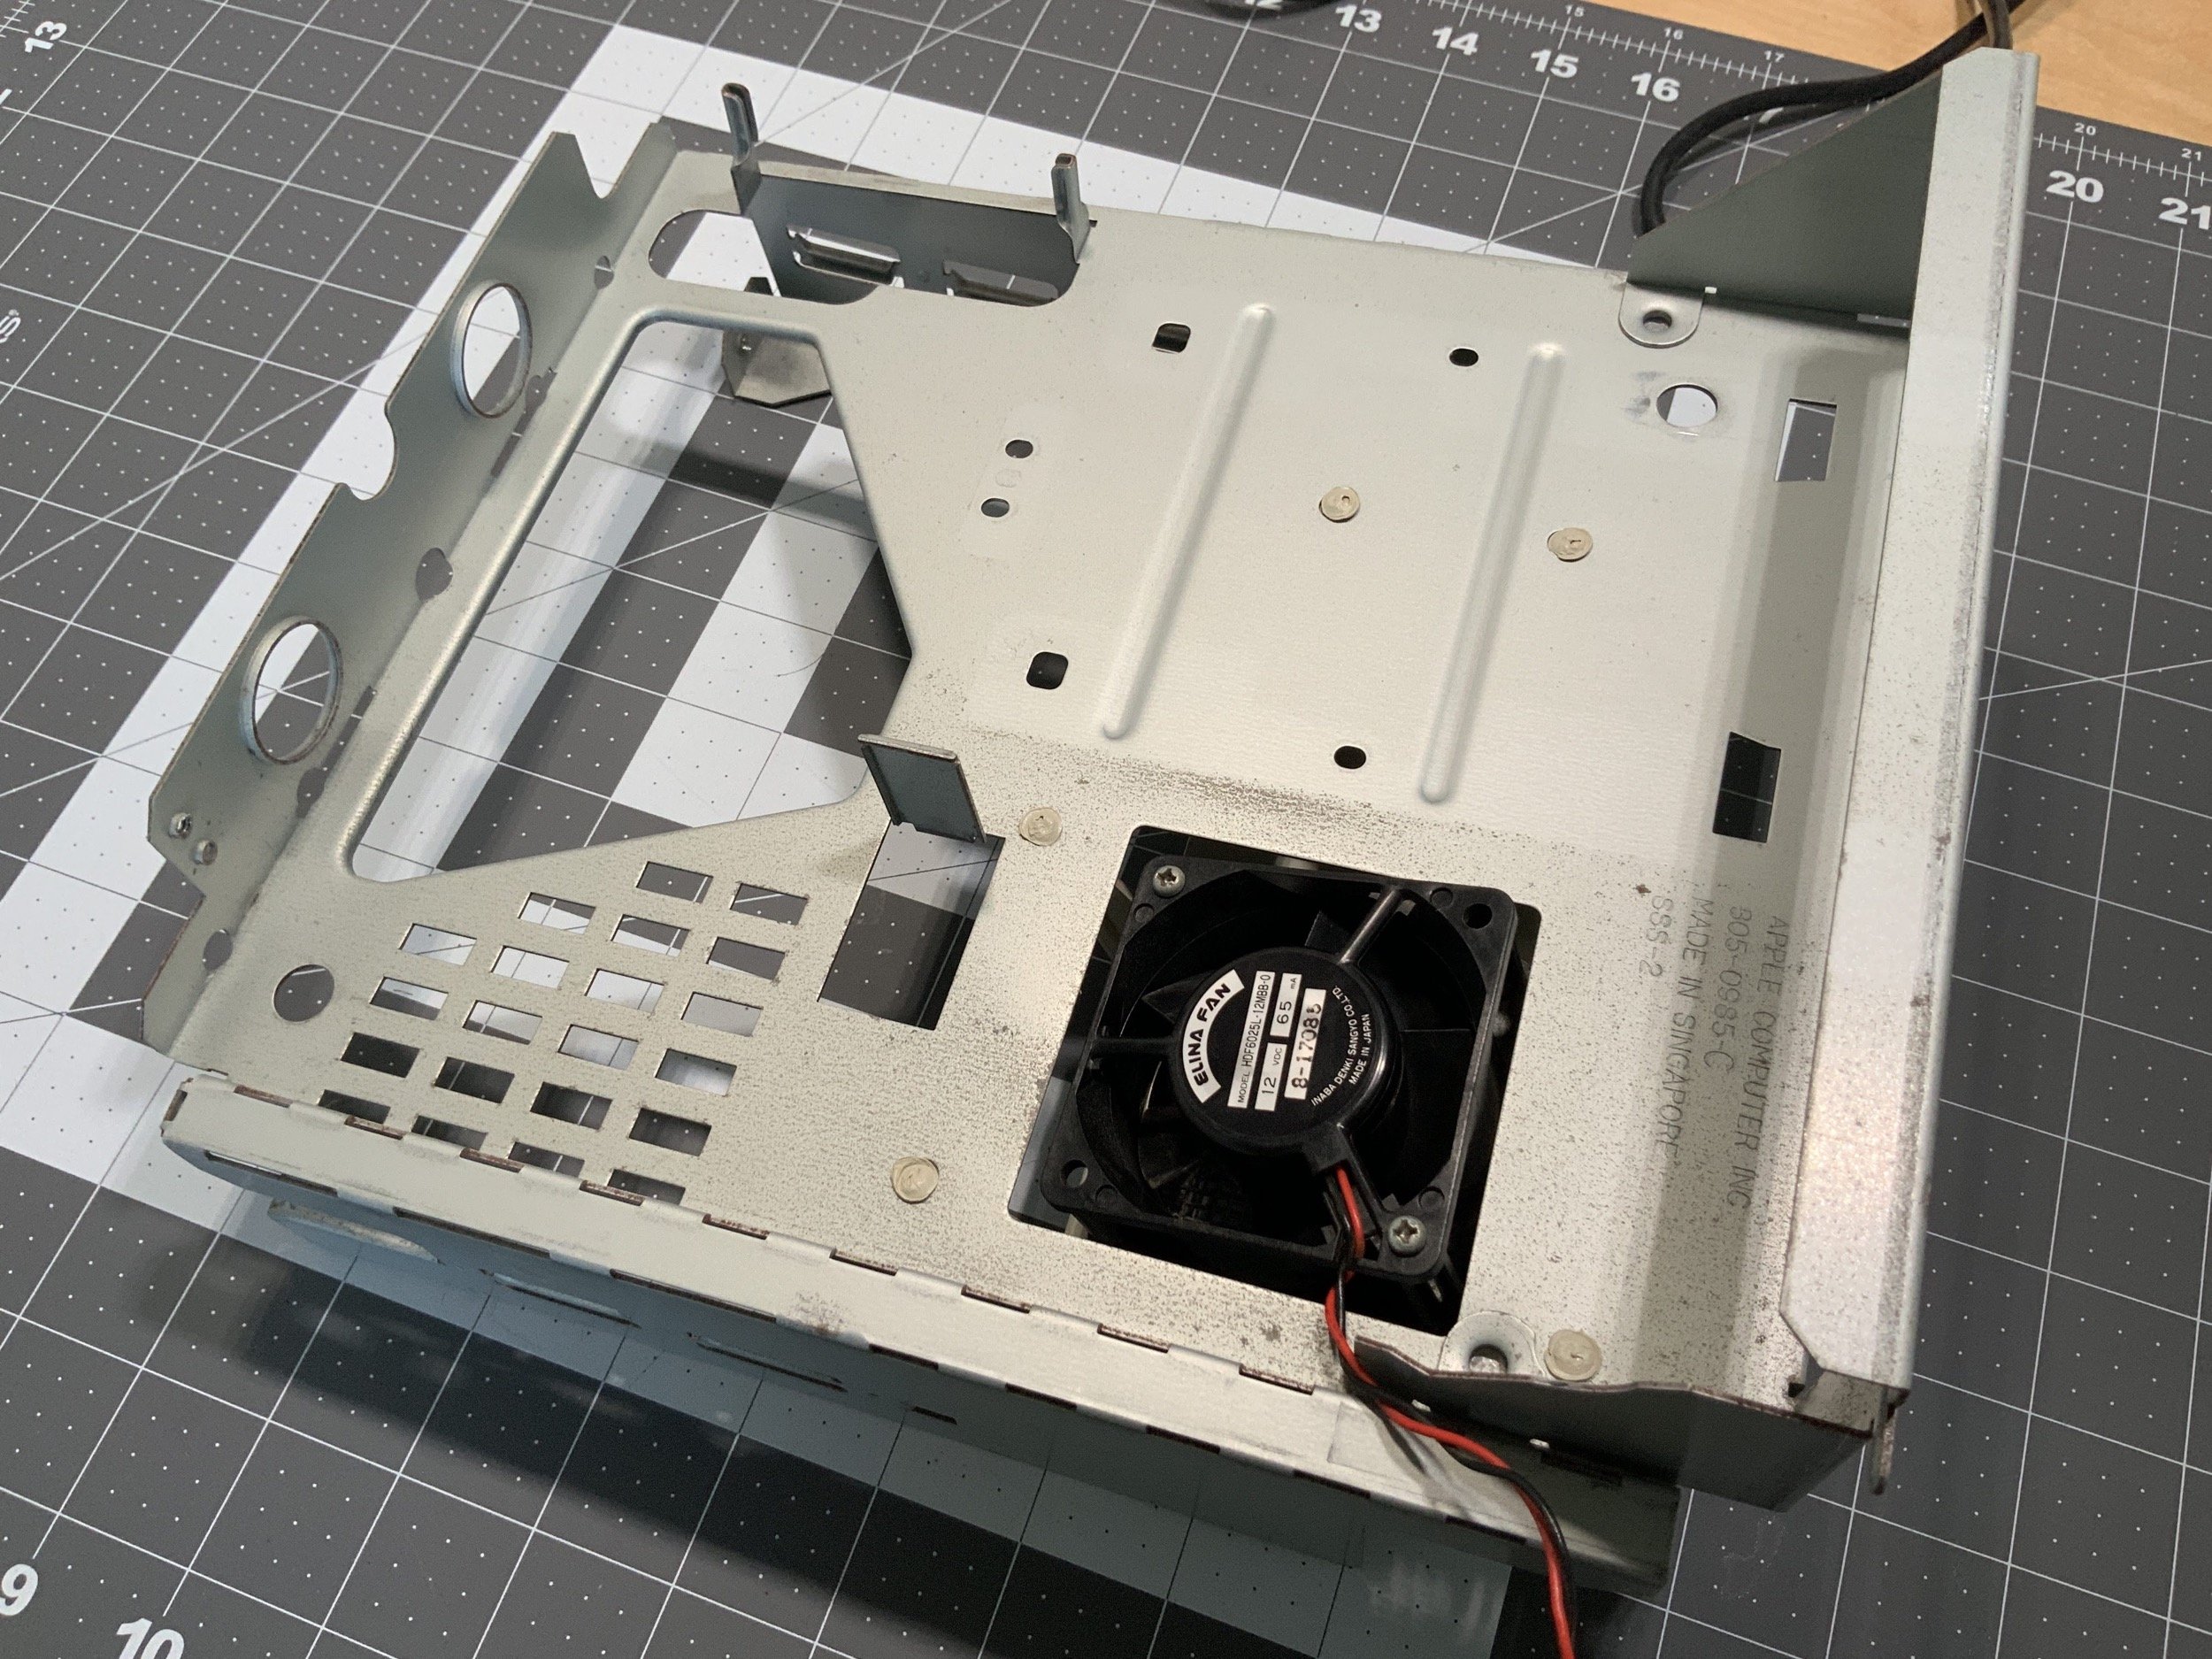
The chassis was the last major part to clean.
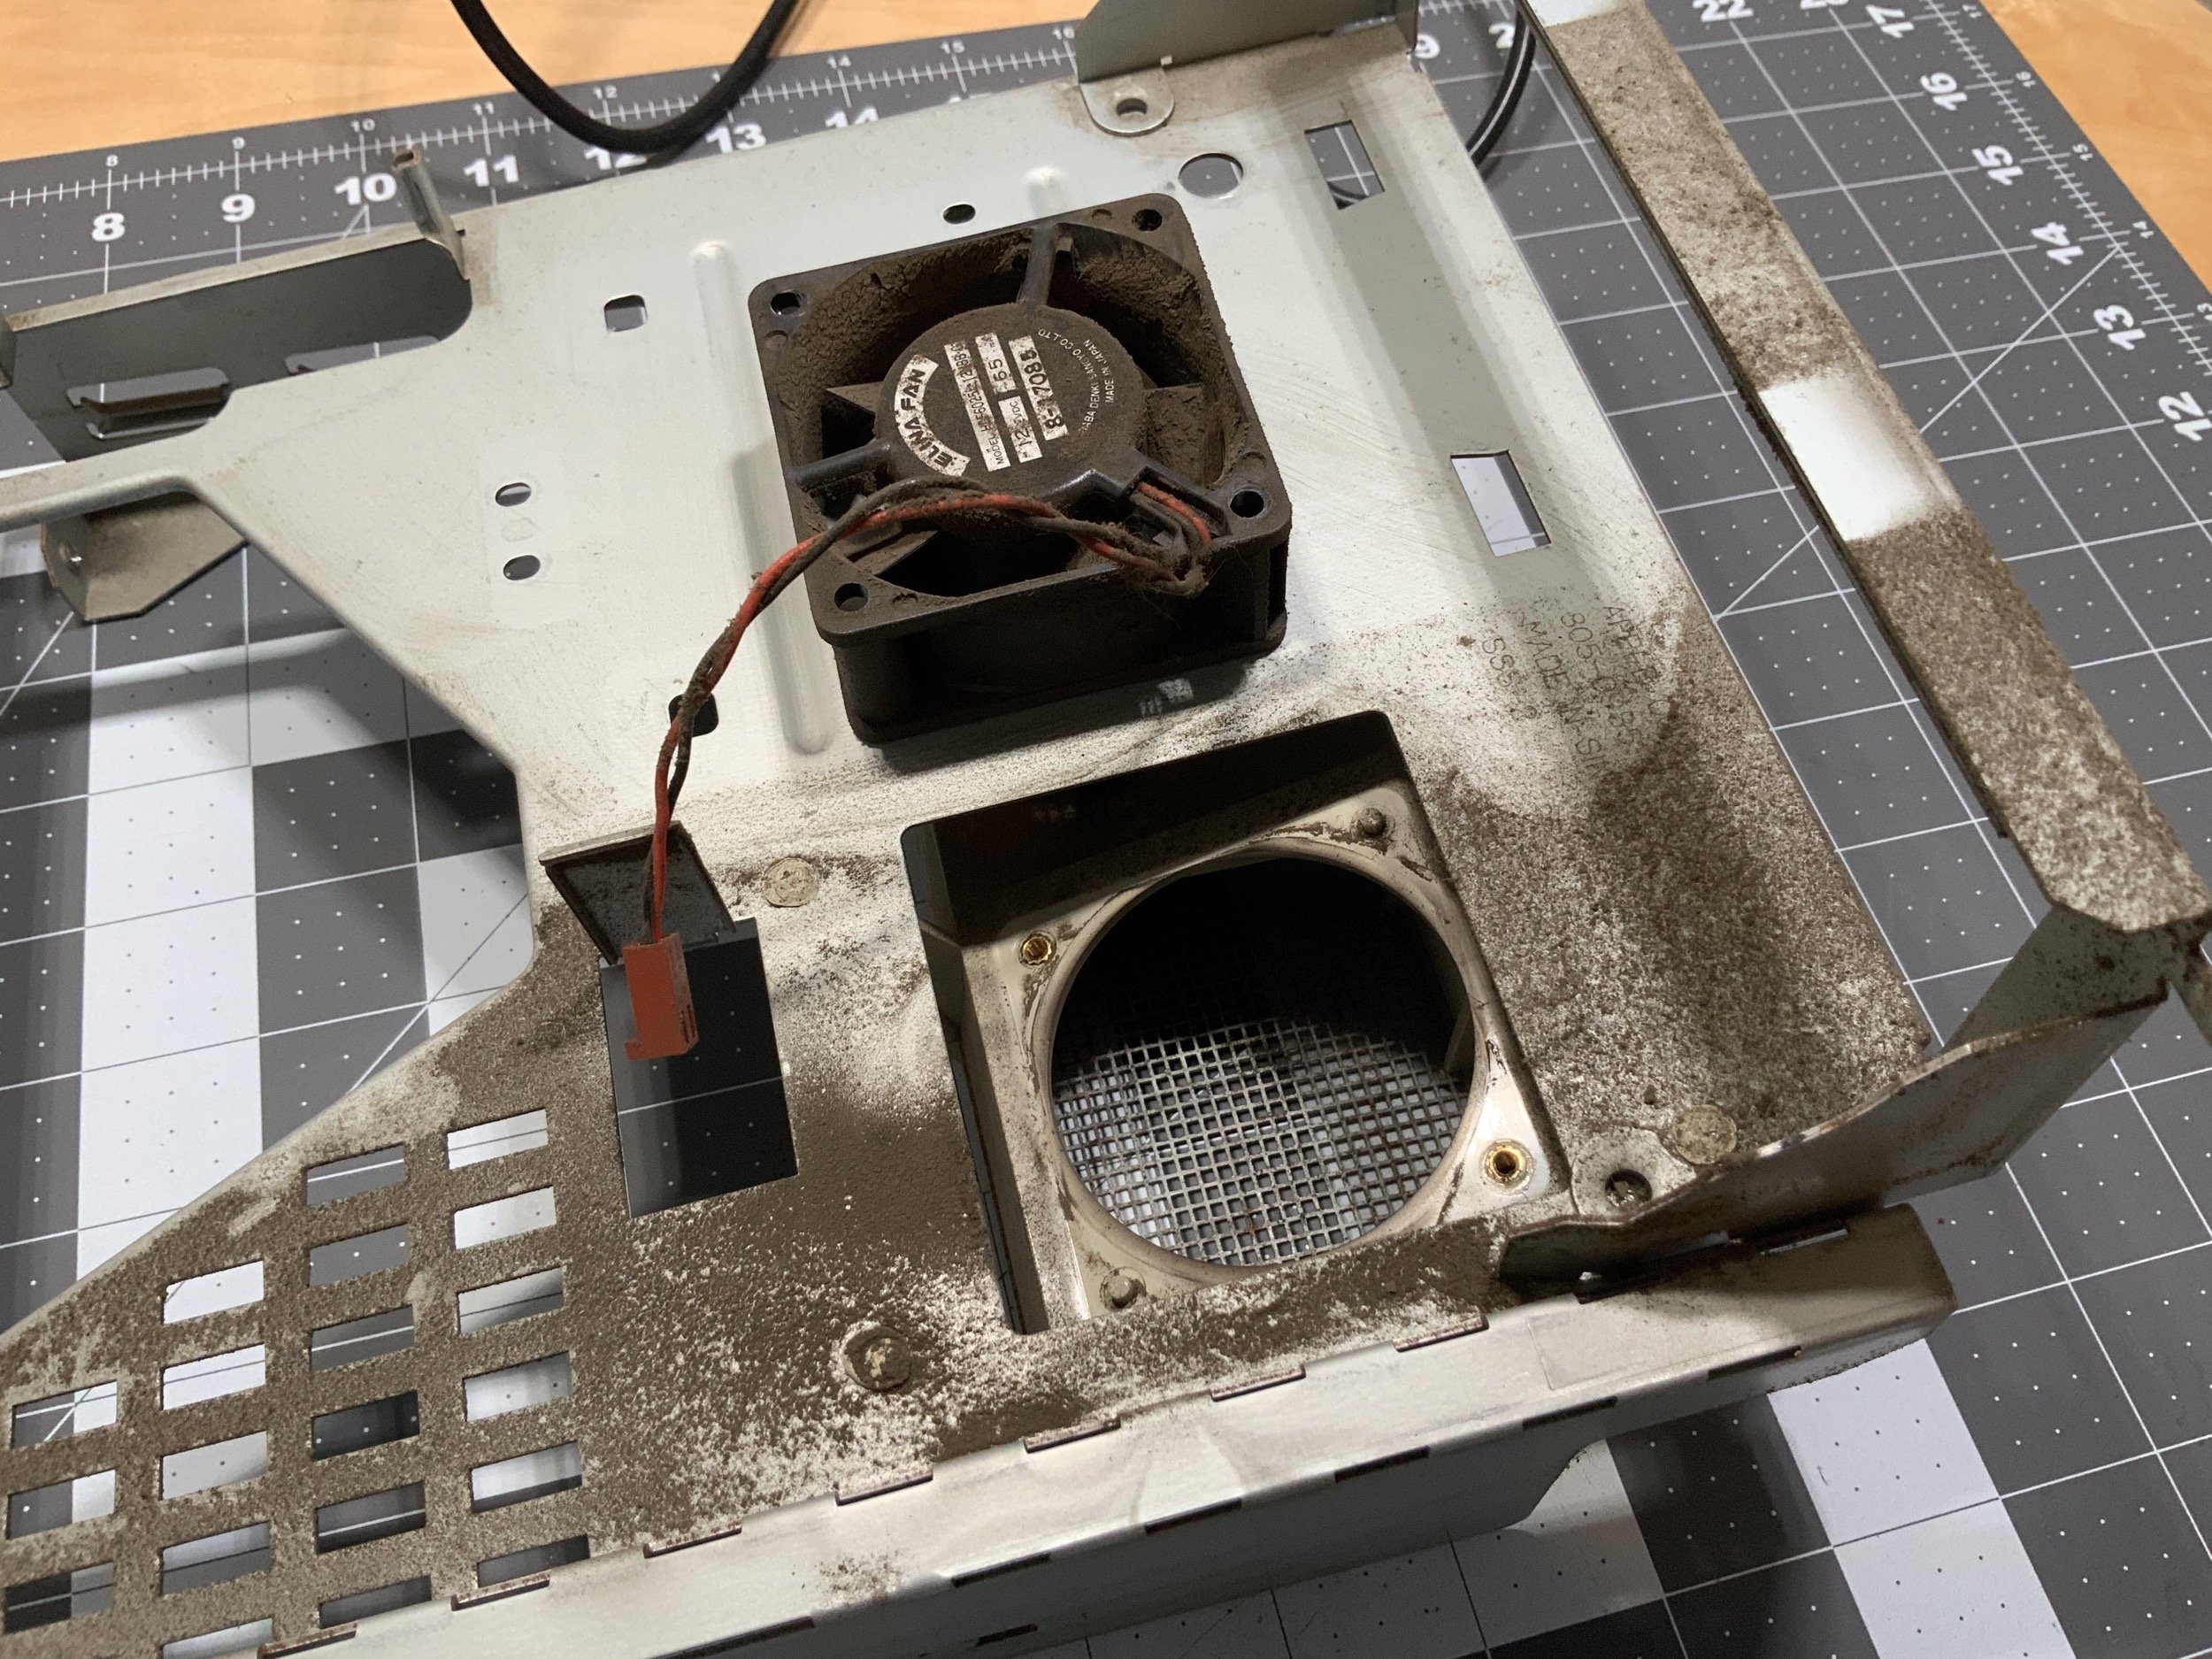
I scrubbed the chassis with soap and water in the kitchen sink, and used alcohol and cotton swabs to clean up the fan. The corrosion on the chassis in the air path was is pretty interesting.
I did a bit of reassembly, and when I installed the CRT, I gently vacuumed everything with the brush head on the vacuum. Then, I wiped the tube down with isopropyl alcohol and gently cleaned parts on the next with cotton swabs. I took it easy on the CRT though, as there’s a coating on the outside that you don’t want to remove. There were a few parts (like the windings) that I didn’t touch with liquid at all.
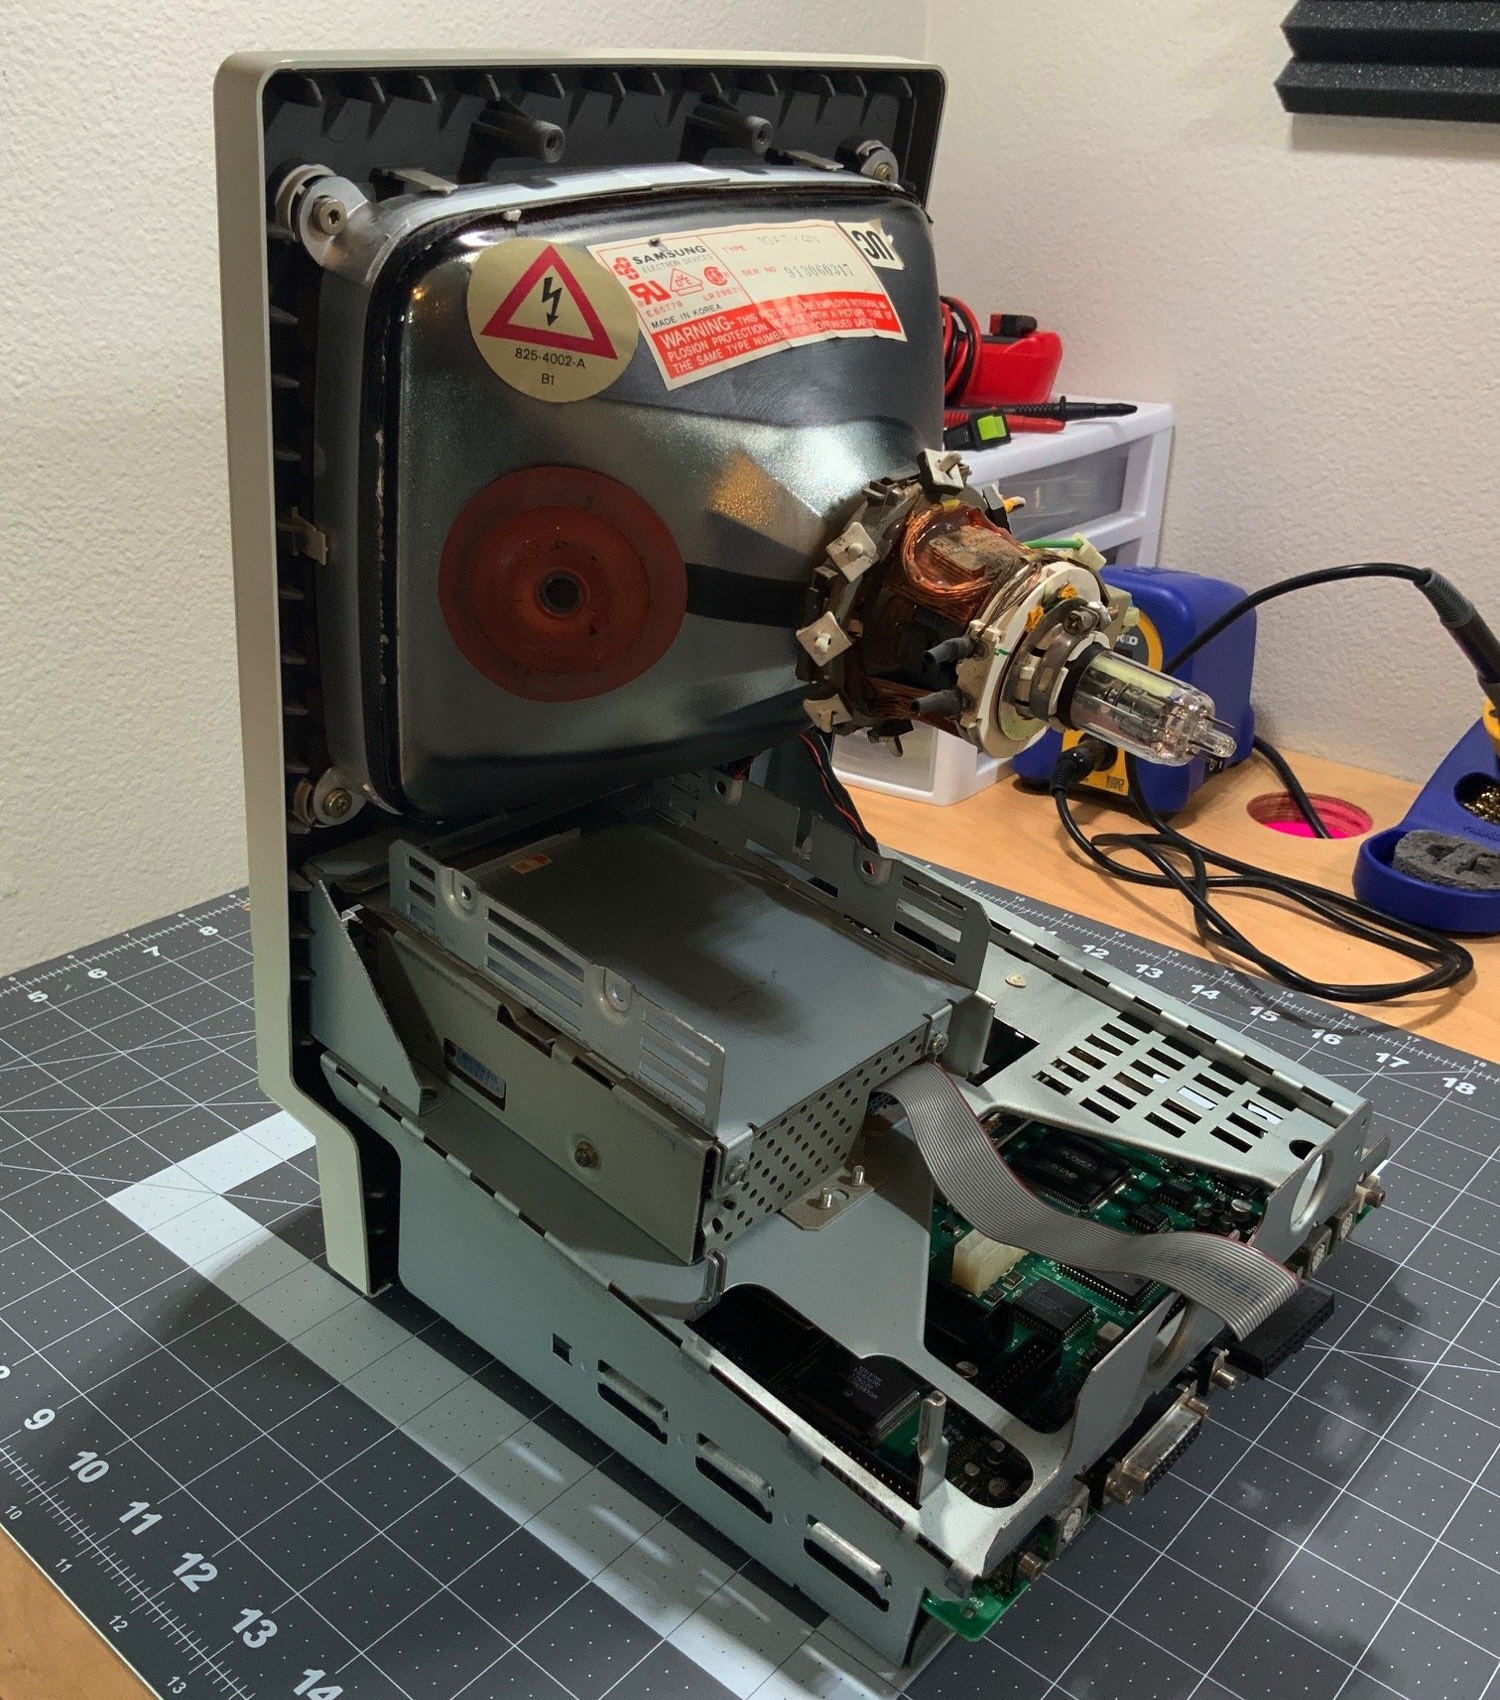
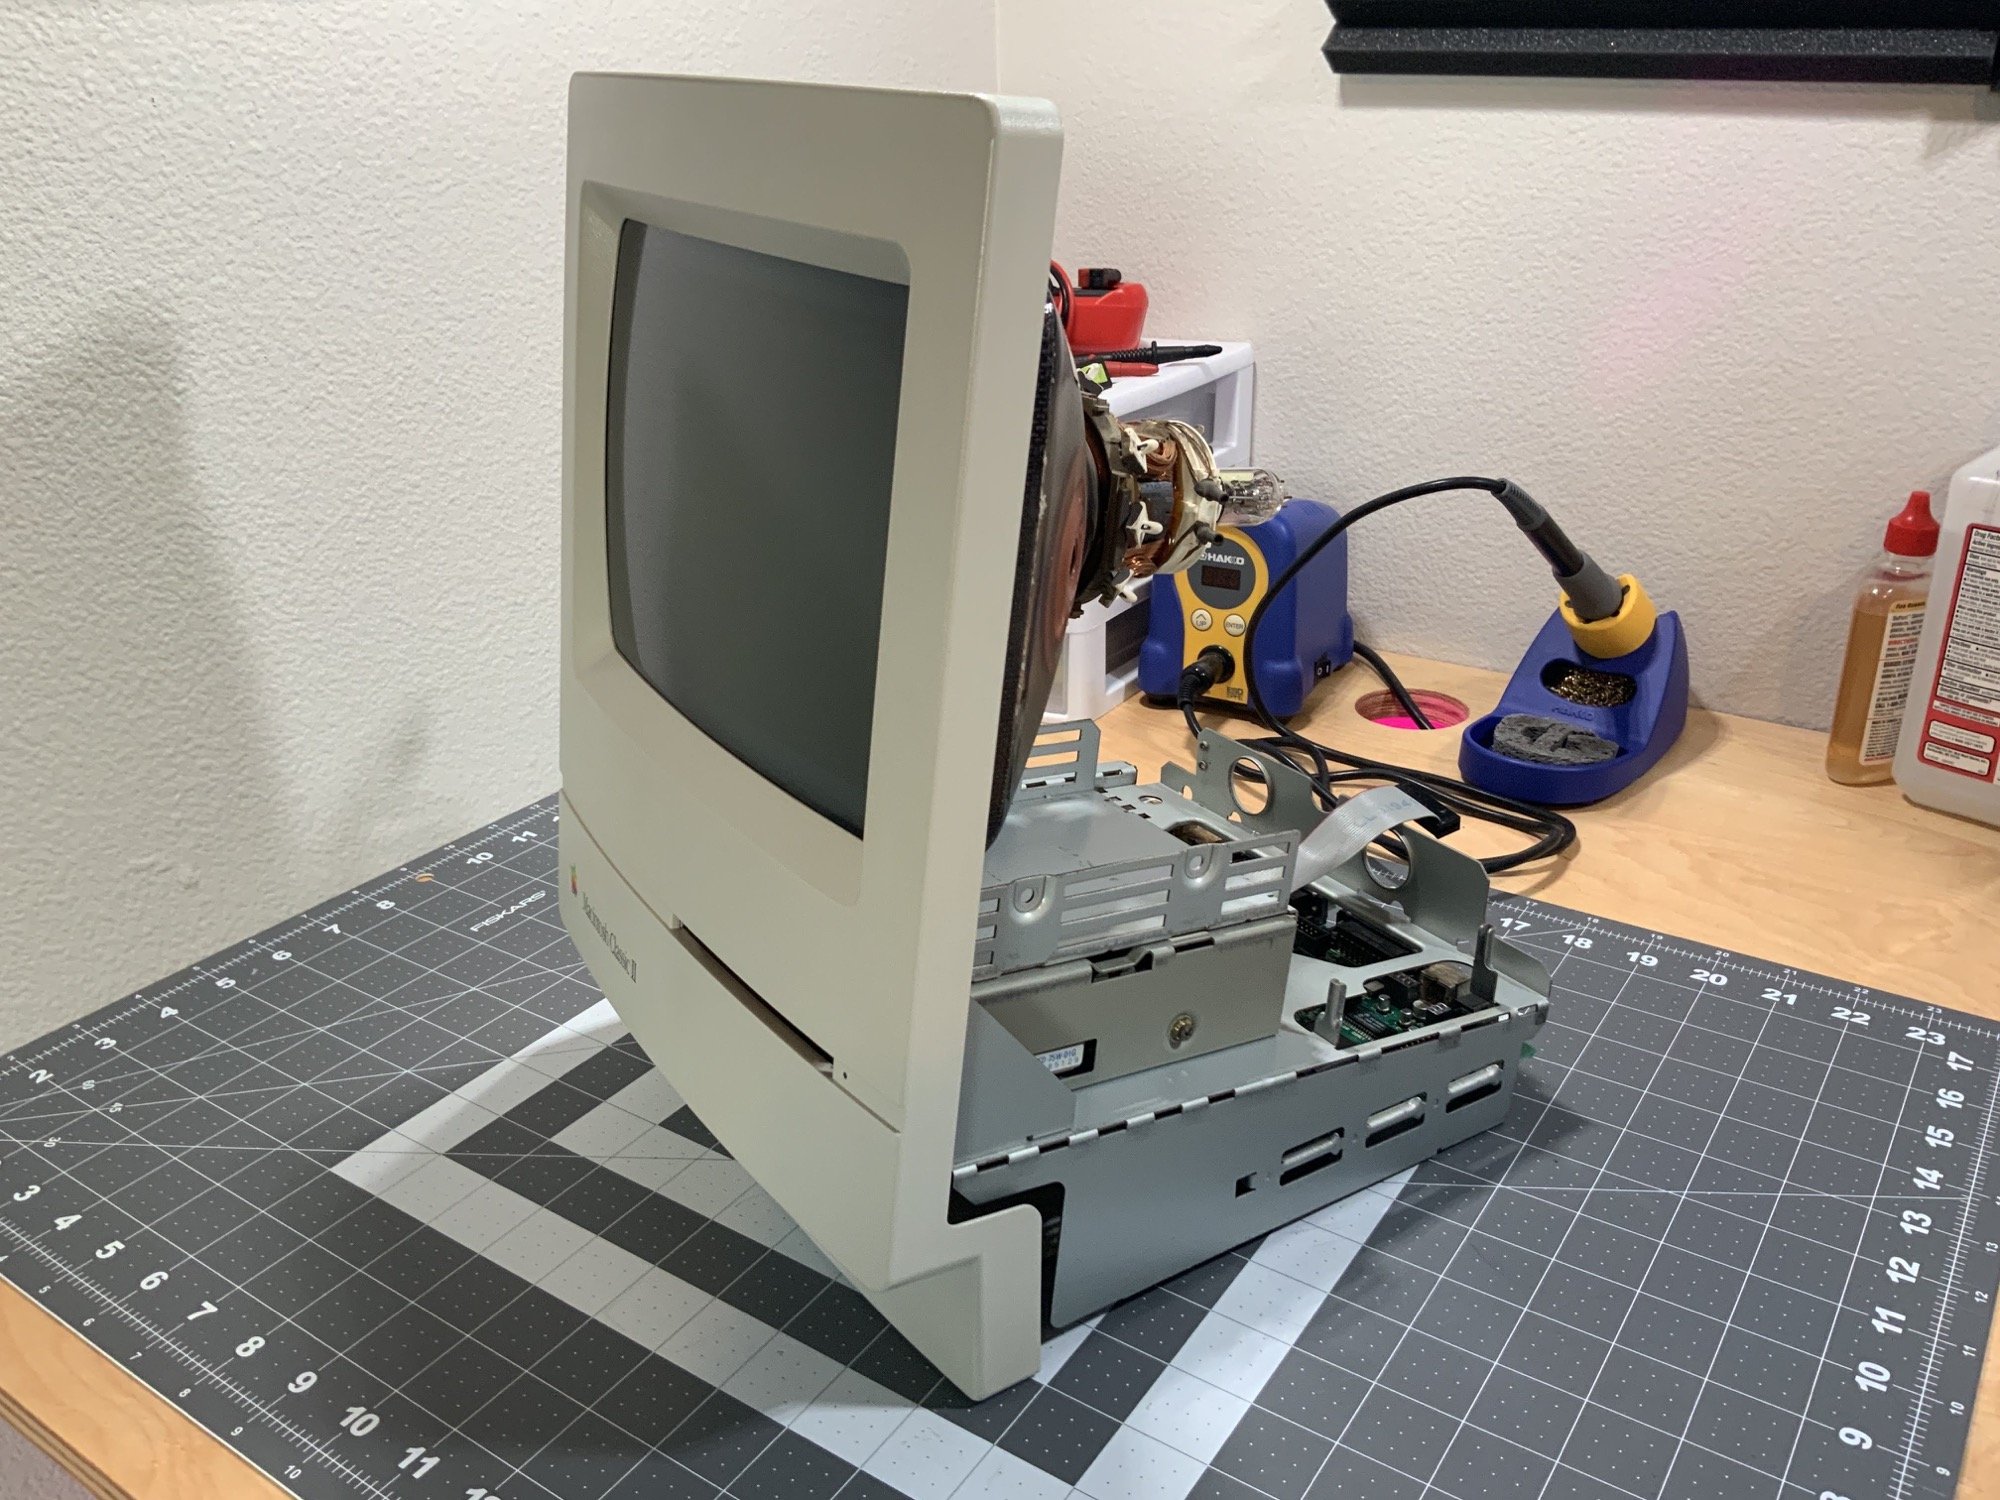
One thing I REALLY appreciate about the Classic II is how you can stand it upright without the logic board being anywhere near your work surface. It’s much nicer than the SE and Plus in that regard. The Classic II is very pleasant to work on.
I needed to identify all of the capacitors on the analog board, but it was still too gross to handle. Look at all of the capacitor juice and gunk everywhere!

I got another Pyrex dish, and went crazy with alcohol and a toothbrush. I scrubbed, rinsed, and scrubbed everything. Then I went after it with cotton swabs and more alcohol, just so I could get to a point where I could read the voltage and capacitance values! I also spent time with the toothbrush and alcohol on the wiring looms, CRT back board, and power switch. I was super careful to steer clear of the speaker.
The back was nasty too. Here’s before:
And here’s after. All of the damage was from the group of large capacitors on the other side of the board!
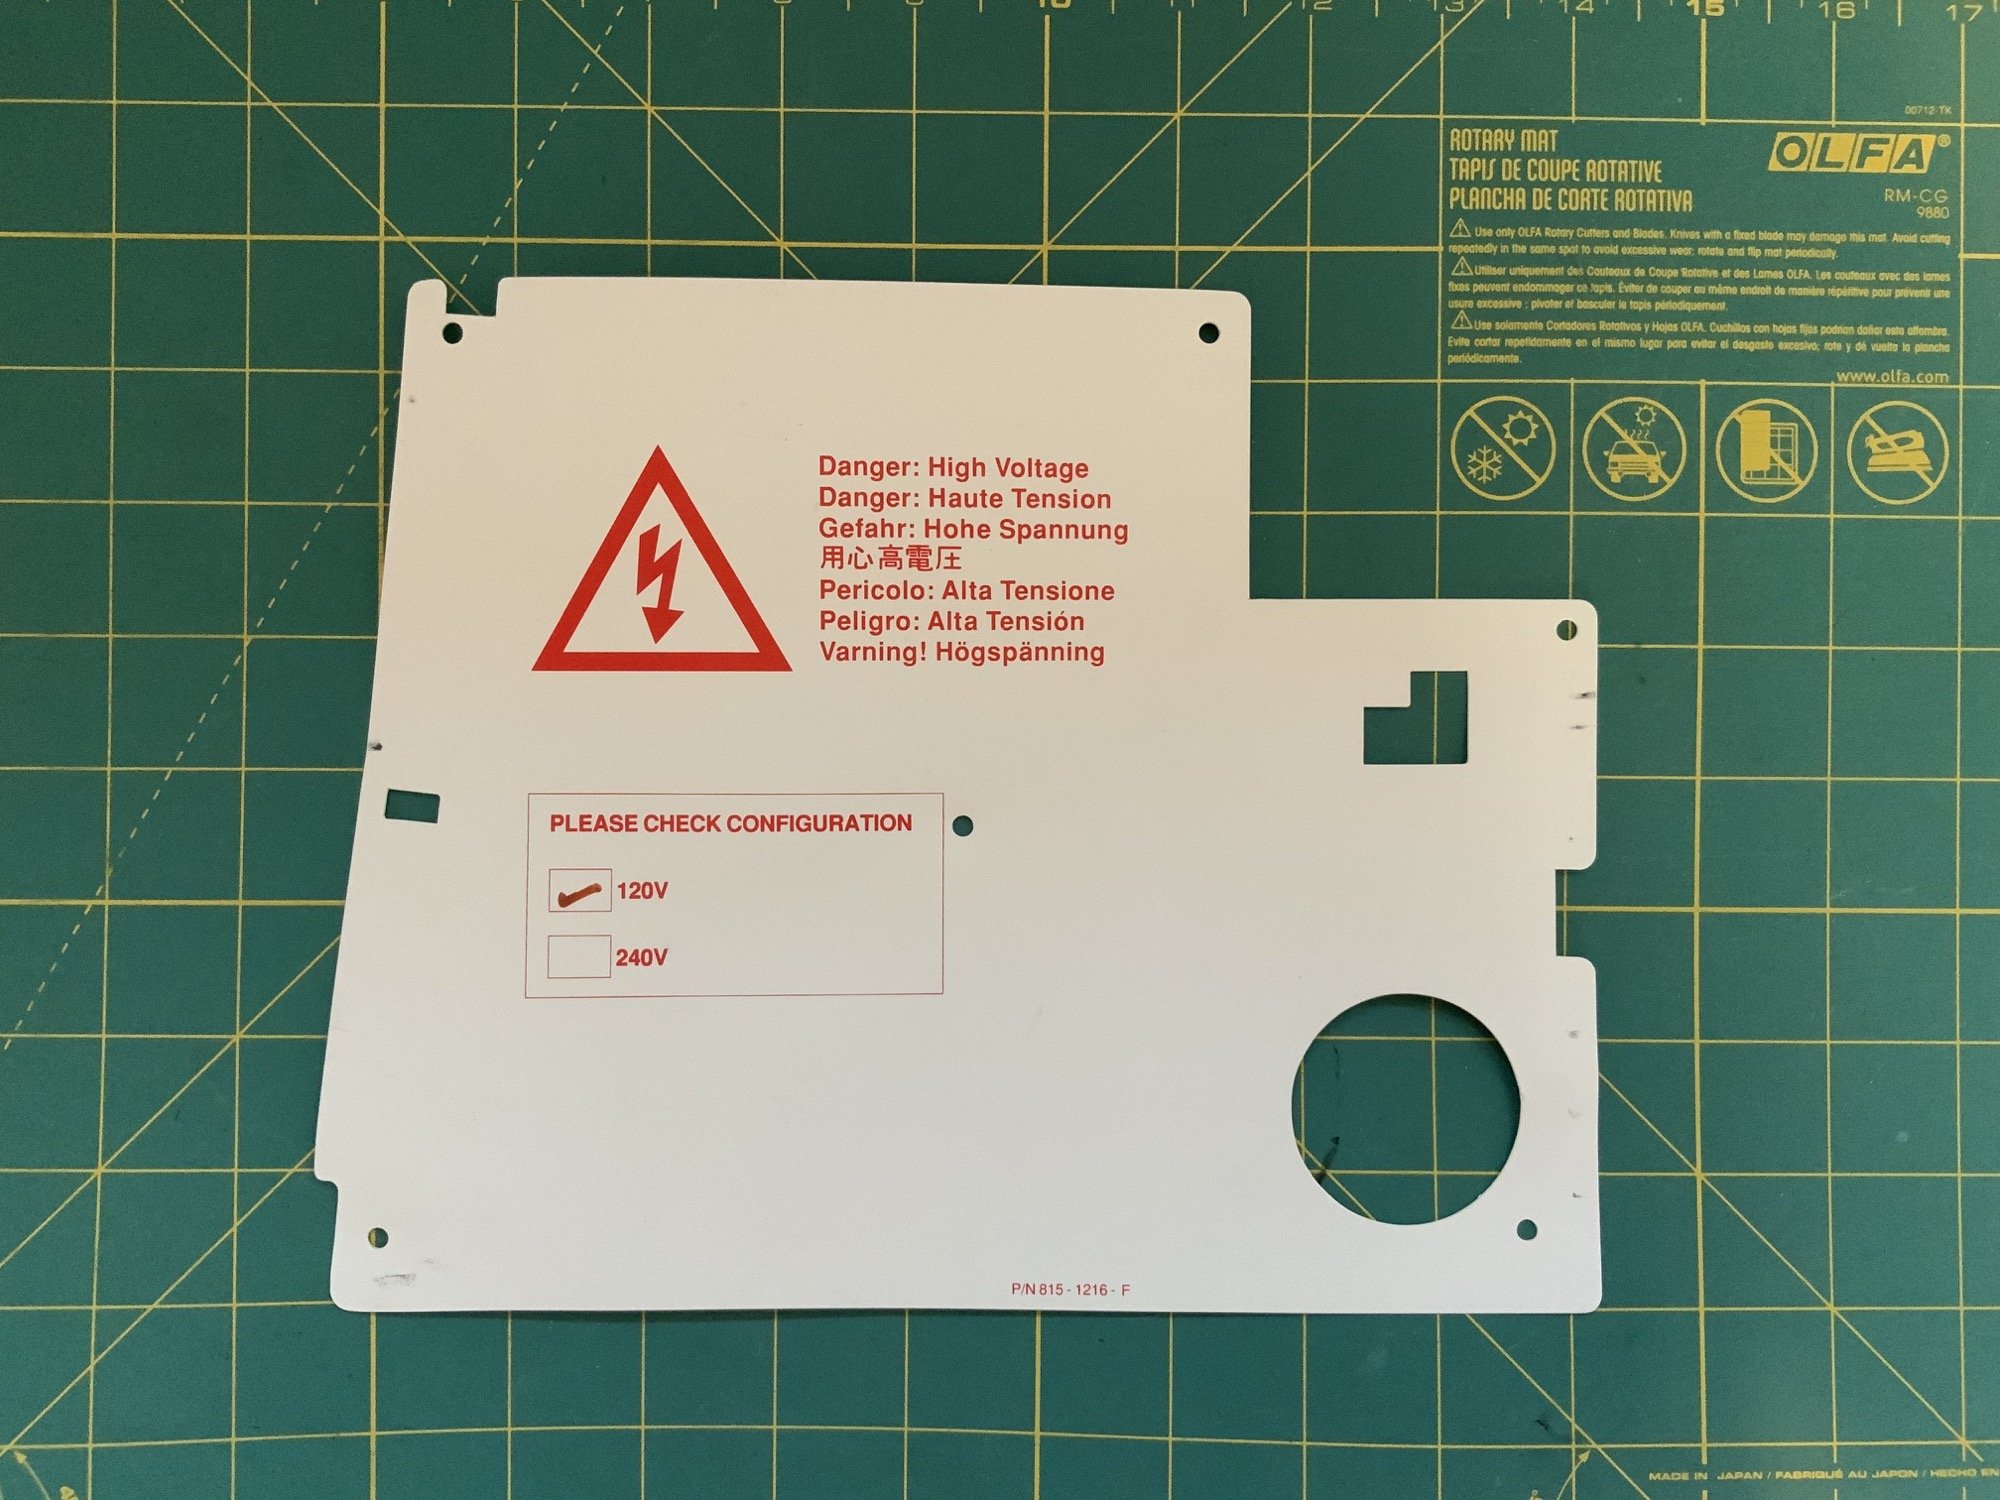
I also worked on the shield with Windex. Before:
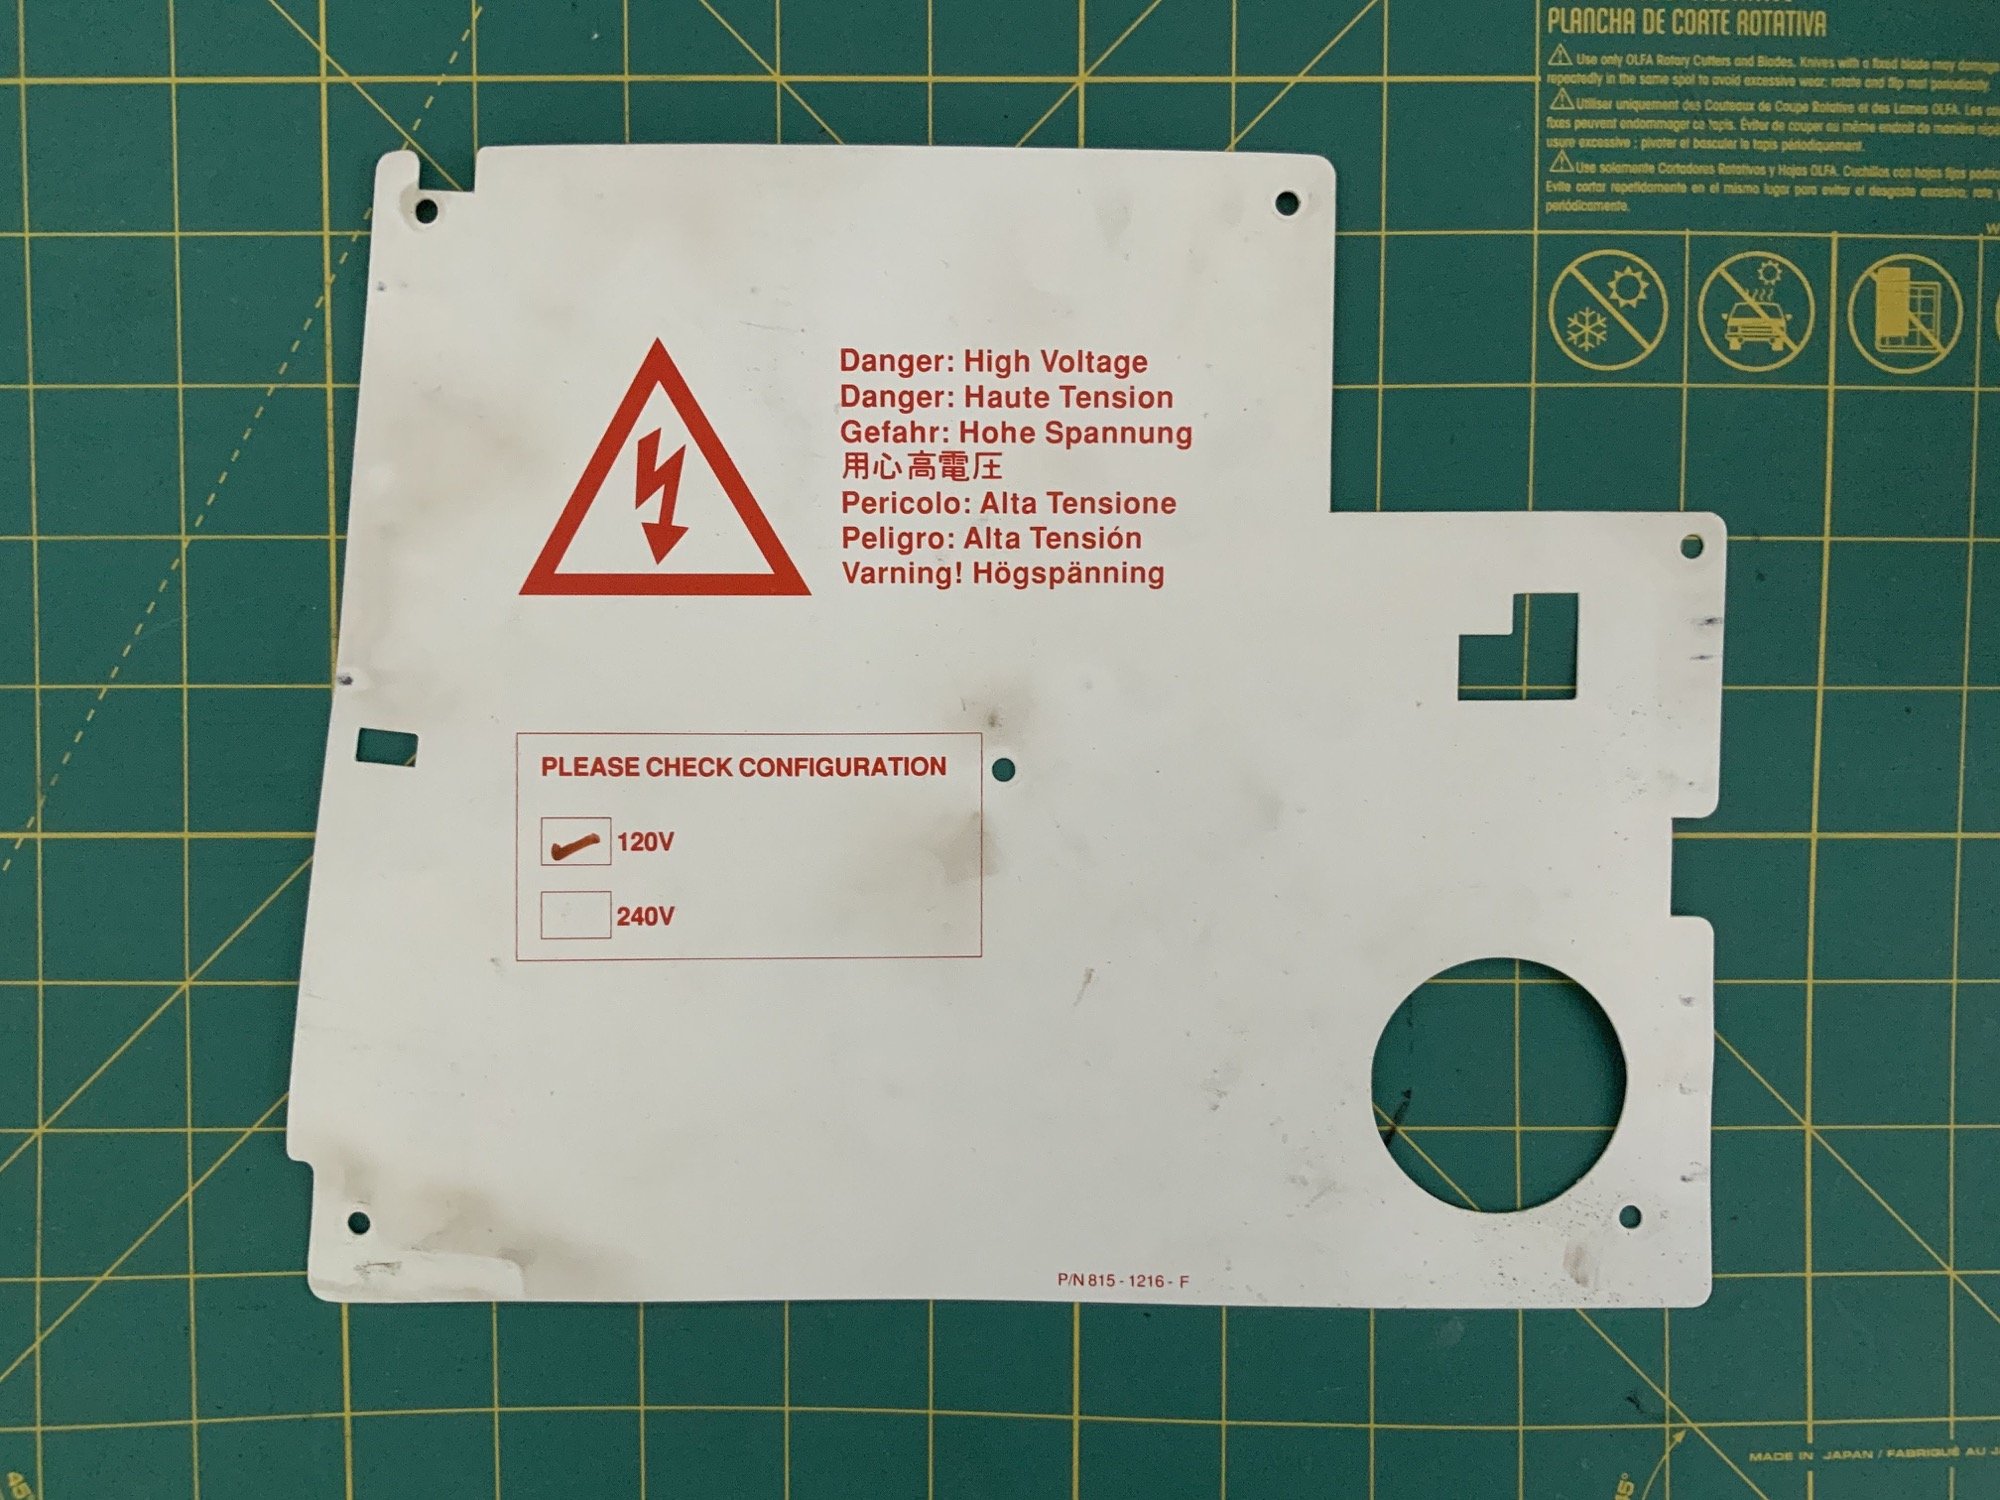
And after! I was careful to avoid the check mark next to “120V”, which looked like it had been written with a Sharpie.
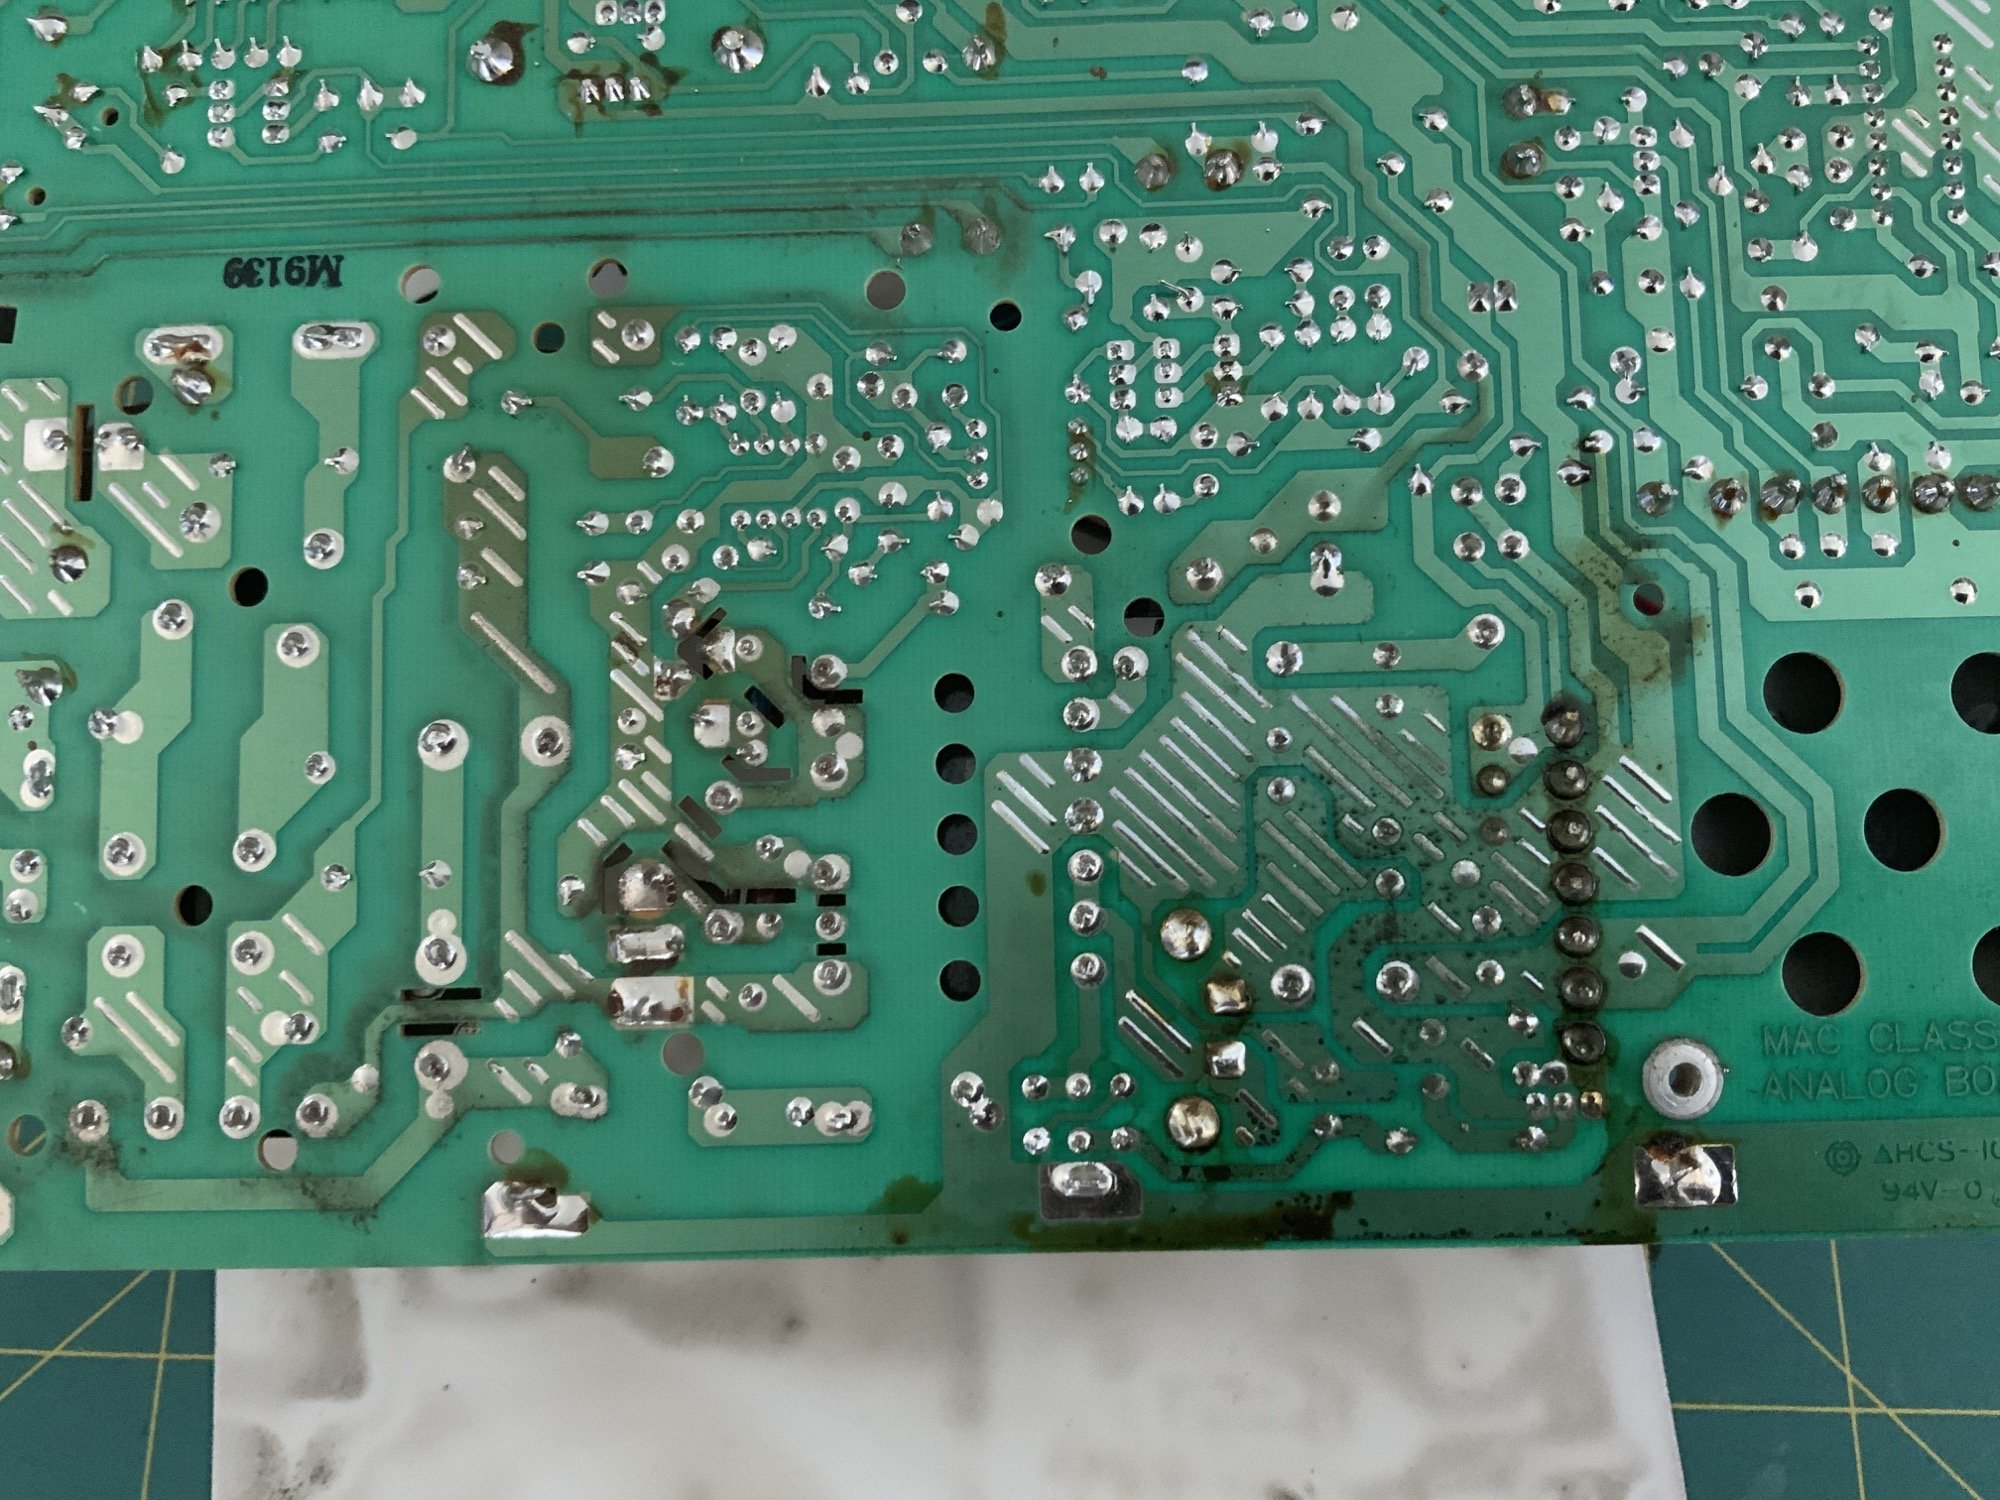
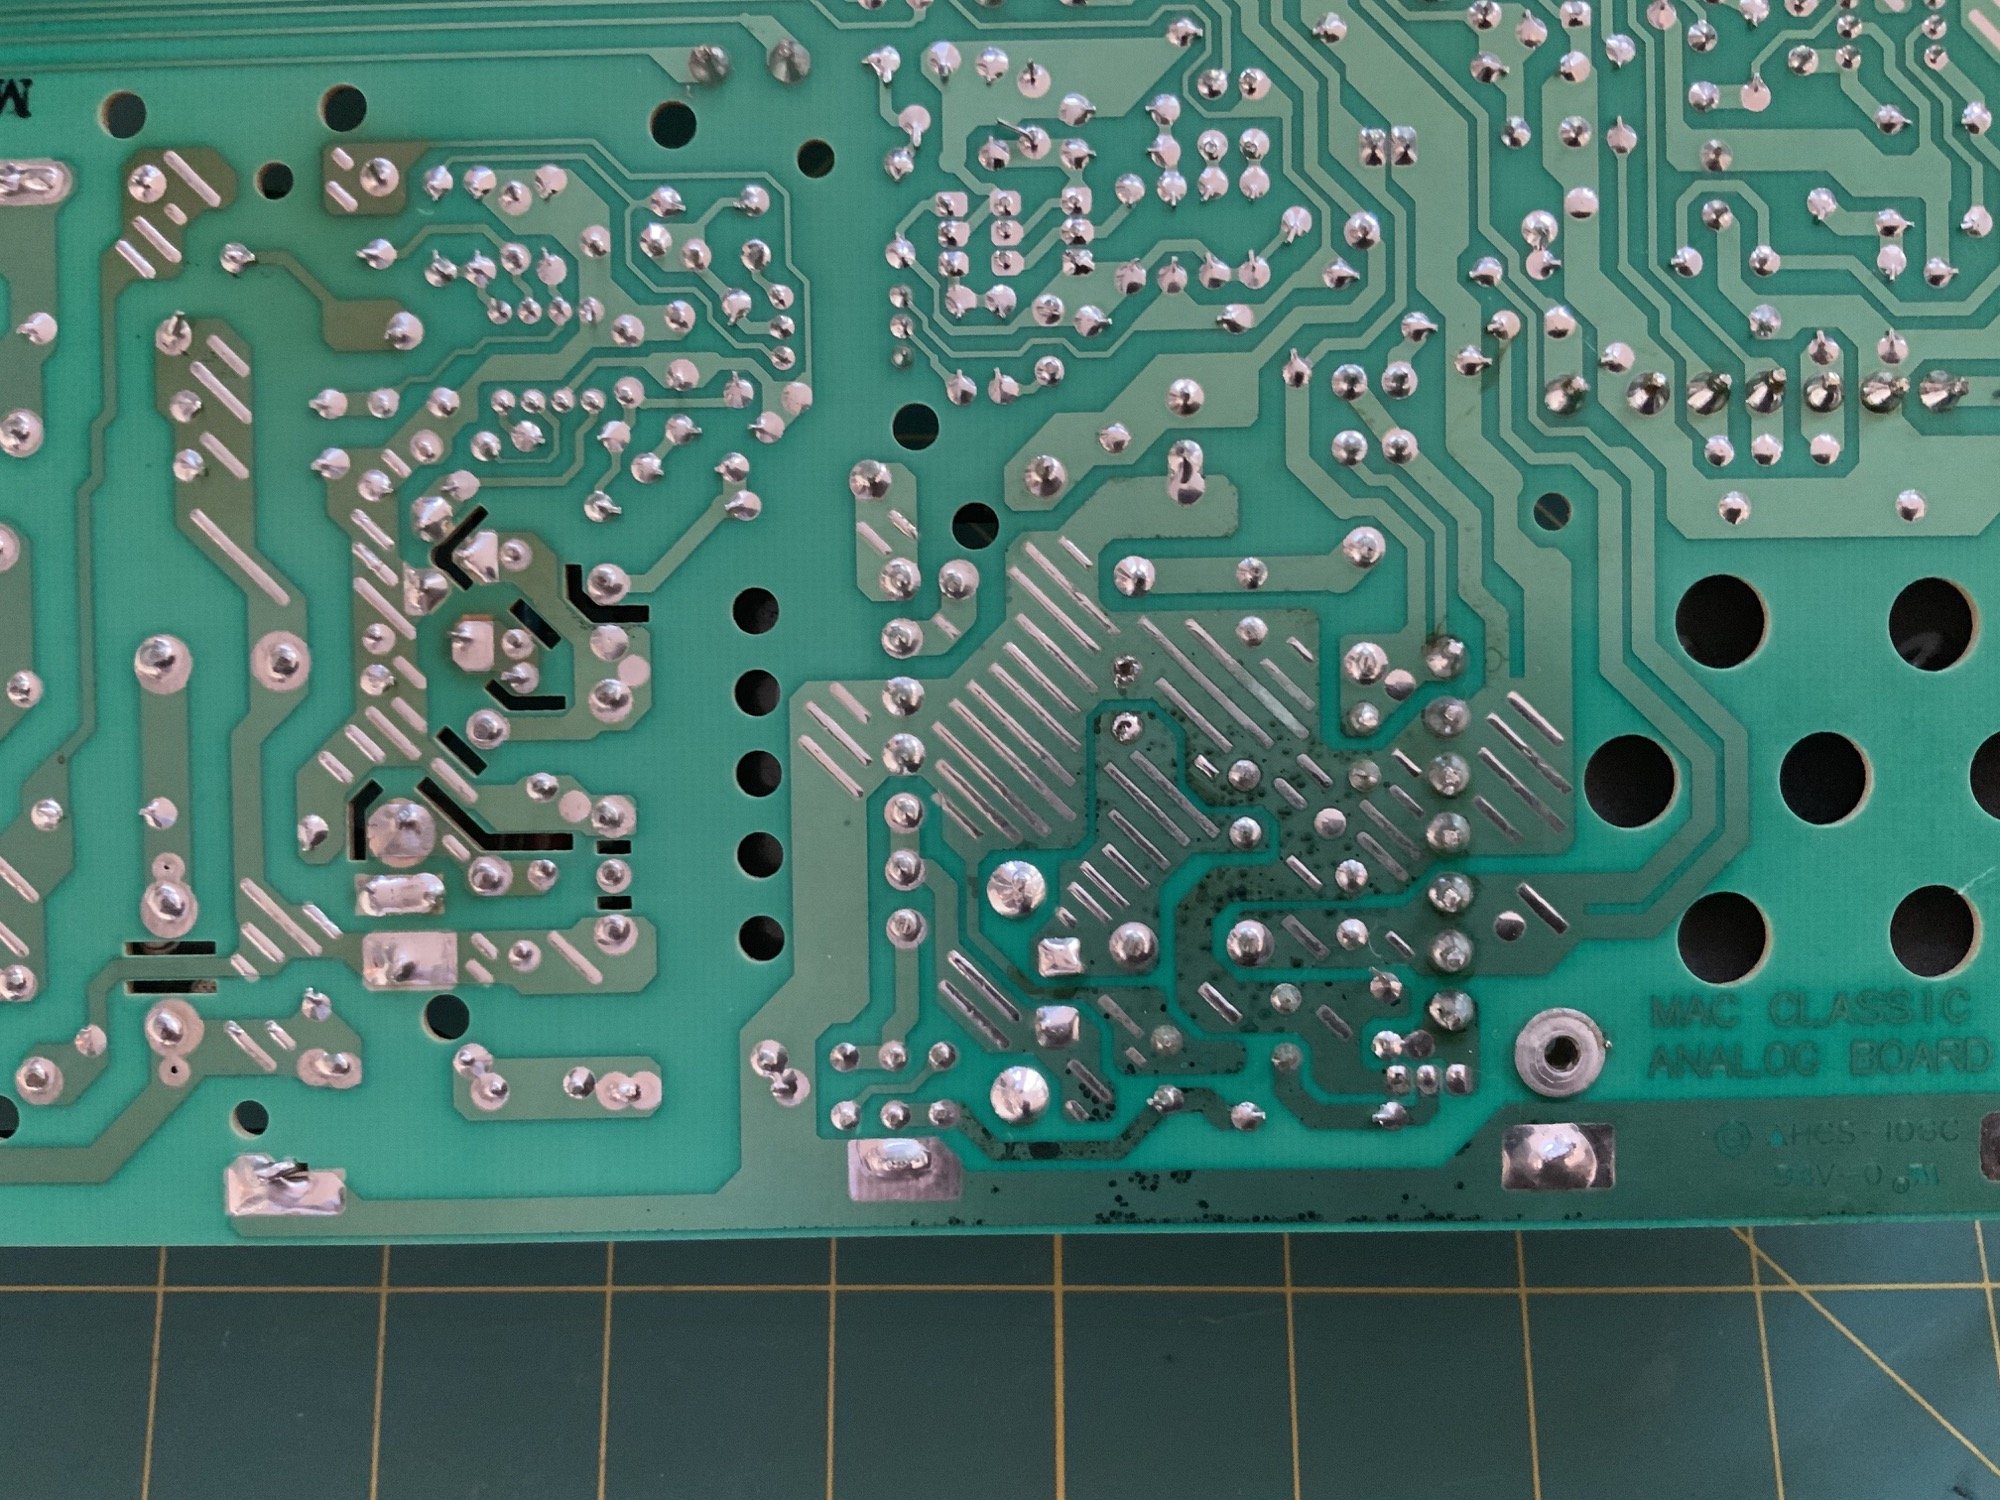
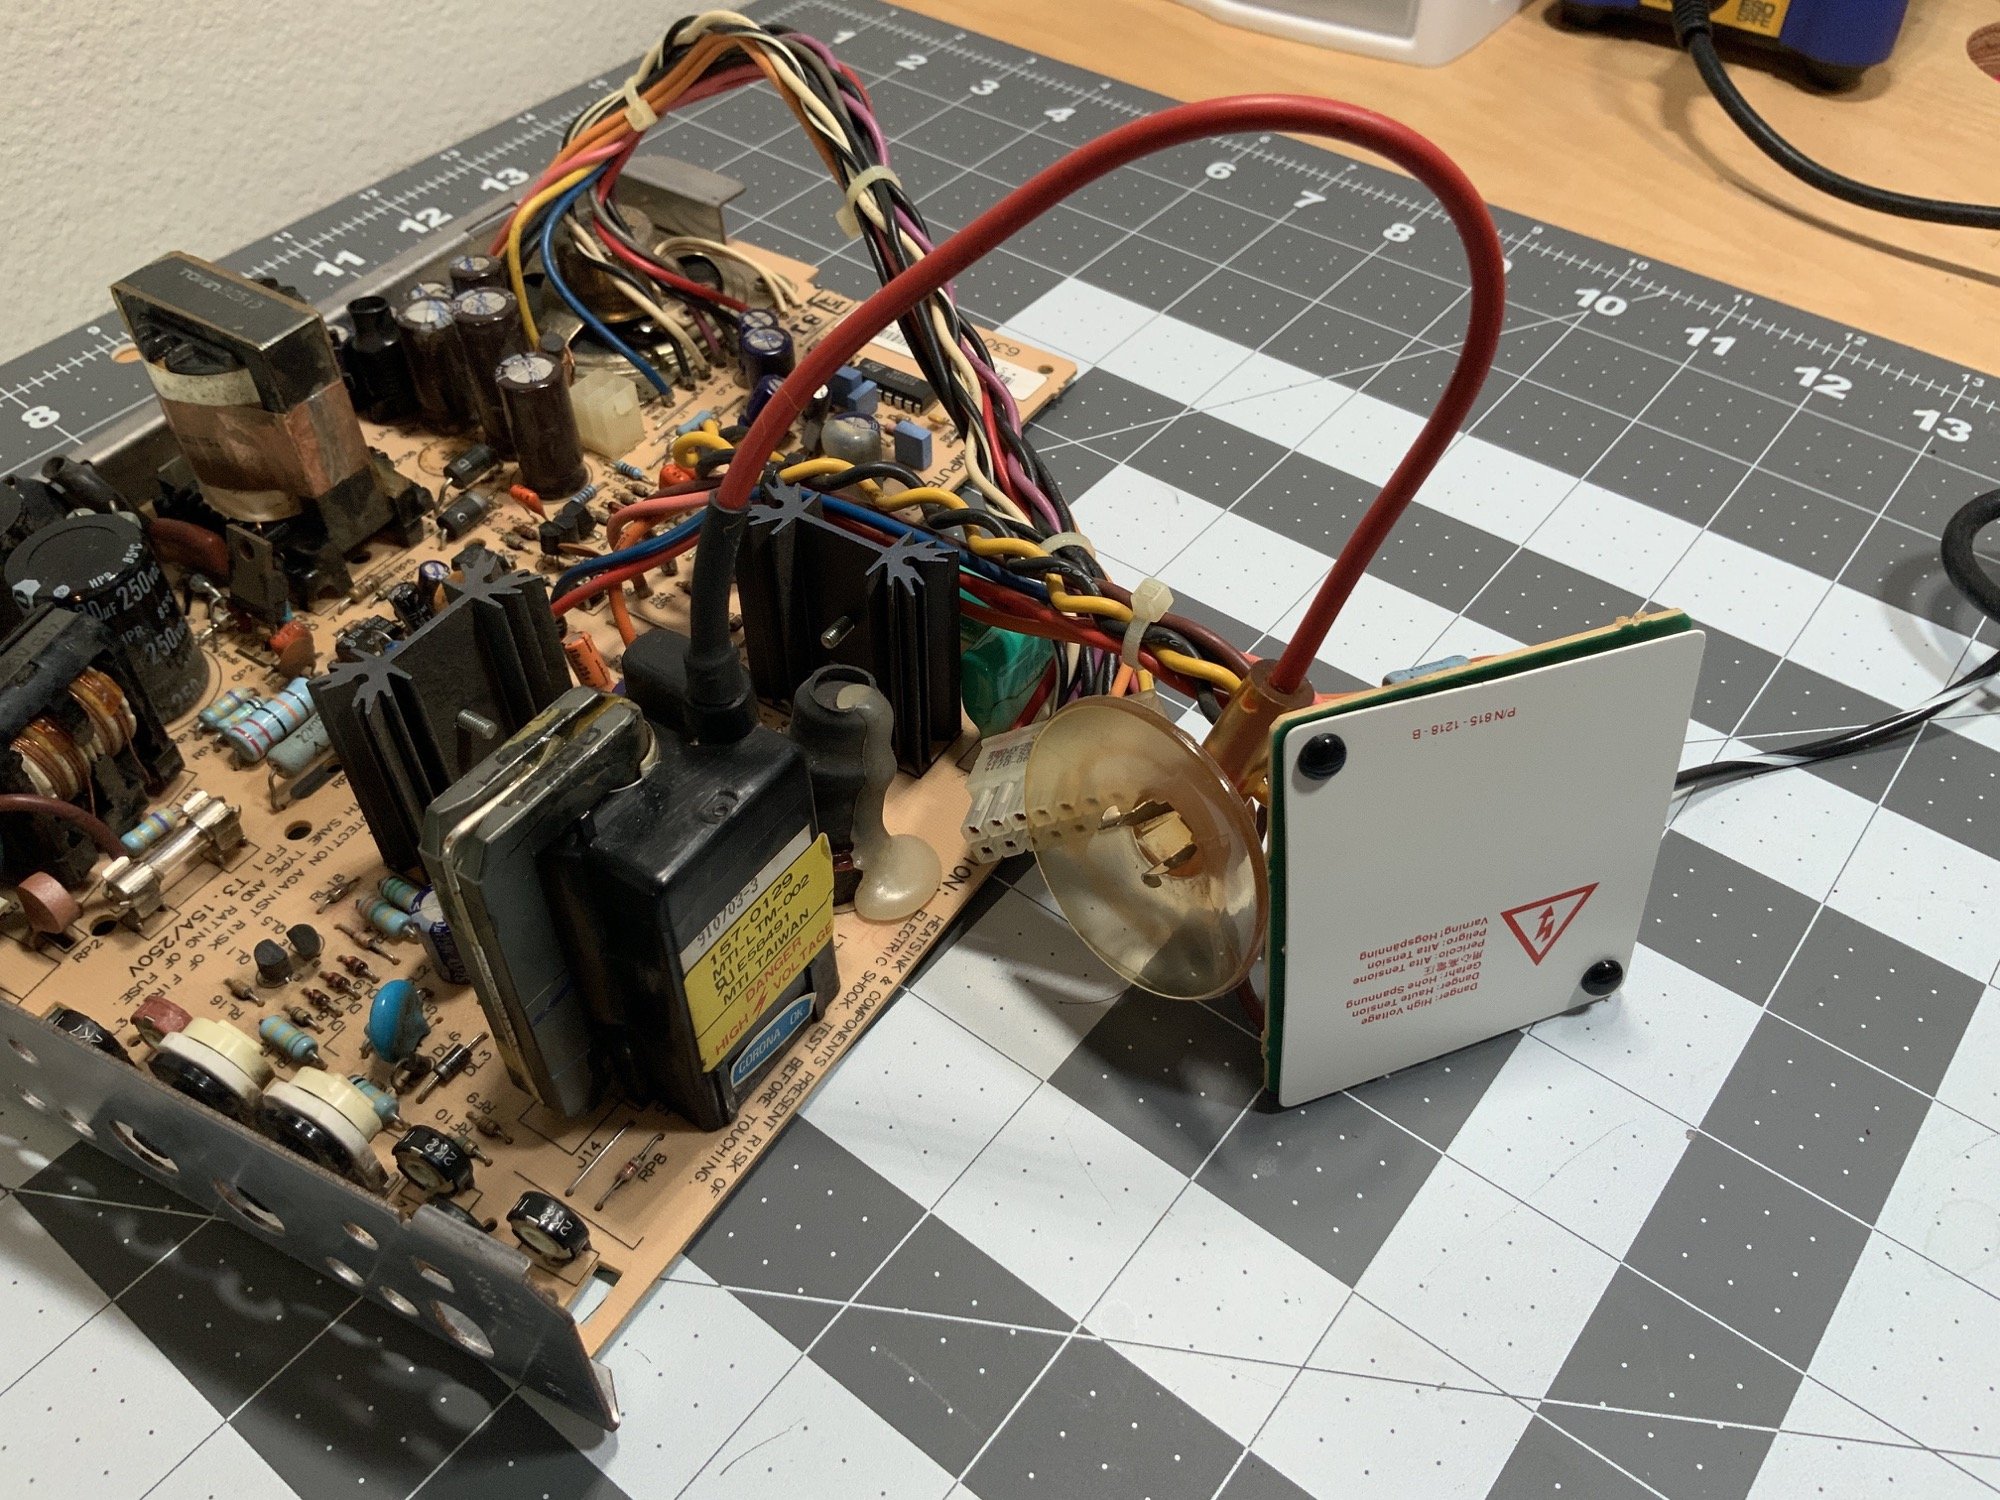
Here’s the whole board after cleaning. I’m especially proud of the anode wire, anode cap, and the back board. They look brand new! Now I could finally determine capacitance values, voltage, diameter, and lead spacing for all of the capacitors.
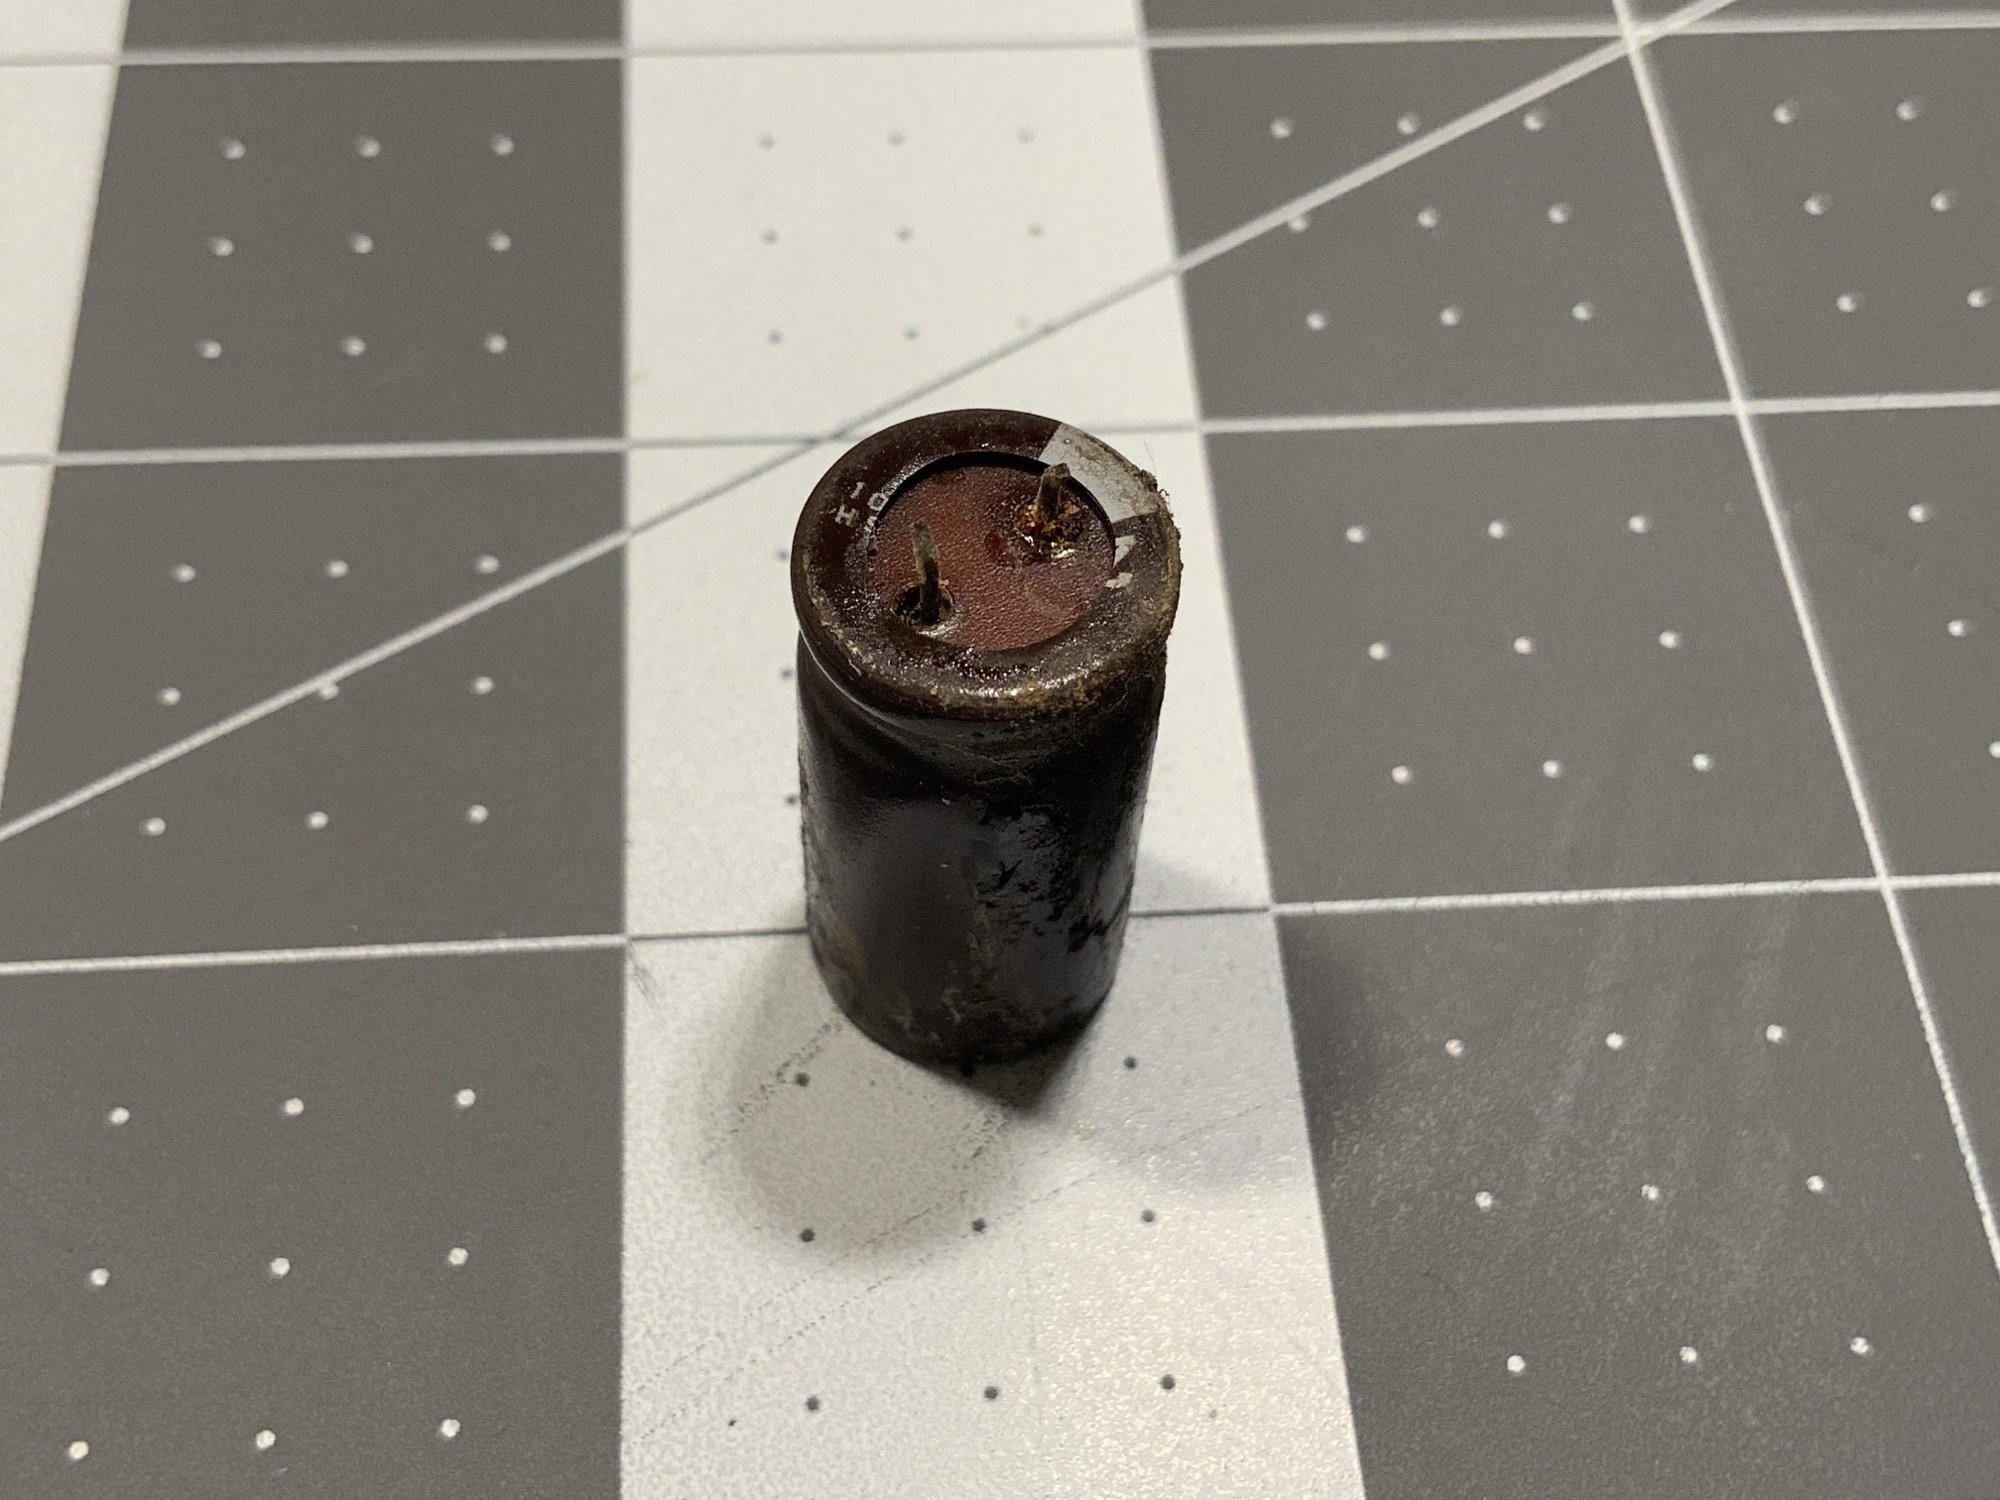
As you may have noticed, I did need to desolder CP36 to read the values. It’s amazing how far gone this capacitor was. I couldn’t wait to get all of these old, nasty capacitors removed and thrown away!
Now, on to the capacitance values. I couldn’t find a list of Macintosh Classic II analog board capacitors anywhere, so here’s what I came up with (and here’s a link to a complete spreadsheet):
- CF1: 47 uF, 25v
- CF2: 220 uF, 16v
- CF3: 1000 uF, 16v
- CF4: 470 uF, 25v
- CL1: 1000 uF, 25v
- CL2: 4.7 uF, 250v
- CL3: 1 uF, 50v
- CL11: 47 uF, 16v
- CP1: 220 uF, 250v
- CP2: 470 uF, 50v
- CP3: 10 uF, 25v
- CP4: 47 uF, 25v
- CP5: 1 uF, 50v
- CP6: 2200 uF, 10v
- CP7: 1000 uF, 10v
- CP8: 2200 uF, 16v
- CP9: 470 uF, 25 v
- CP10: 470 uF, 25 v
- CP11: 220 uF, 50v
- CP12: 1000 uF, 16v
- CP13: 220 uF, 250v
- CP34: 1 uF, 50v
- CP36: 2200 uF, 10v
- CP37: 1 uF, 50
- CV2: 470 uF, 10
I also purchased tantalum SMD’s for the logic board, here they are in a grouped format:
- Quantity 3: 47 uF, 16v
- Quantity 2: 1 uF, 50v
- Quantity 8: 10 uF, 16v
Specifying these particular caps is a bit tricky, because a length of 3.5mm is a bit short to reach the pads, and 6mm is way too long, and there are few packages in between. So I settled for 3.5mm for the smaller caps.
Arrow.com was about $57 due to shipping and handling charges, so I tried Digi-Key and got everything for about $31. The spreadsheet has links to each part, although you’ll probably have to find substitues due to price and stock changes.
Analog Board Recap
When the capacitors came in, I was very excited to get the analog board up and running again! First, I marked all of the old caps on the analog board with a Sharpie, so it would be easy to keep track of what is done.
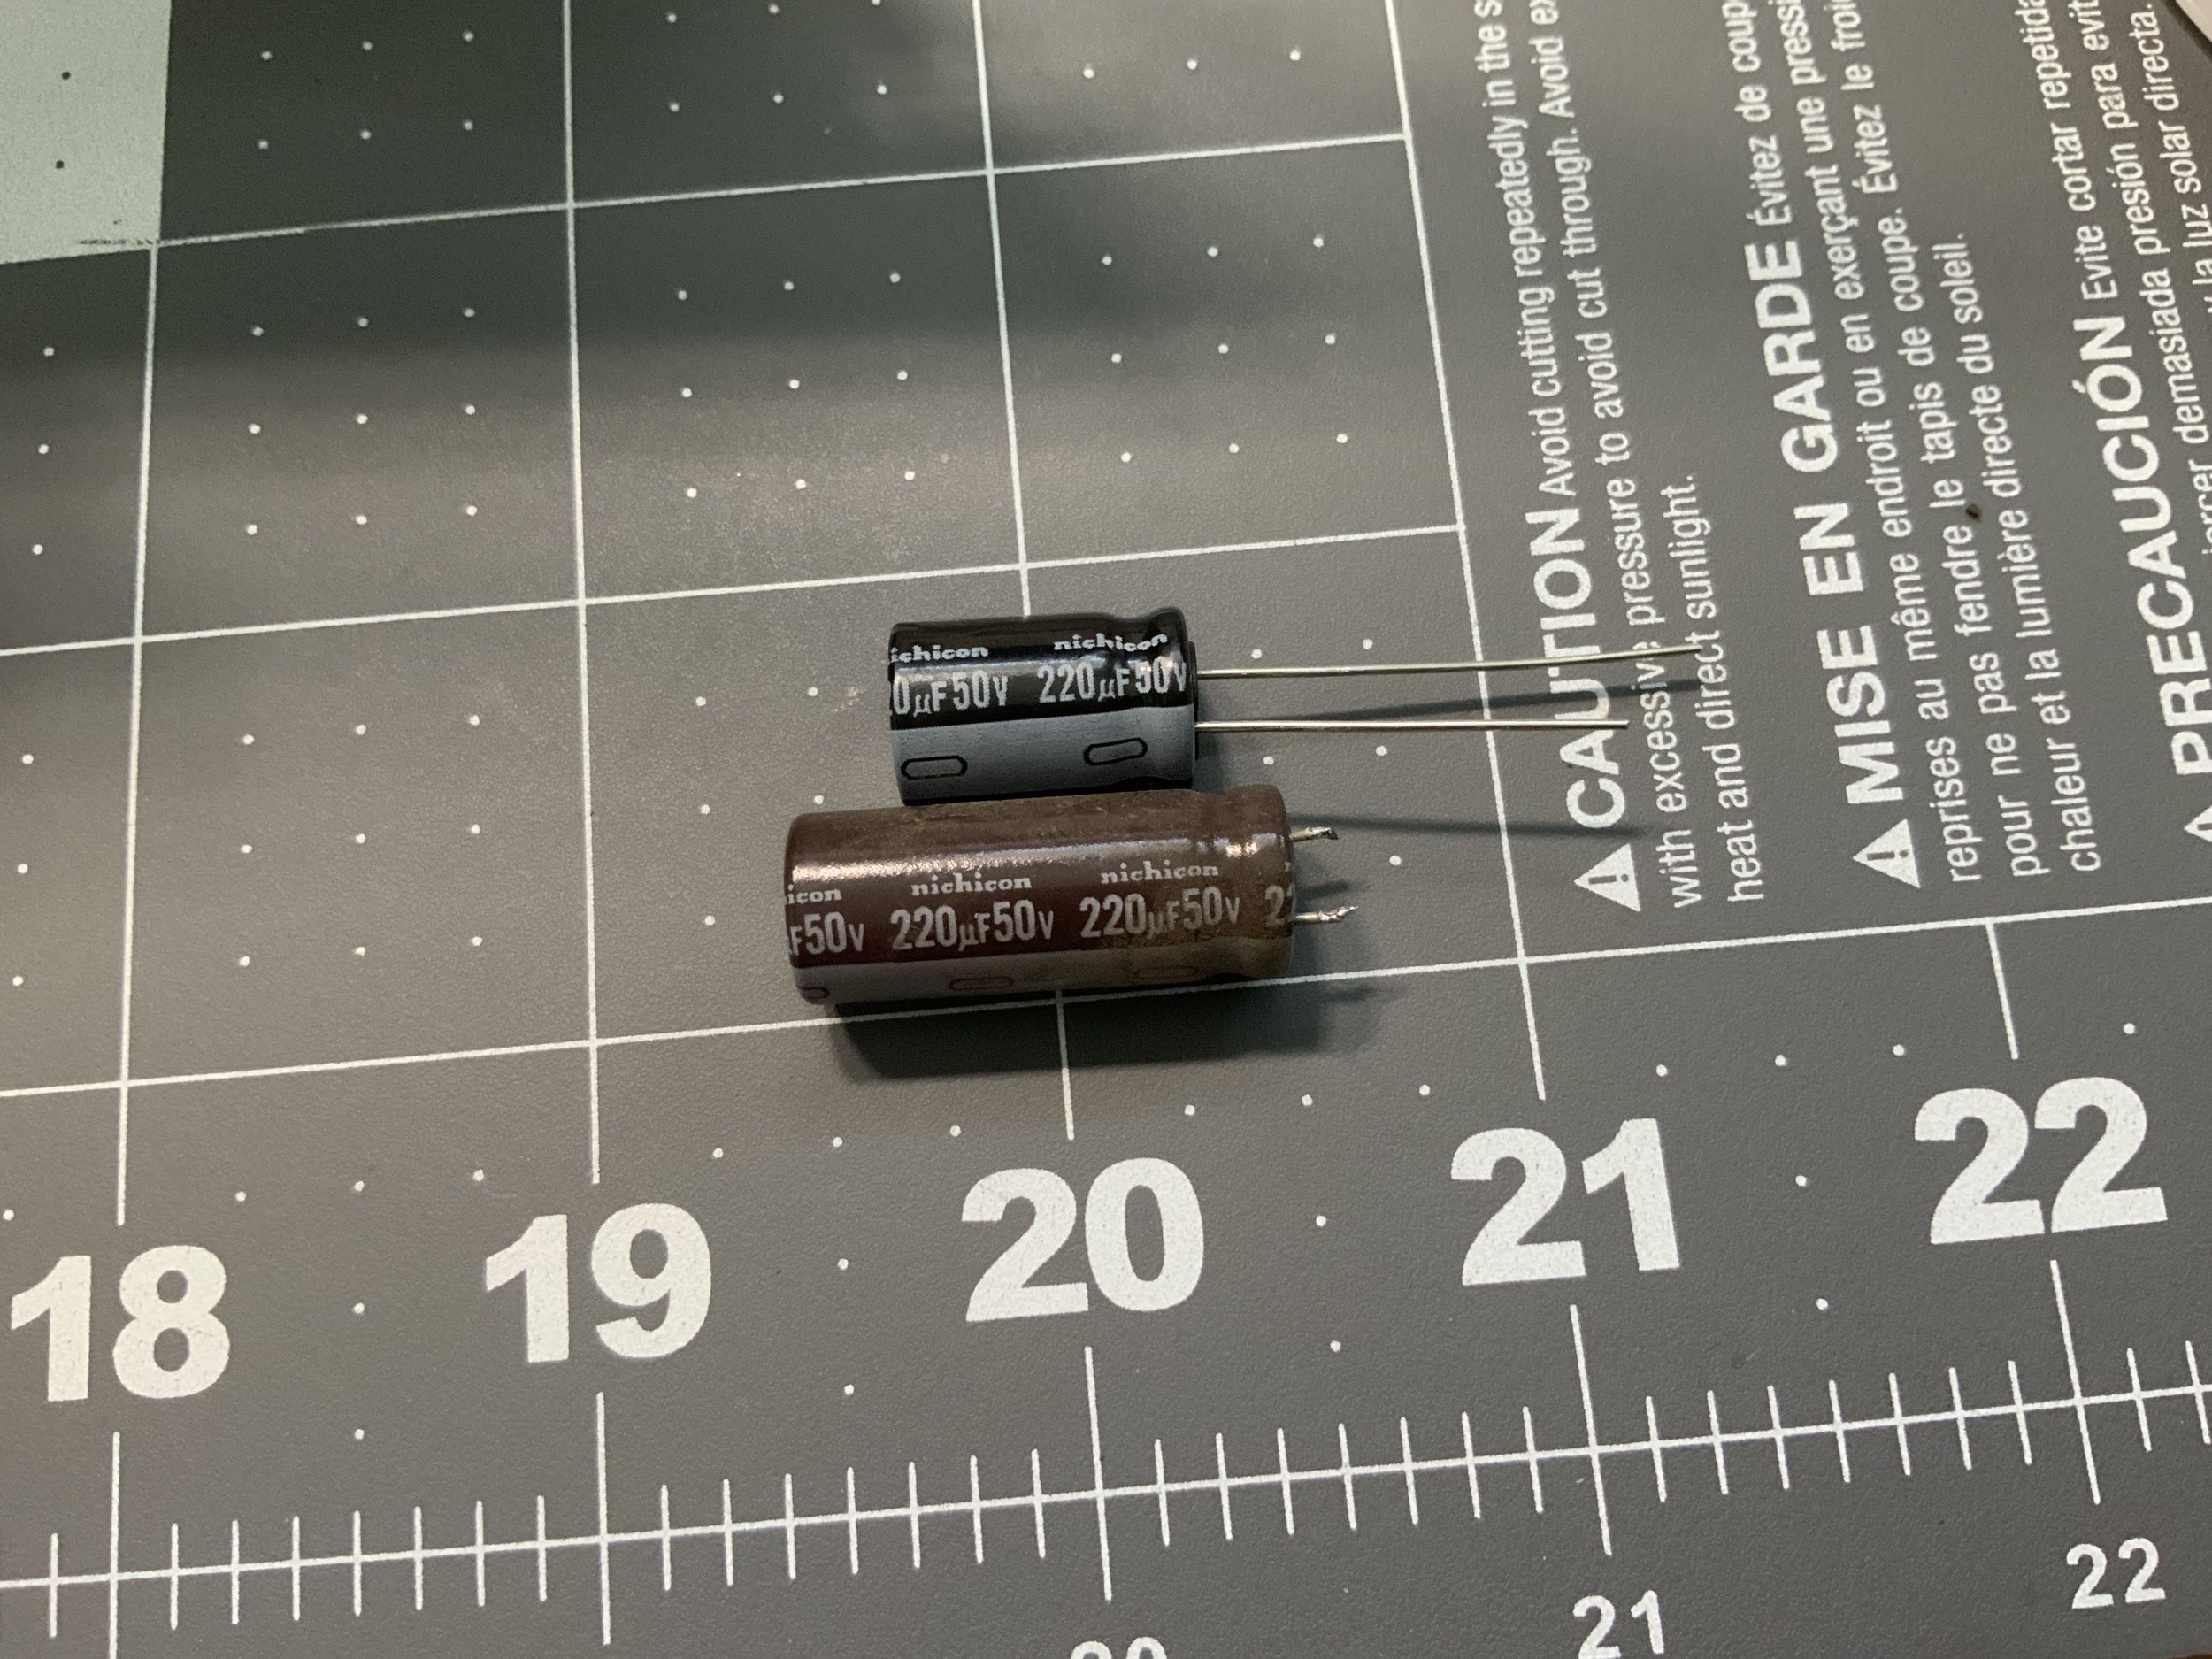
Then I started replacing caps! My method is to heat one lead, rock the cap to one side, heat the other lead, rock it to the other side, and repeat until it pops out. Then, I swab out from under the old cap with alcohol to make sure nothing is left on the board. I replaced them one at a time to make sure I didn’t mix anything up, and I referred to photos in this thread constantly to make sure the polarity was correct (although polarity is usually clearly marked on the board). All of the new caps have the exact same diameter, but not the same height:
If there’s a bunch of solder leftover, I’ll use solder wick to clean out the holes before installing the new cap. I just bend the leads like this to hold it in place, add some solder, and trim with flush cutters (I absolutely love these ones).
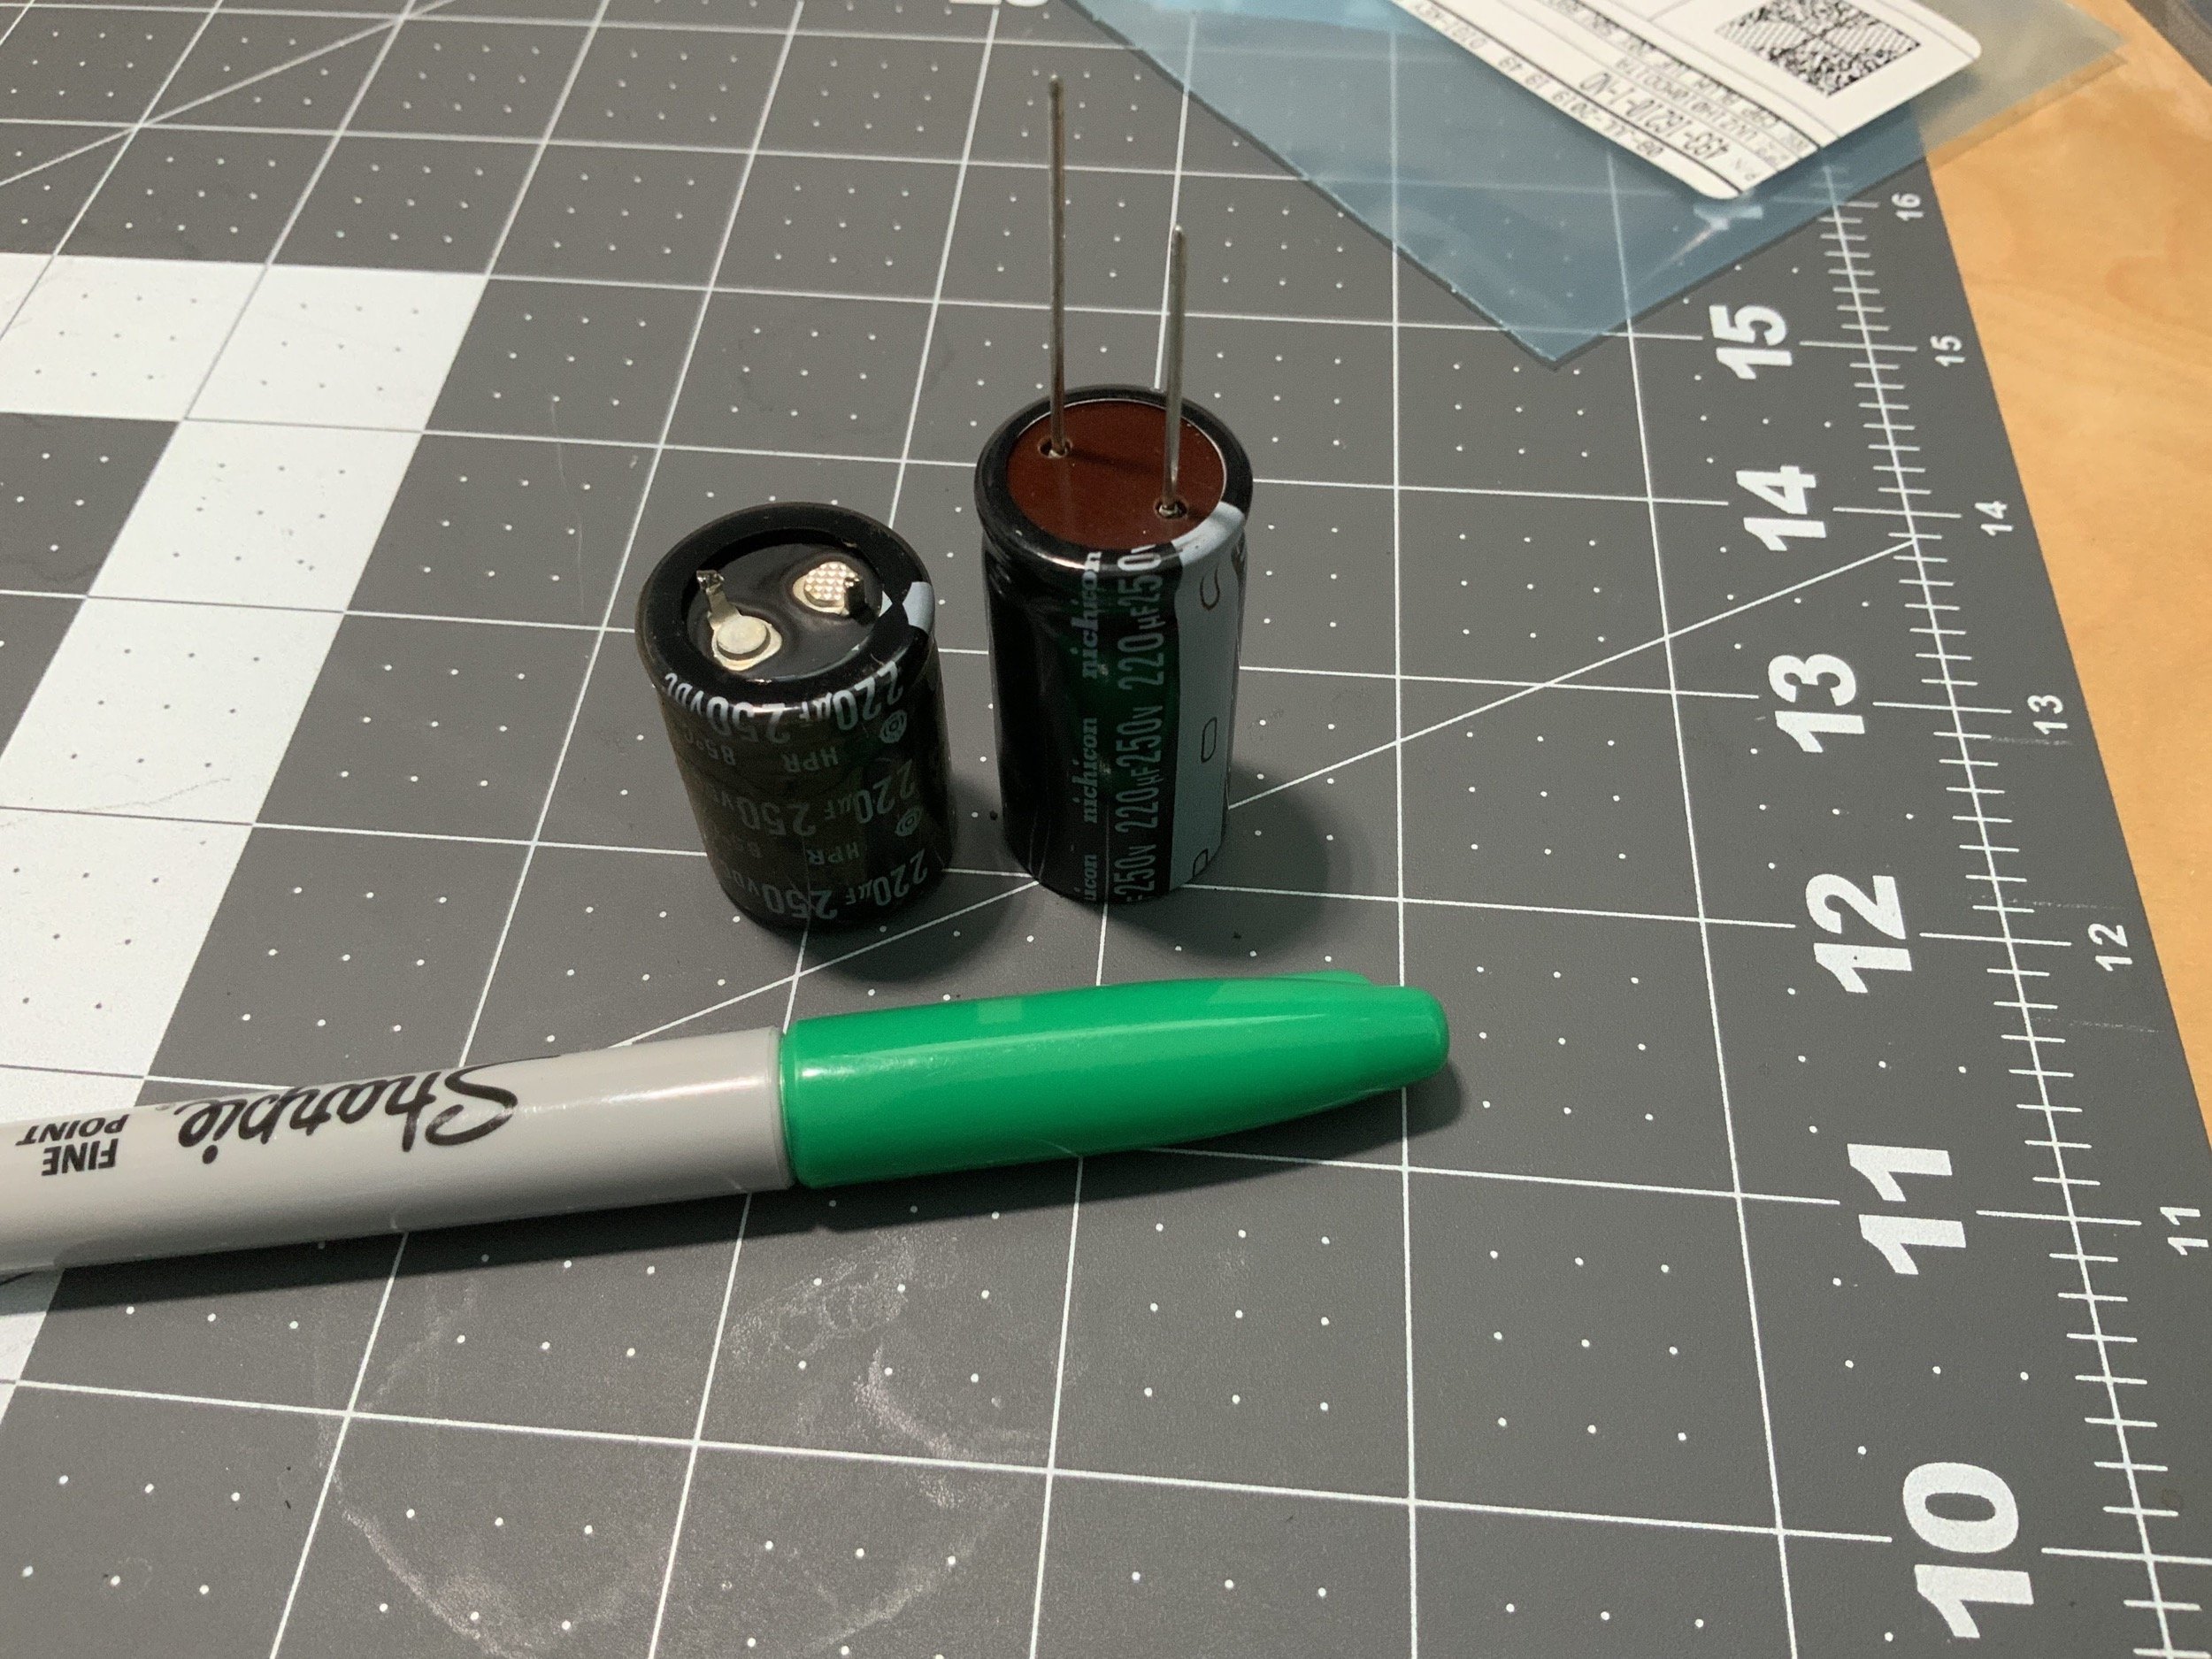
Check out these massive caps! They’re the same diameter, but the new ones were much taller. Sharpie for scale.
Here’s all of the gross old caps. They smelled terrible as I desoldered them! There was sometimes some crackling and a sweet kind of smell, which was certainly burning, leaked electrolyte.
Here are the results! Check out that gorgeous, clean board full of fresh caps!

This section was a particular pain, but it needed it the most. The new caps are definitely shorter than the old ones.
At this point, I decided to install the analog board and test it. One of my strategies for working around high voltage stuff is to do it as little as possible. I want to know that my work is good before diving into the logic board, which is easy to remove and work on with no discharge procedures. It could also help me isolate a fault if I know that the analog board was good before recapping the logic board.
When I powered the machien on, it chimed, although very quietly. There was no sound before so that was already an improvement! But then, it only showed a single, bright dot in the middle of the screen.
I instantly knew what that meant! I shut it back off very quickly to investigate, and found that a critical connector was unplugged.
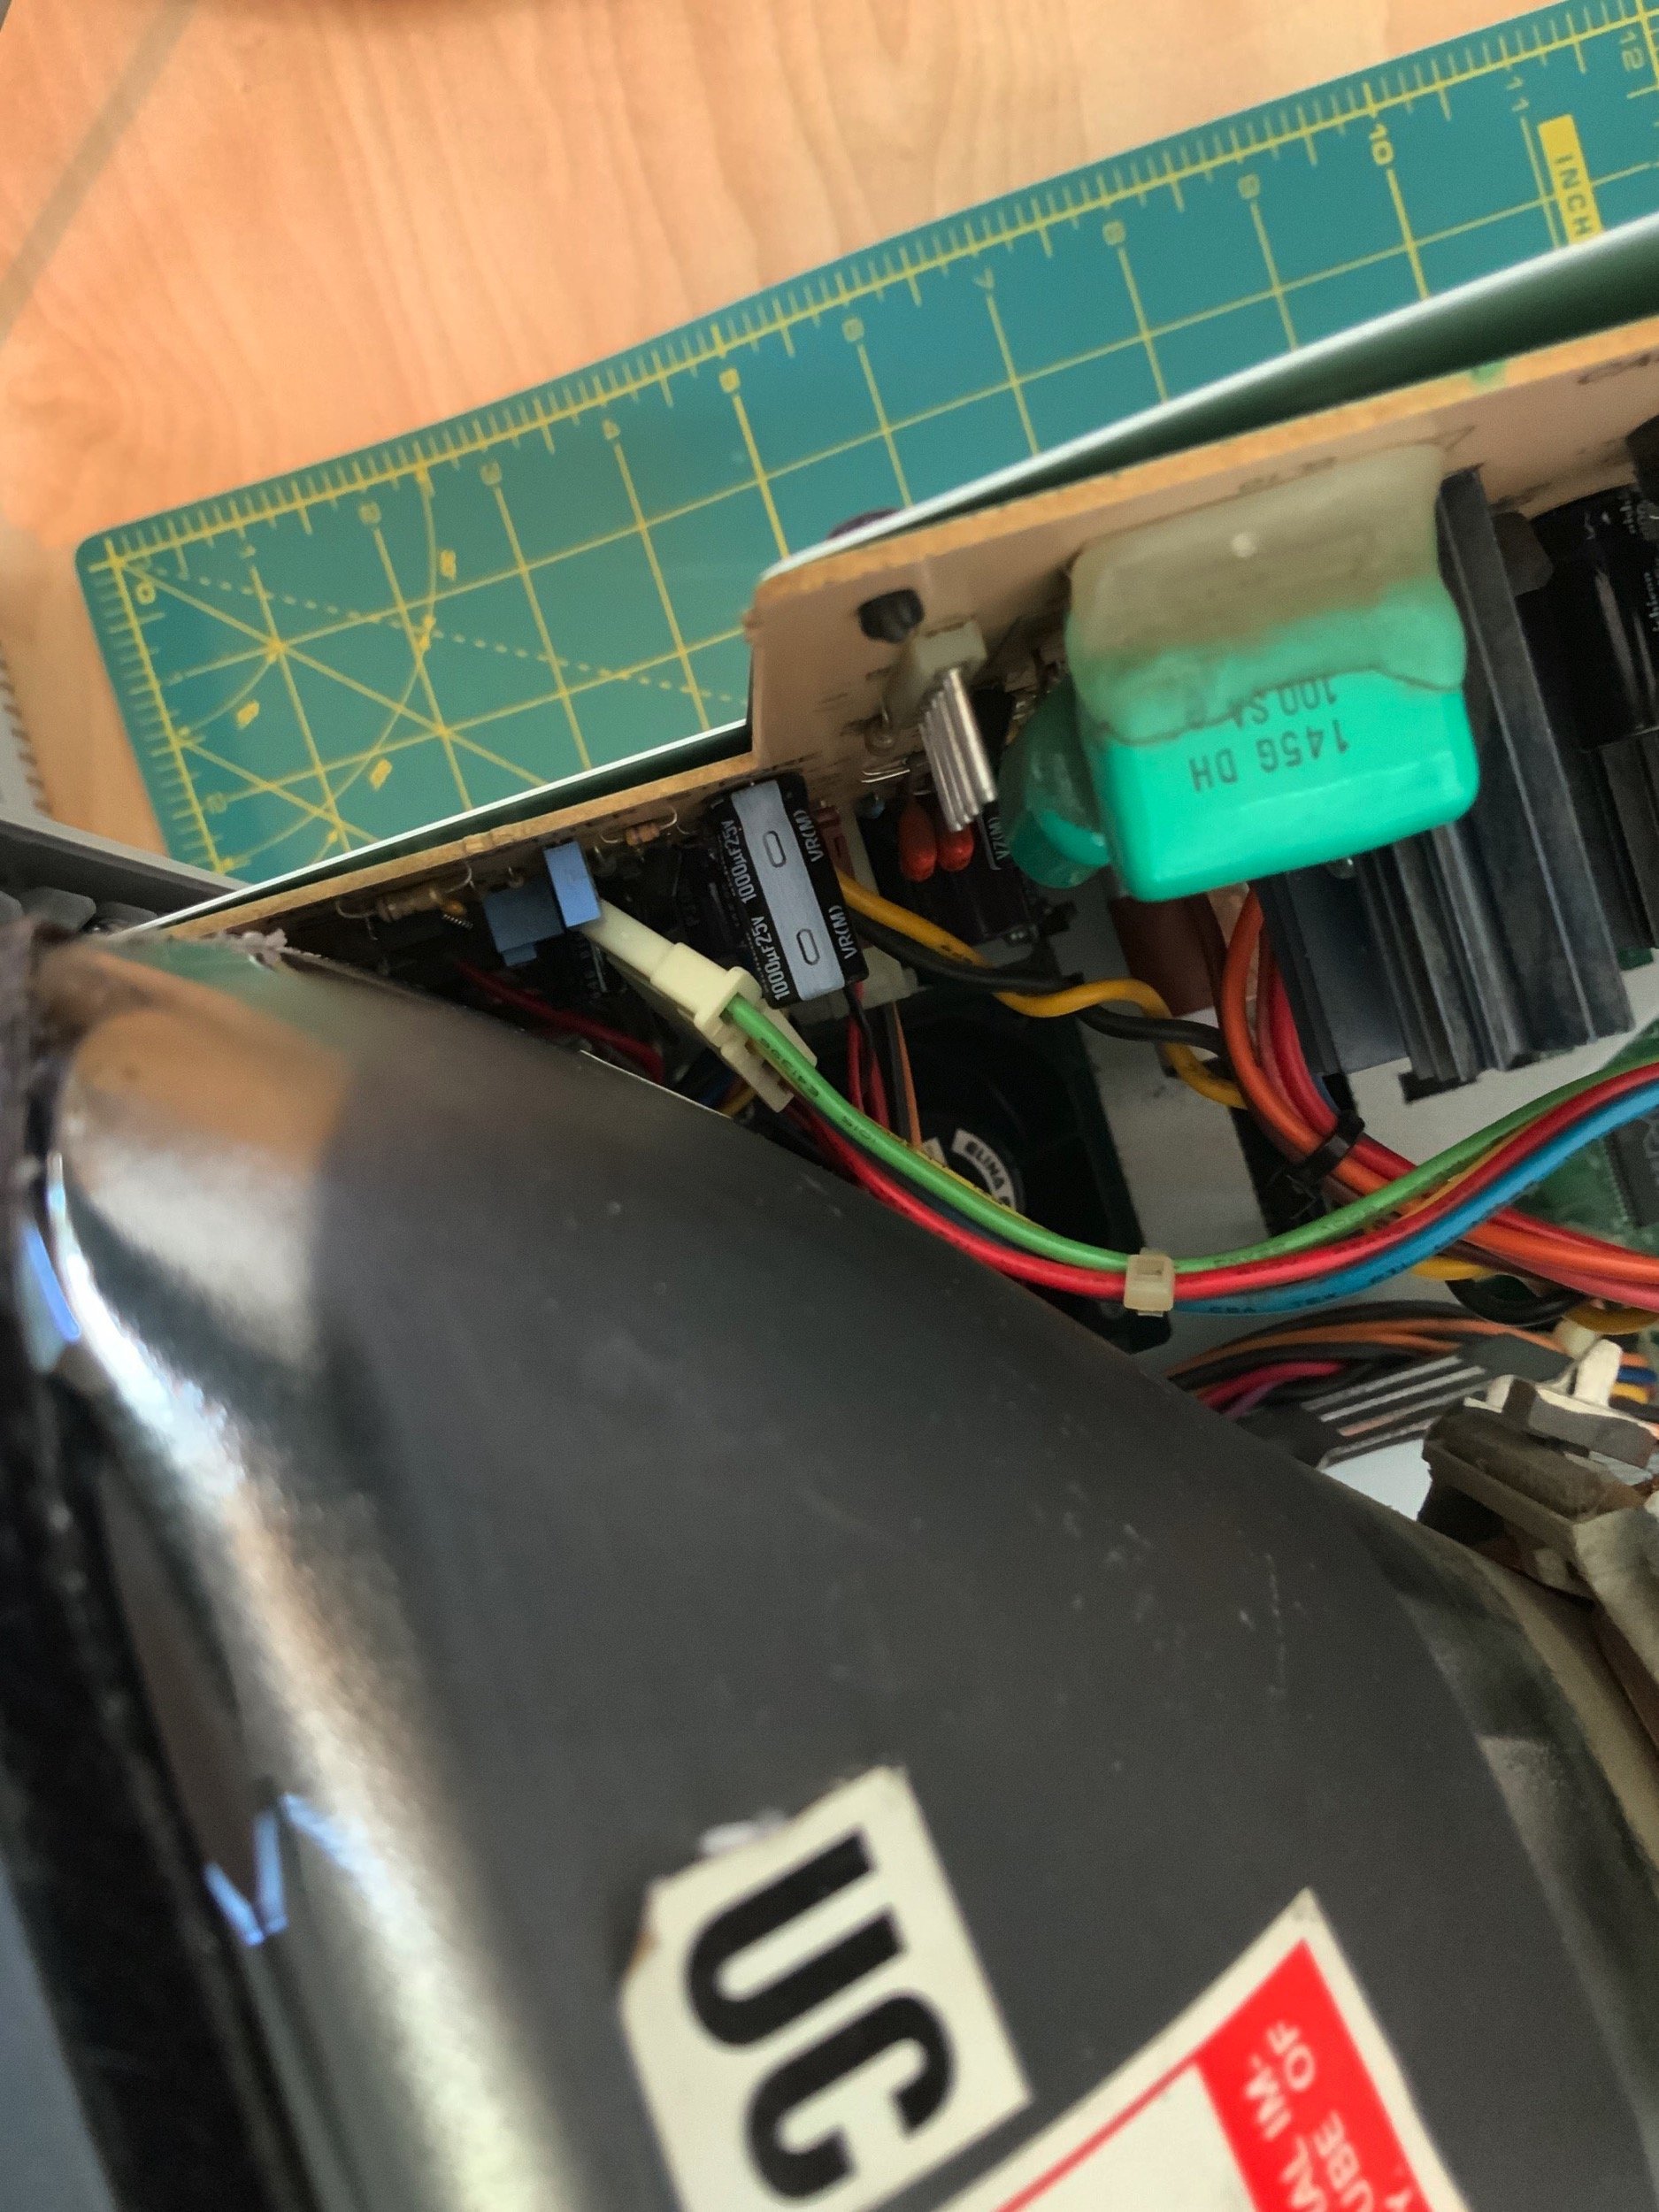
Ha yep, there’s the problem. A bright white dot usually means a J1 connector issue on a Mac Plus, so I immediately knew what my mistake was.
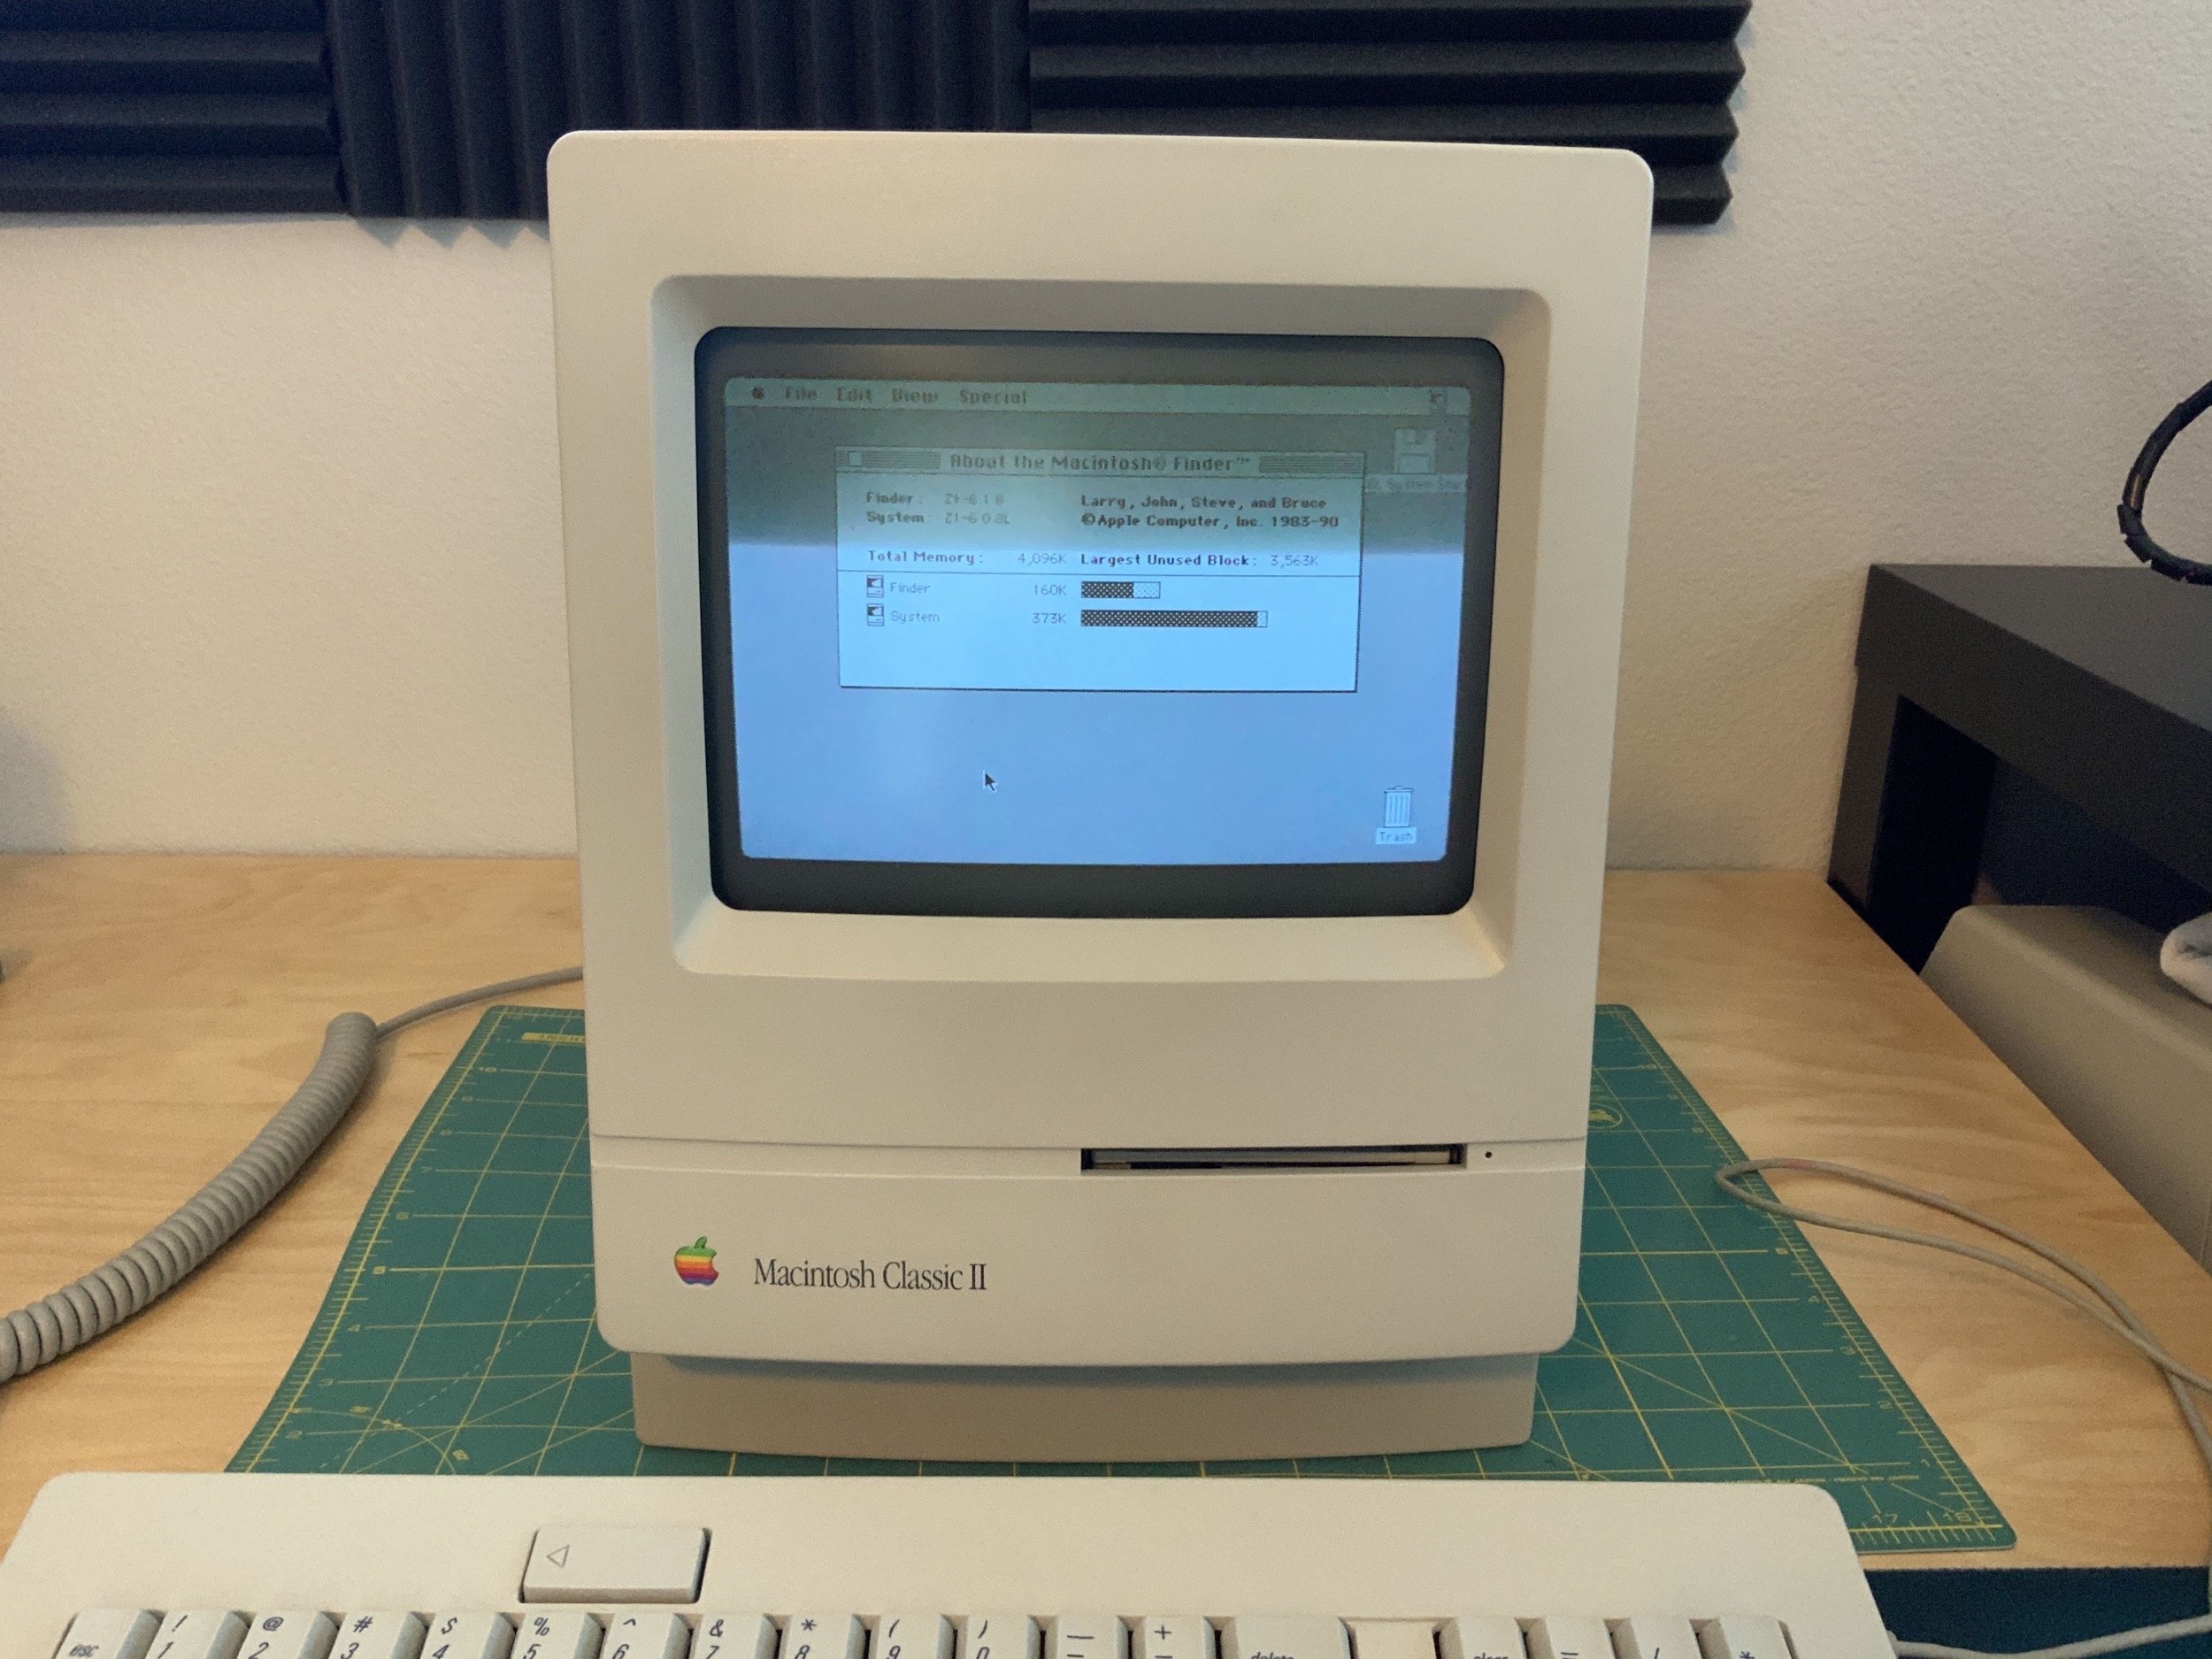
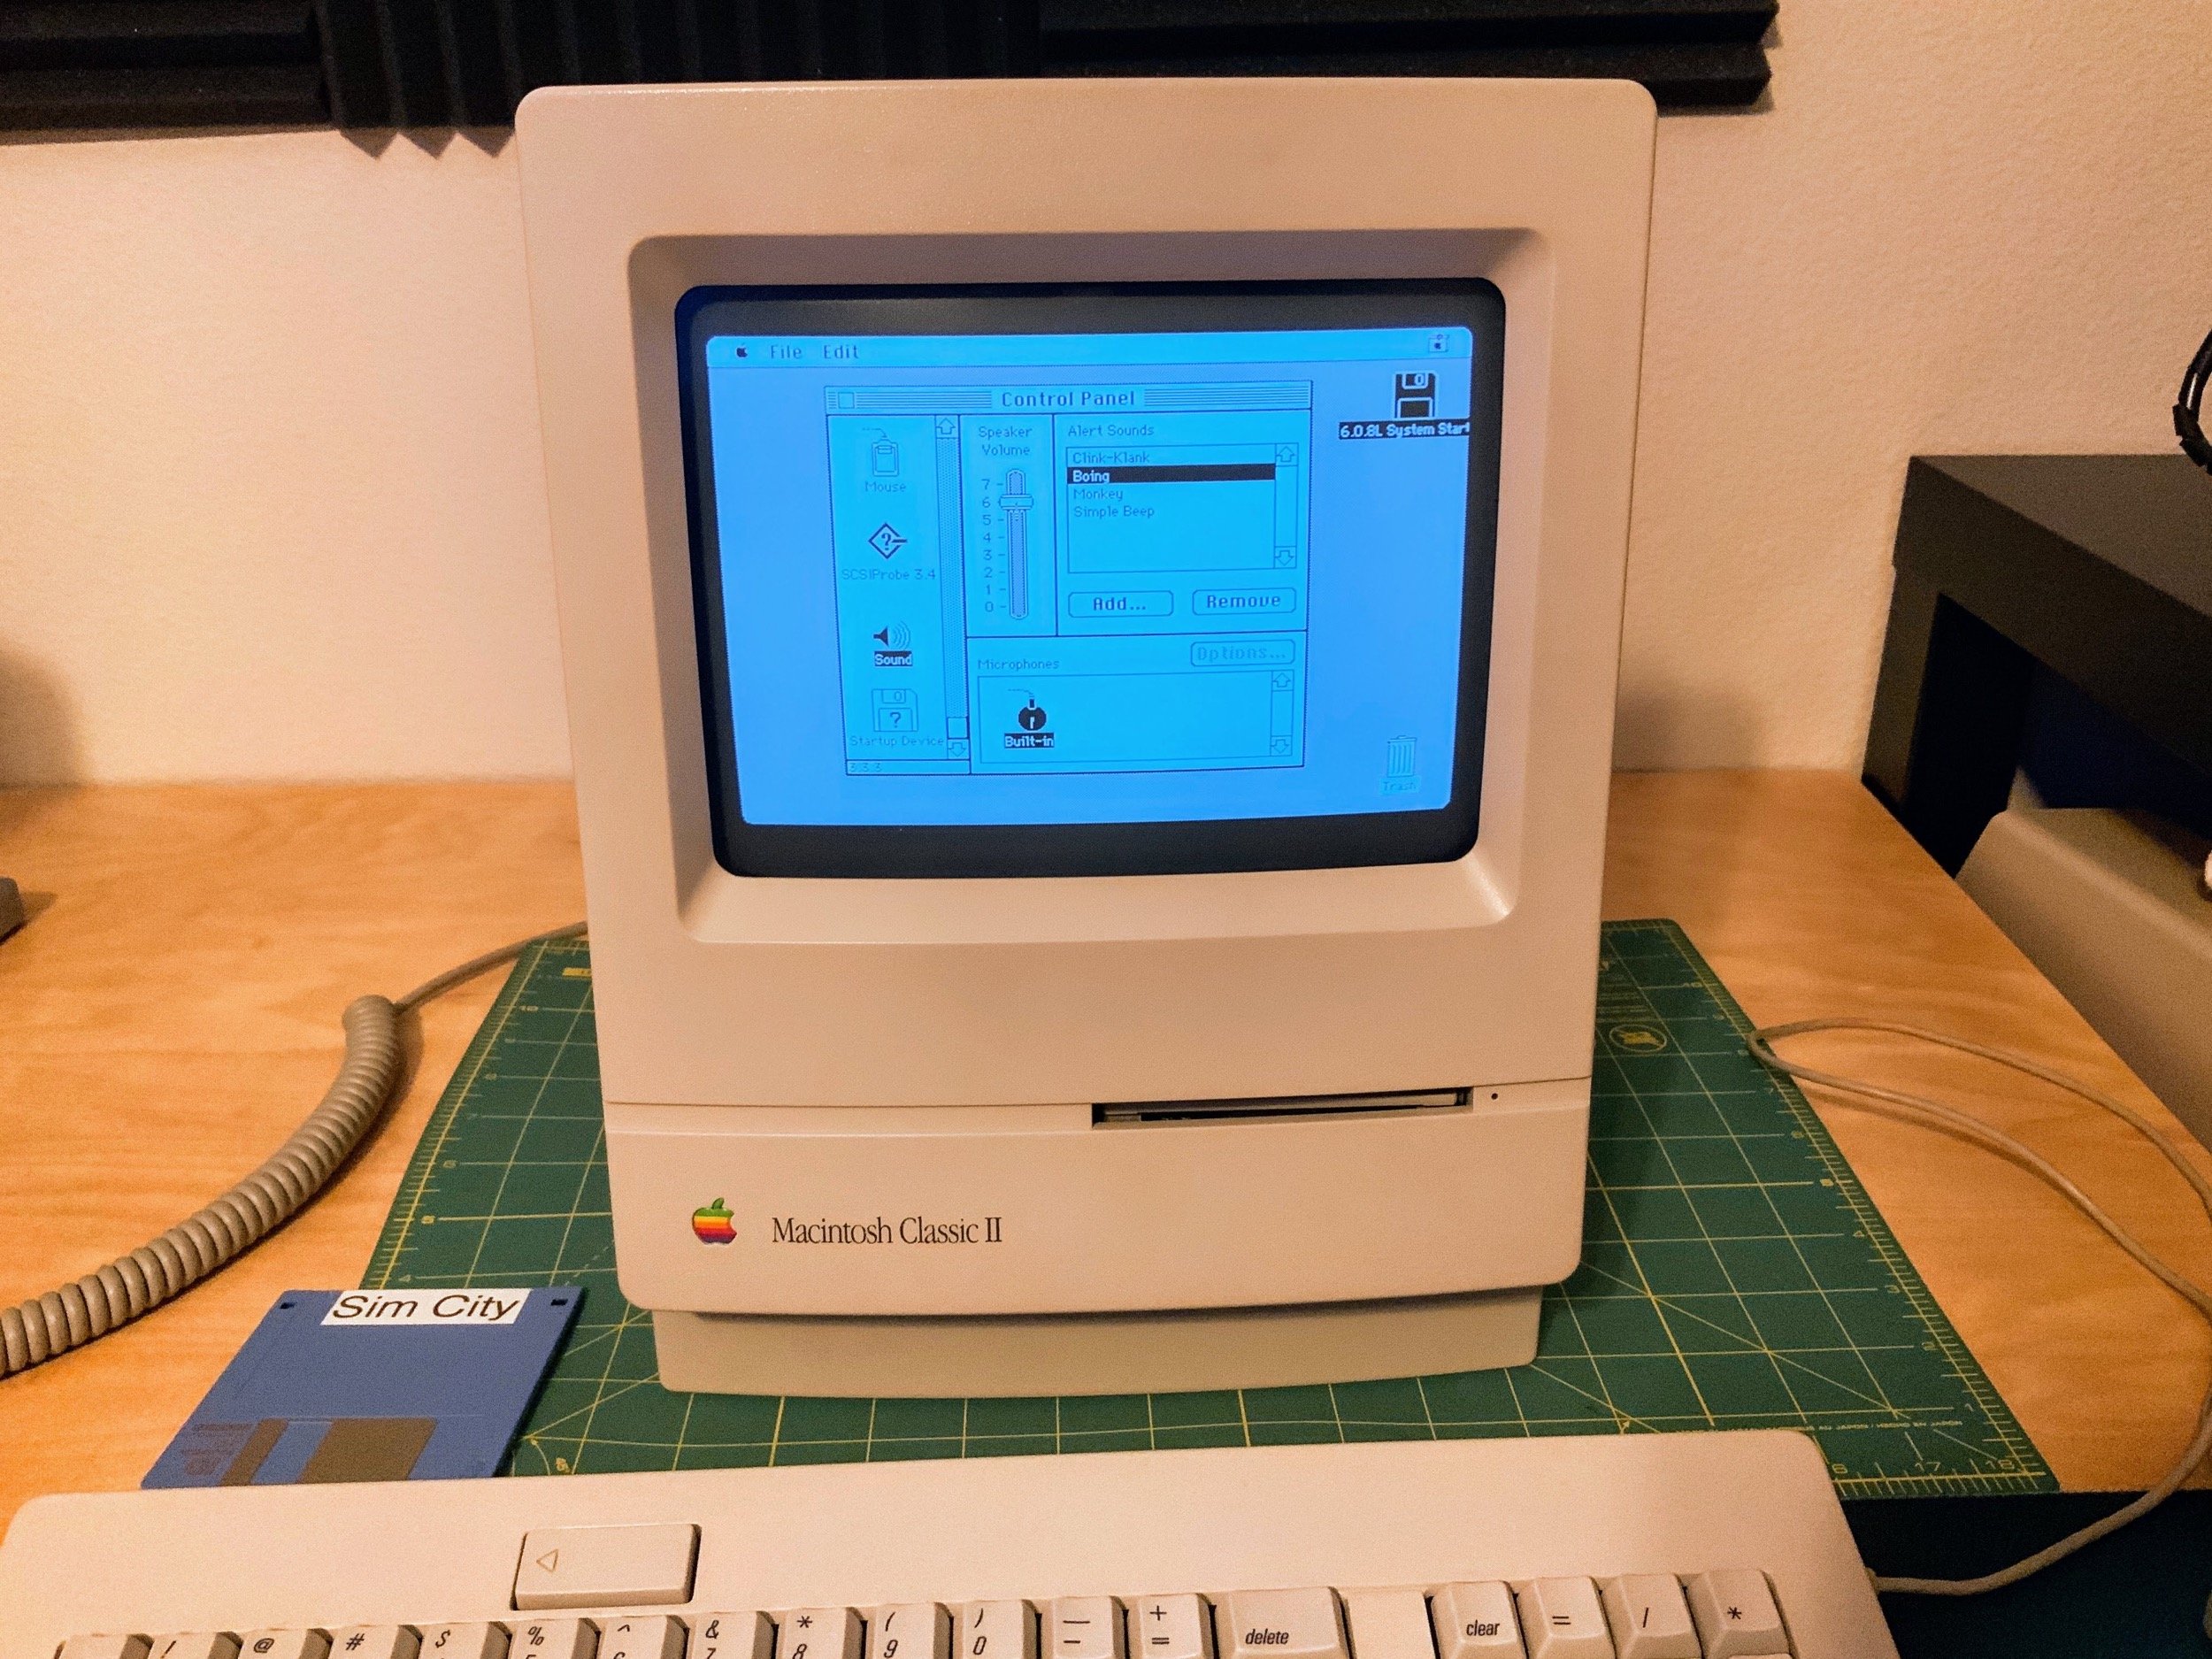
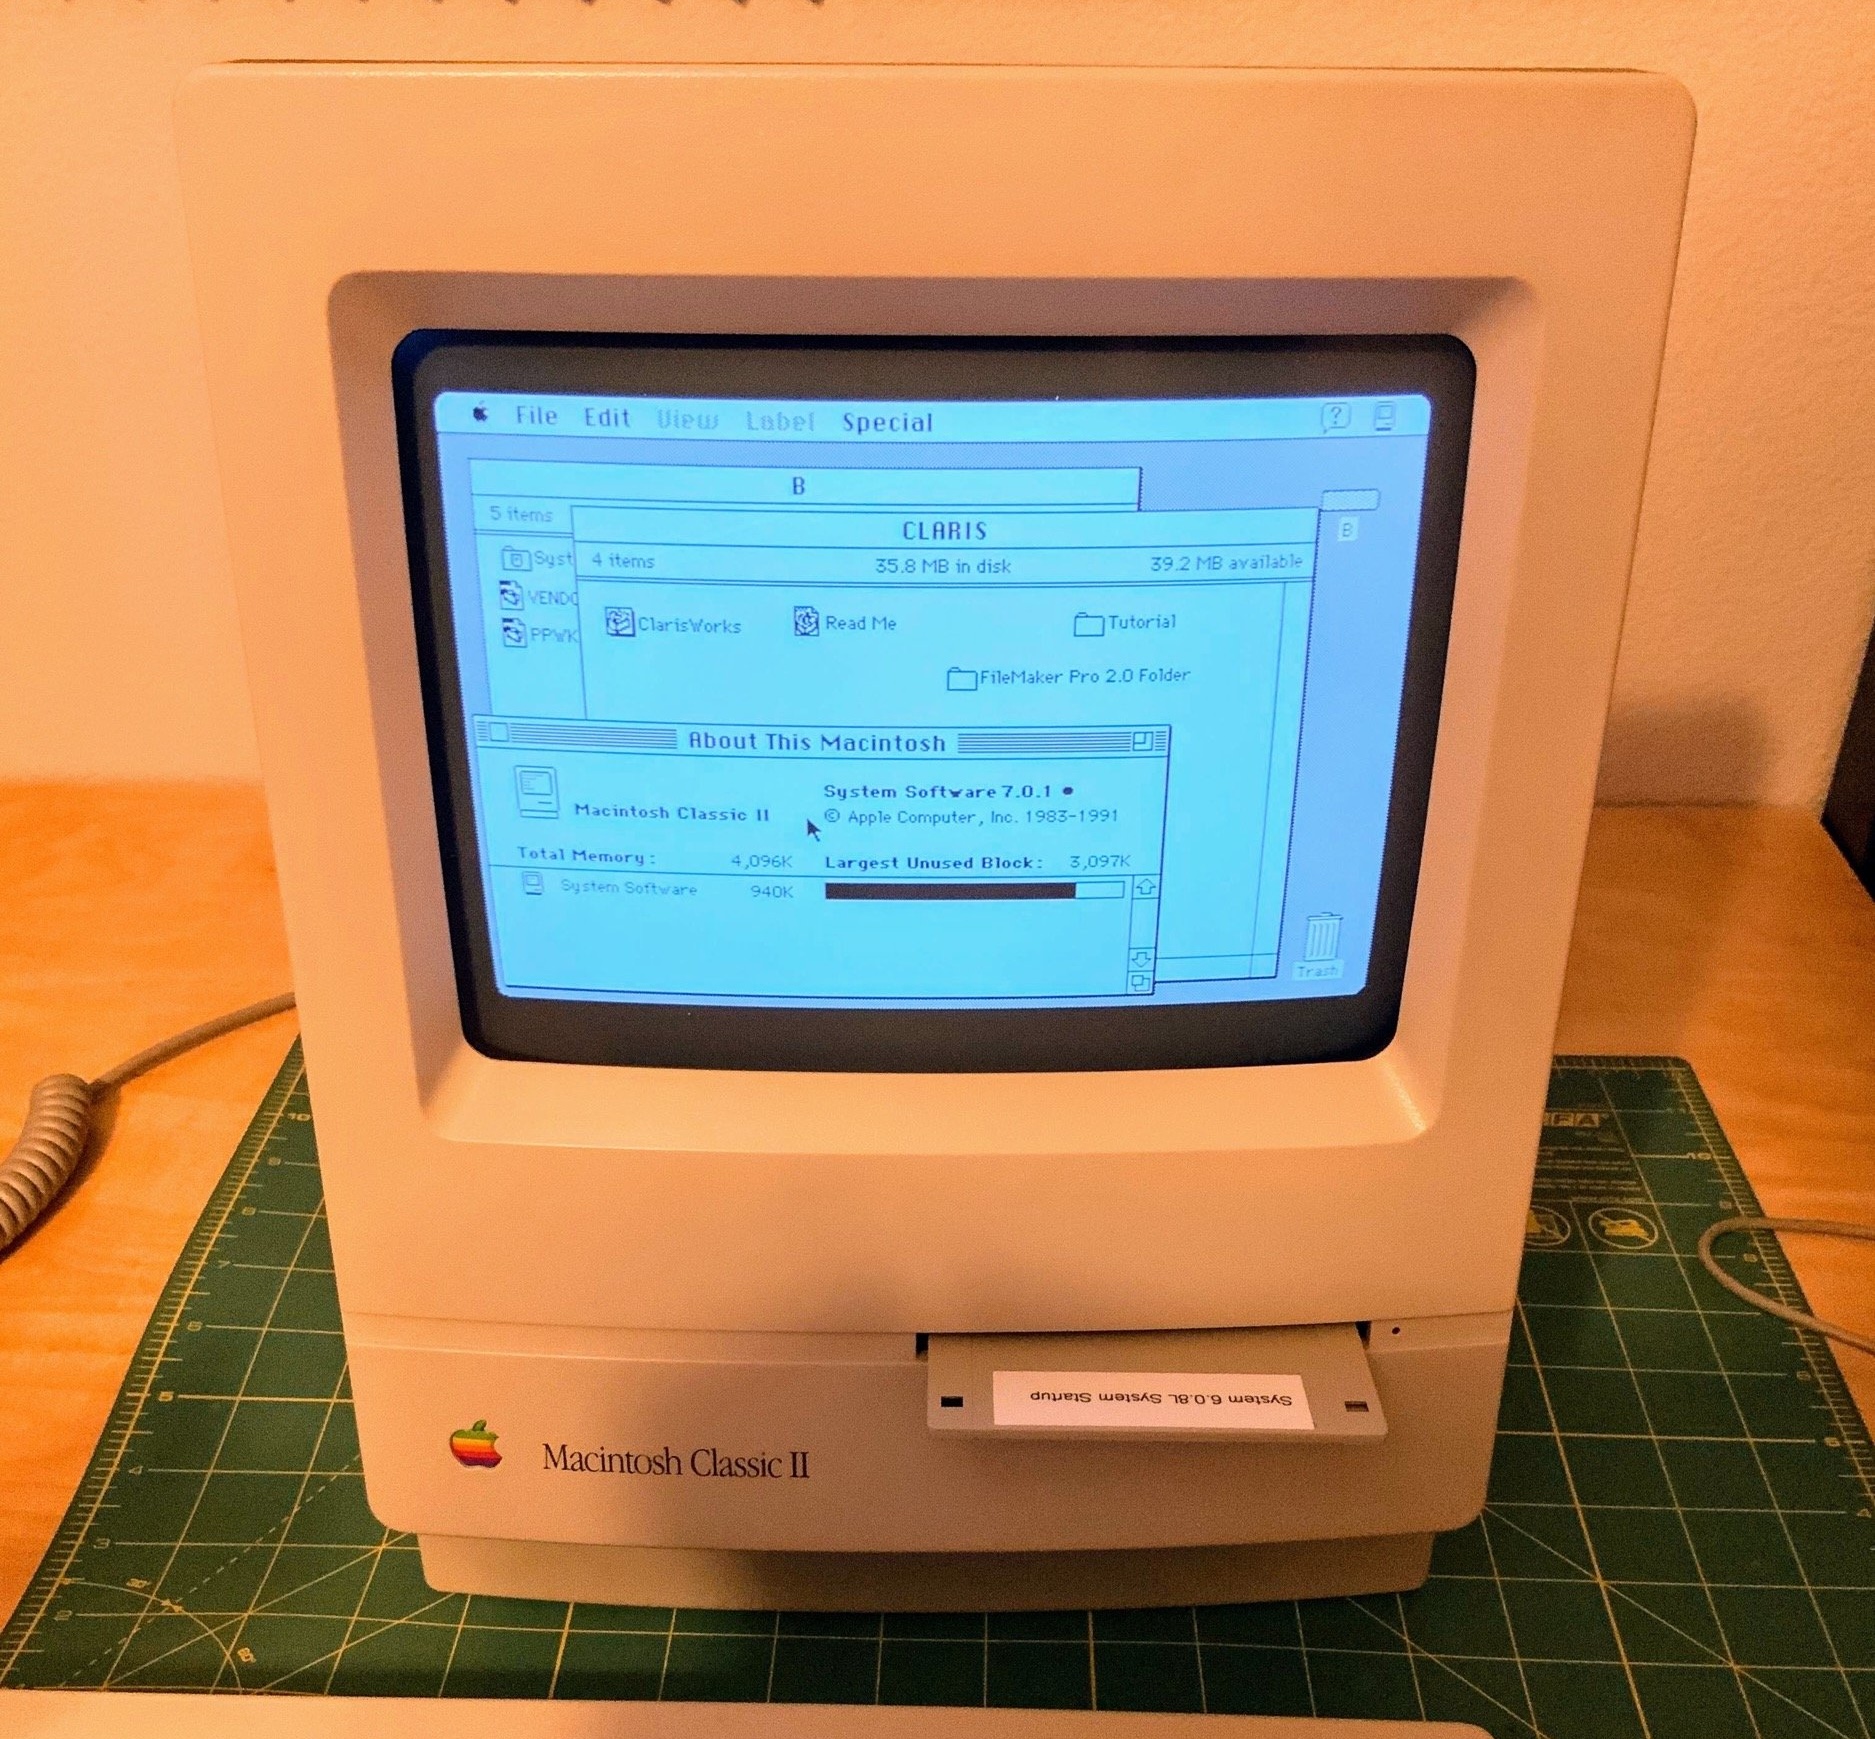
After plugging that connector in and trying again, the Macintosh Classic II booted up to my 6.0.8L floppy with no hassle. There was still no hard drive, but this proved that my analog board rework was good. Well… mostly. Sadly, while the sound did work,, it was super quiet. When cranked all of the way up, I could barely hear it chime.
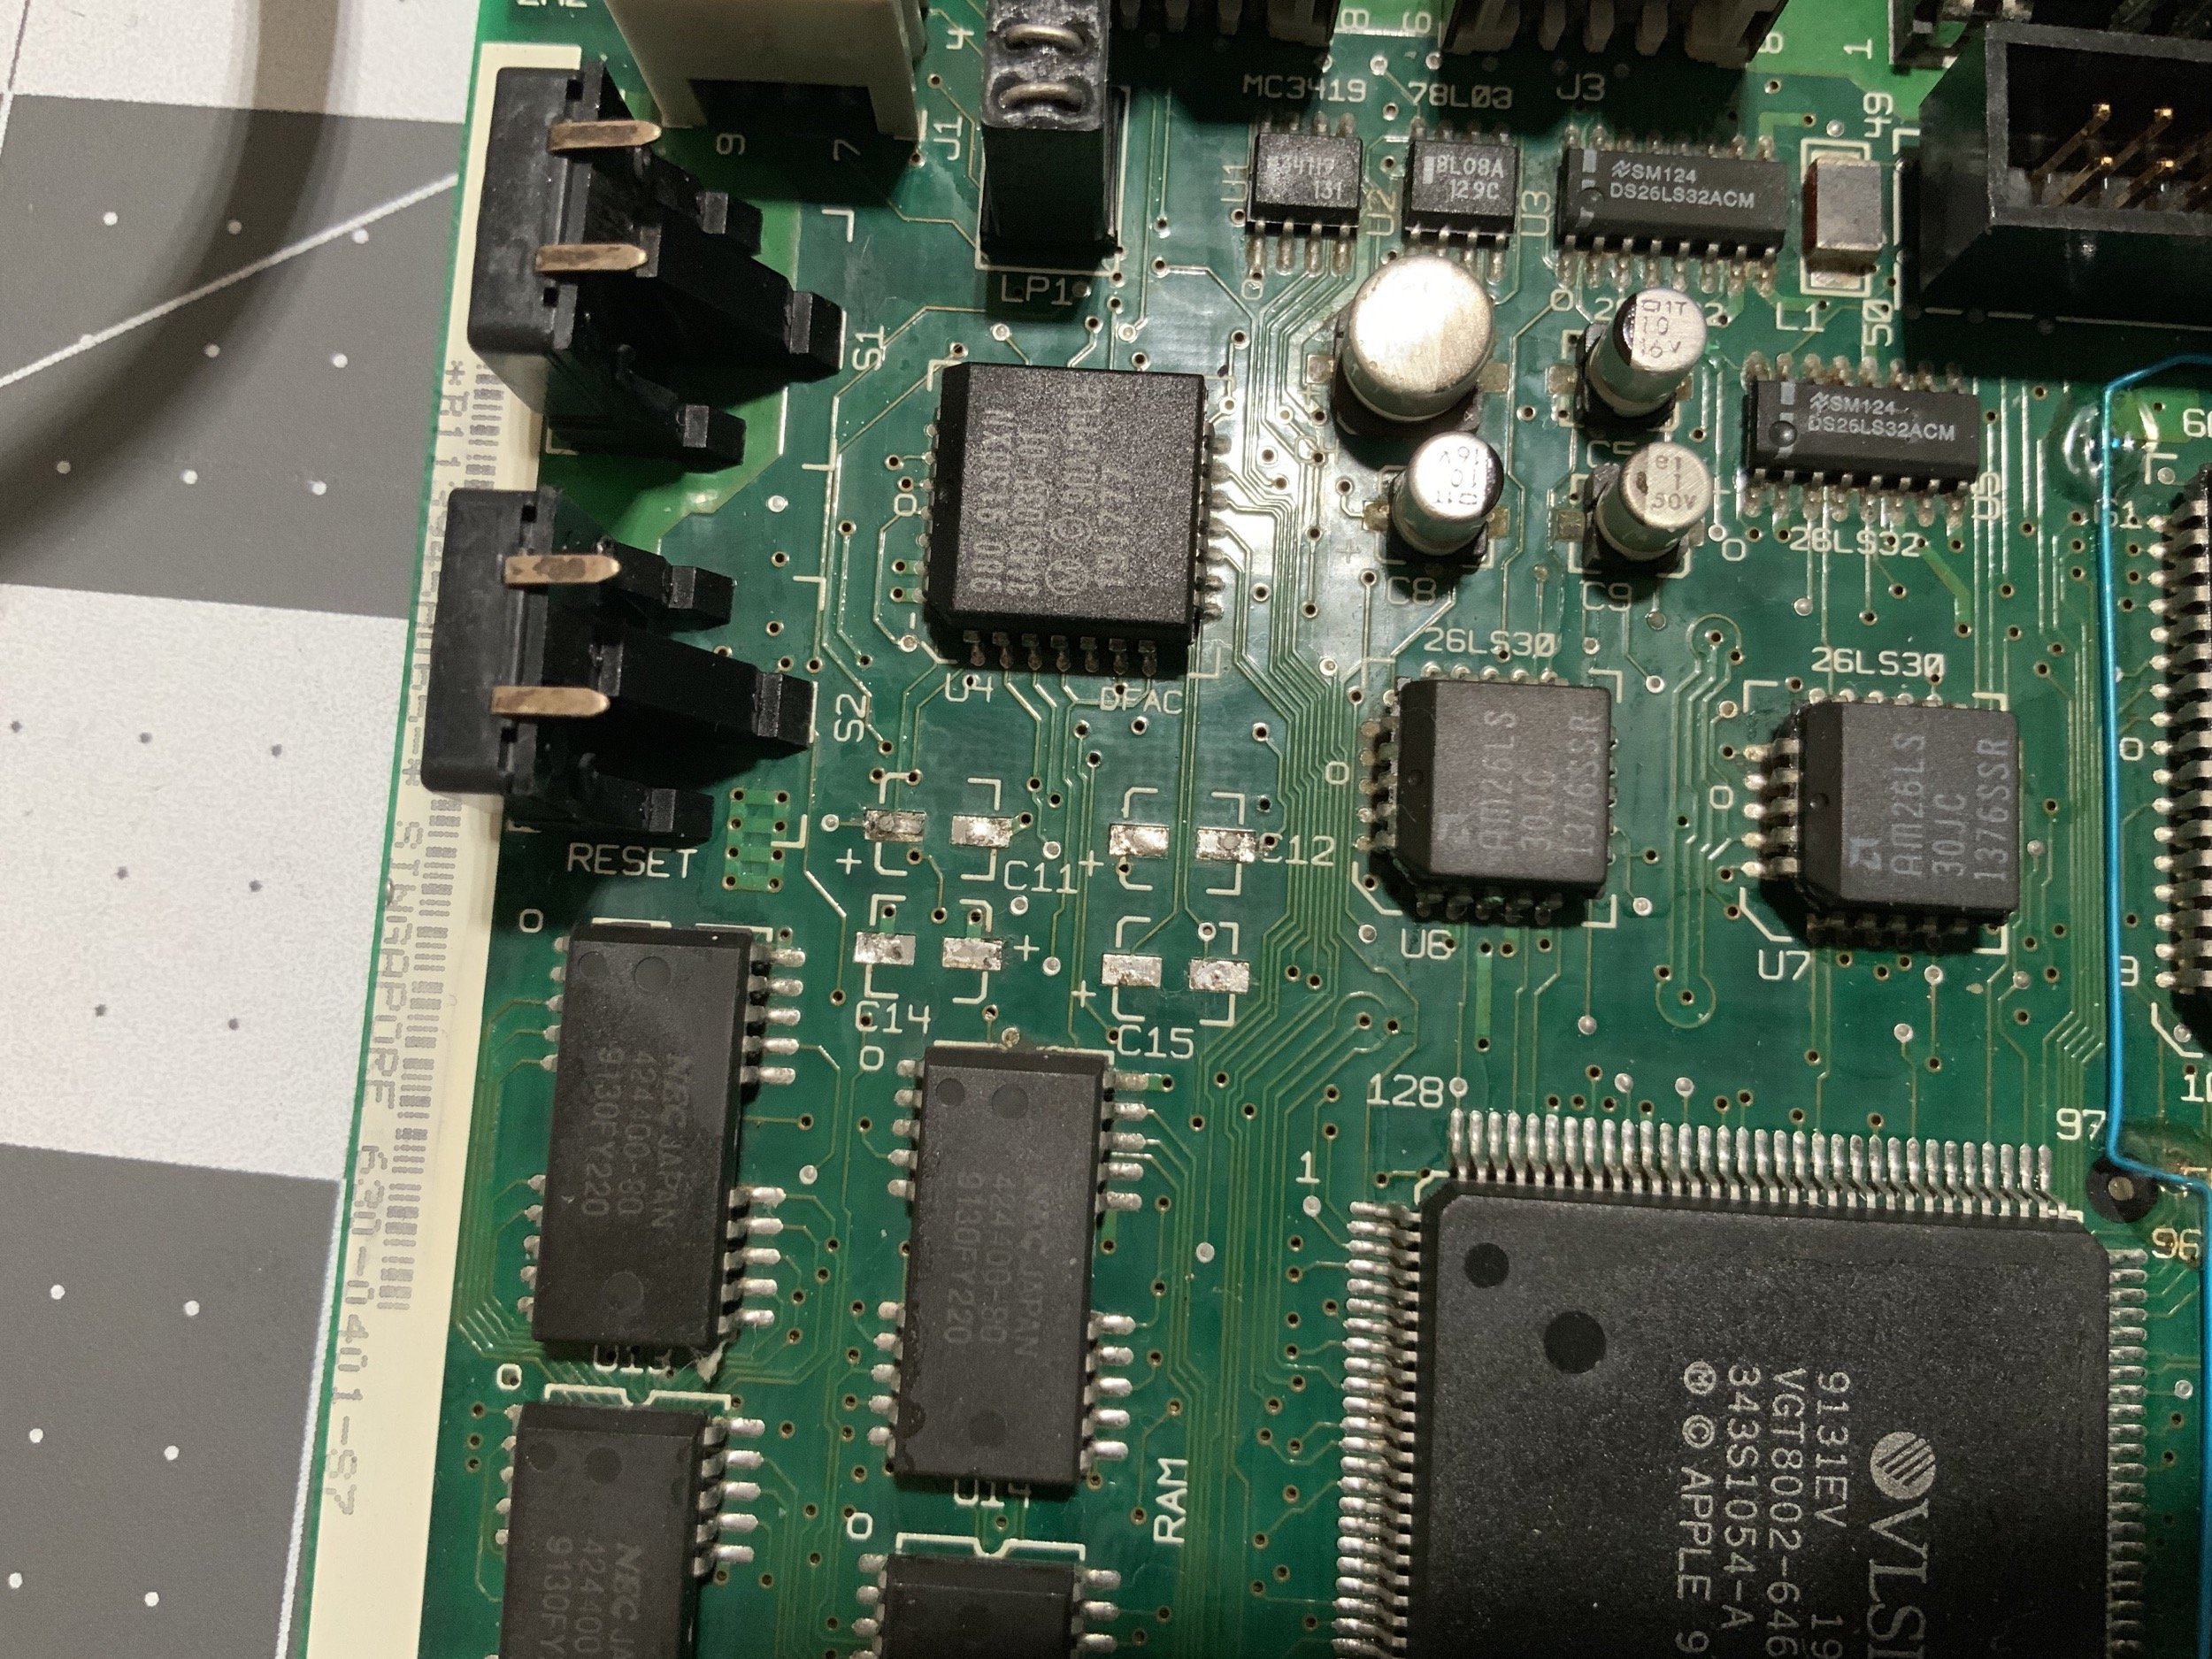
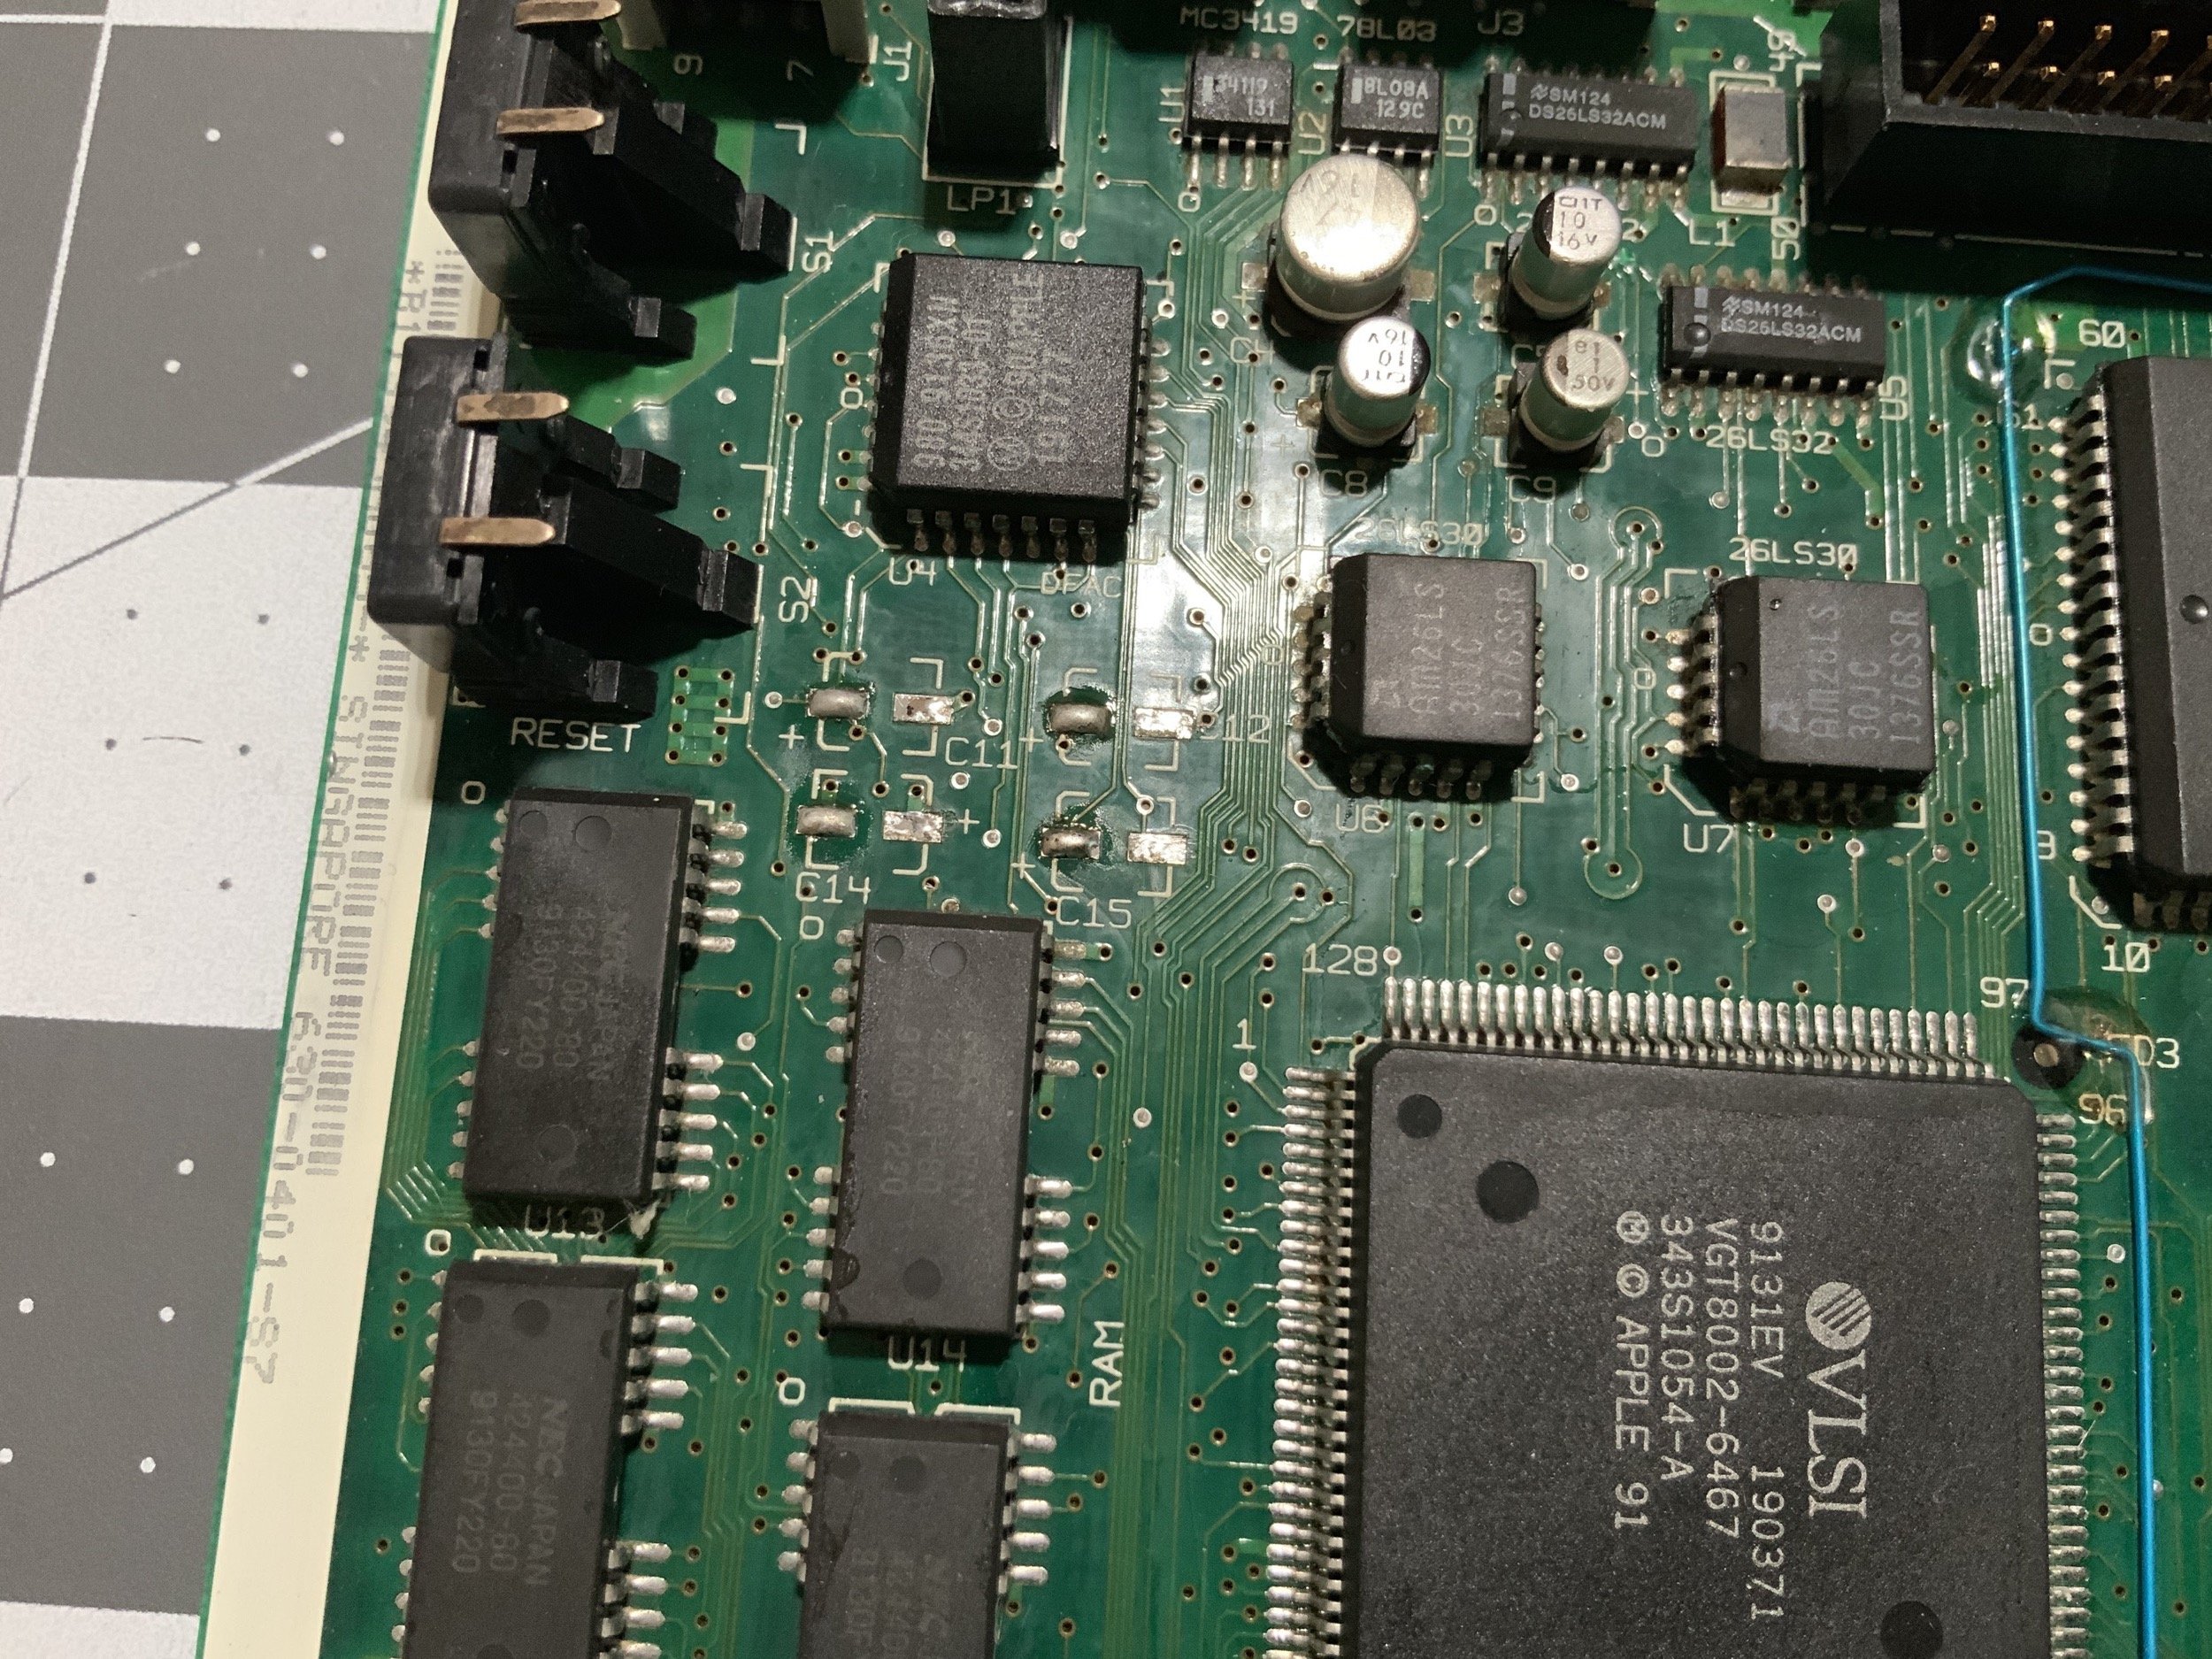
Logic Board Recap
After playing Sim City on it for a bit, it was time to tackle recapping the logic board!
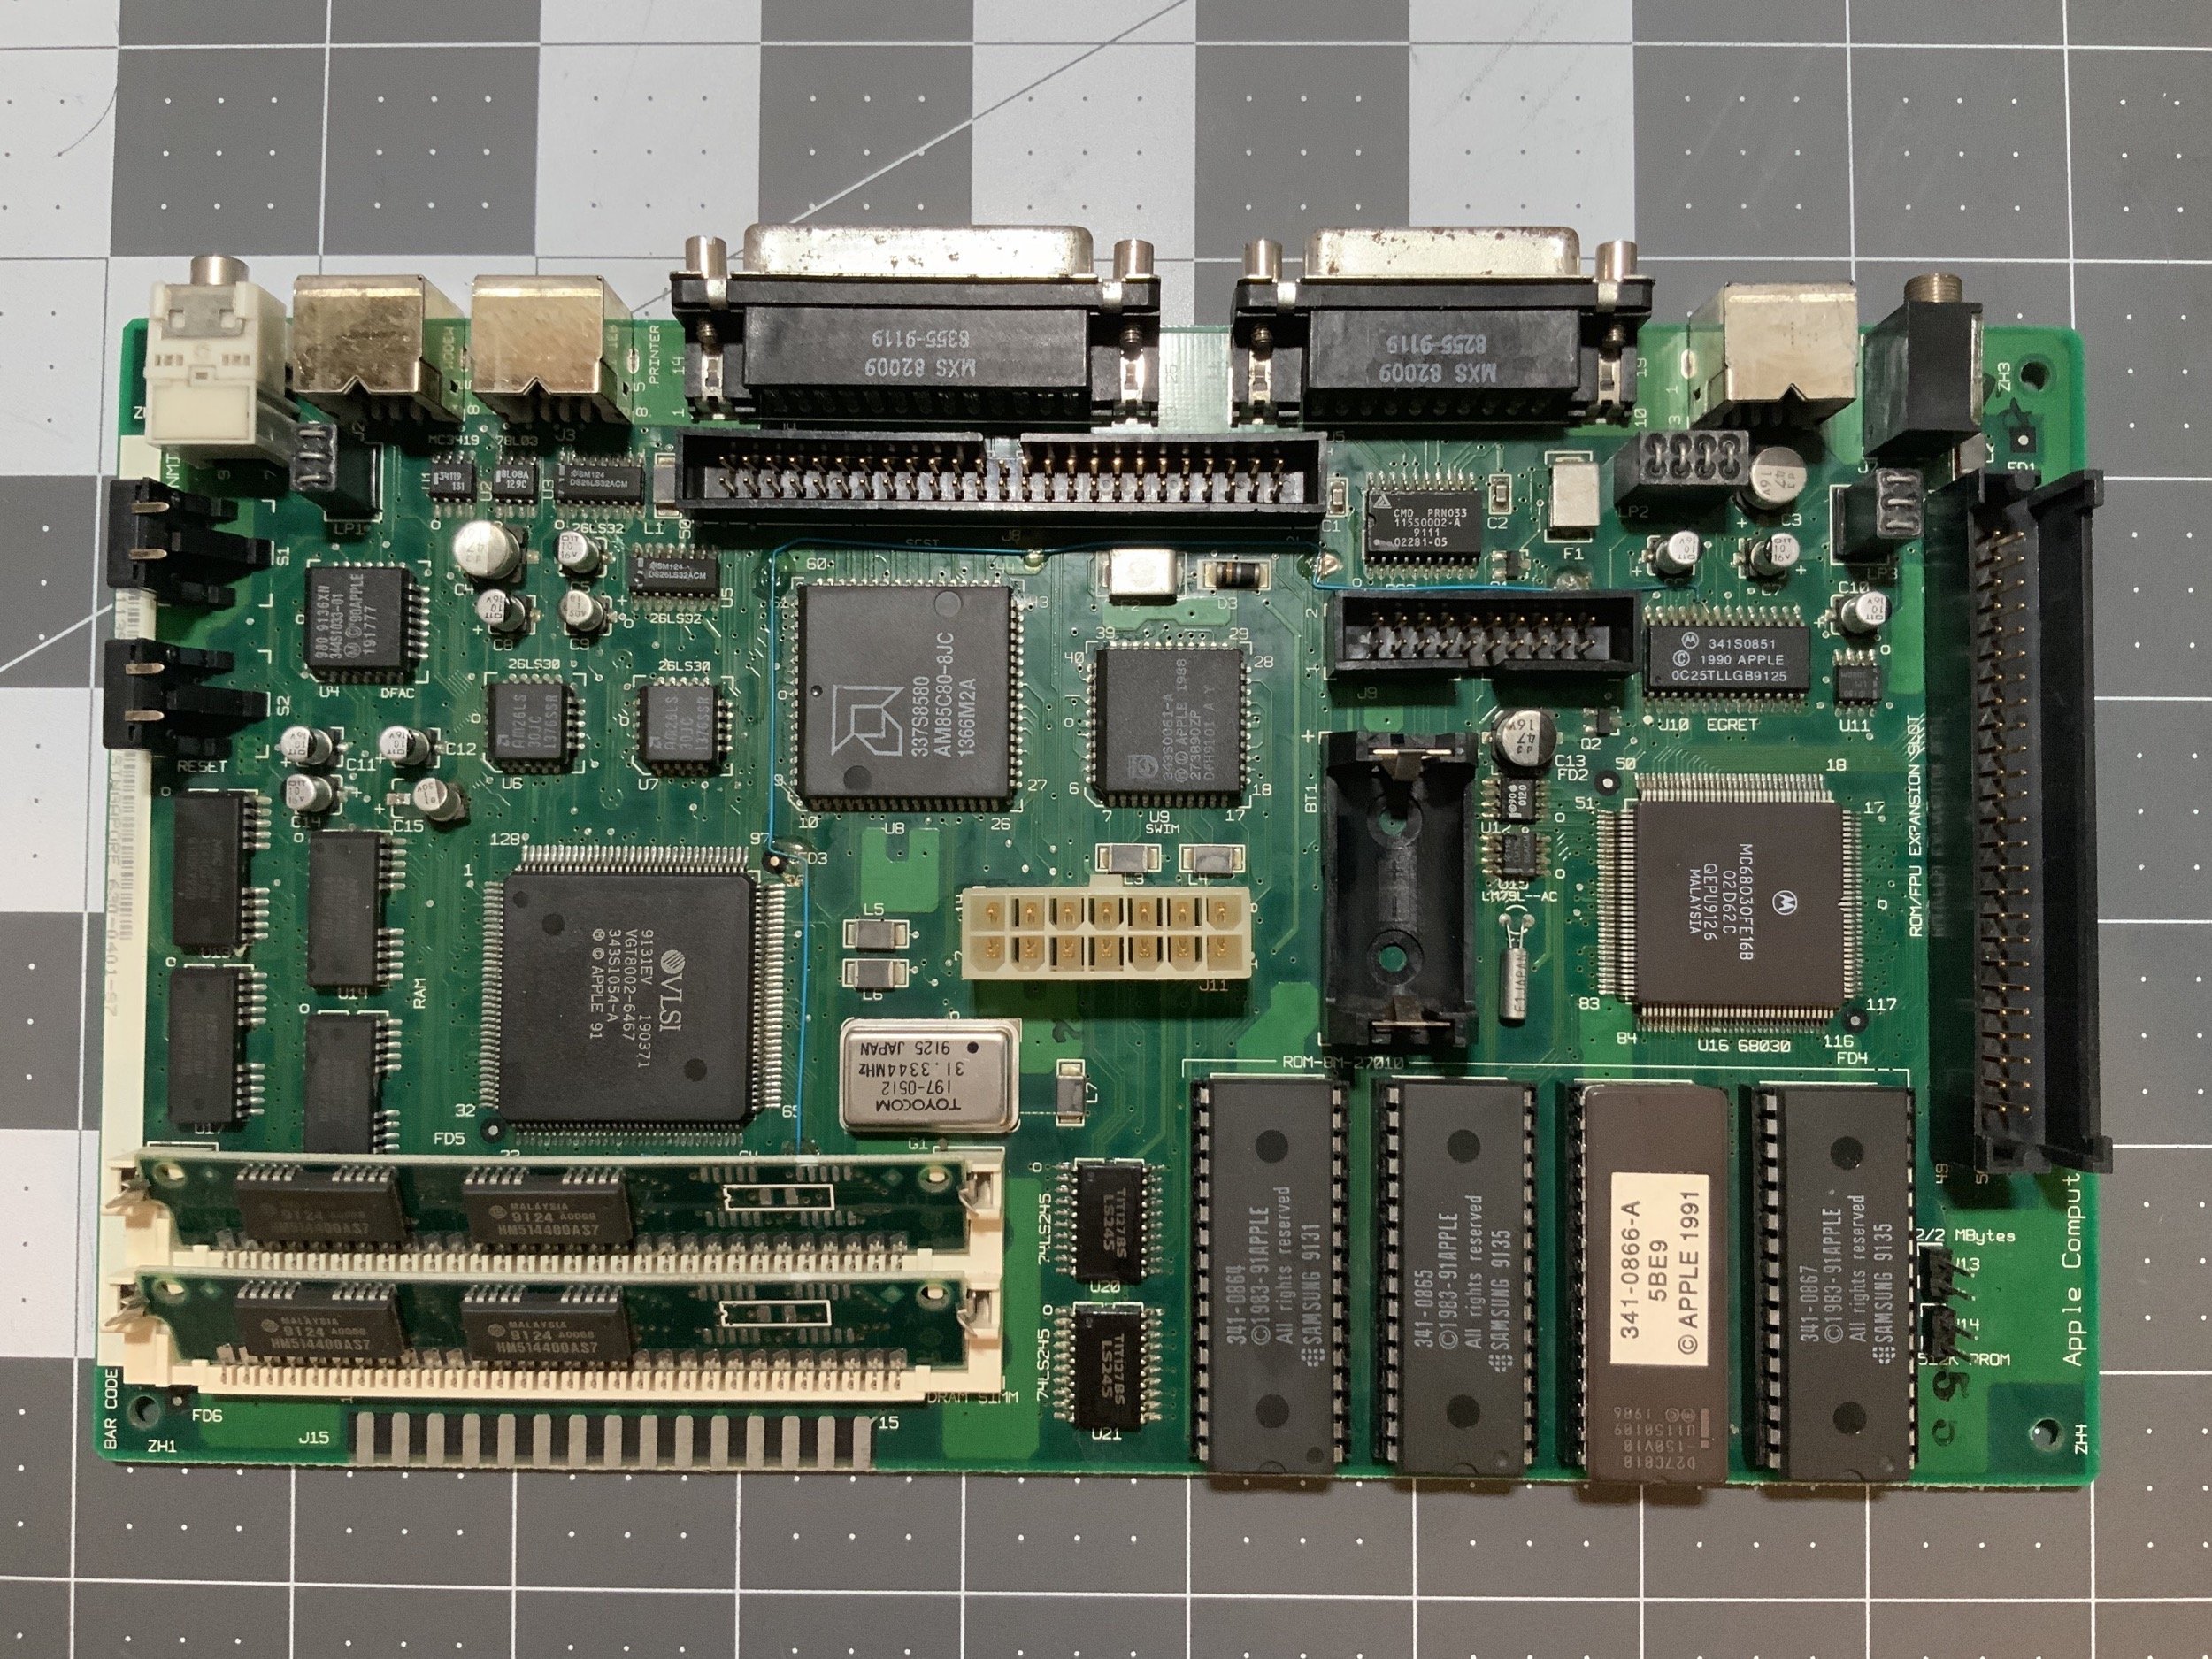
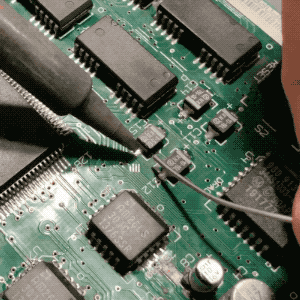
Since I don’t have a hot air station at the time, I used tweezers and my soldering iron to remove the old caps. I carefully gripped the old cap with tweezers, heat one side and gently rock it to one side, and then go do the same on the other side. I might have to heat each side 5 or 6 times as I work it loose, because I go as slow as possible.
While this worked okay for this project, I have lifted pads like this on other machines. As controversial as it is, I have since resorted to the “twist and push” method, which sounds awful but works super well on Macs of this vantage. Obviously, if you’ve got a hot air station, that’s the way to go.
Here’s how I did it, this time around.

Next, I cleaned up all of the leaked electrolyte with alcohol and cotton swabs.
Next, I heavily tinned all of the pads to the left. I’m a leftie, so that’s the direction that I’ll be coming at it with the soldering iron from. Note that I didn’t tin the pads on the right.
Now for the fun part. To position the new capacitor, I firmly grab it with my tweezers, heat up the tinned pad, slide the cap into place, and remove heat as soon as it’s positioned correctly. If I didn’t quite get it right, I can heat the pad back up, move it around a bit, and remove the heat. I didn’t get this one absolutely perfect because I was working around my iPad Pro, which was recording video.
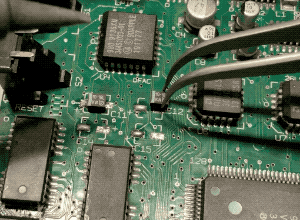
Sometimes if it doesn’t seem like it’s sitting flush with the board, I’ll just push down on it with my tweezers and heat the pad up for the second. That always seats it nicely.
After all of the caps in a given group are tacked down on one side, and I’ve double-checked that they are installed correctly, I add solder to the other side. I bumped the board a bit while recording (whoops), but you get the idea.
With all of the caps replaced, and the polarity of each one triple-checked, I tested it with great success! The sound worked great, too.
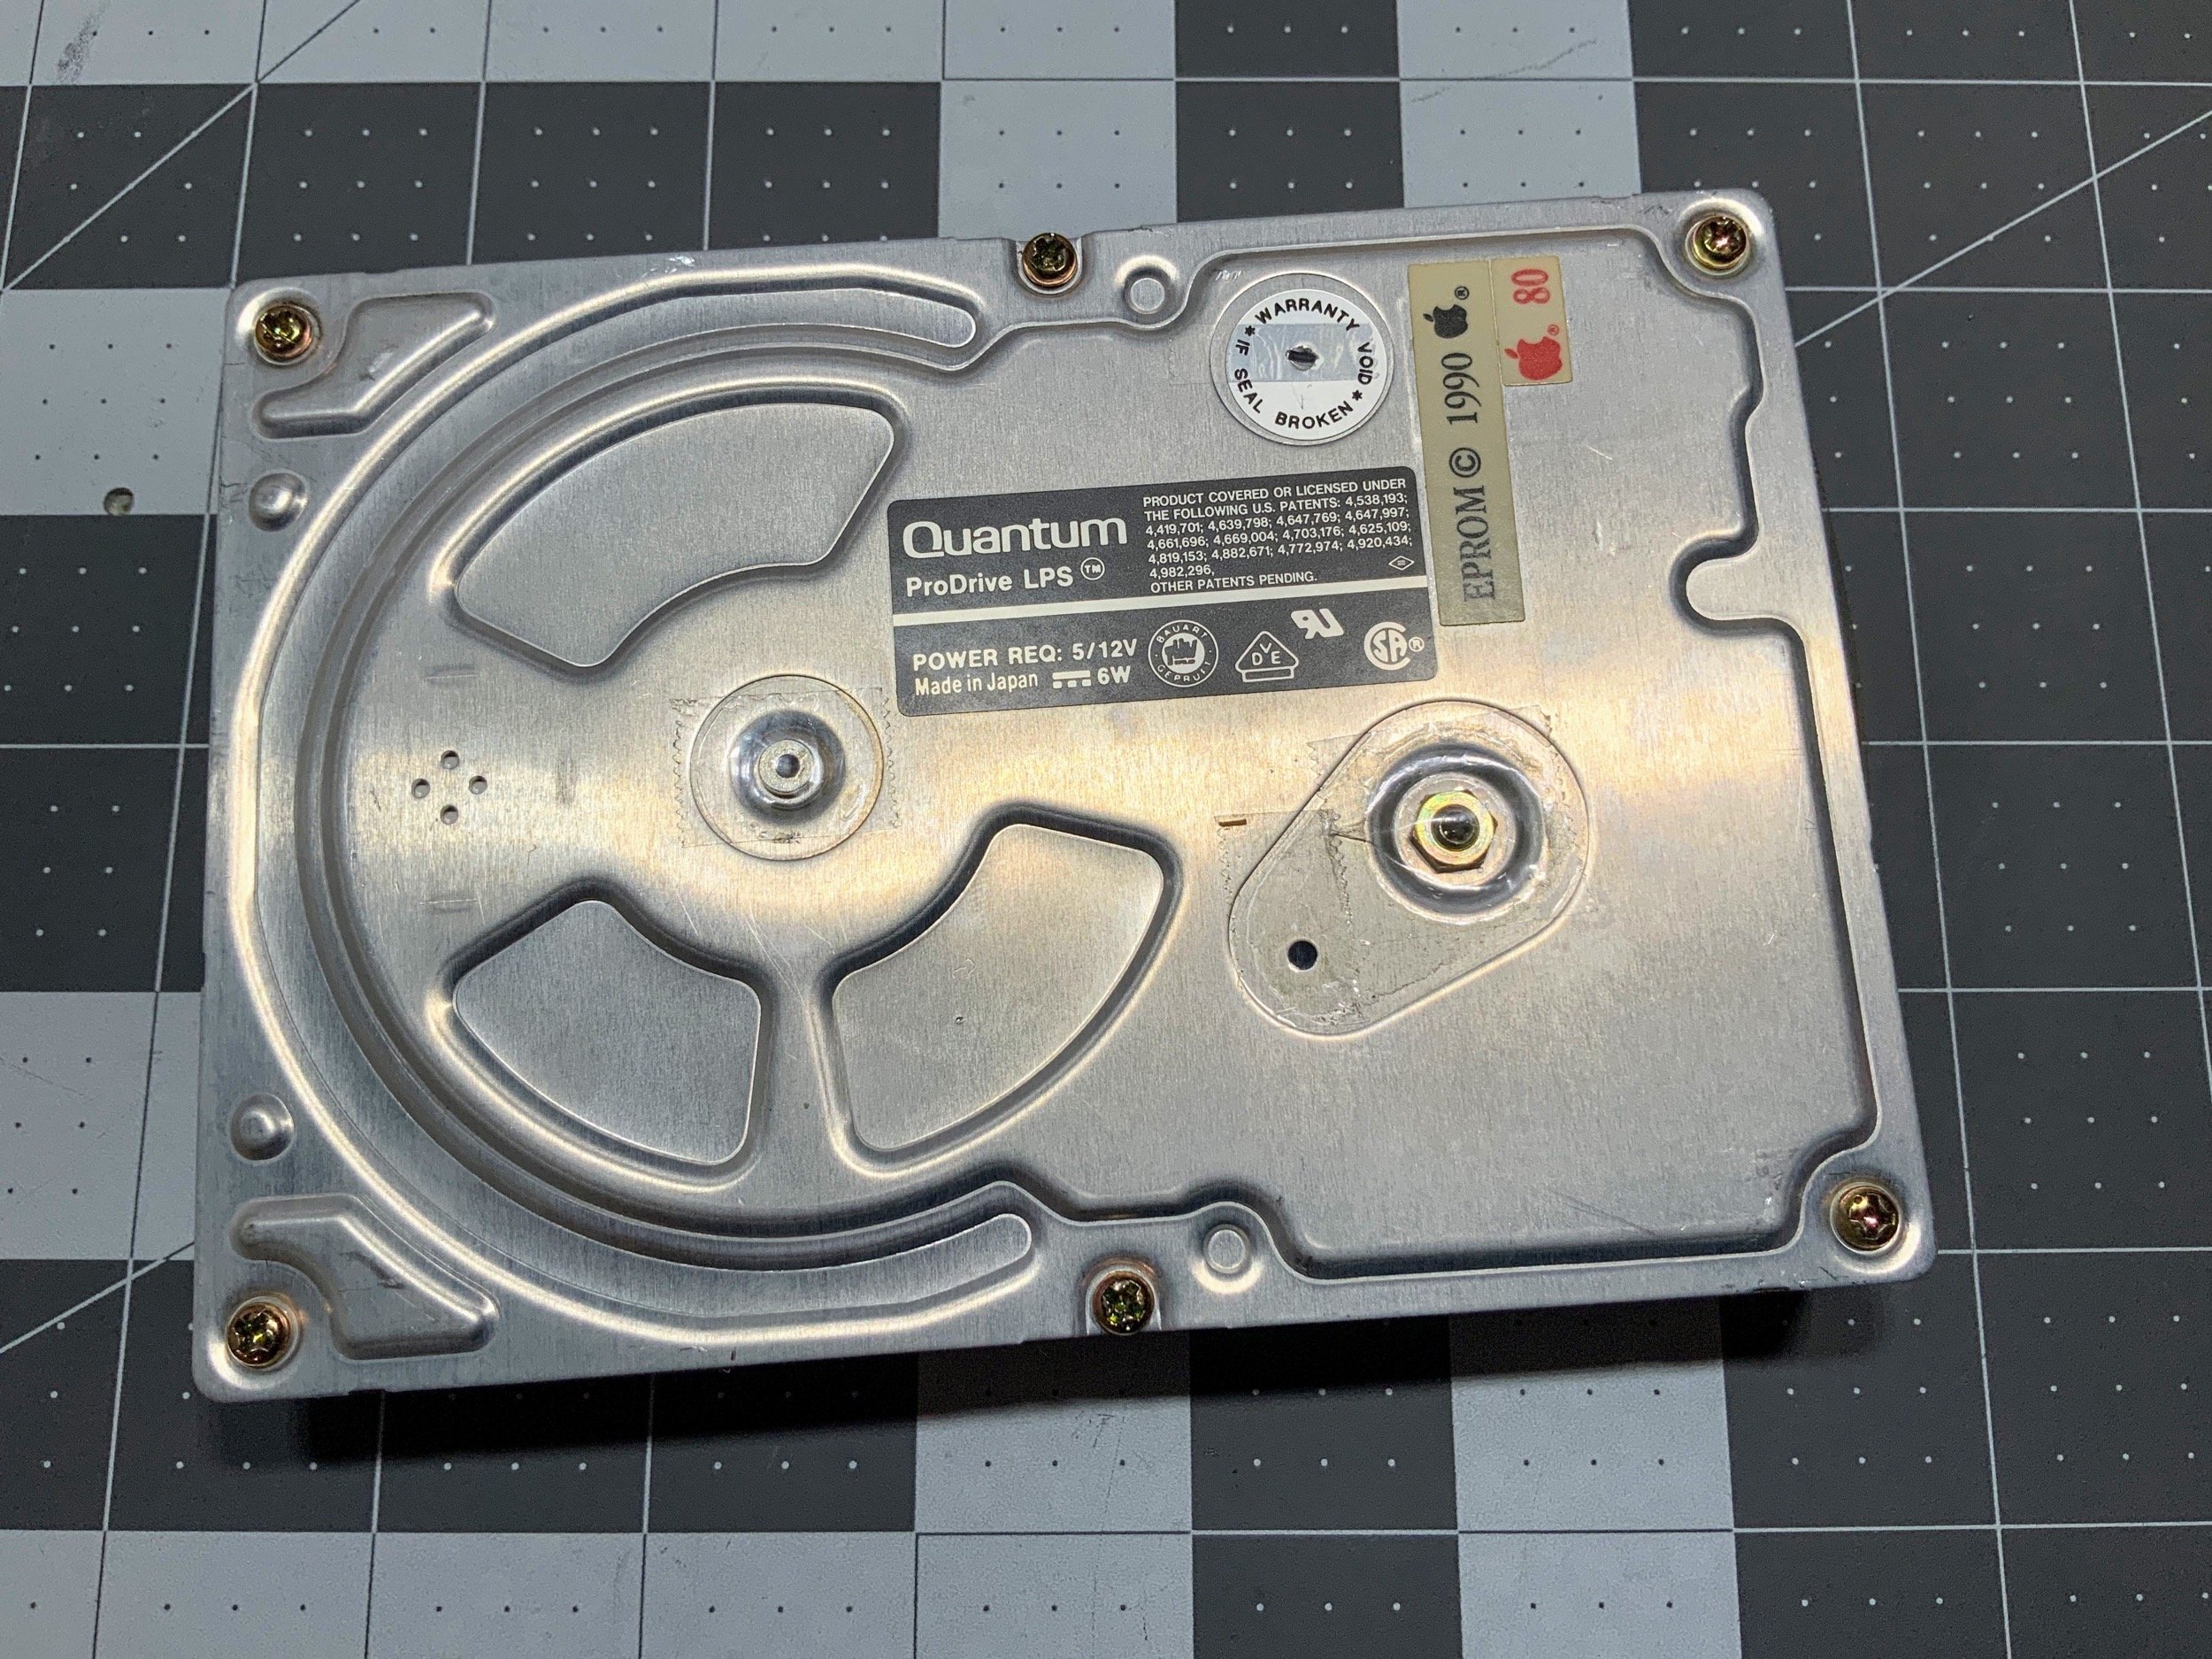
Hard Drive
The very last thing to do on the Classic II itself before I restore the mouse and keyboard is to try to fix the hard drive. Remember, this was back when the only solid-state SCSI hard drive replacement was the SCSI2SD, which was $80-120 depending on the model. These days, we have the simple and cheap BlueSCSI available, so I don’t mess with old SCSI hard drives anymore.
But, this was “back then”, so I’ll show you what I did to get the drive working.
Glovebox Construction
Now first, no PotatoFi Macintosh restoration blog is complete without a ridiculous amount of over-engineering, so I hereby present my Completely Custom 3D-Printed Glove Box! It has a HEPA filter in the back, a vacuum cleaner attachment on the side, and portals that hold gloves in on the front. The idea is that you can plug in a vacuum cleaner and flip it on for a second to purge all of the dust before getting to work. I did build it specifically for Macintosh hard drives, but figured I could use it for working on Game Boy screens, too.
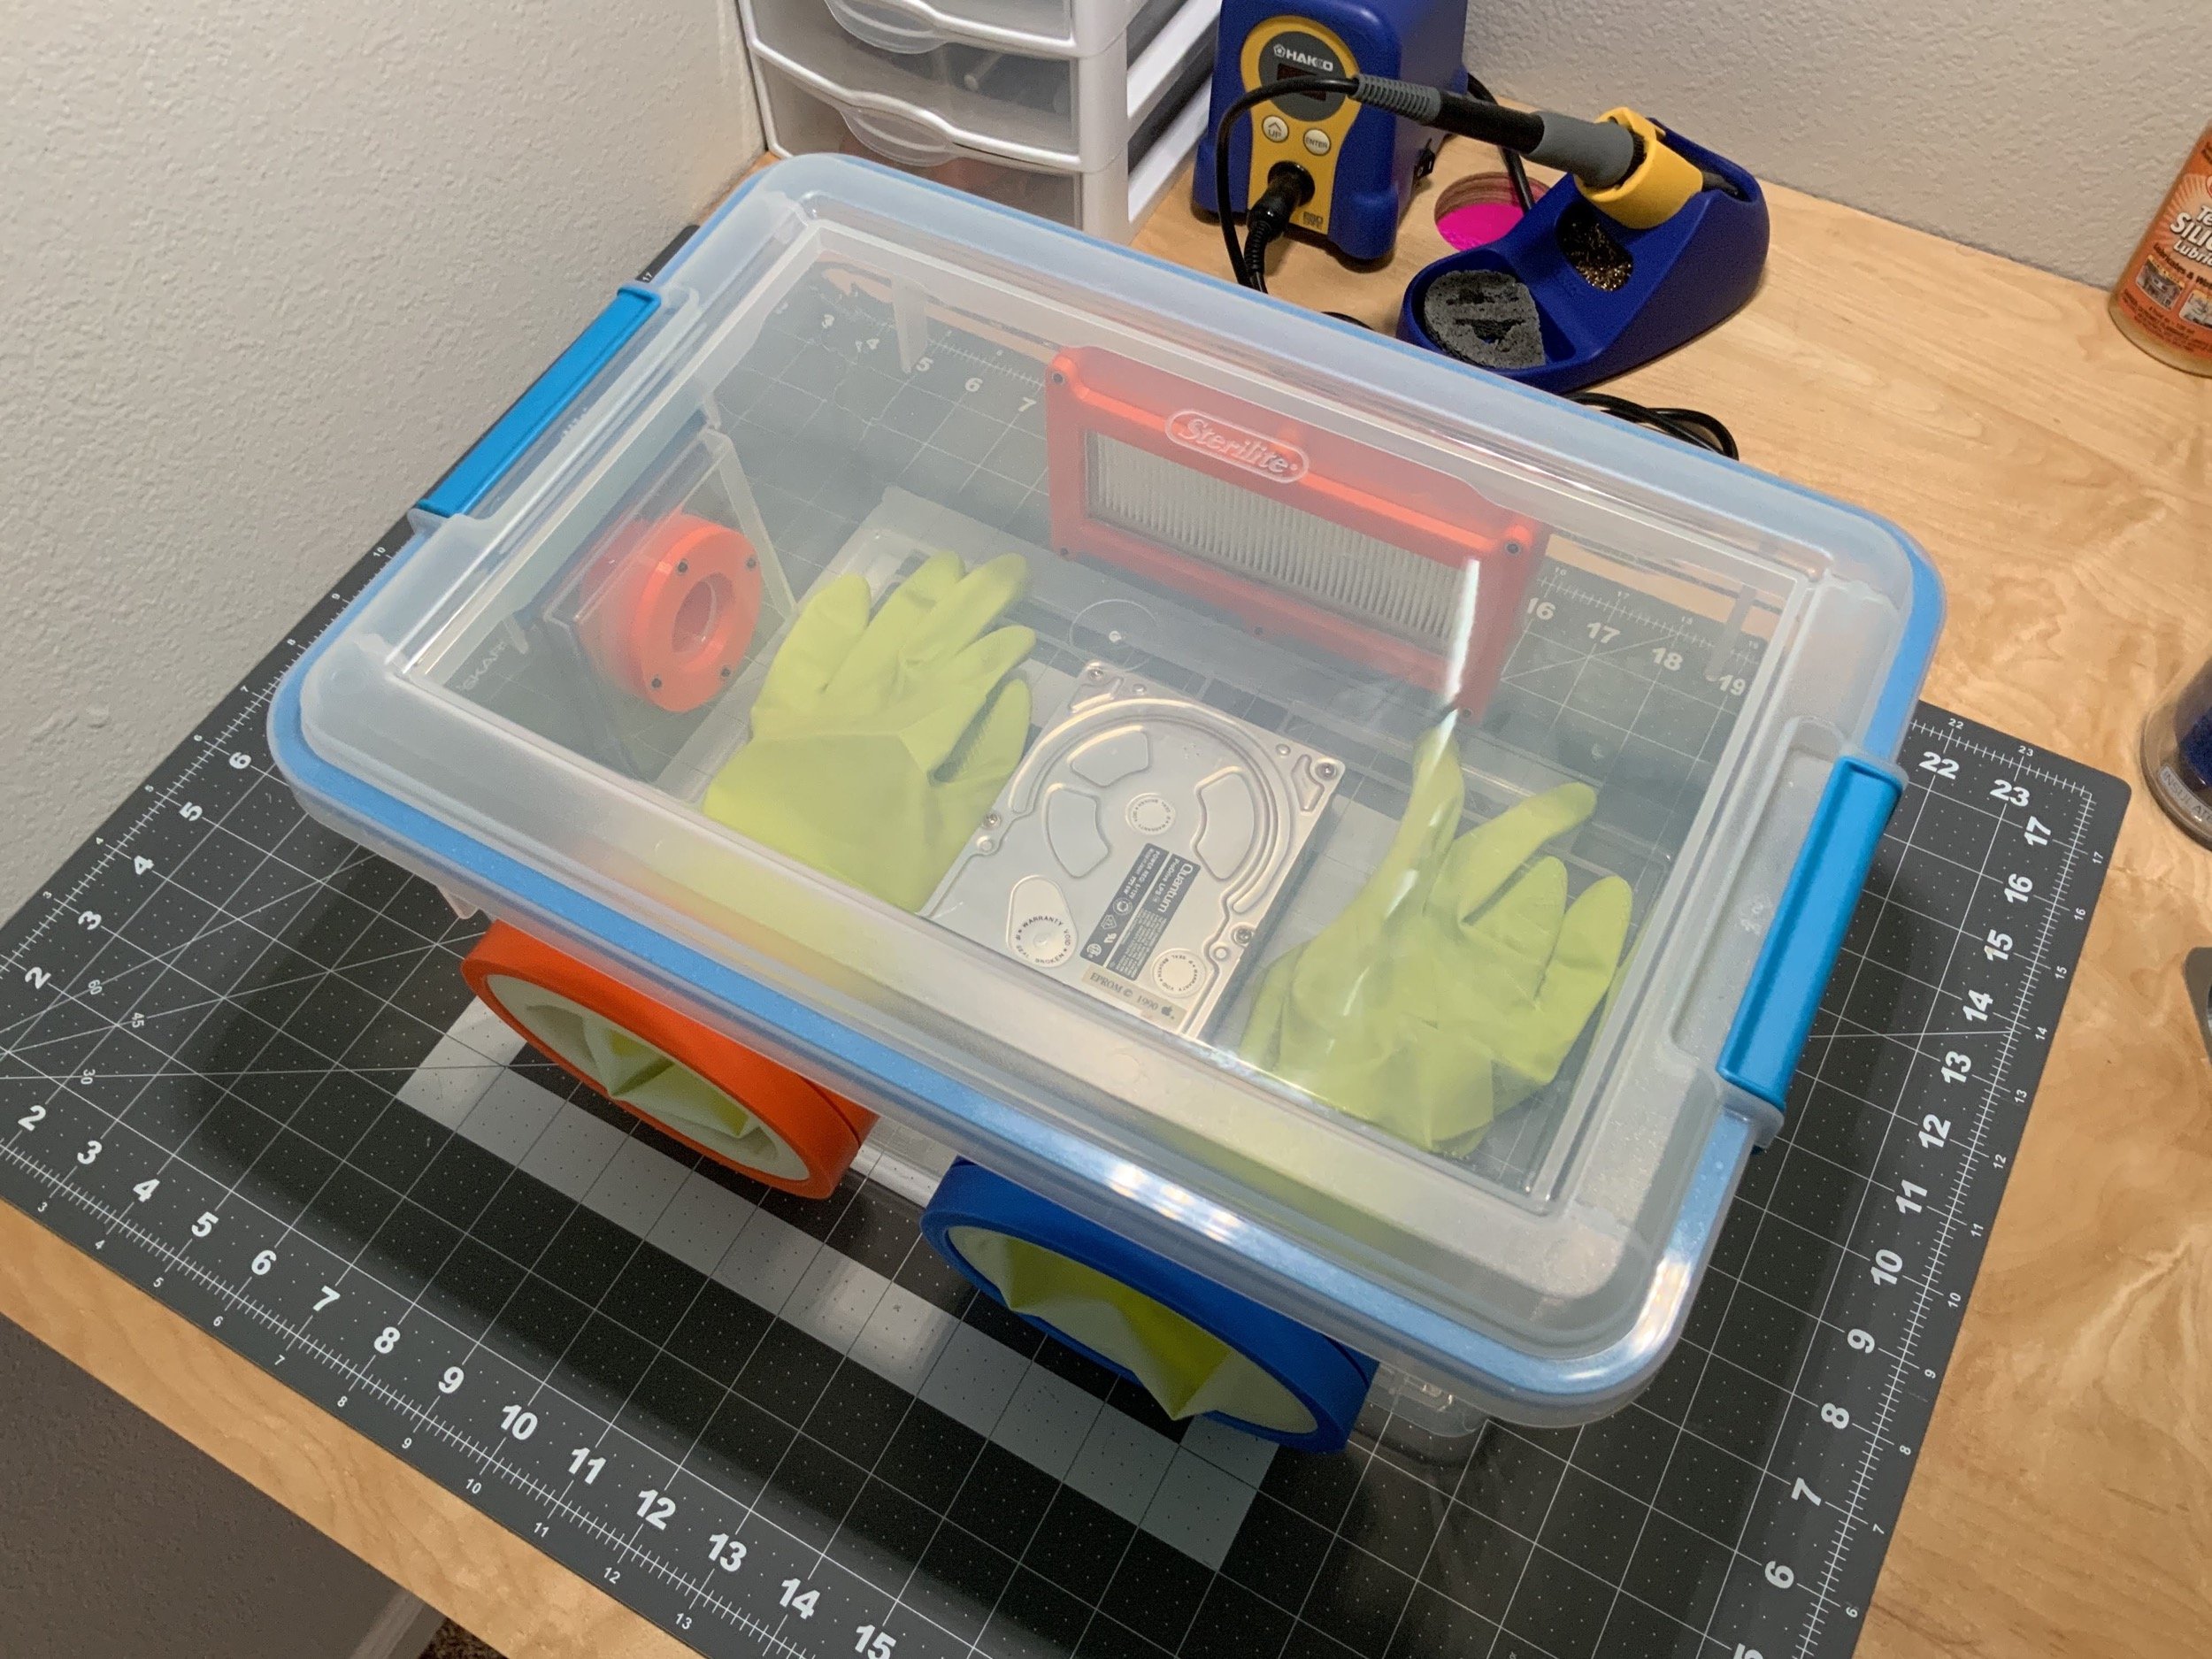
I’m going to attempt a hard drive repair per What Up TK Here’s video, in which he fills the drive with metal shavings and dust, but still manages to get his Mac booting! I figure that if he can do that in those conditions, I might be able to achieve success in my Glove Box (tm). I mean, the hard drive is dead, so what did I have to lose?
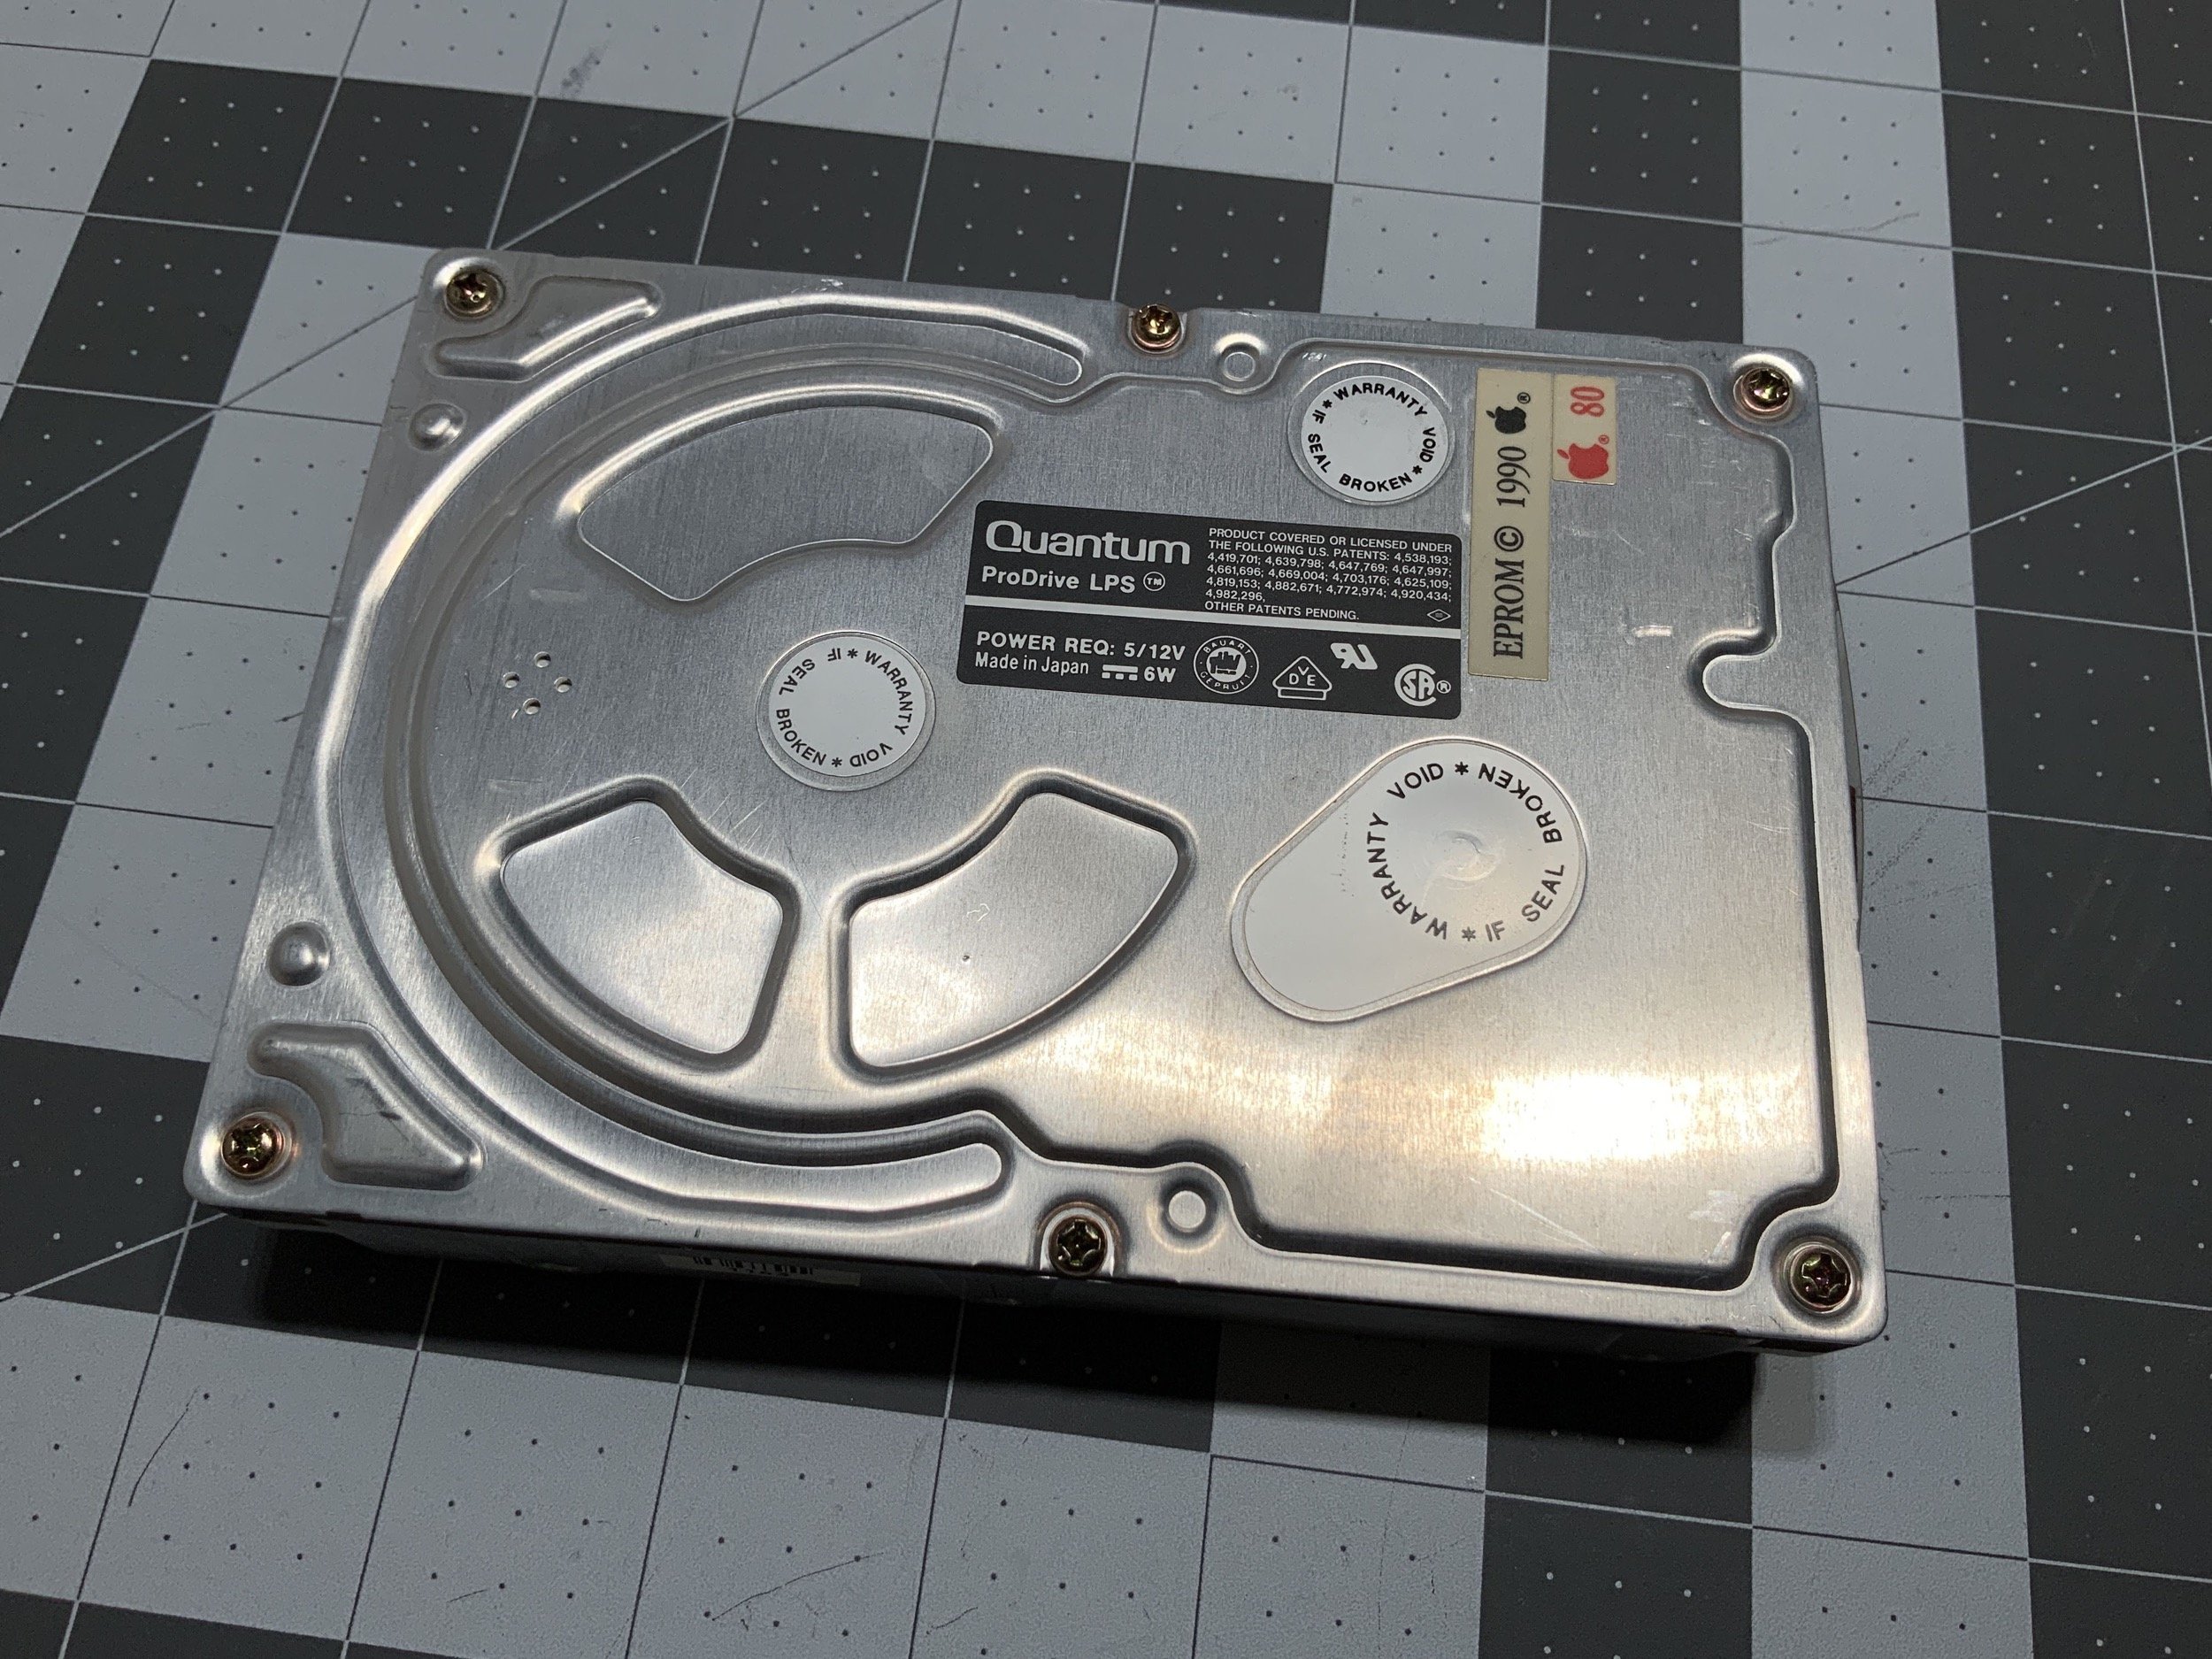
First, I removed the warranty-voiding stickers. I didn’t realize that this was exposing the internals, and if I’d known, I would have done this in the glove box.
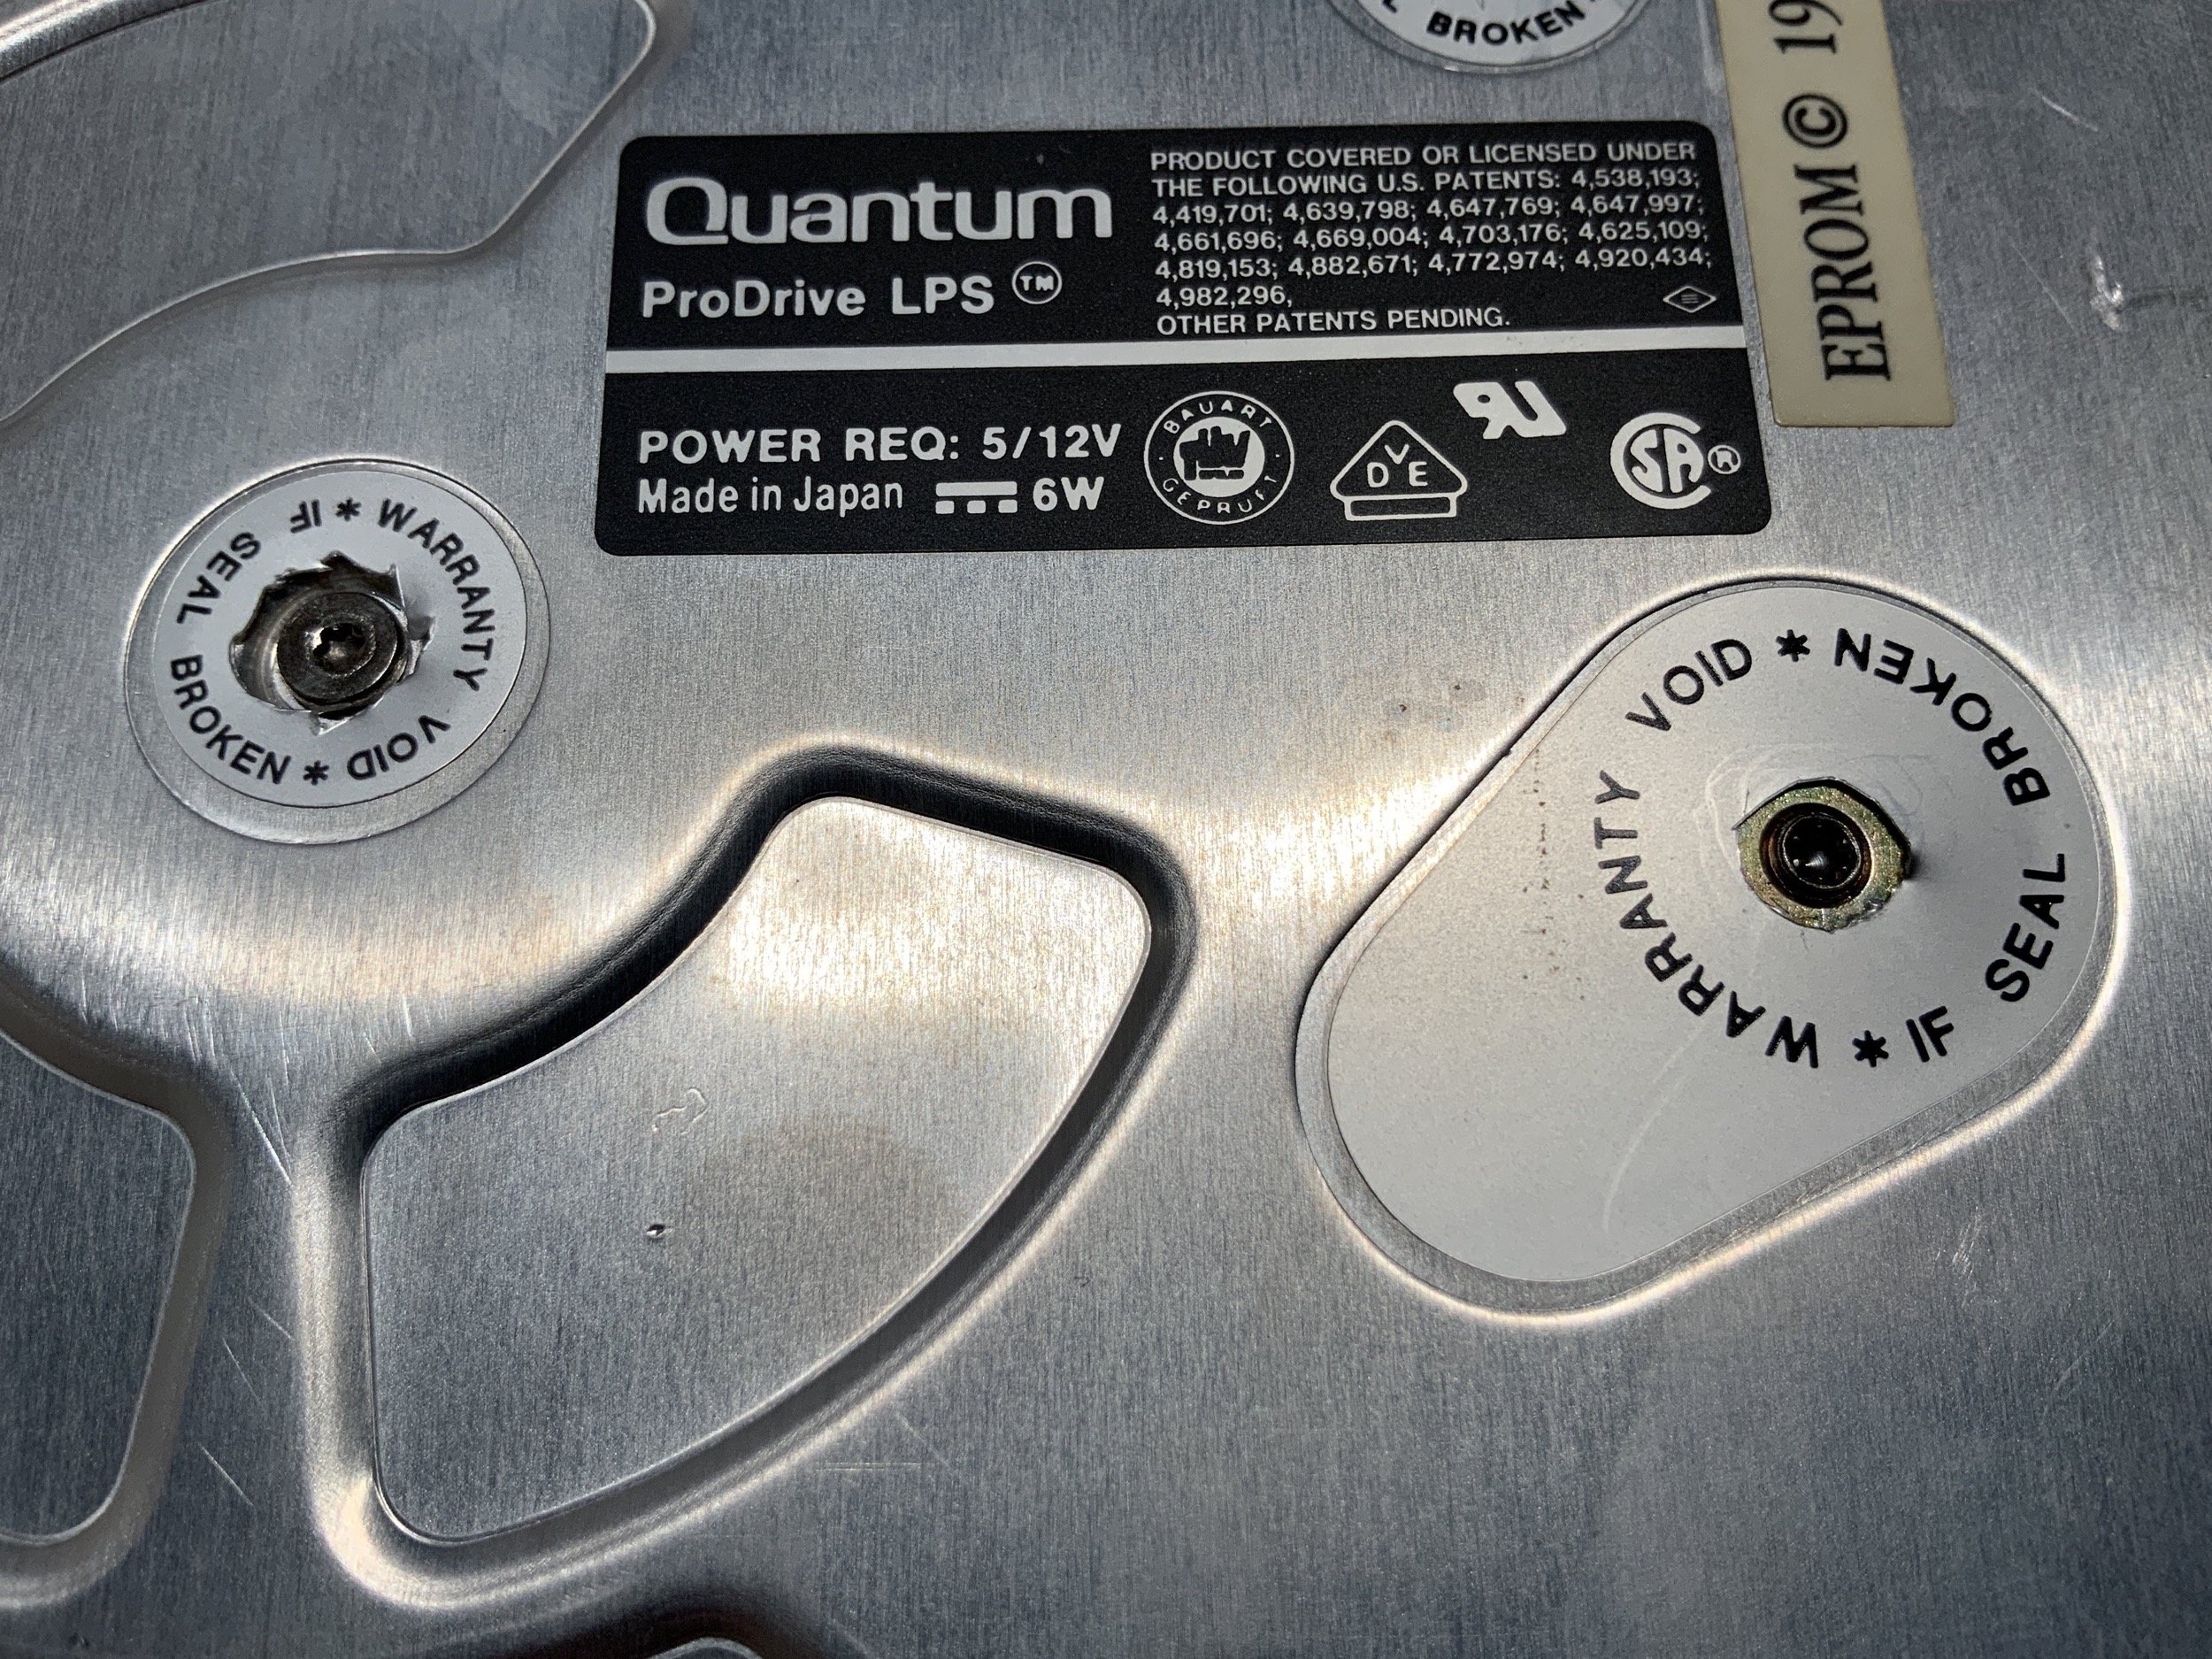
Next, I removed all of the screws. Again, wish I’d done this in the box.
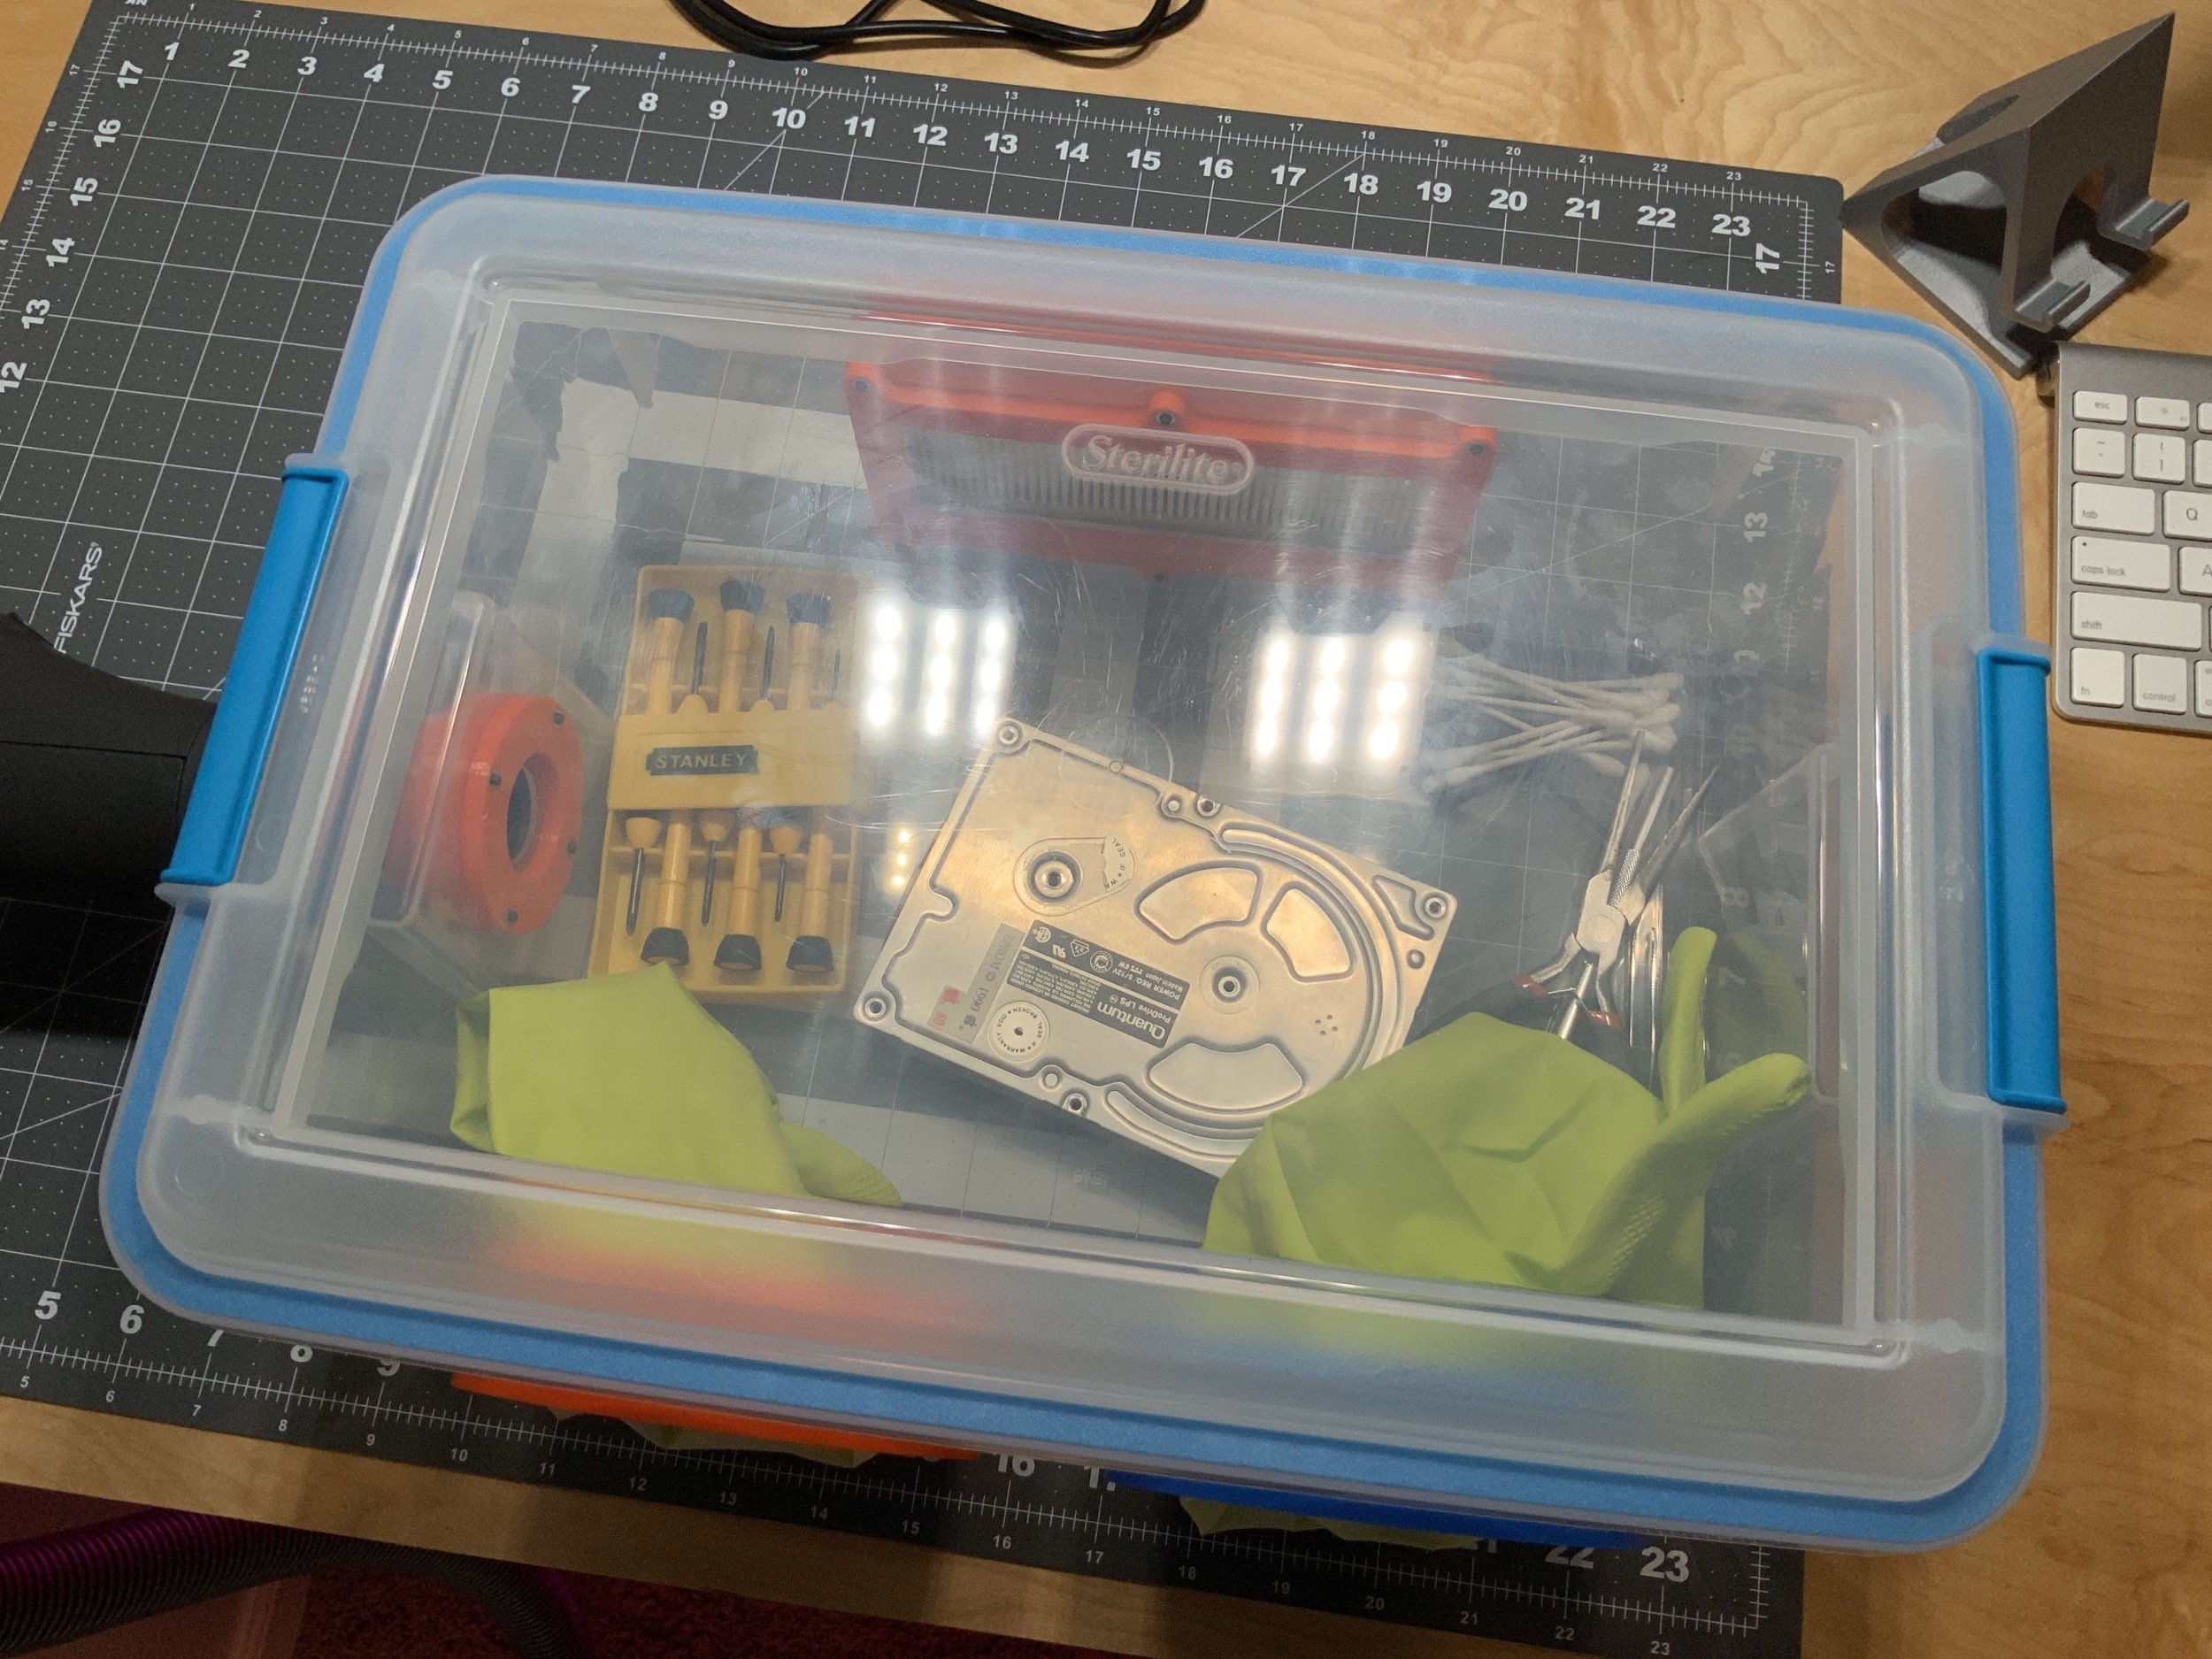
After purging the dusty air with the vacuum, I carefully removed the top. I didn’t get many pictures of this part, because getting your hands in and out of the gloves is pretty tricky, especially with the limited space in the box.
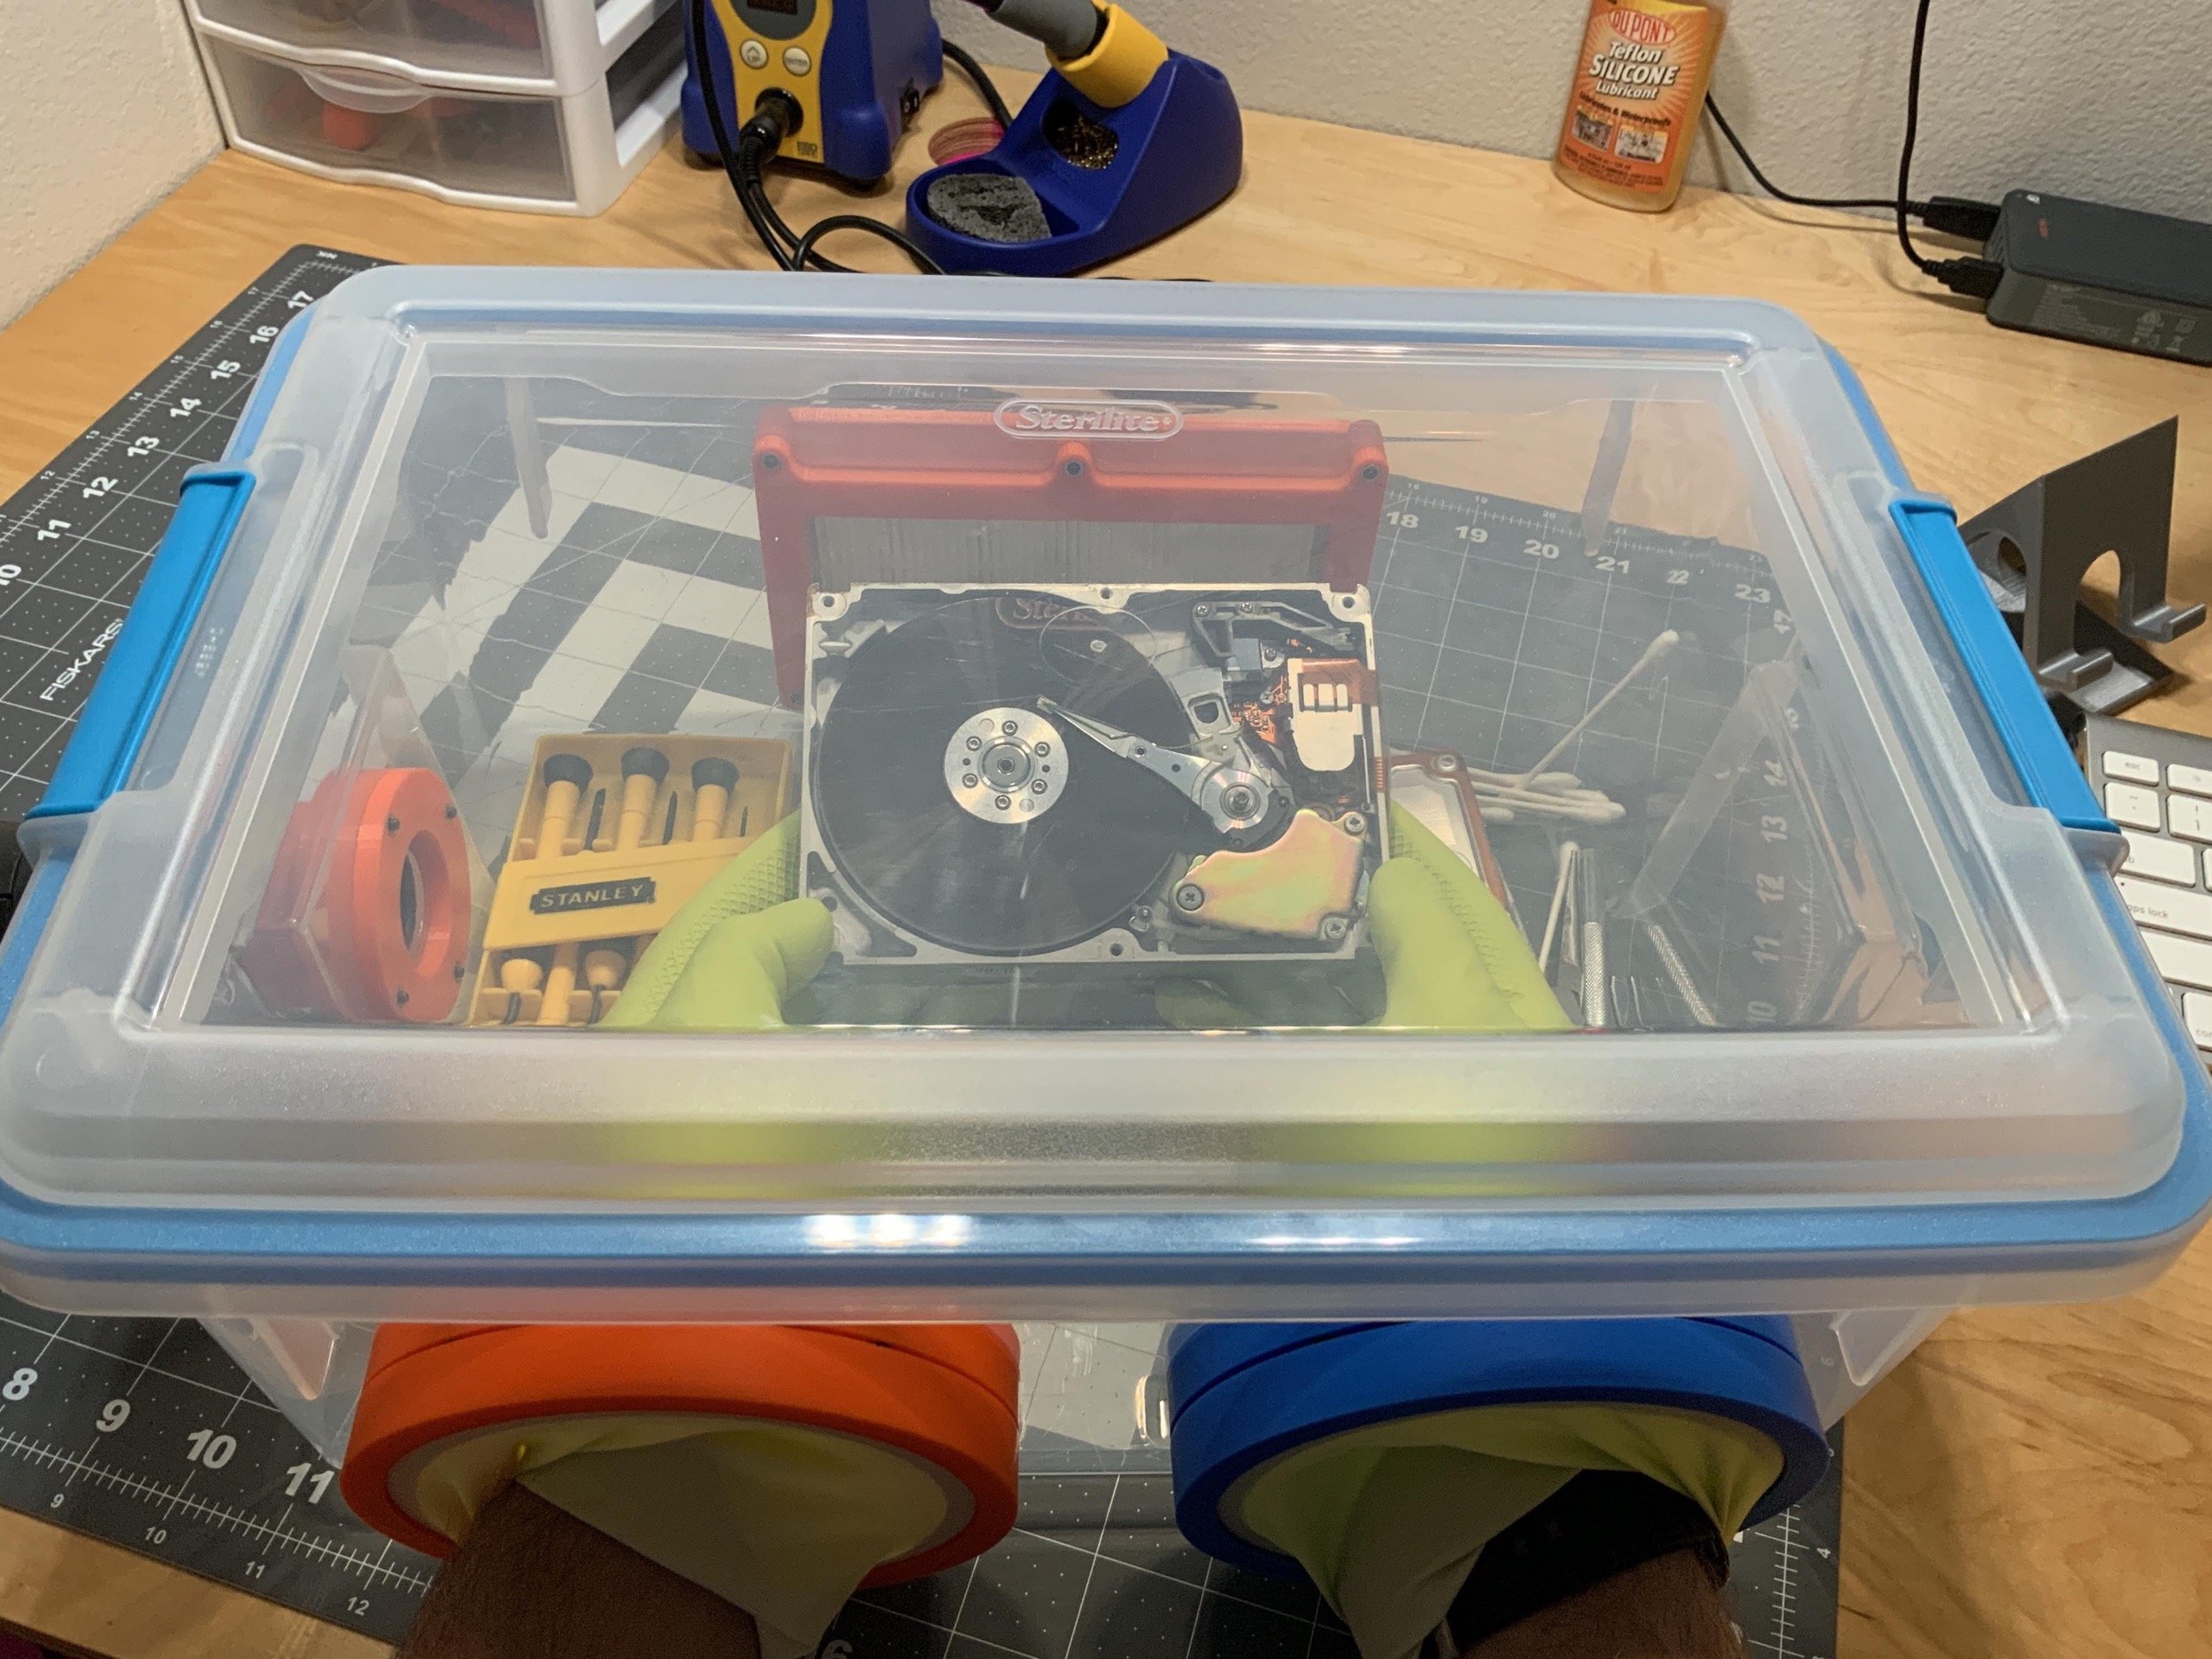
Getting the three screws loose on the magnet required a trip to the hardware store for a #1 Phillips bit. I used a 1/4” drive ratchet and a small hex adapter, which gave me plenty of torque in the compact working space. Seriously, this glove box is just barely big enough to work in! And I felt like I was doing brain surgery with a flathead shovel. But, I steered completely clear of the r/w head armature and platters, and only removed the magnet to check the condition of the rubber bumpers.
No pictures of this part, but sadly, I discovered that the rubber bumpers described in TK’s video weren’t gooey at all. In fact, they were in great condition. My heart definitely sank a bit at this discovery. I couldn’t find anything to do other than put it back together. The read/write heads were probably stuck to the platters, and I just didn’t notice.
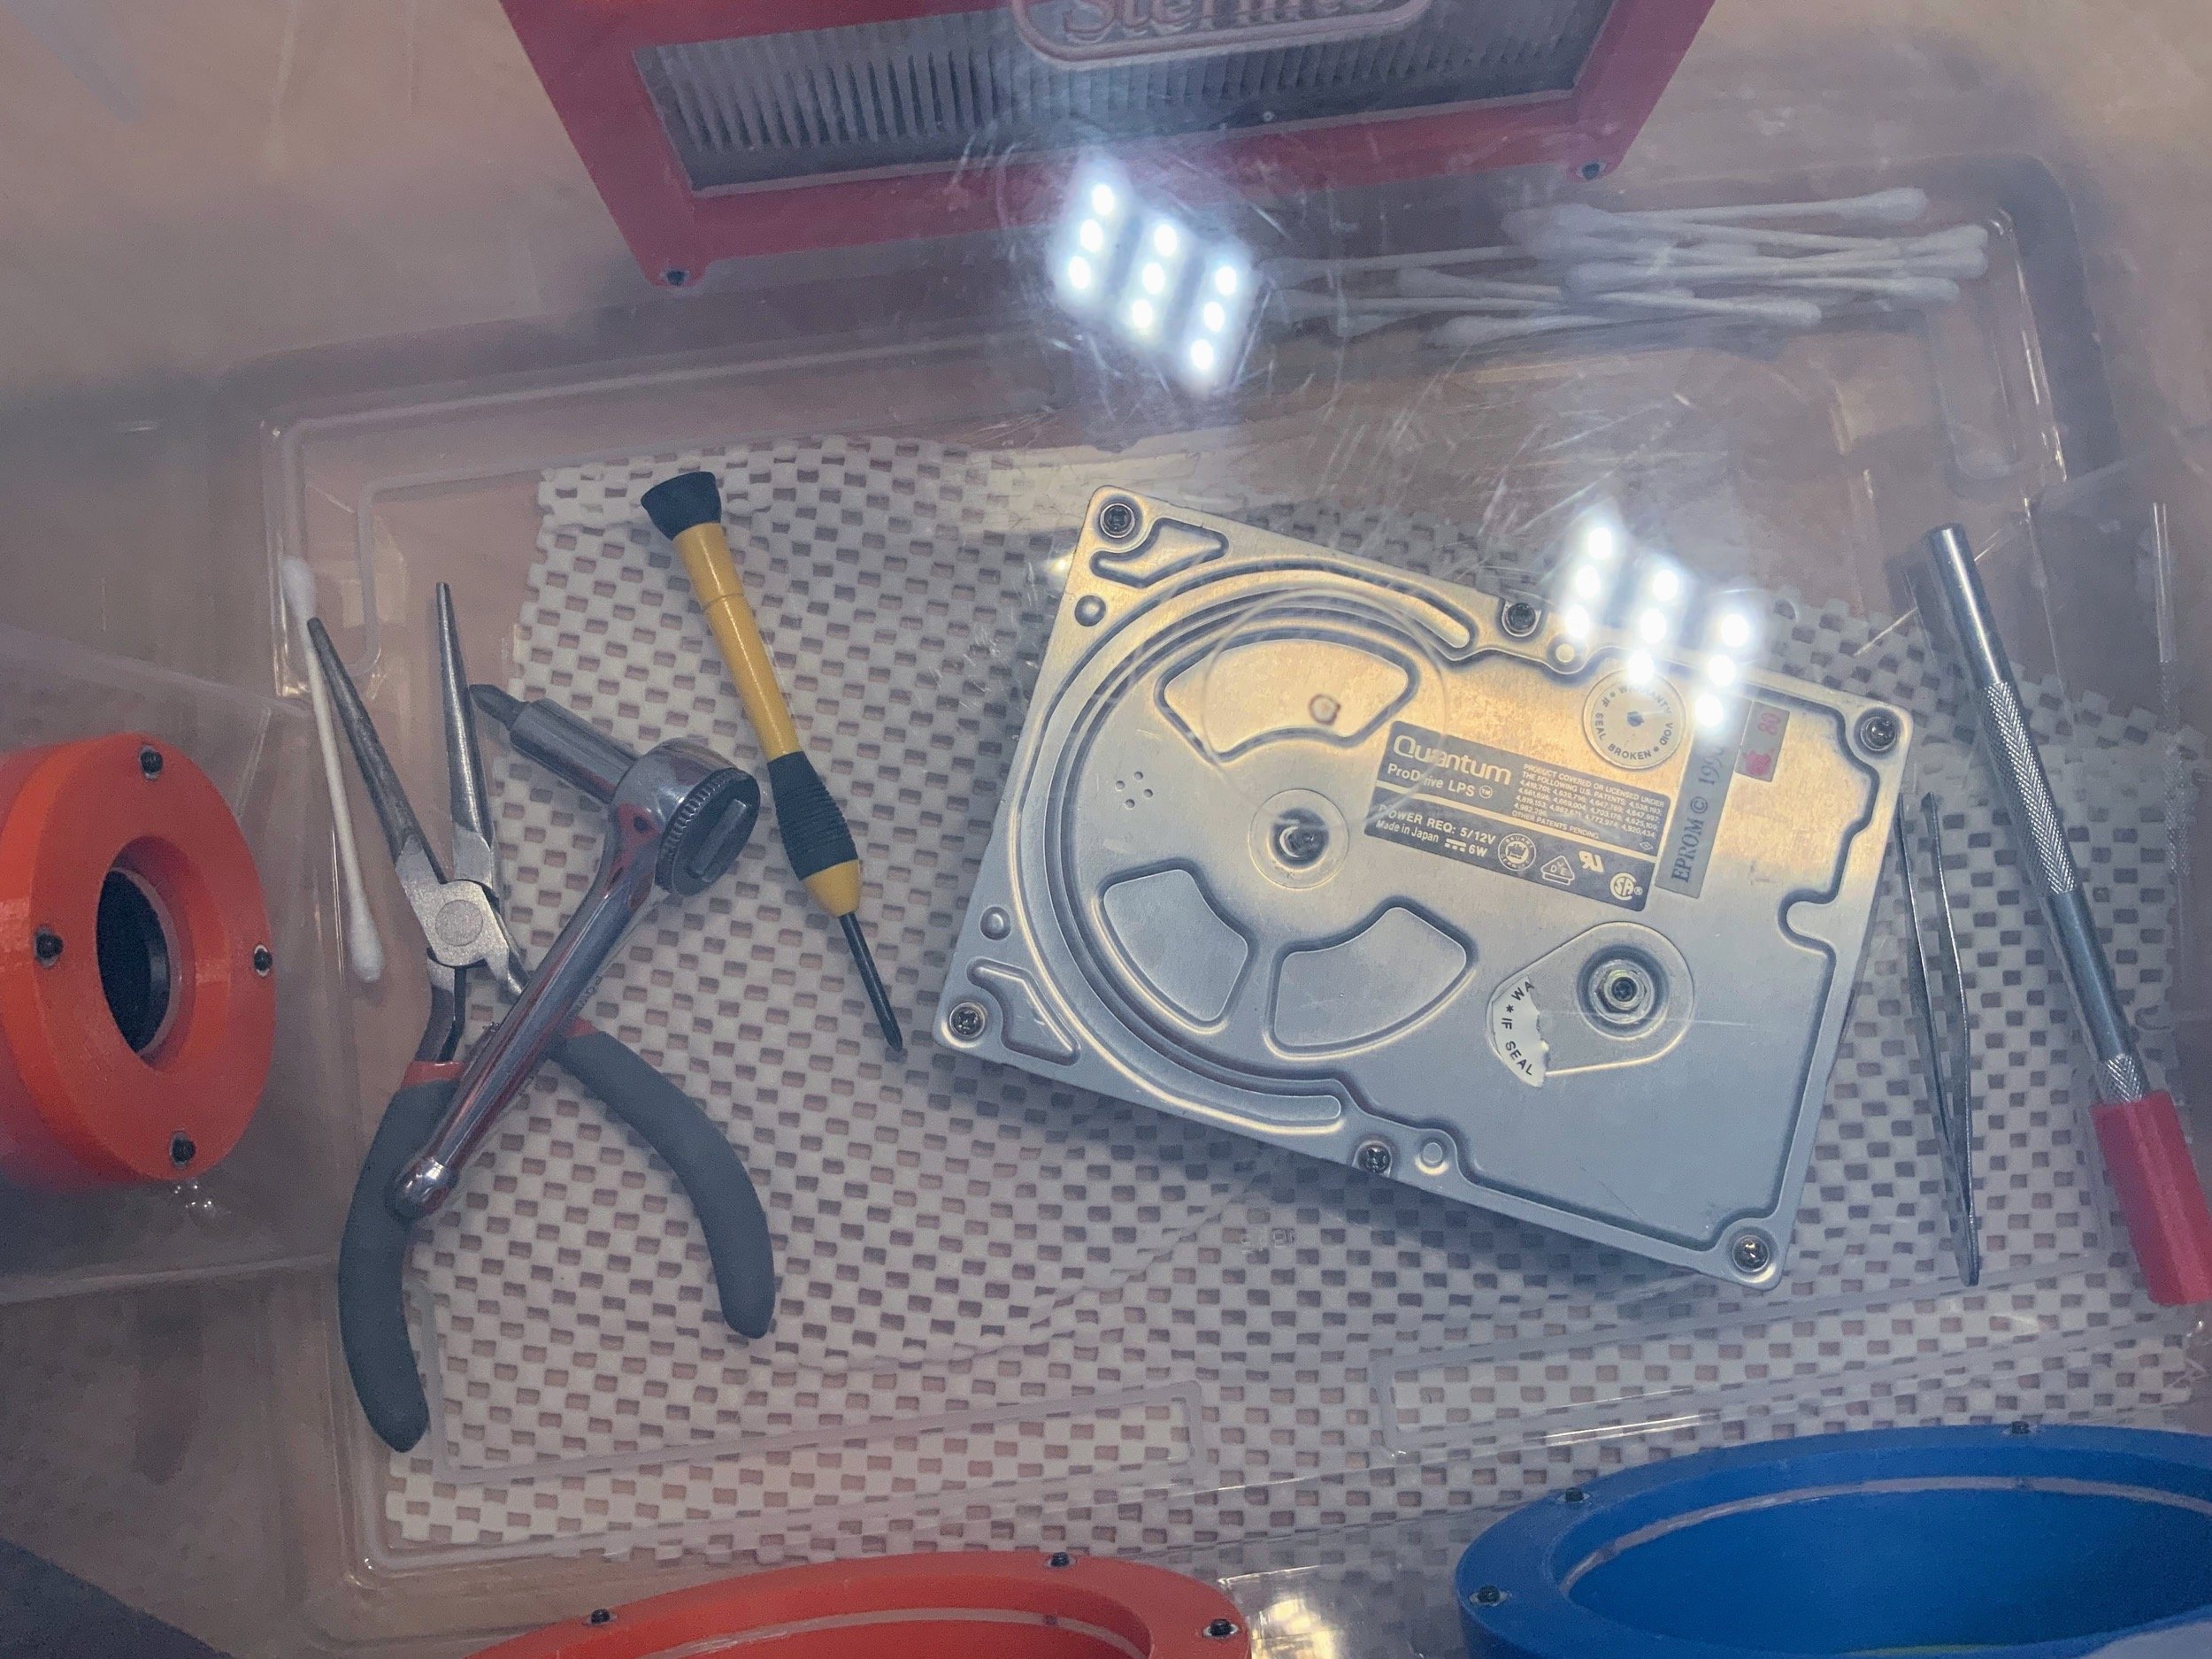
I resealed the holes with tape.
Not expecting a miracle, I installed the drive and flipped the power switch. It didn’t even spin up. I decided to pop a floppy disk in and let it boot up and hang out with me while I typed an update to the build log.
And then, just for fun, I gave it a reboot after about 5 minutes of sitting idle. It ejected the floppy, and the hard disk spun up! It made a horrible grinding sound, which quickly subsided and was replaced with a high-pitch metal-on-metal sound - probably a r/w head skating on a platter. But to my amazement, it booted up! I couldn’t believe it!
There wasn’t anything interesting on the machine, just Claris Works and some password-protected files. I ended up getting a SCSI2SD for this machine (and later a BlueSCSI, as I was standardizing my “fleet” on that), at which point I recycled the drive.
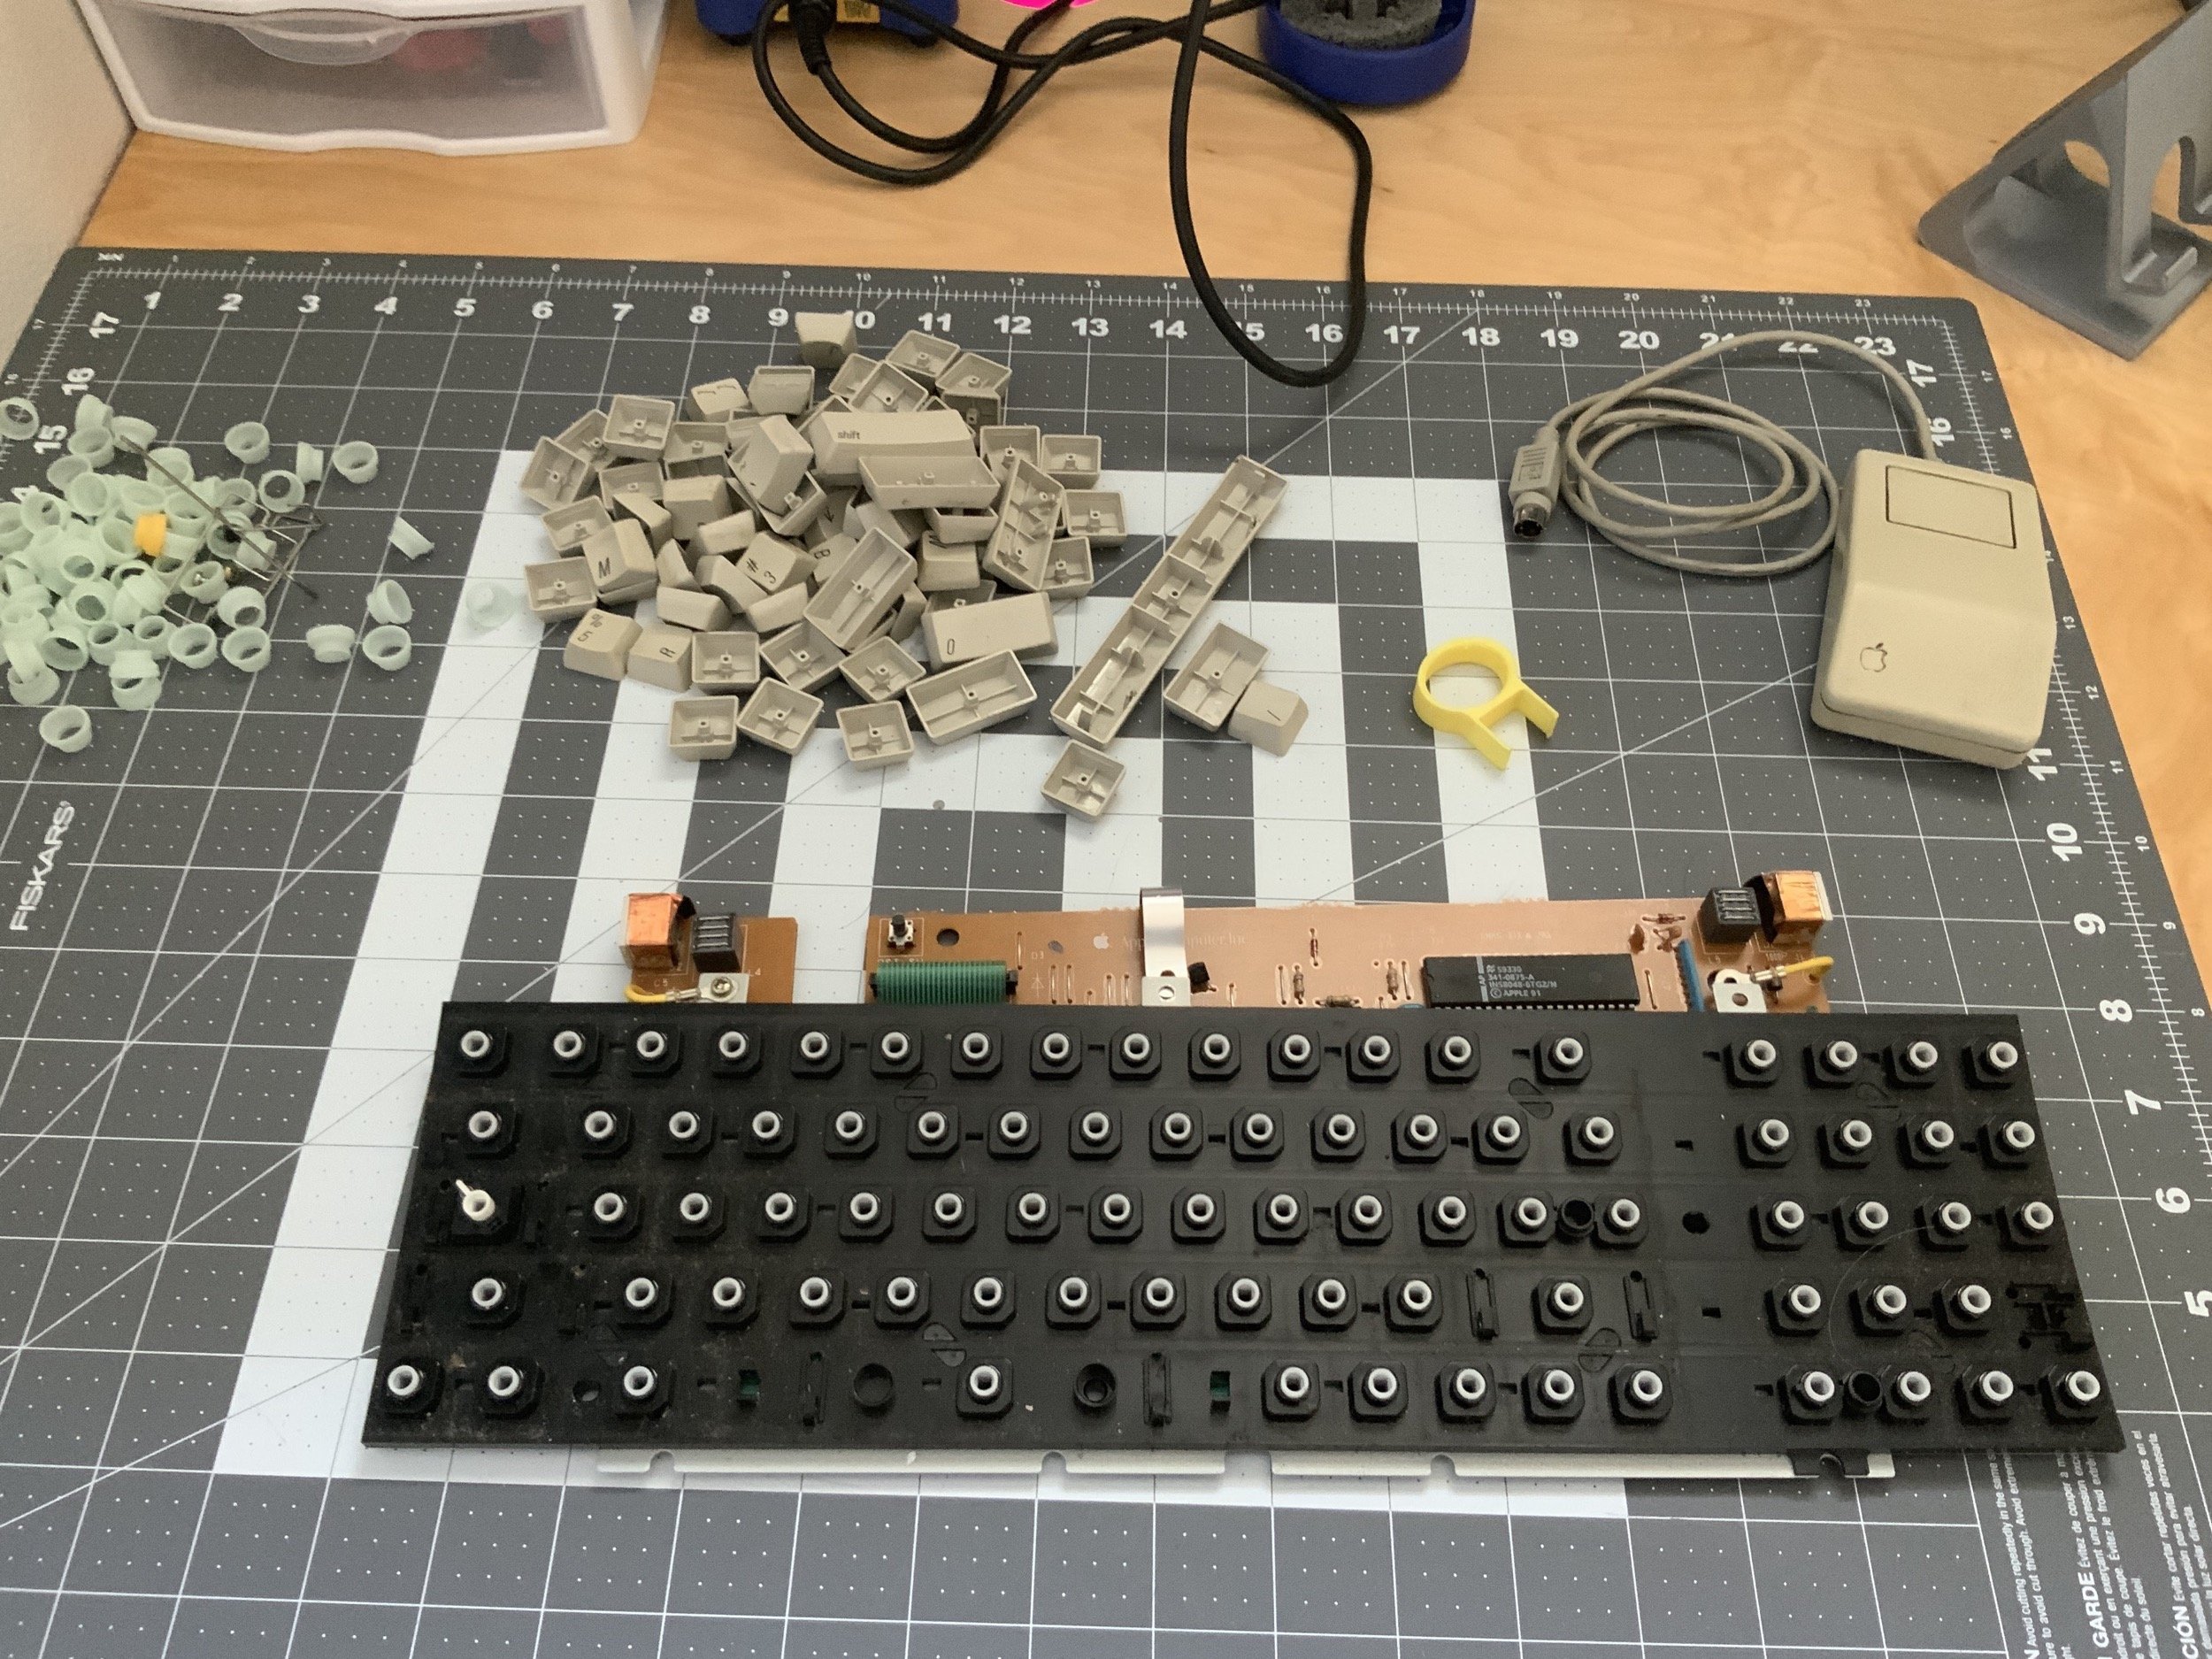
Mouse and Keyboard
Next, I got to work on the mouse and keyboard. The keyboard here is a very non-special Apple Keyboard II M0487, which isn’t offensive, but is also nothing special, being of the typical rubber dome type.

It was obvious where sunlight had yellowed it, and where there were shadows.
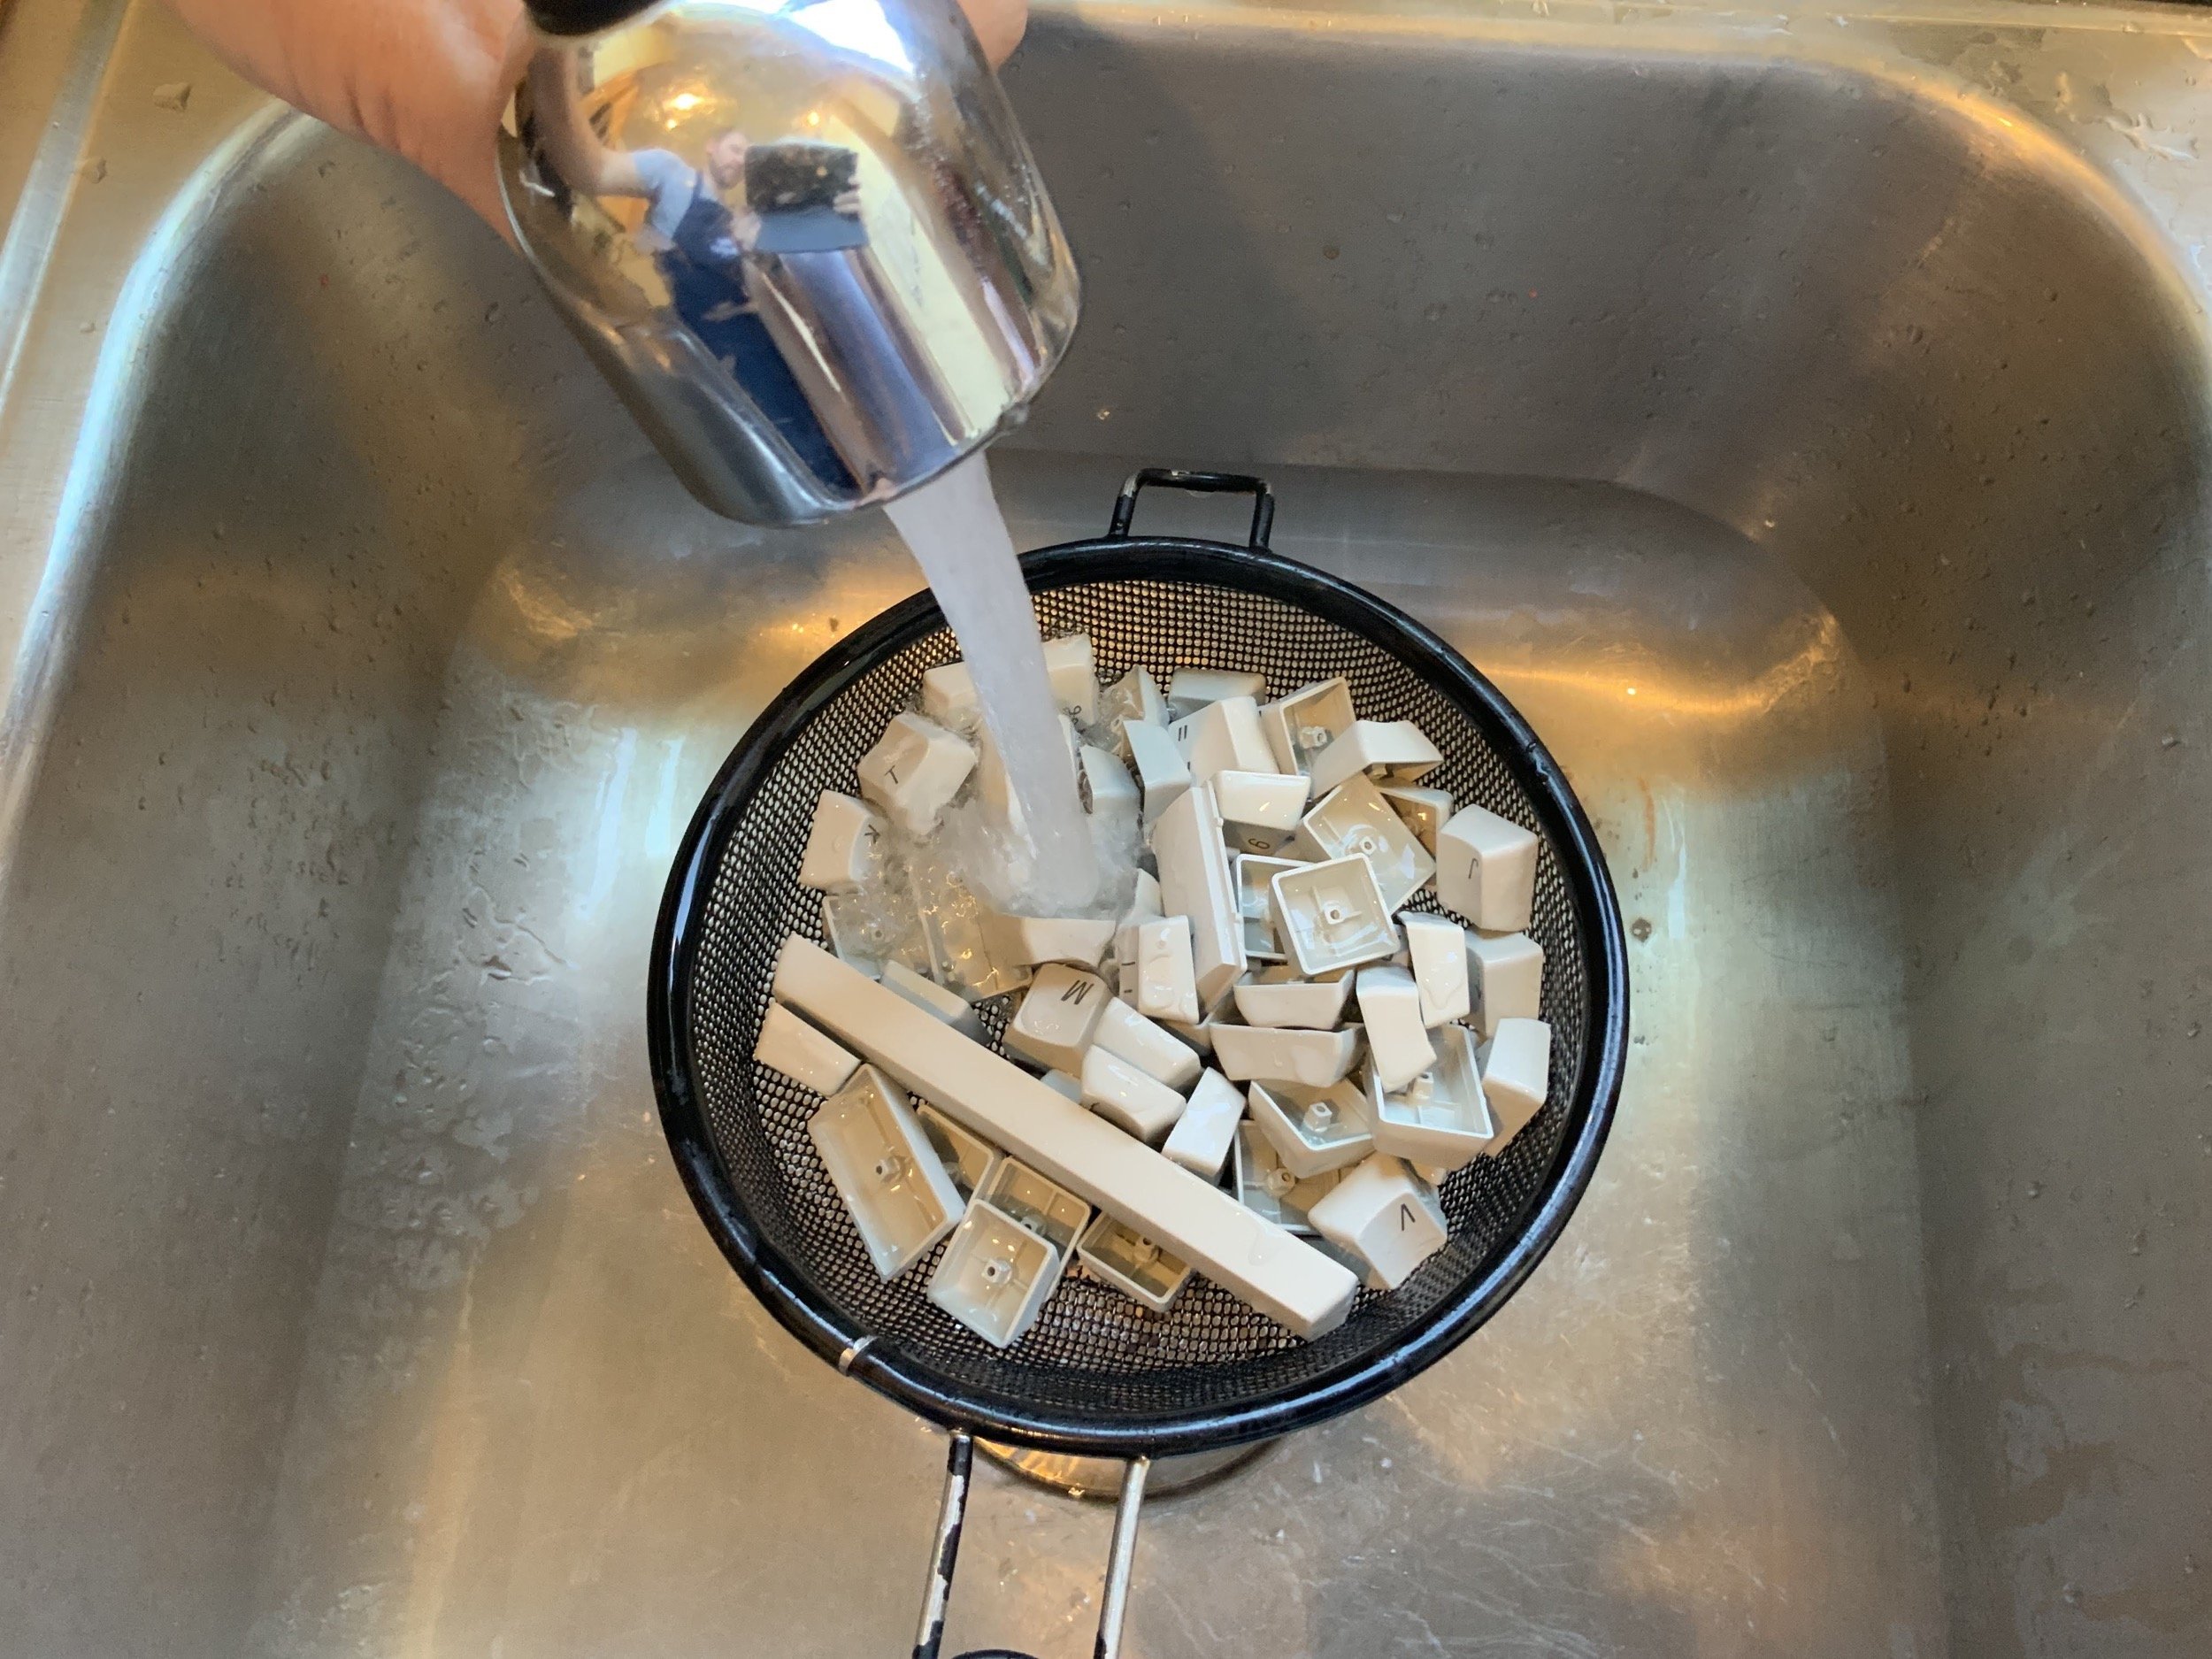
The first order of business was to pull the keycaps. I 3D printed this keycap puller, which makes life a lot easier.
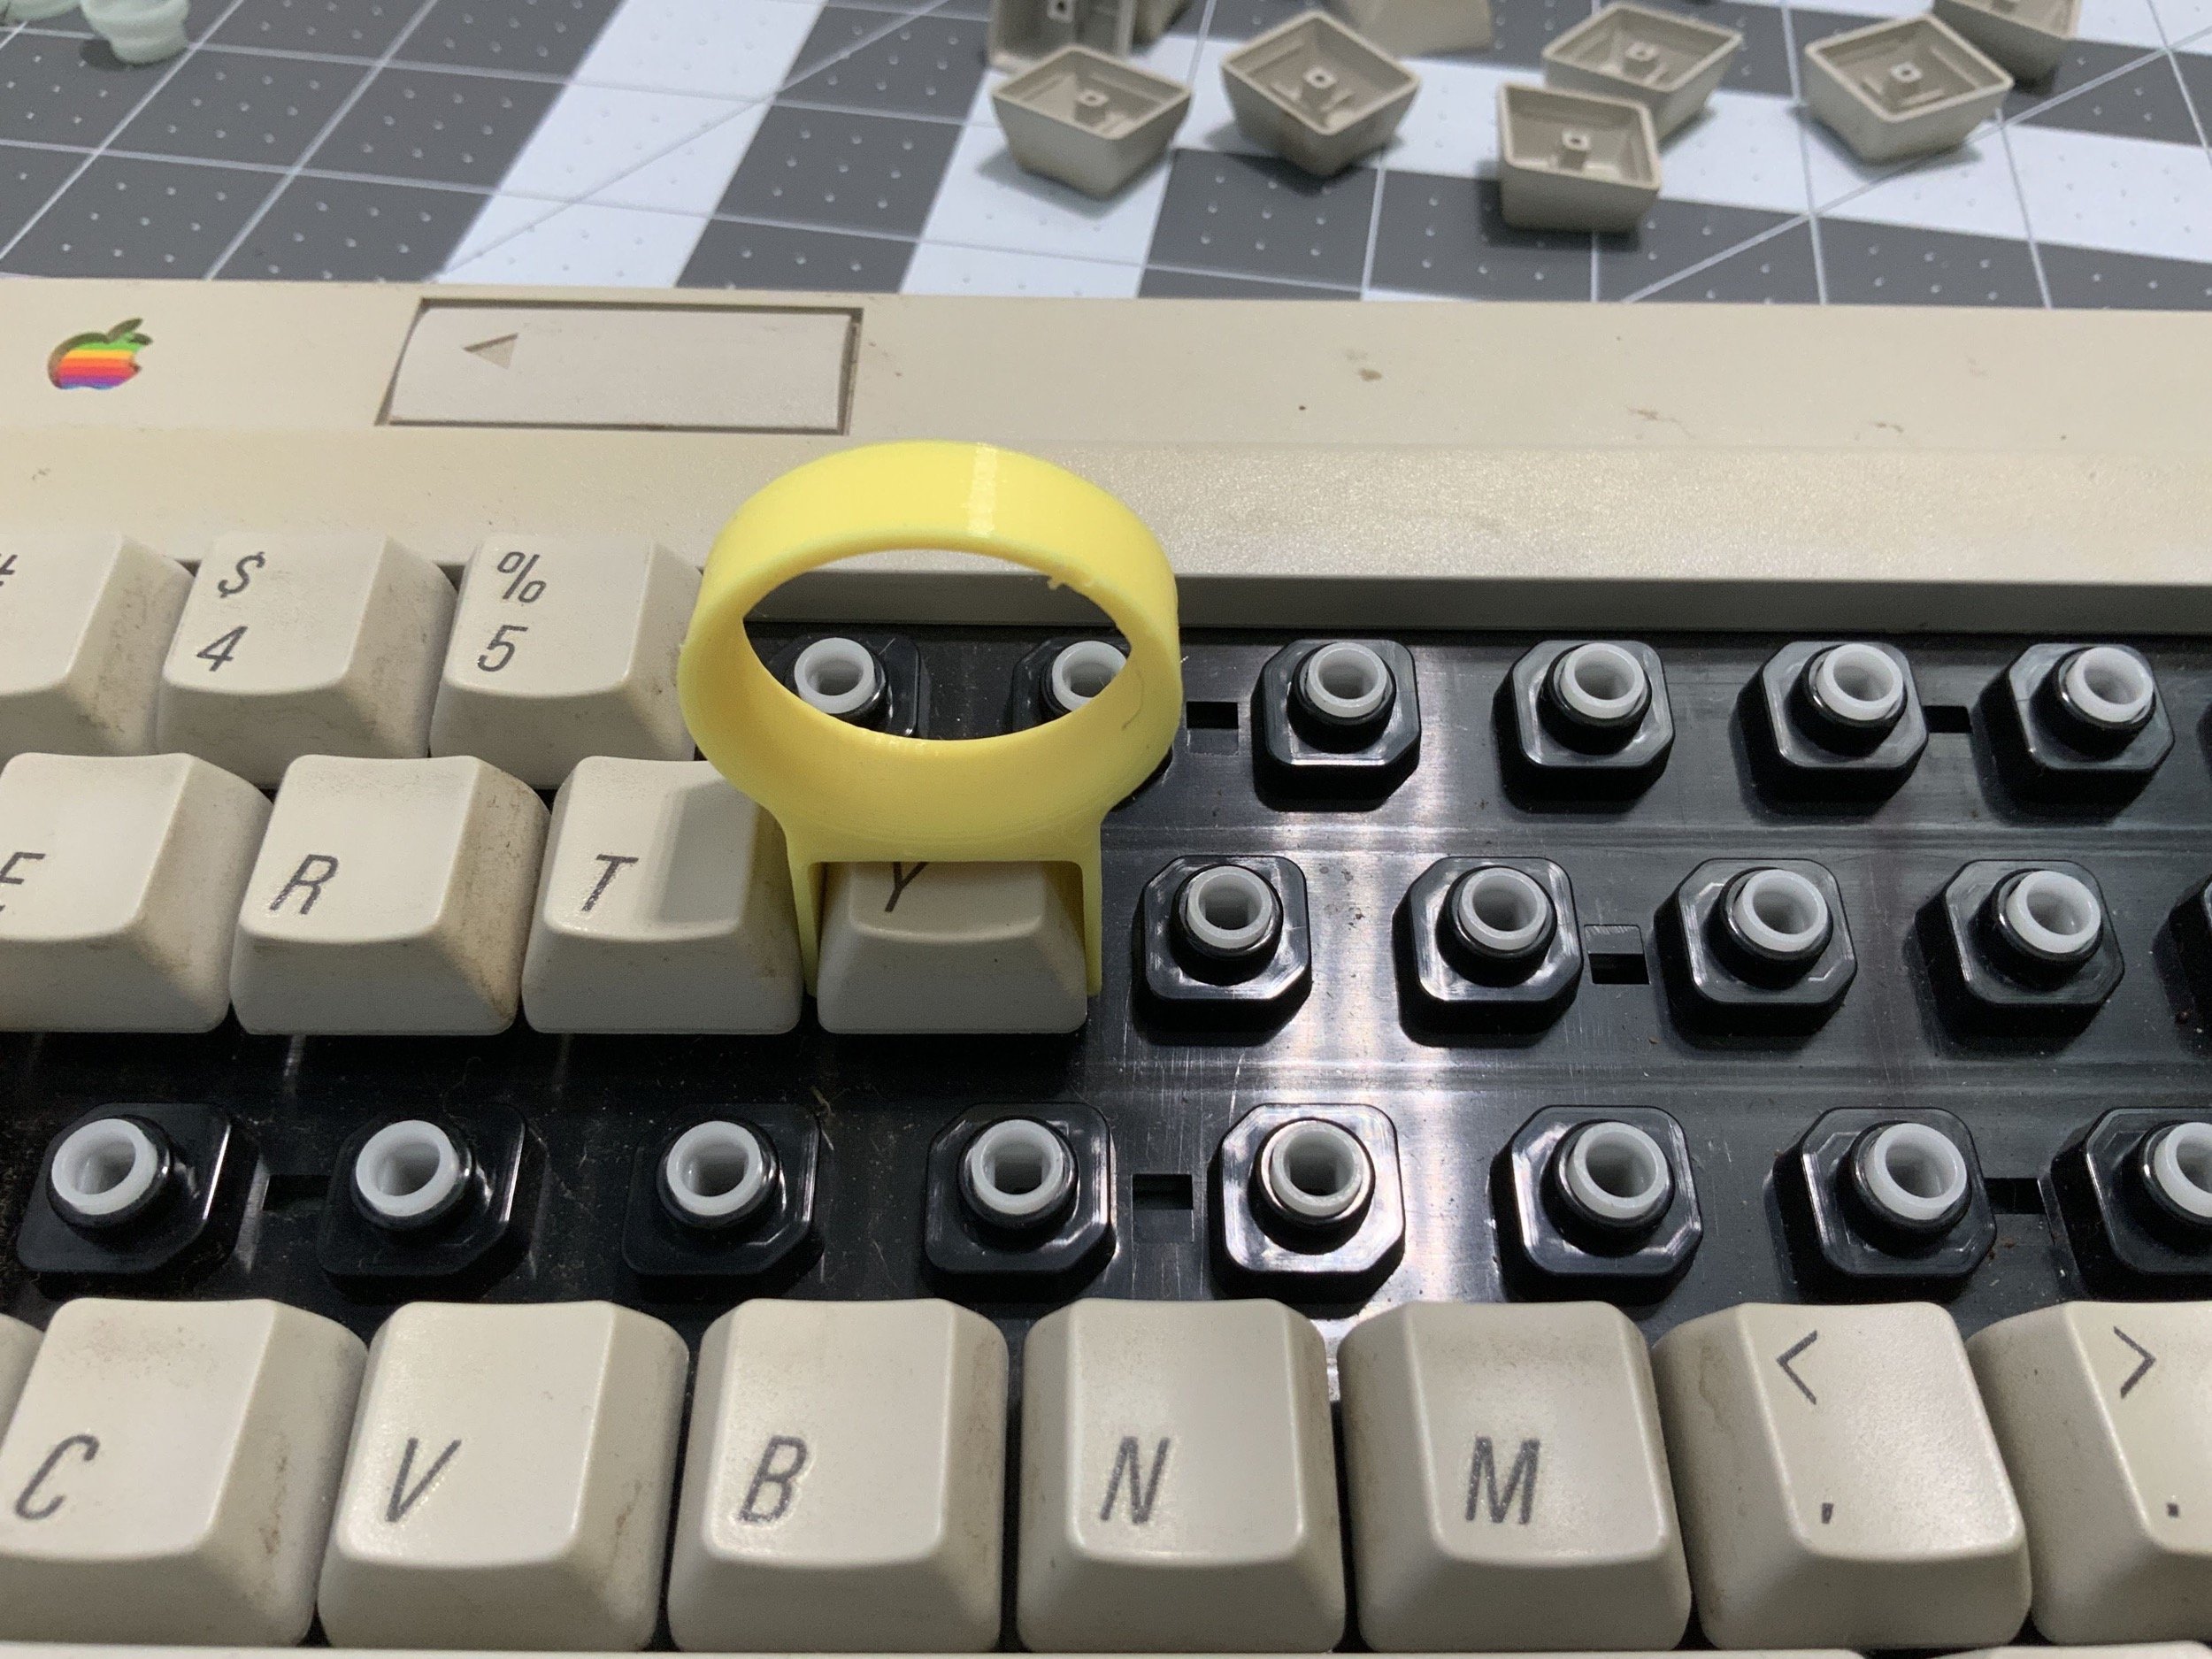
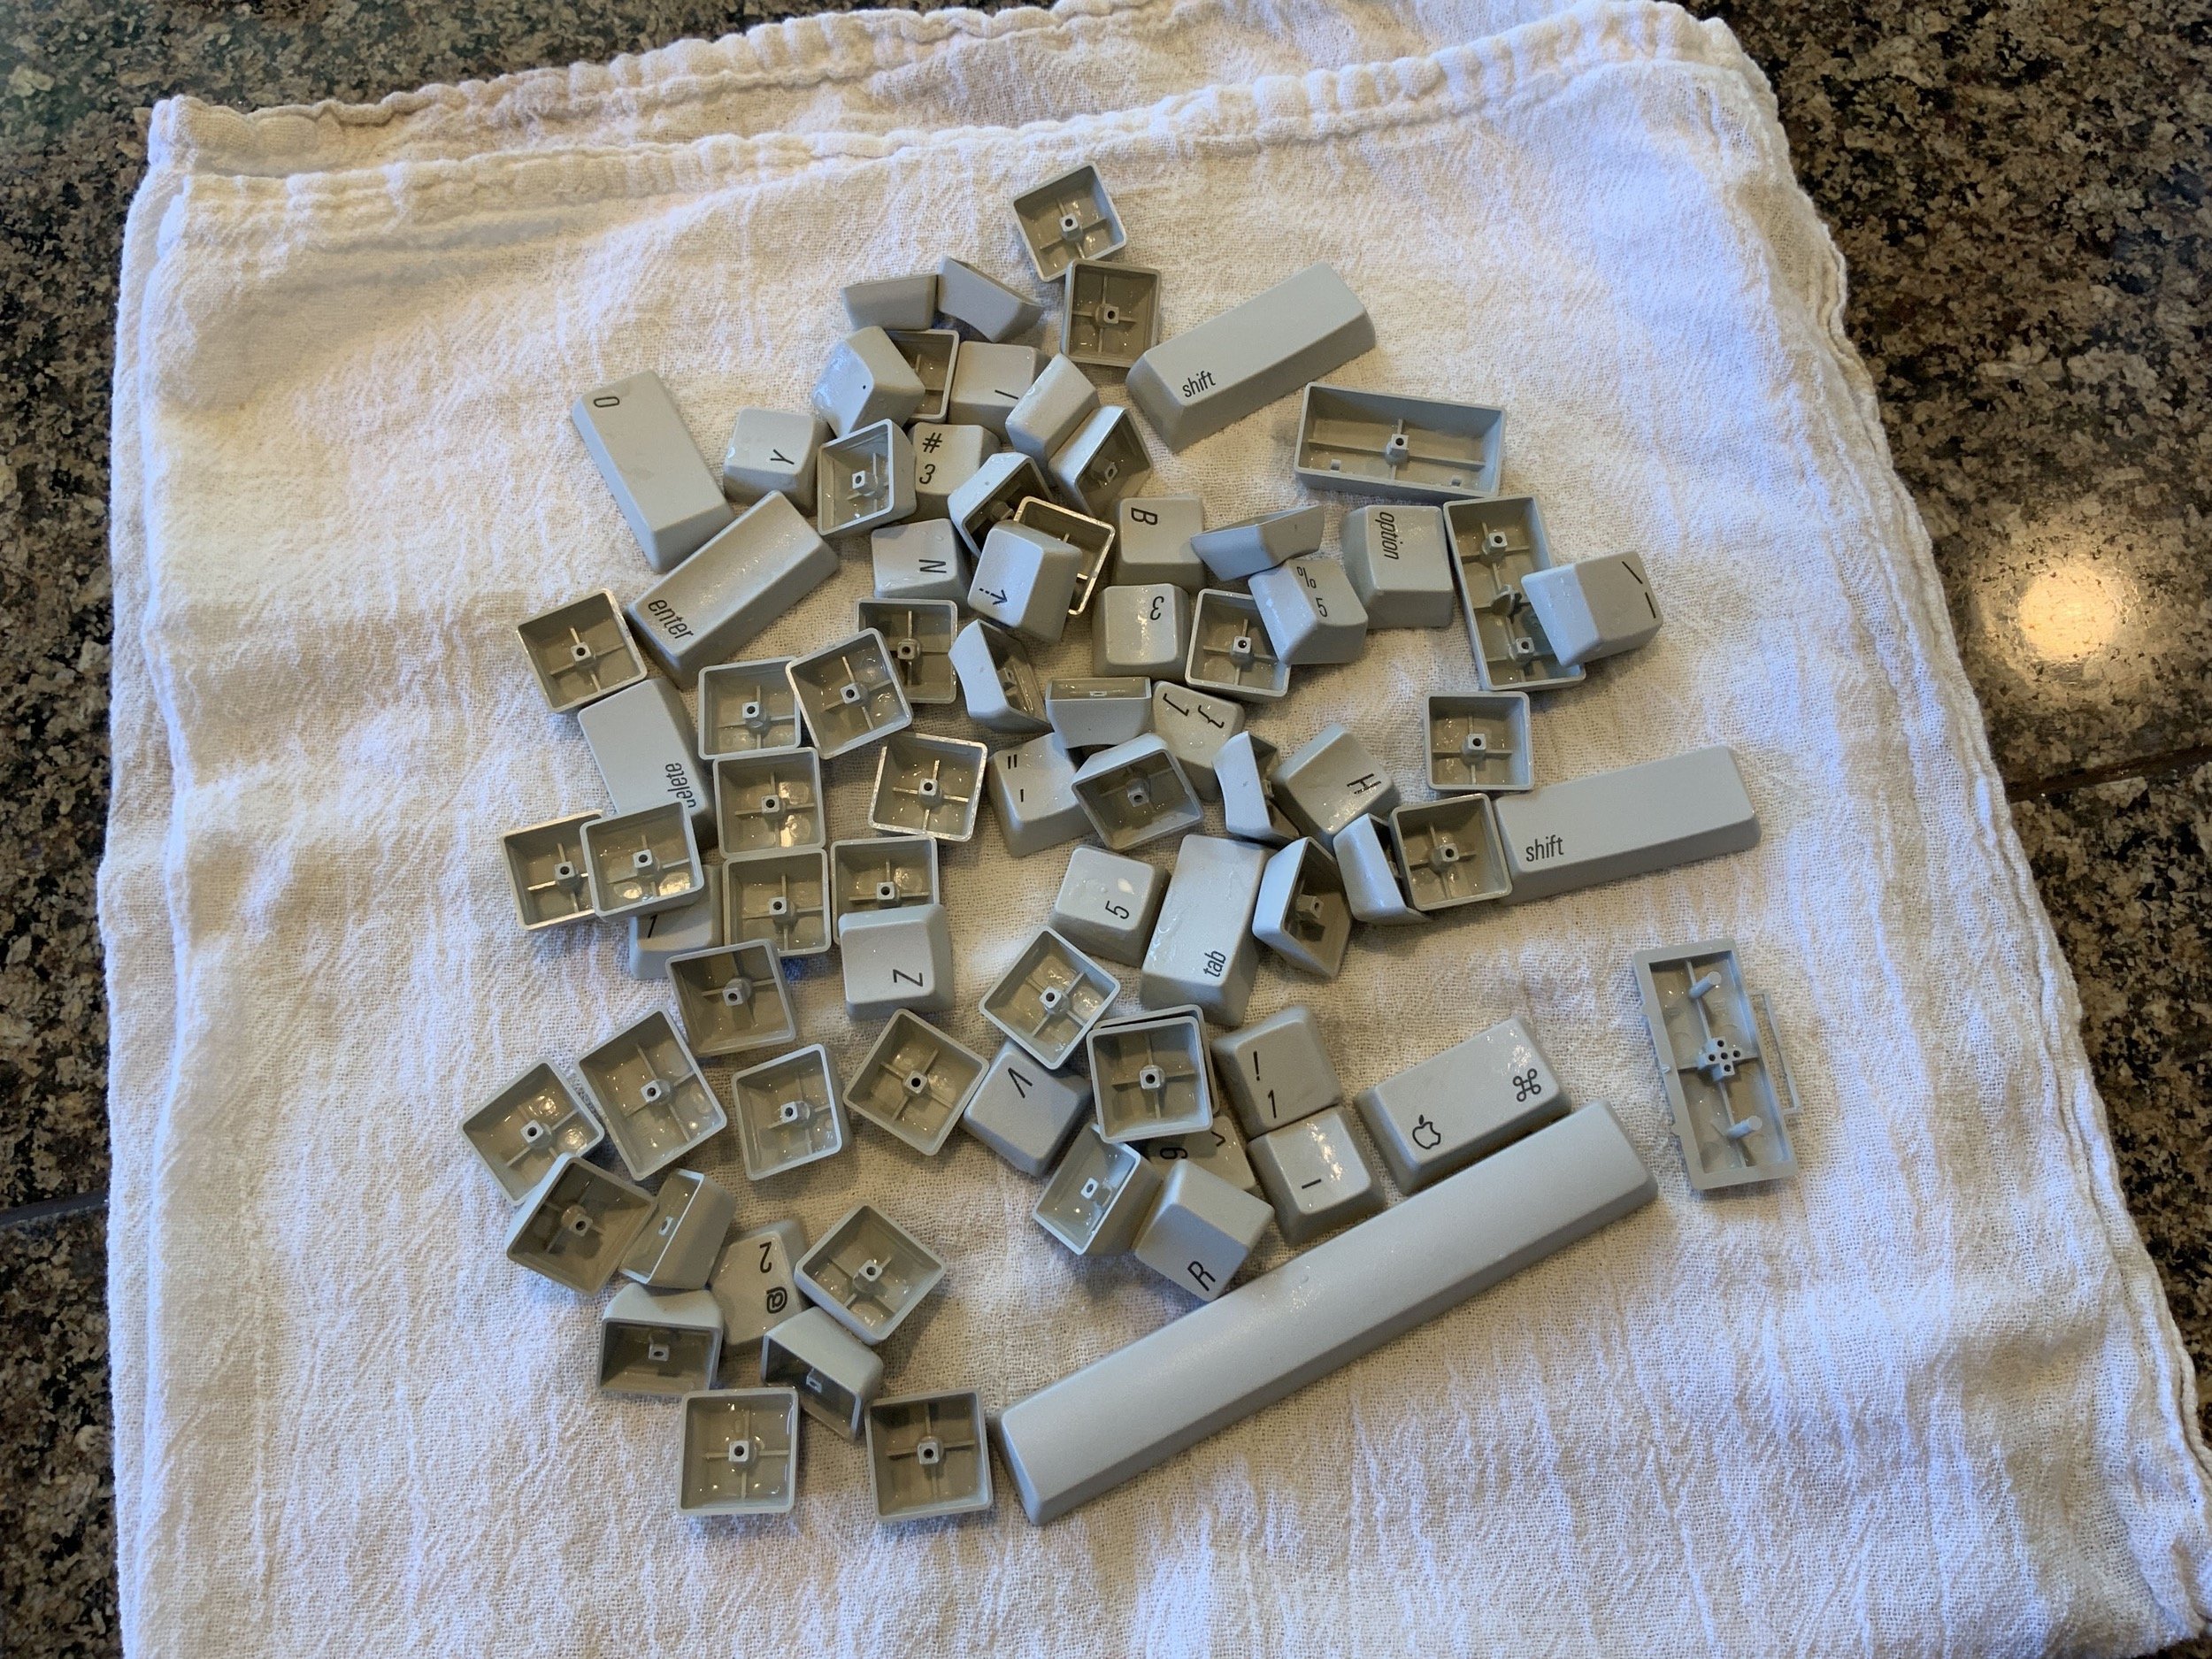
Here are all of the keycaps pulled.
While you now know my “submersion” retrobrite method, I handled this one a little bit differently. With any method, I think that cleaning is one of the most important steps, so I individually scrub every key as well as the whole keyboard enclosure.
Also, just like with the Classic II, I popped the Apple badge out of the keyboard by gently pressing on the back with a paperclip.
![]()
For the keyboard keys, I decided to use hydrogen peroxide cream wrapped in plastic wrap unstead of my liquid submersion method. Frankly, I wouldn’t do this anymore these days. I did another keyboard later that came out looking “marbled”, and it is sadly a much more valiable keyboard than this one.
These days, I would flip a glass bowl upside down in liquid, and trap all of the keys under the bowl. But for posterity, I’ll show you how I did this one, and how it turned out.
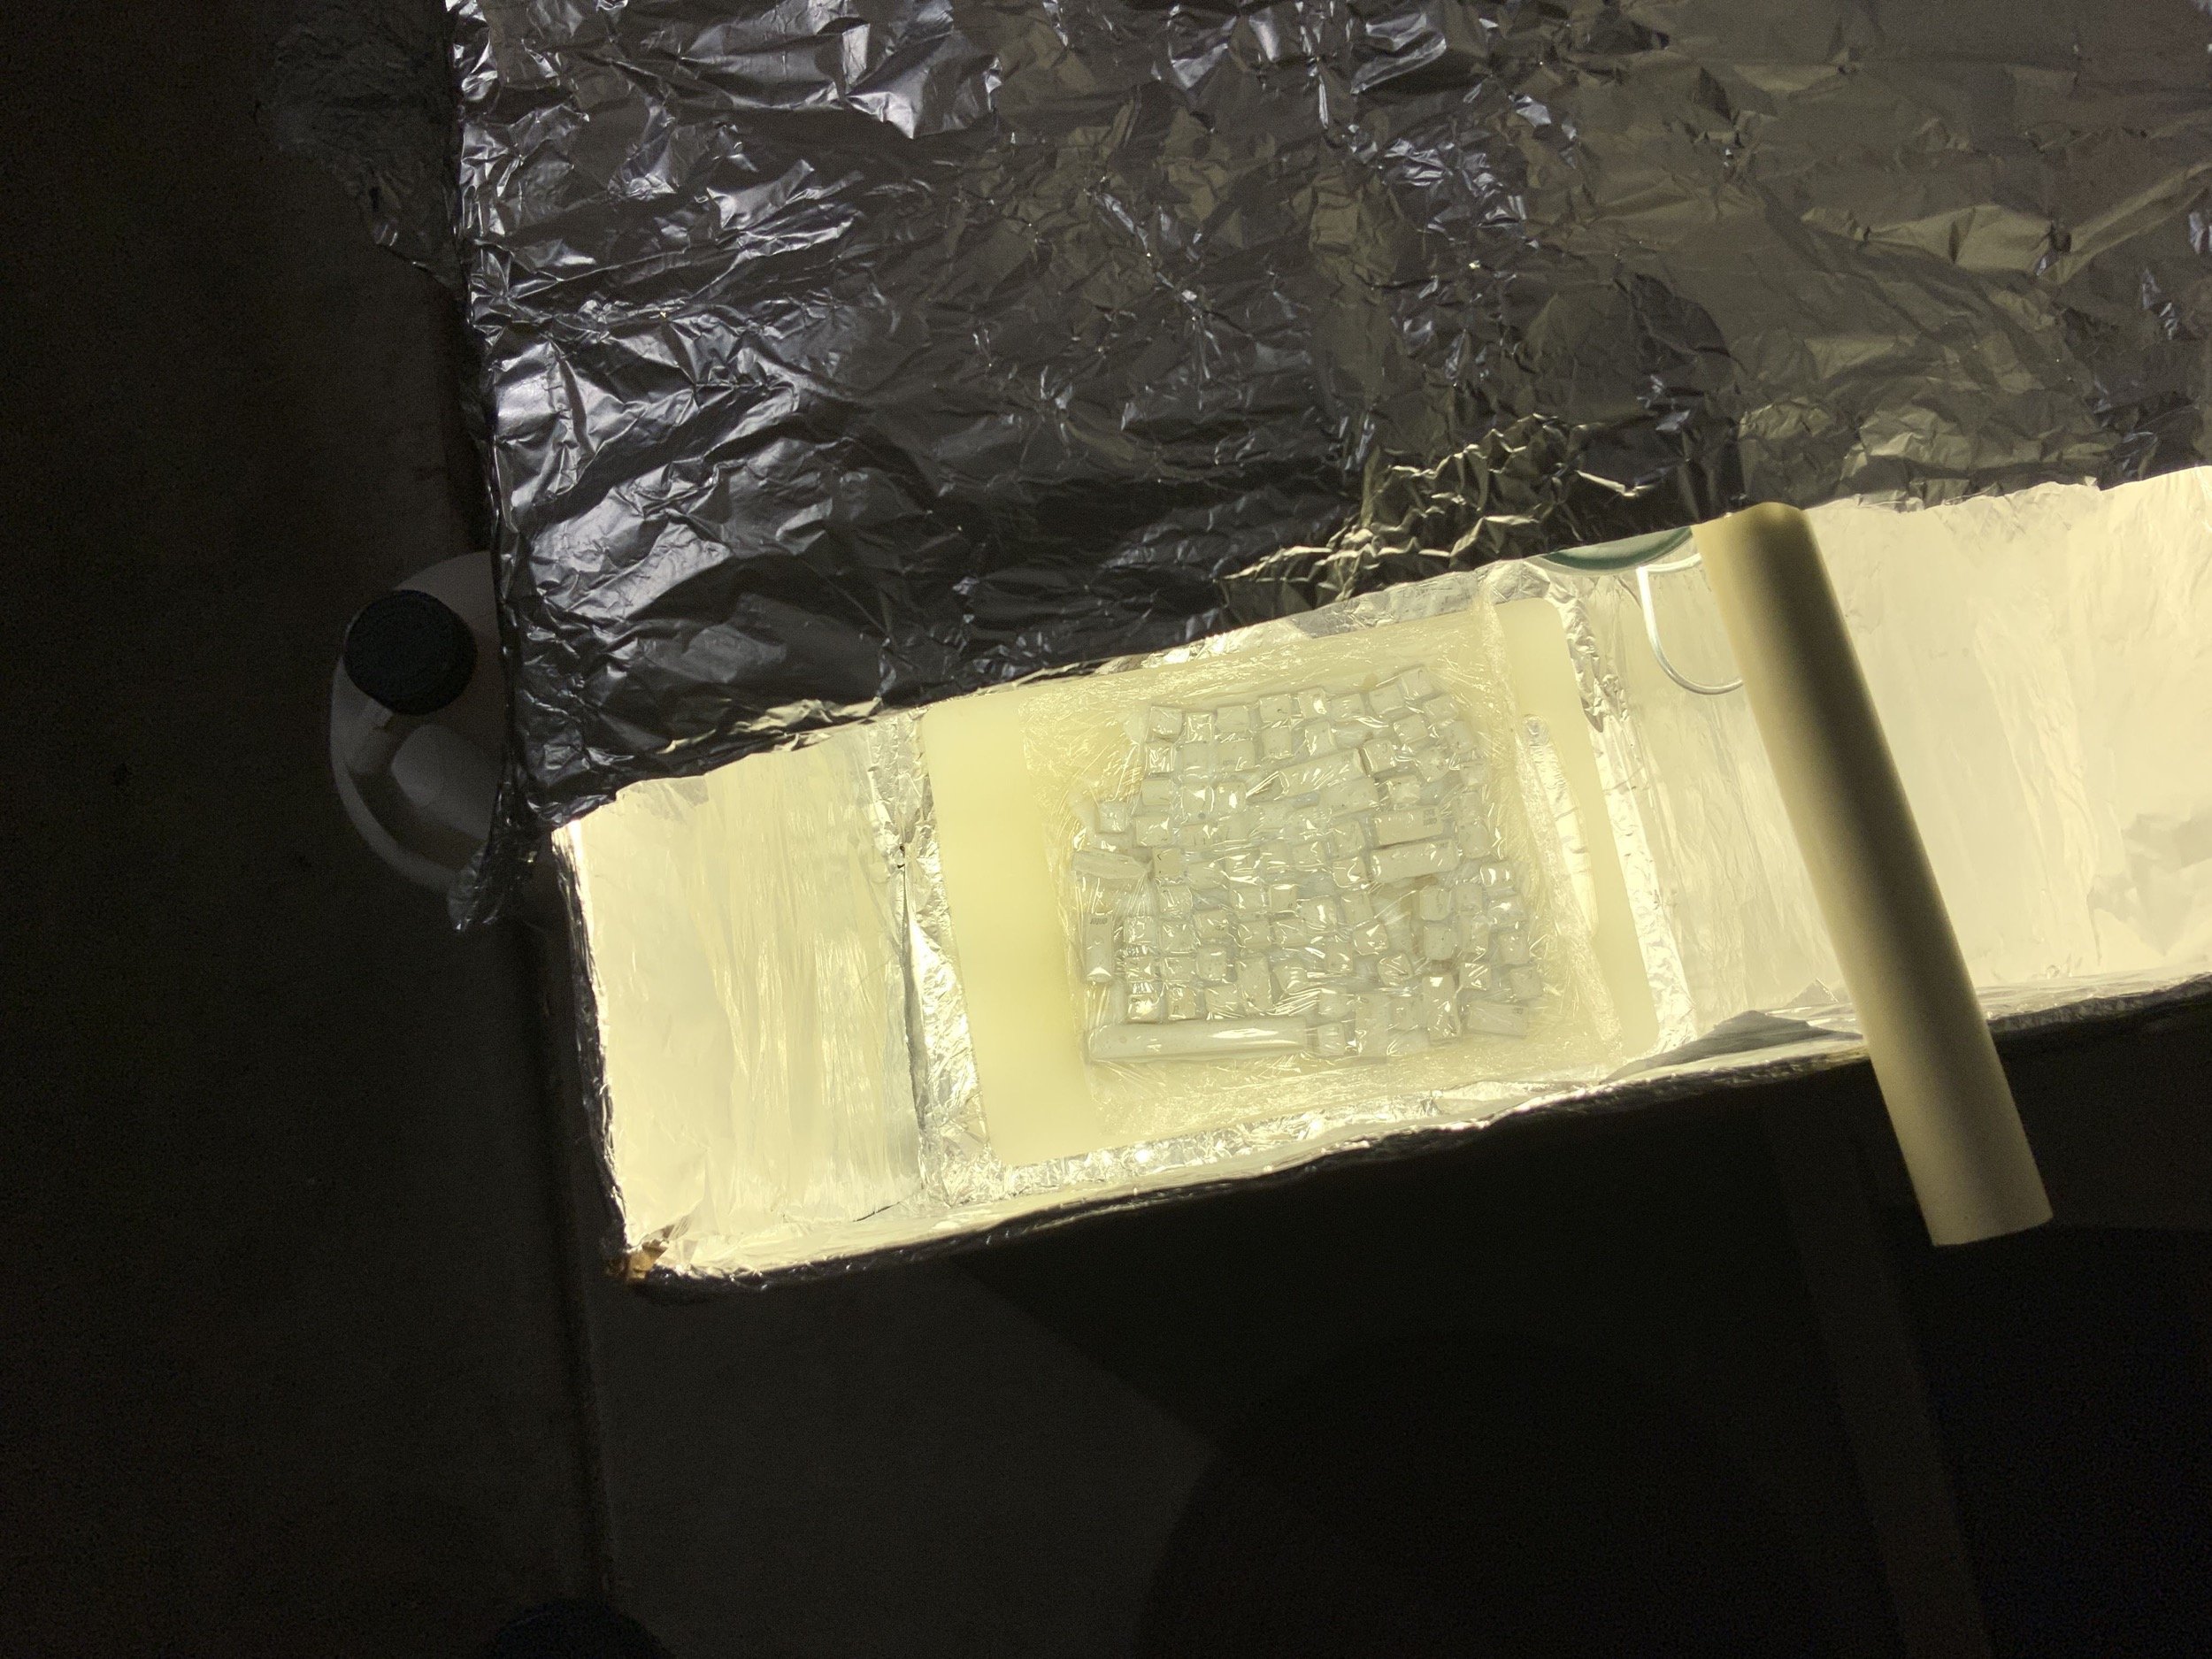
I laid down some plastic wrap, arranged all of the keys, and used my trusty free-from-a-hotel-somewhere toothbrush to dab a bunch of hydrogen peroxide cream on each key. Plenty of cream is important here - you don’t want anything to dry out. If a spot dries out, that’s how you get a bright spot and a marbling effect.
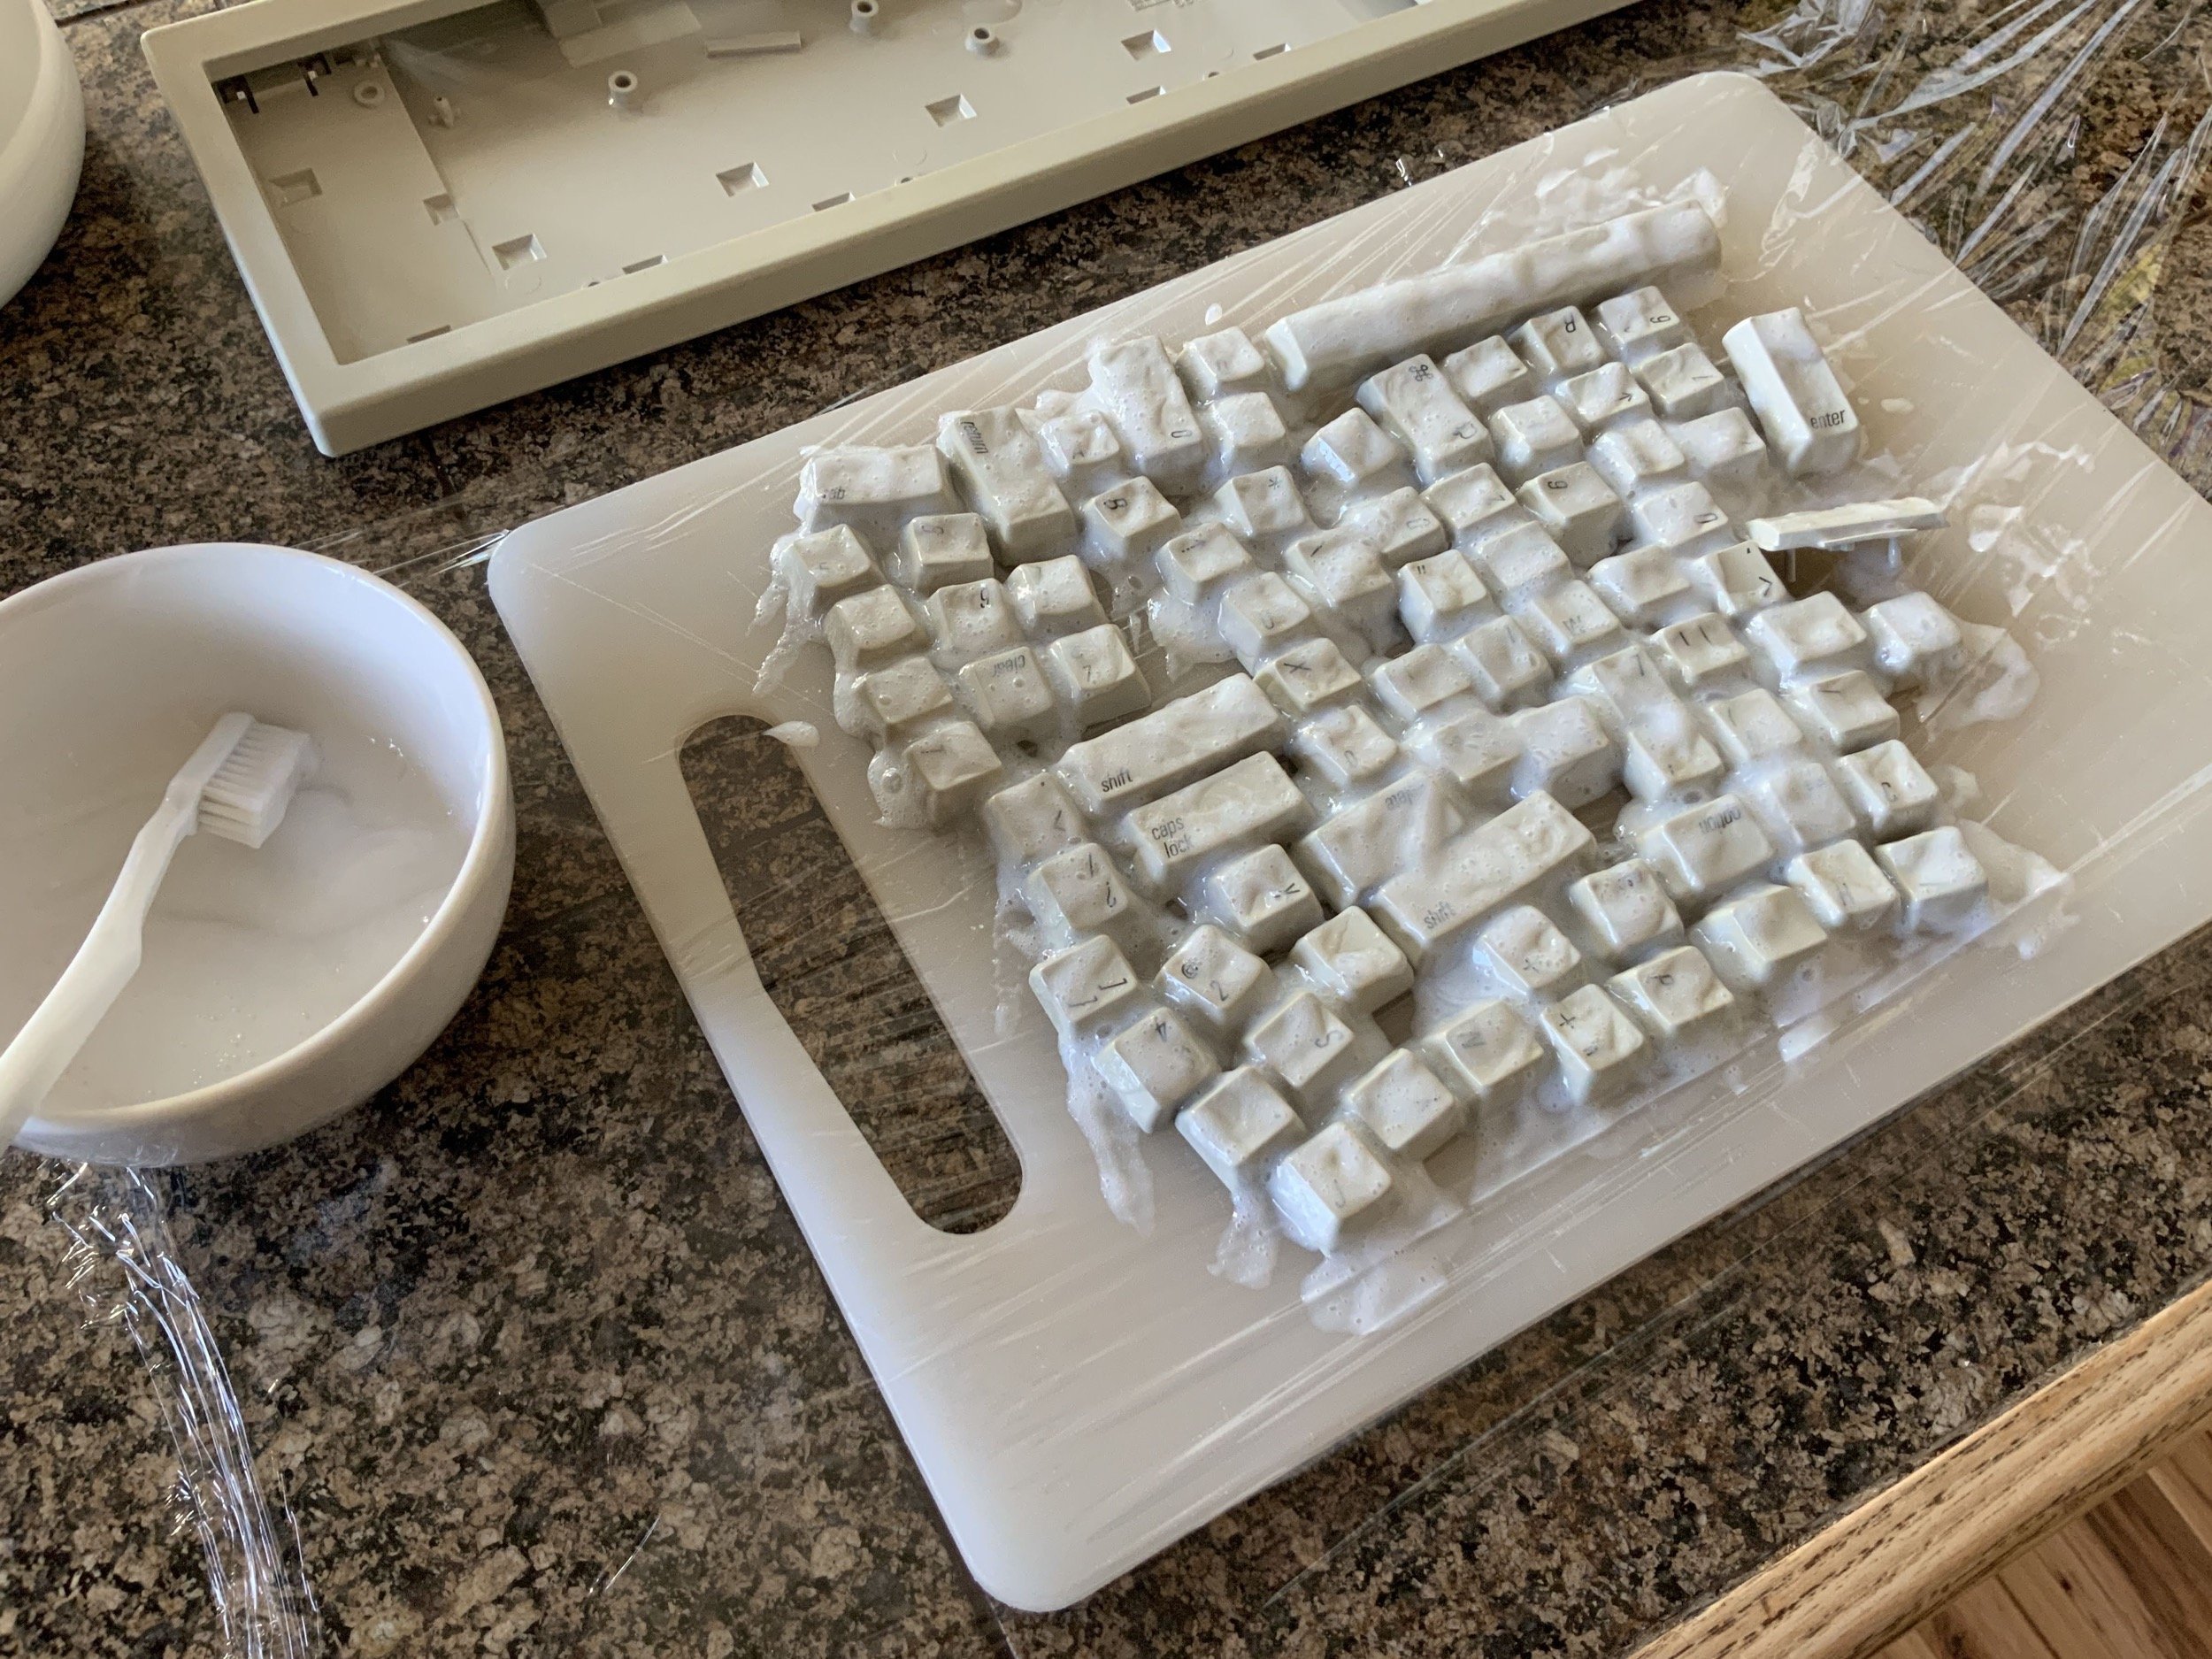
Next, I folded the plastic wrap over the top, creased the edges, and rolled up the end to create a mostly-airtight seal.
It was evening at this point, and with cream and plastic wrap, I prefered to use the “low and slow” UV lamp, which seemed to minimize the chances of things drying out and causing bleaching or marbling. Again, these days I’d just do full submersion, but this was the best technique I had at the time for keys.
Here, you can see that I lined the inside of the box with foil to reflect all of that UV light around.
While those baked, I set to work cleaning up the mouse and keyboard case.
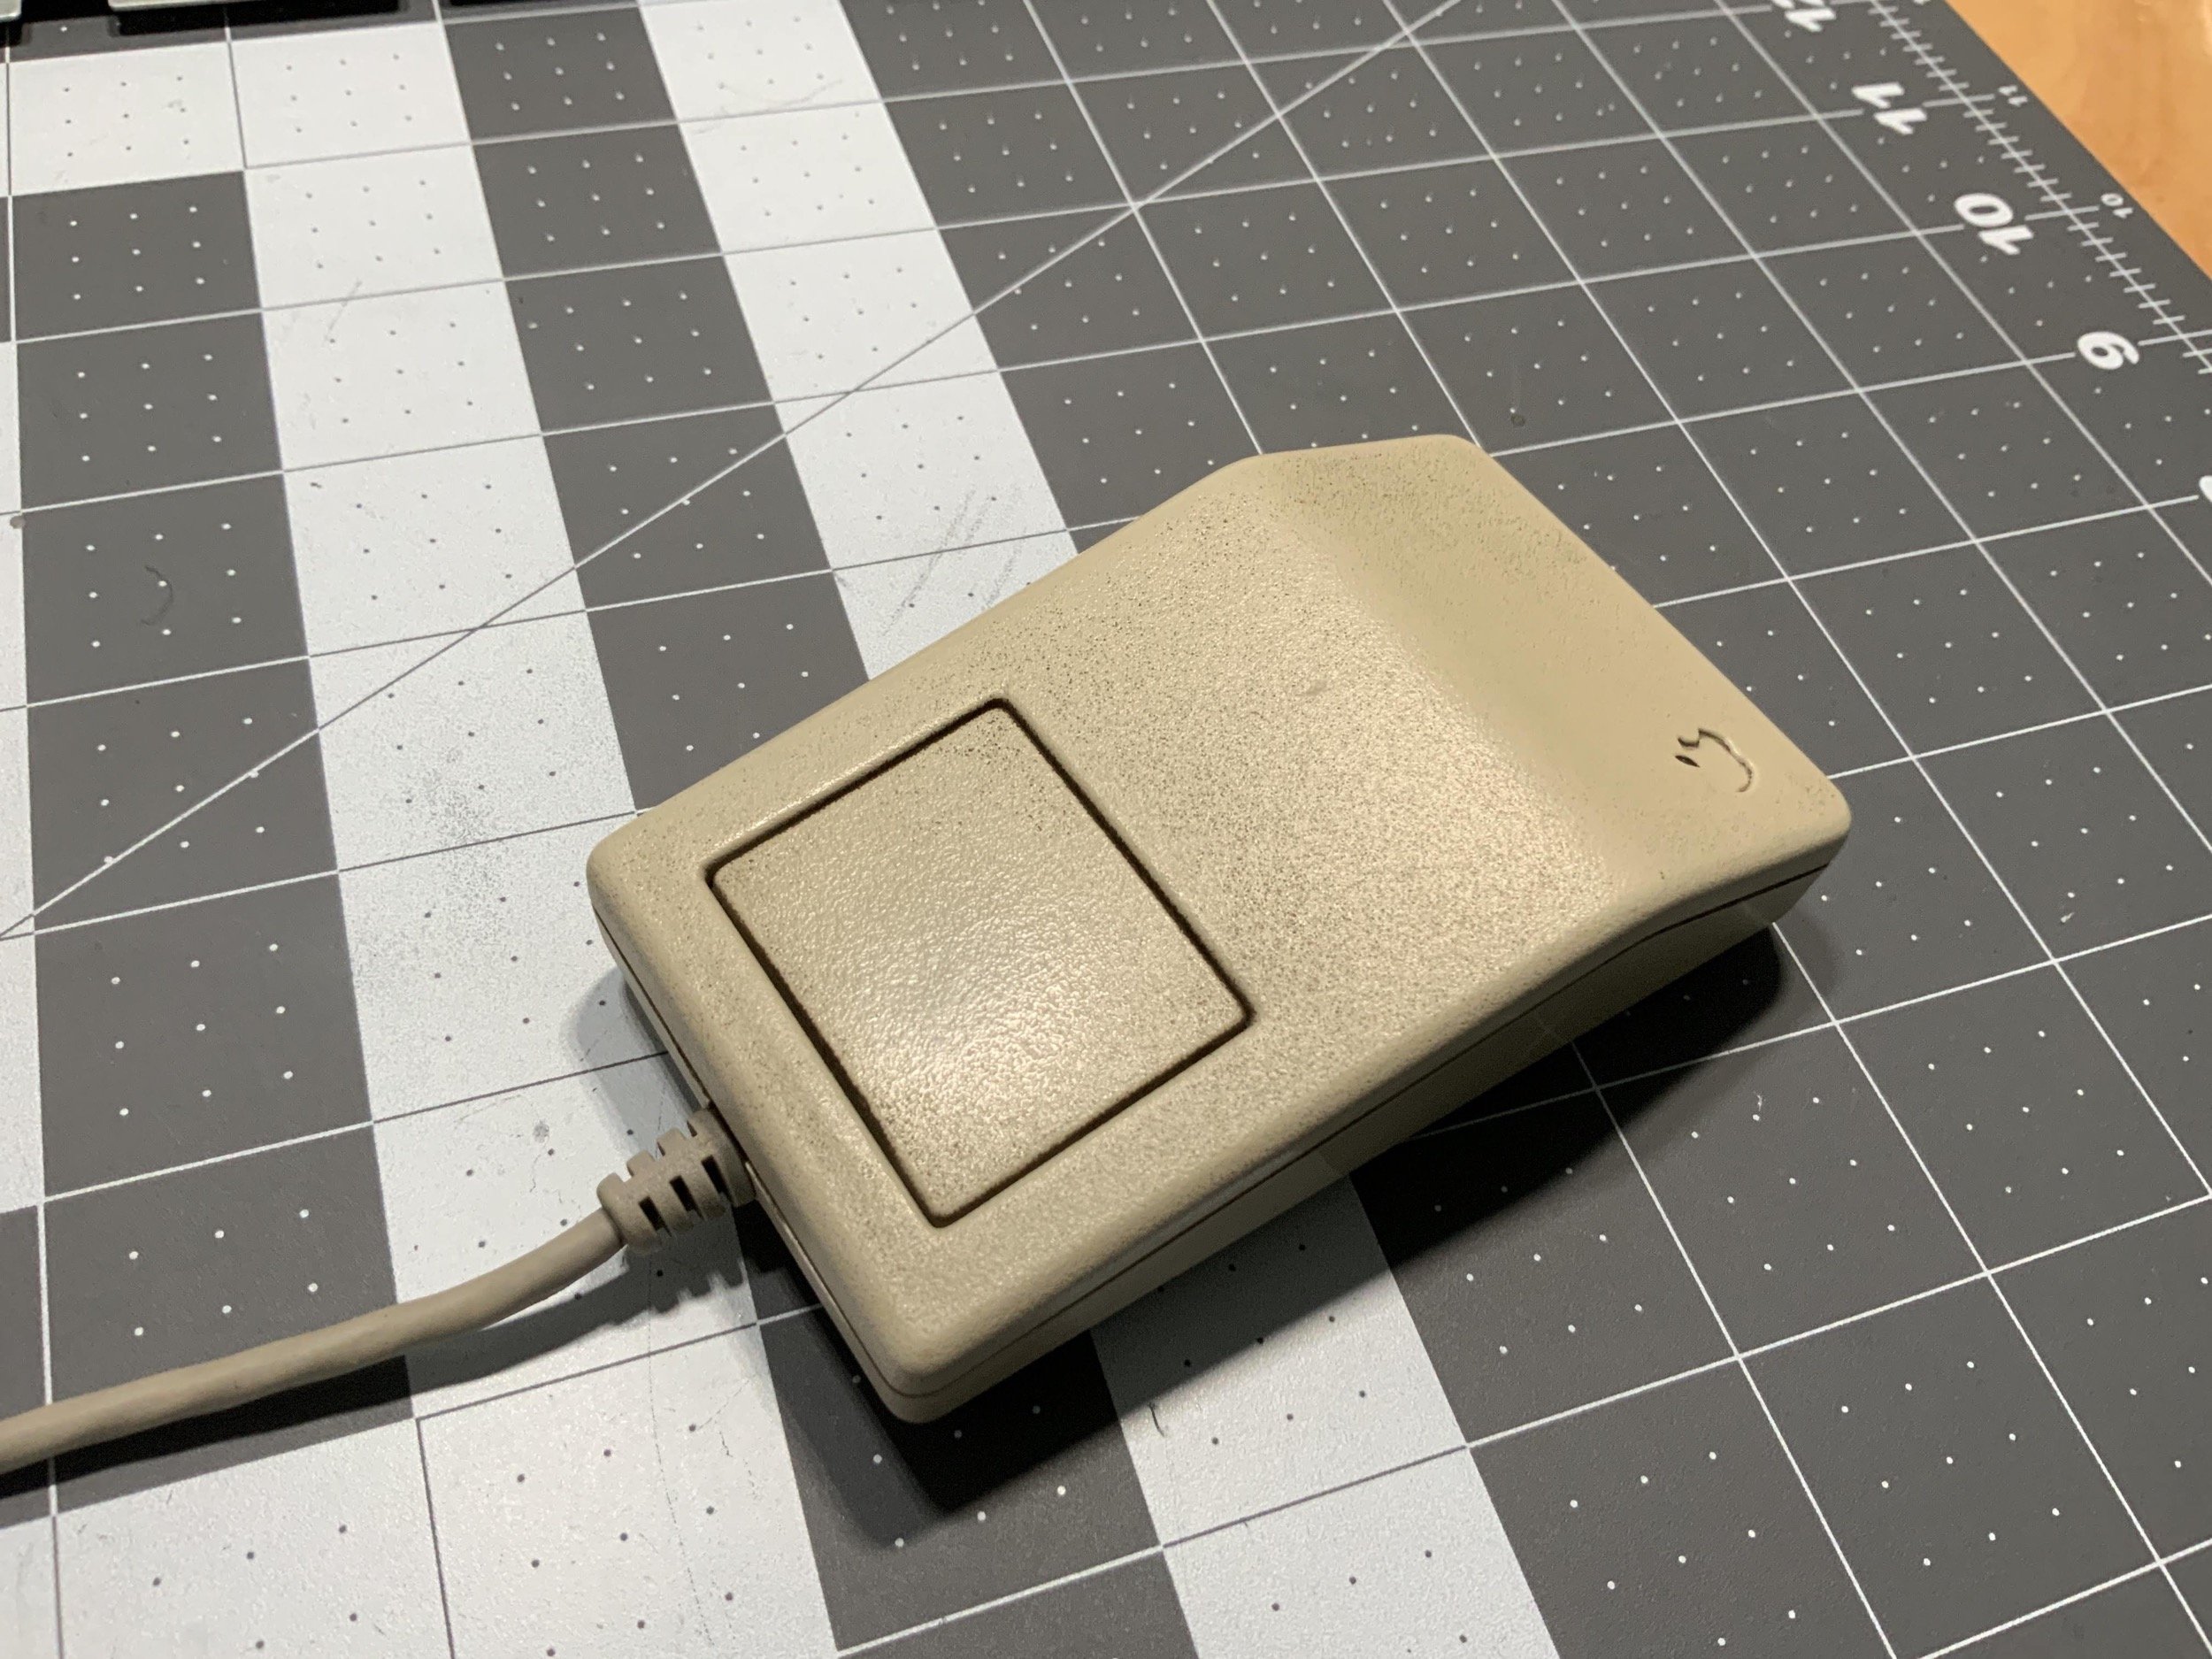
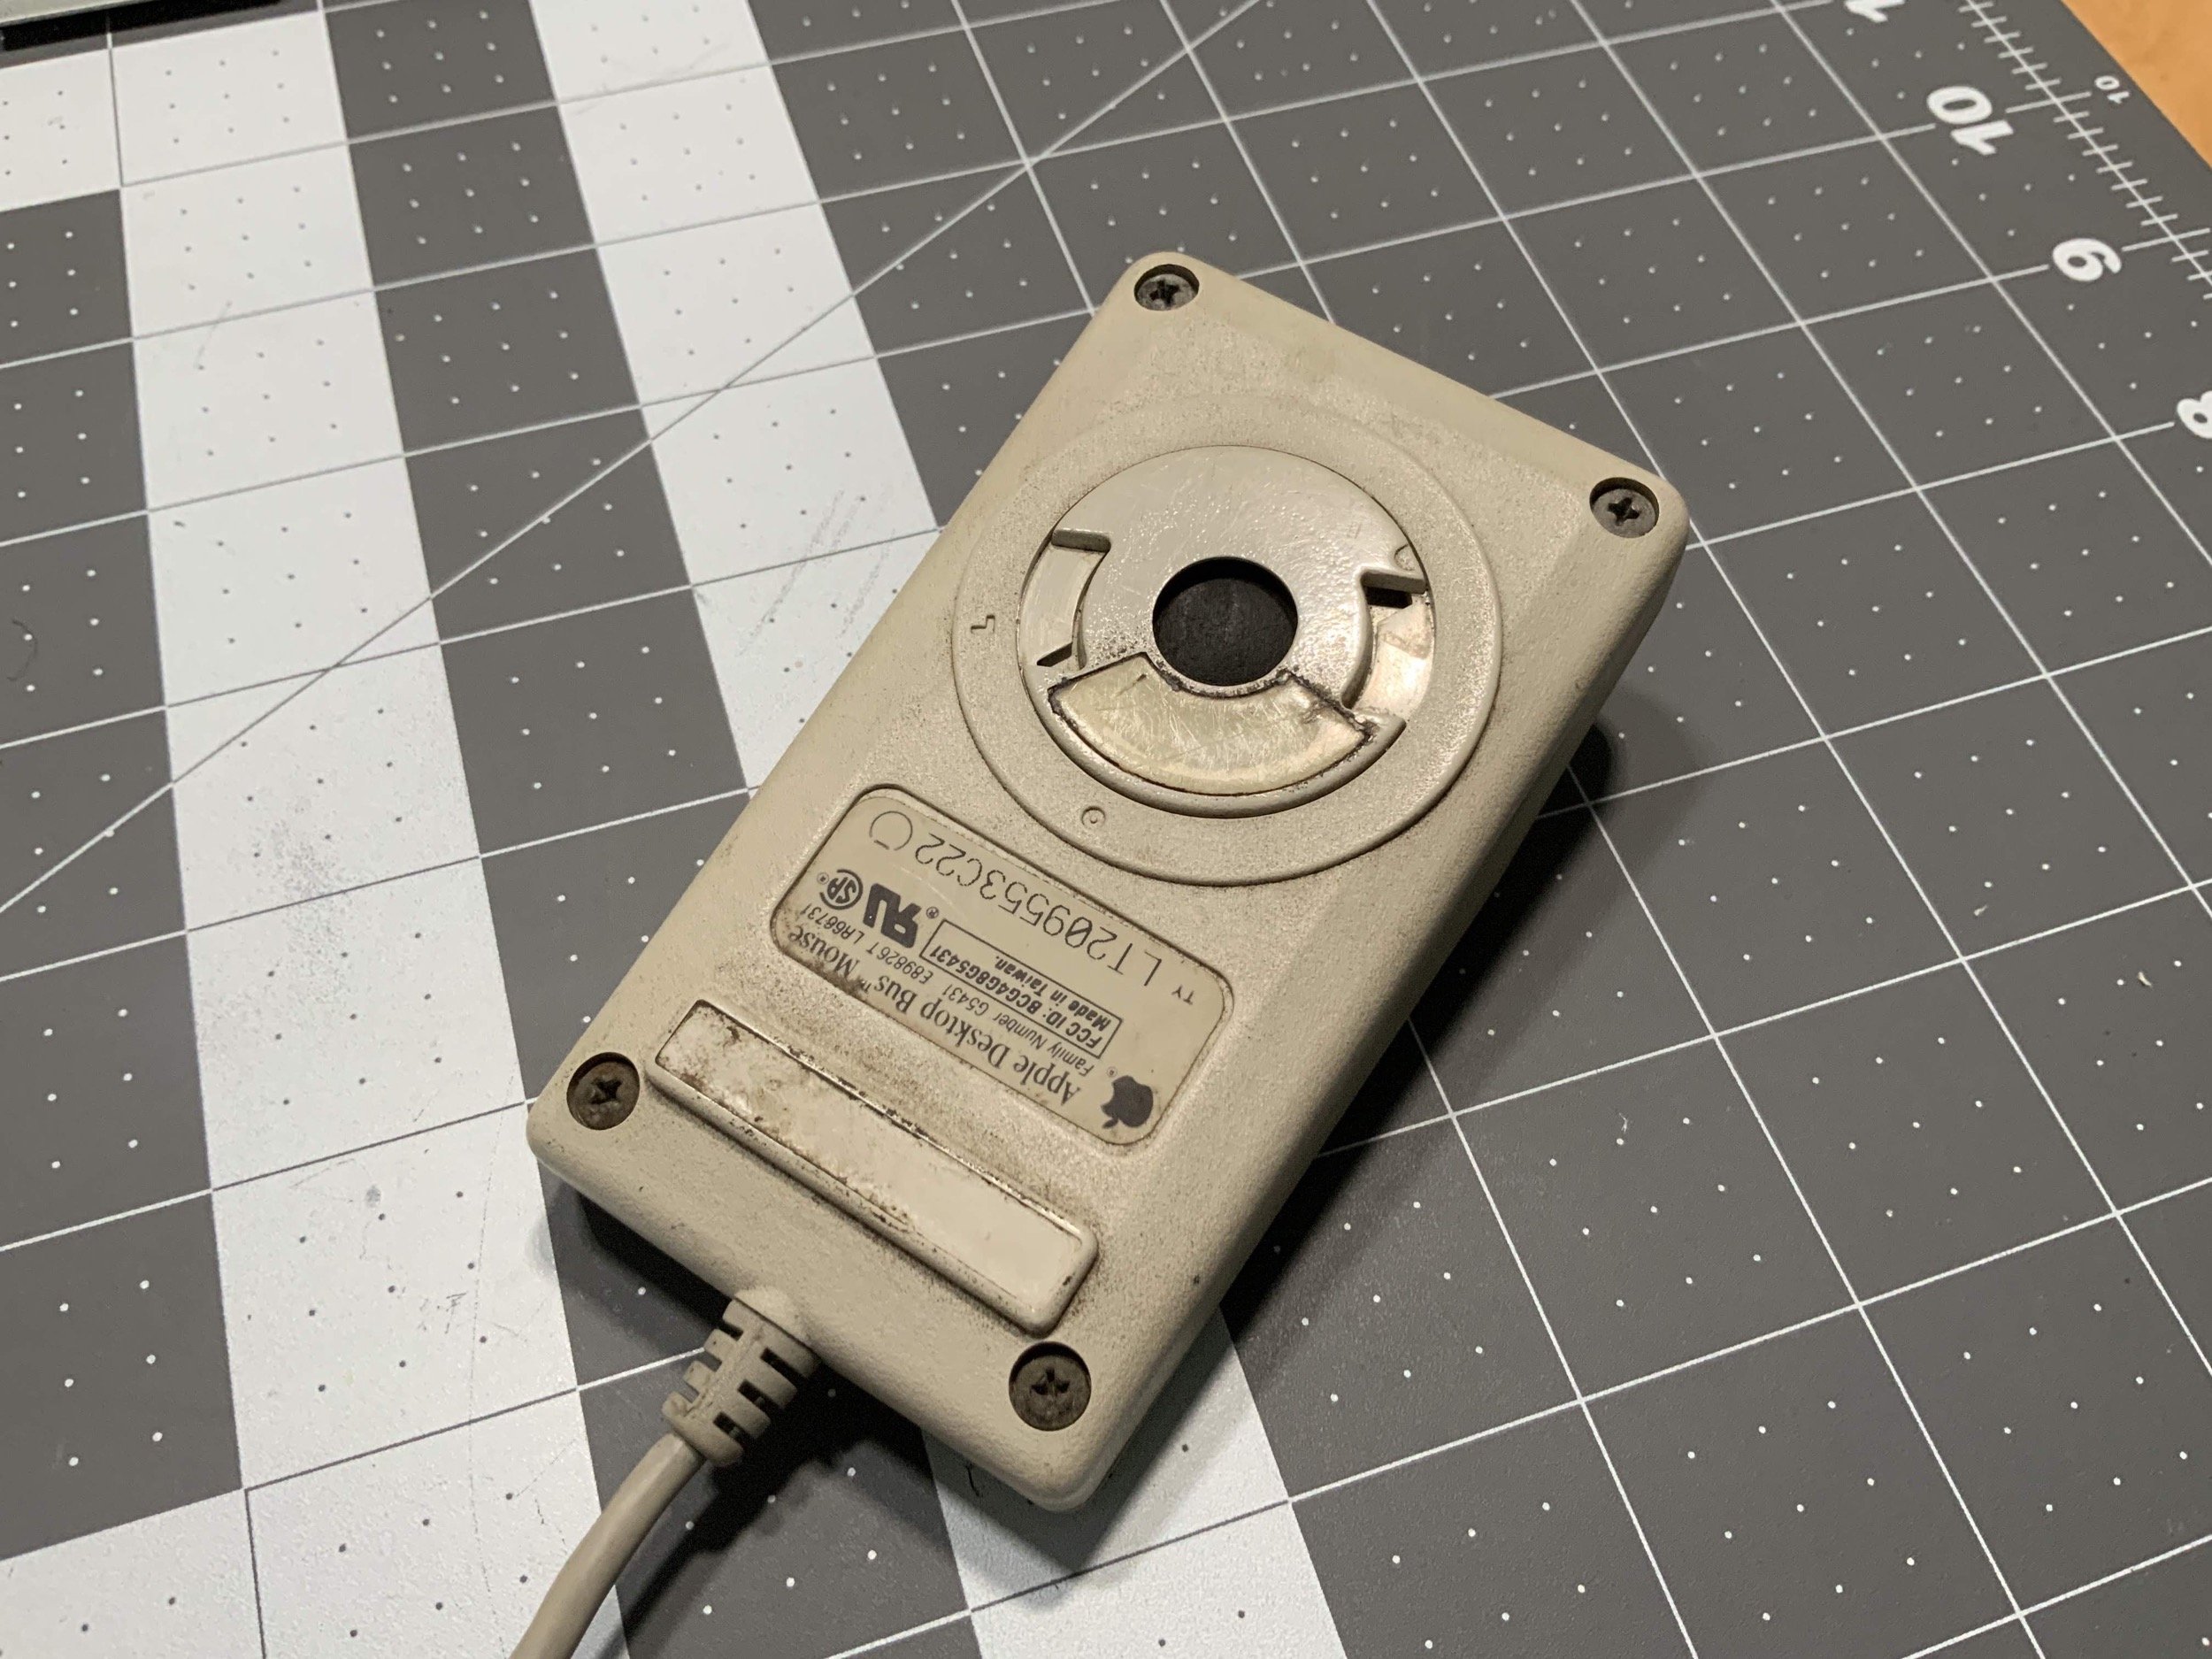
The ADB connector on the mouse was pretty gross, so I set to work with Isopropyl alcohol, a toothbrush, and paper towels to get it all cleaned up.
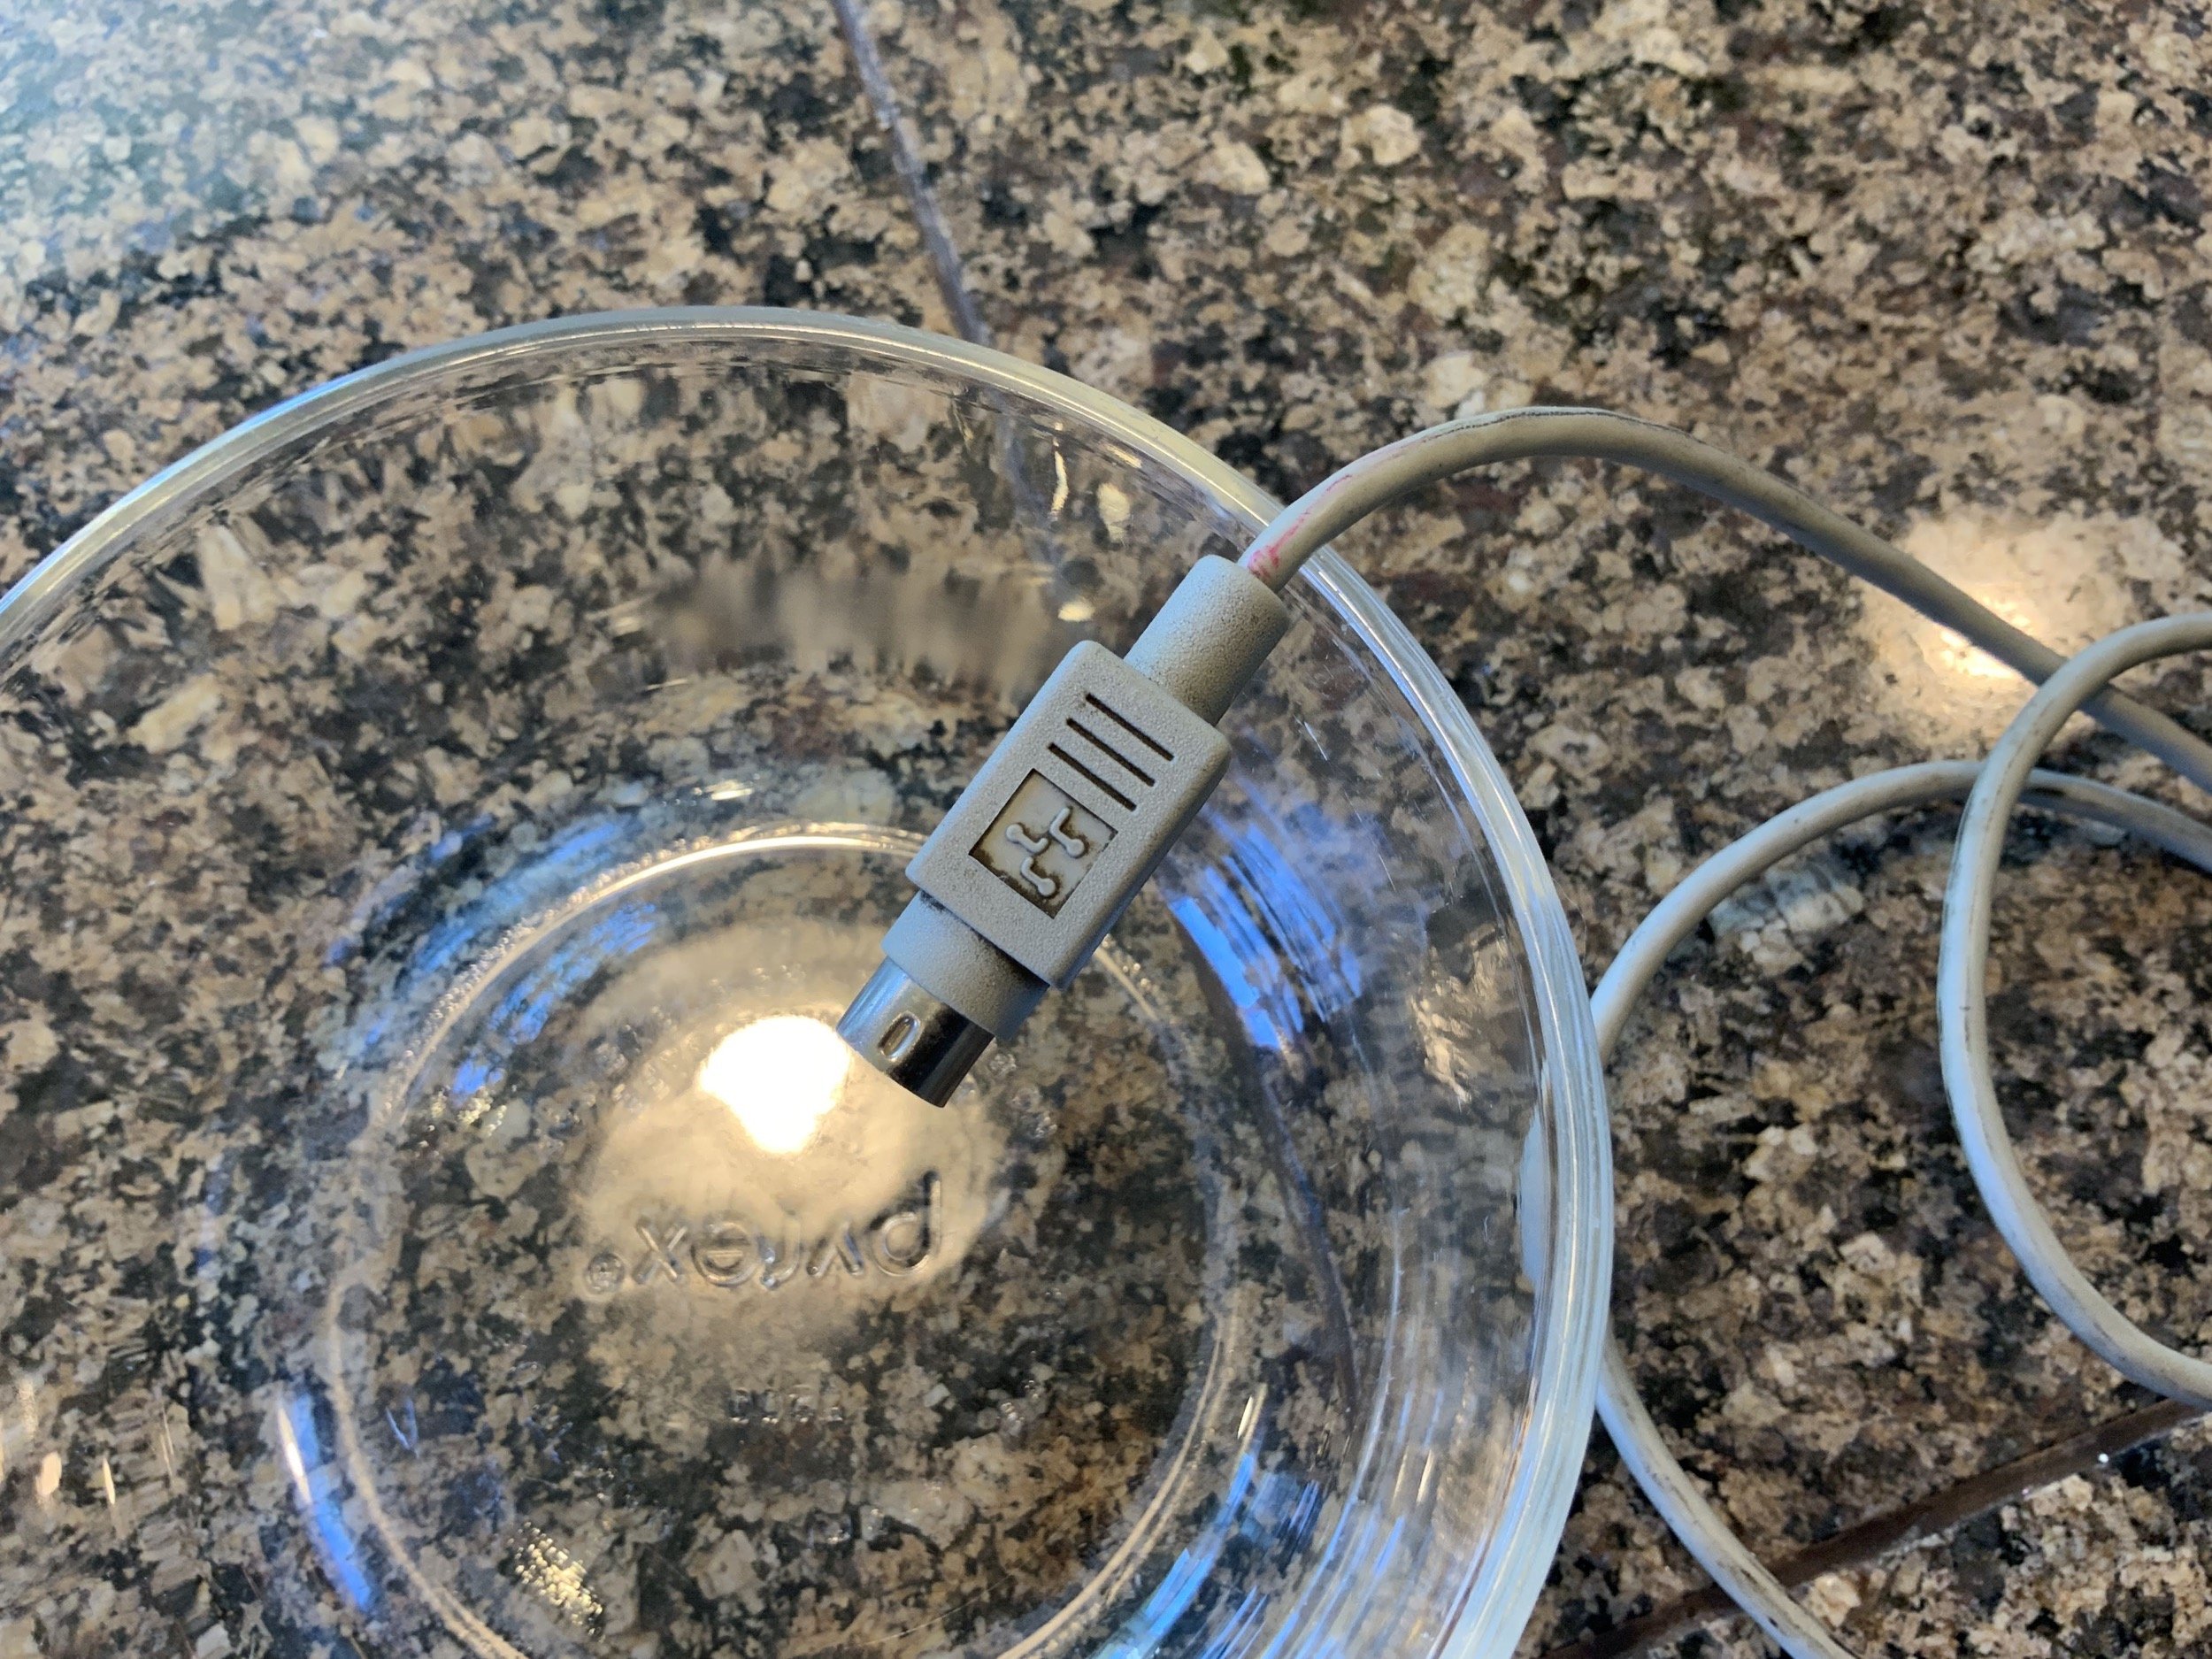
I ended up using some baking soda too, and ended up with a nice clean connector and cable!

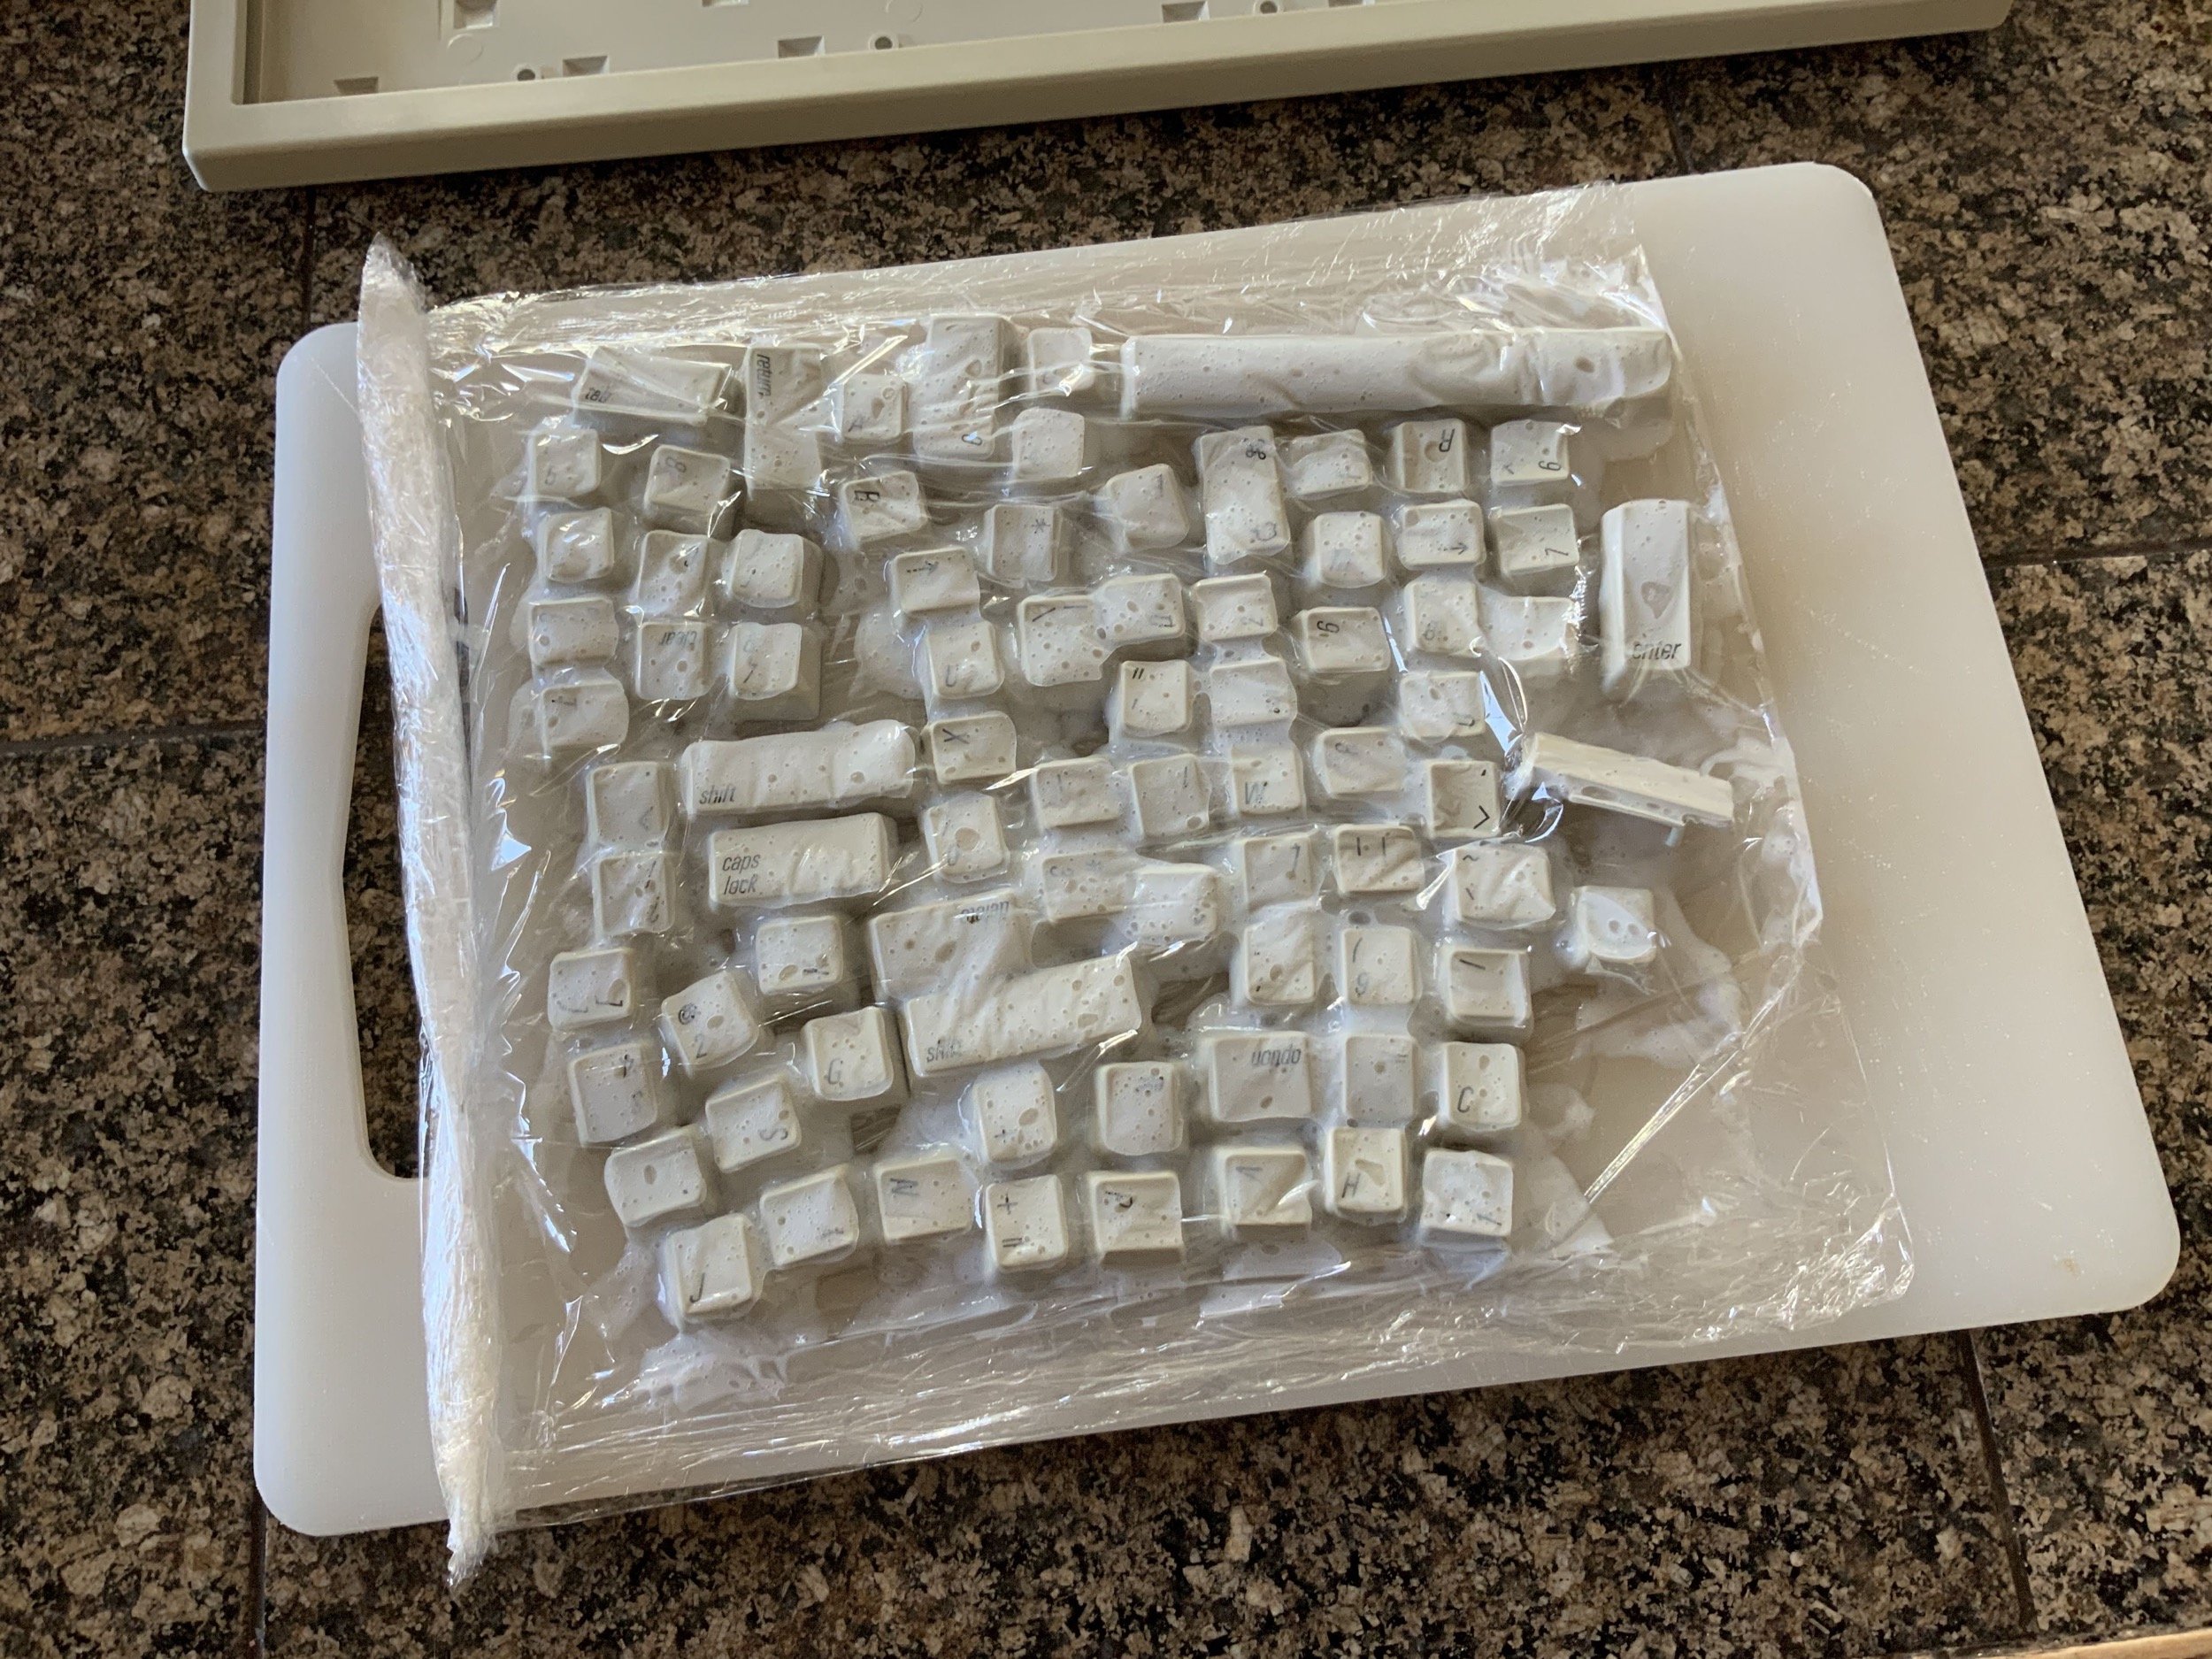
At this point, the keys had been under a UV lamp in the garage at 26.5°C (80°F) all night, so I pulled them out to take a look. I pulled out the spacebar, rinsed it off, and found that it wasn’t quite done.
I freshened up the hydrogen peroxide and put them out in the driveway mid-morning to speed up the process. I only had them out there for about 40 minutes in total, rotating them a few times. With that much sun and heat, I watched parts with cream and plastic wrap super closely. They absolutely couldn’t dry out anywhere, or it will ruin the parts! You can probably see why I mostly use the full submersion method, these days.
I got the mouse shell and keyboard shell out in the tub of liquid hydrogen peroxide as well. The mouse ball retainer wanted to float, so I clipped a binder clip to it for some weight and that worked perfectly. The submerged parts stayed out there for several hours. The starting temp was 26.5°C (80°F), but after a few hours climbed to 40.5°F (105°F).
After 40 minutes, I rinsed out the keys. It never takes long with that much heat, UV exposure, and concentration of hydrogen peroxide, but it sure is risky biscuits.
The keyboard shell was looking great too, so I brought everything in, rinsed it all off, and dried it off, and reassmebled it.

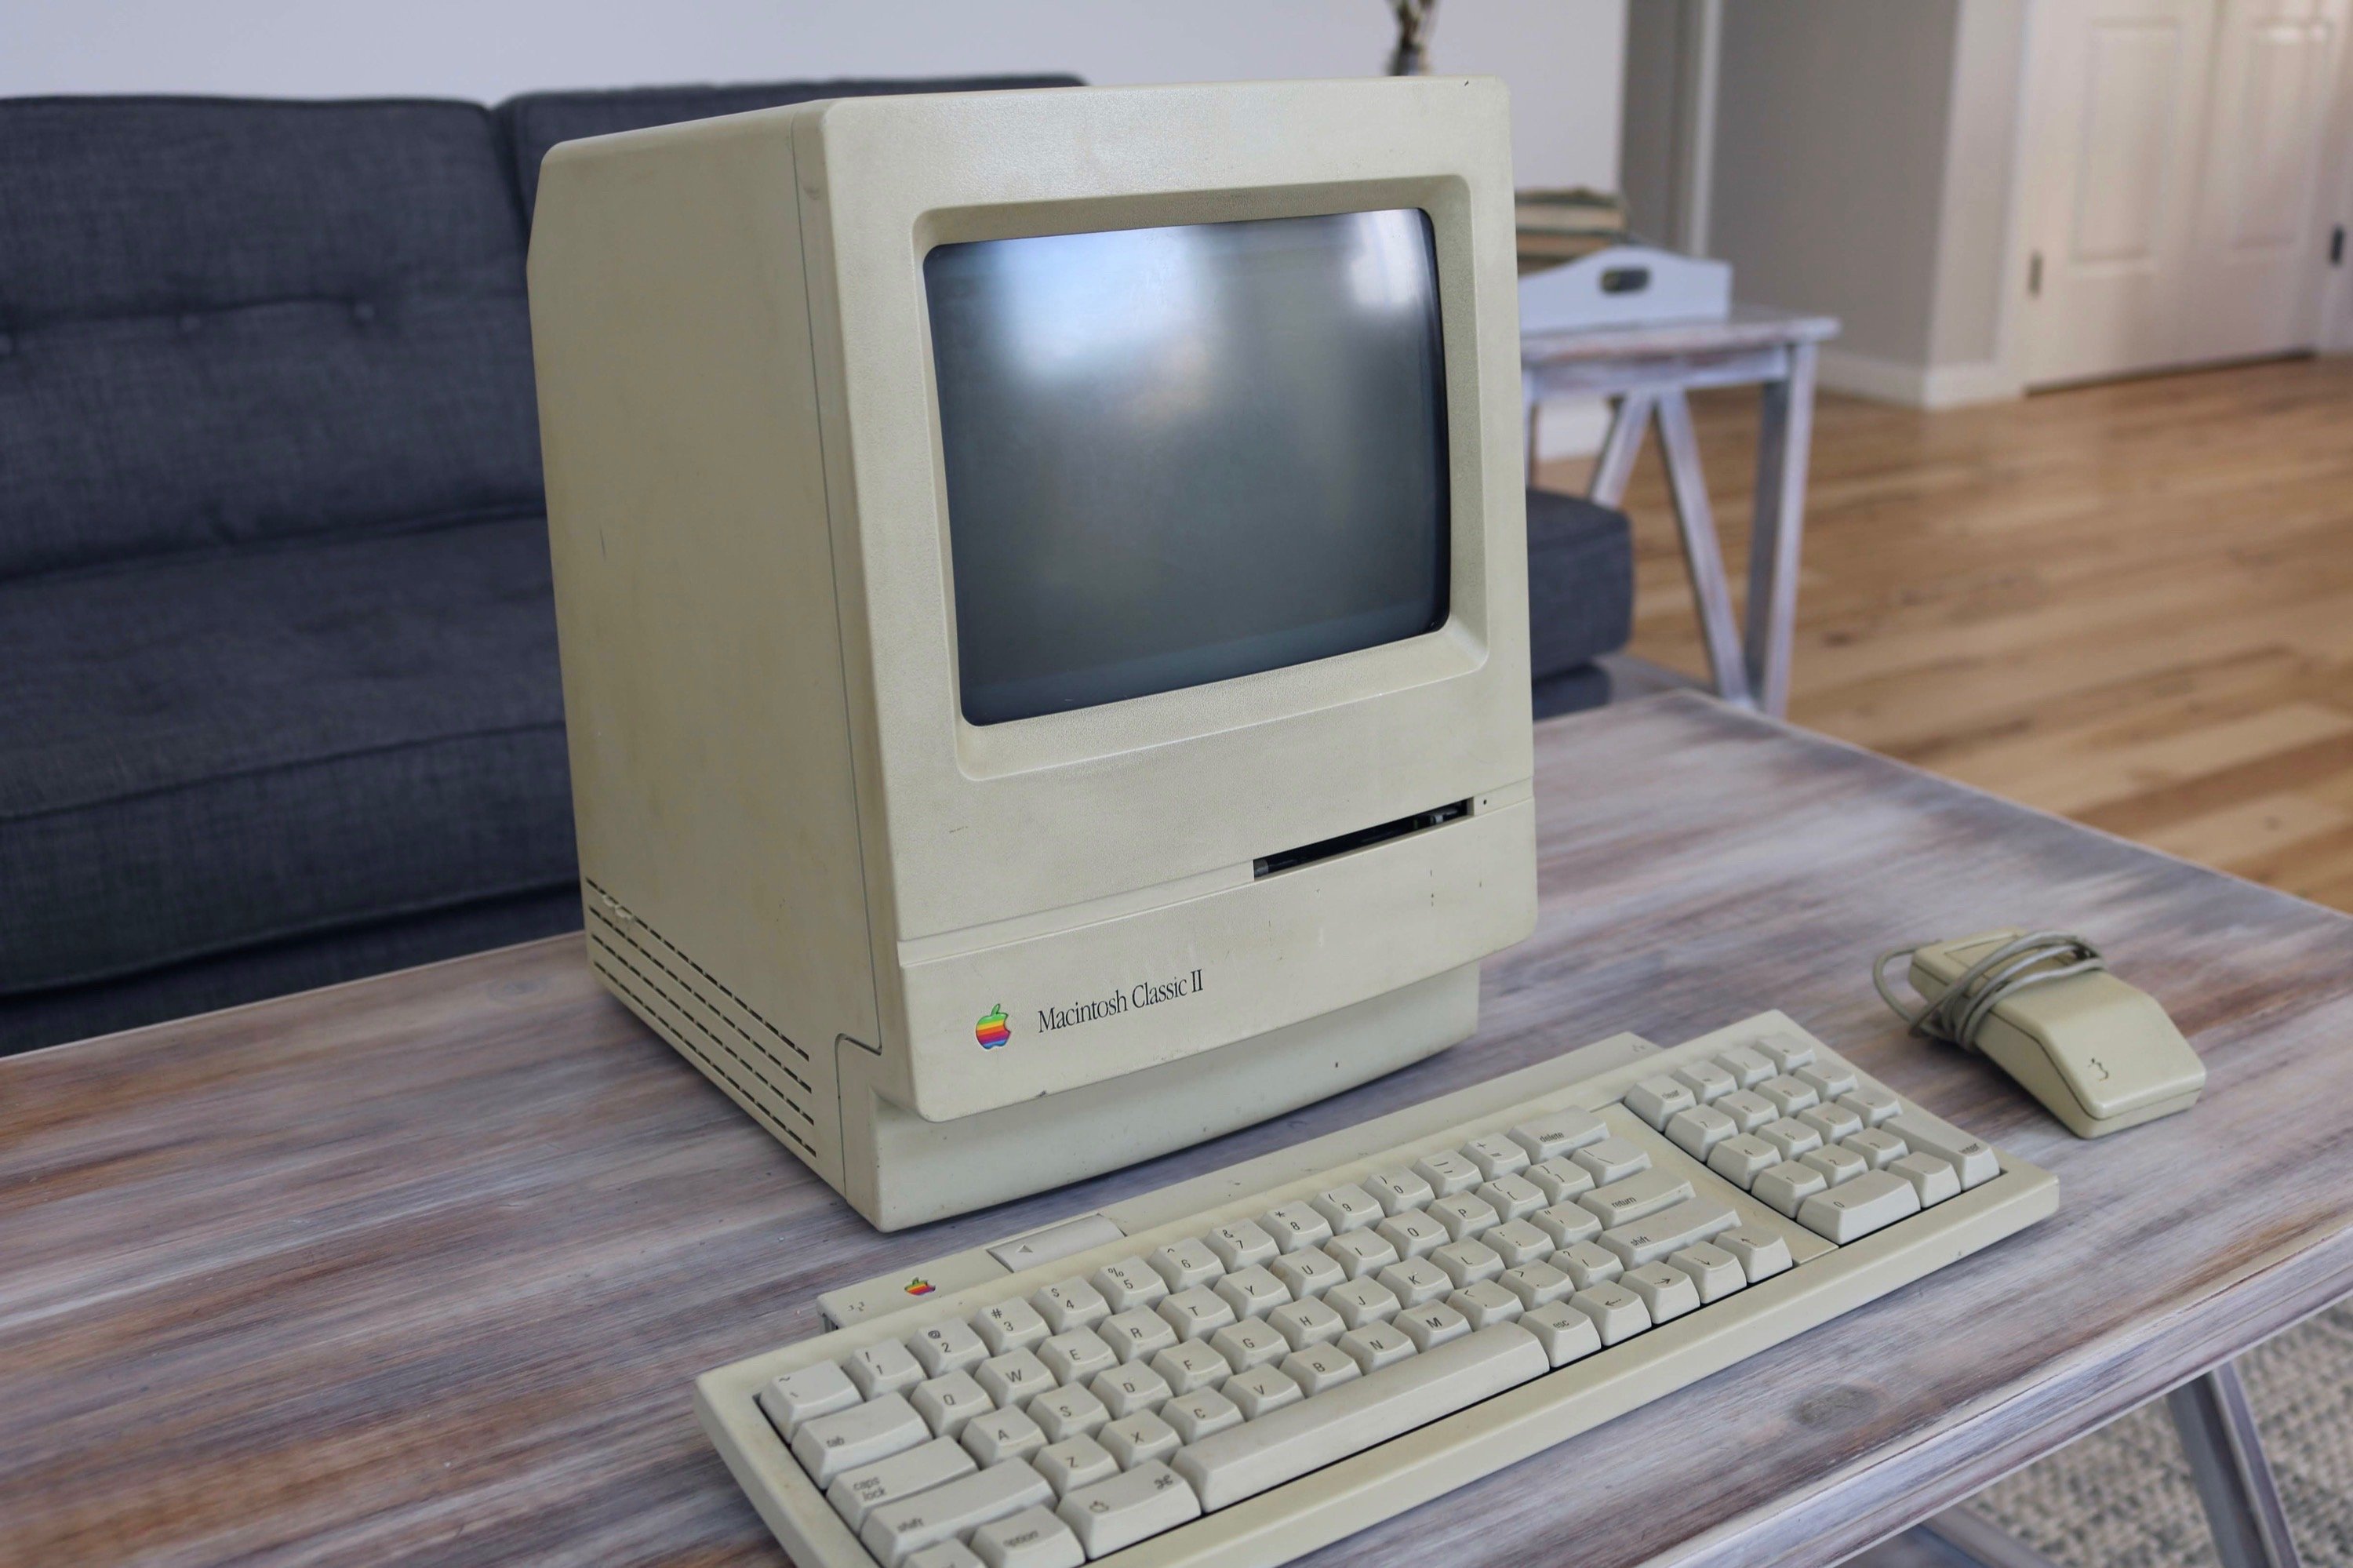
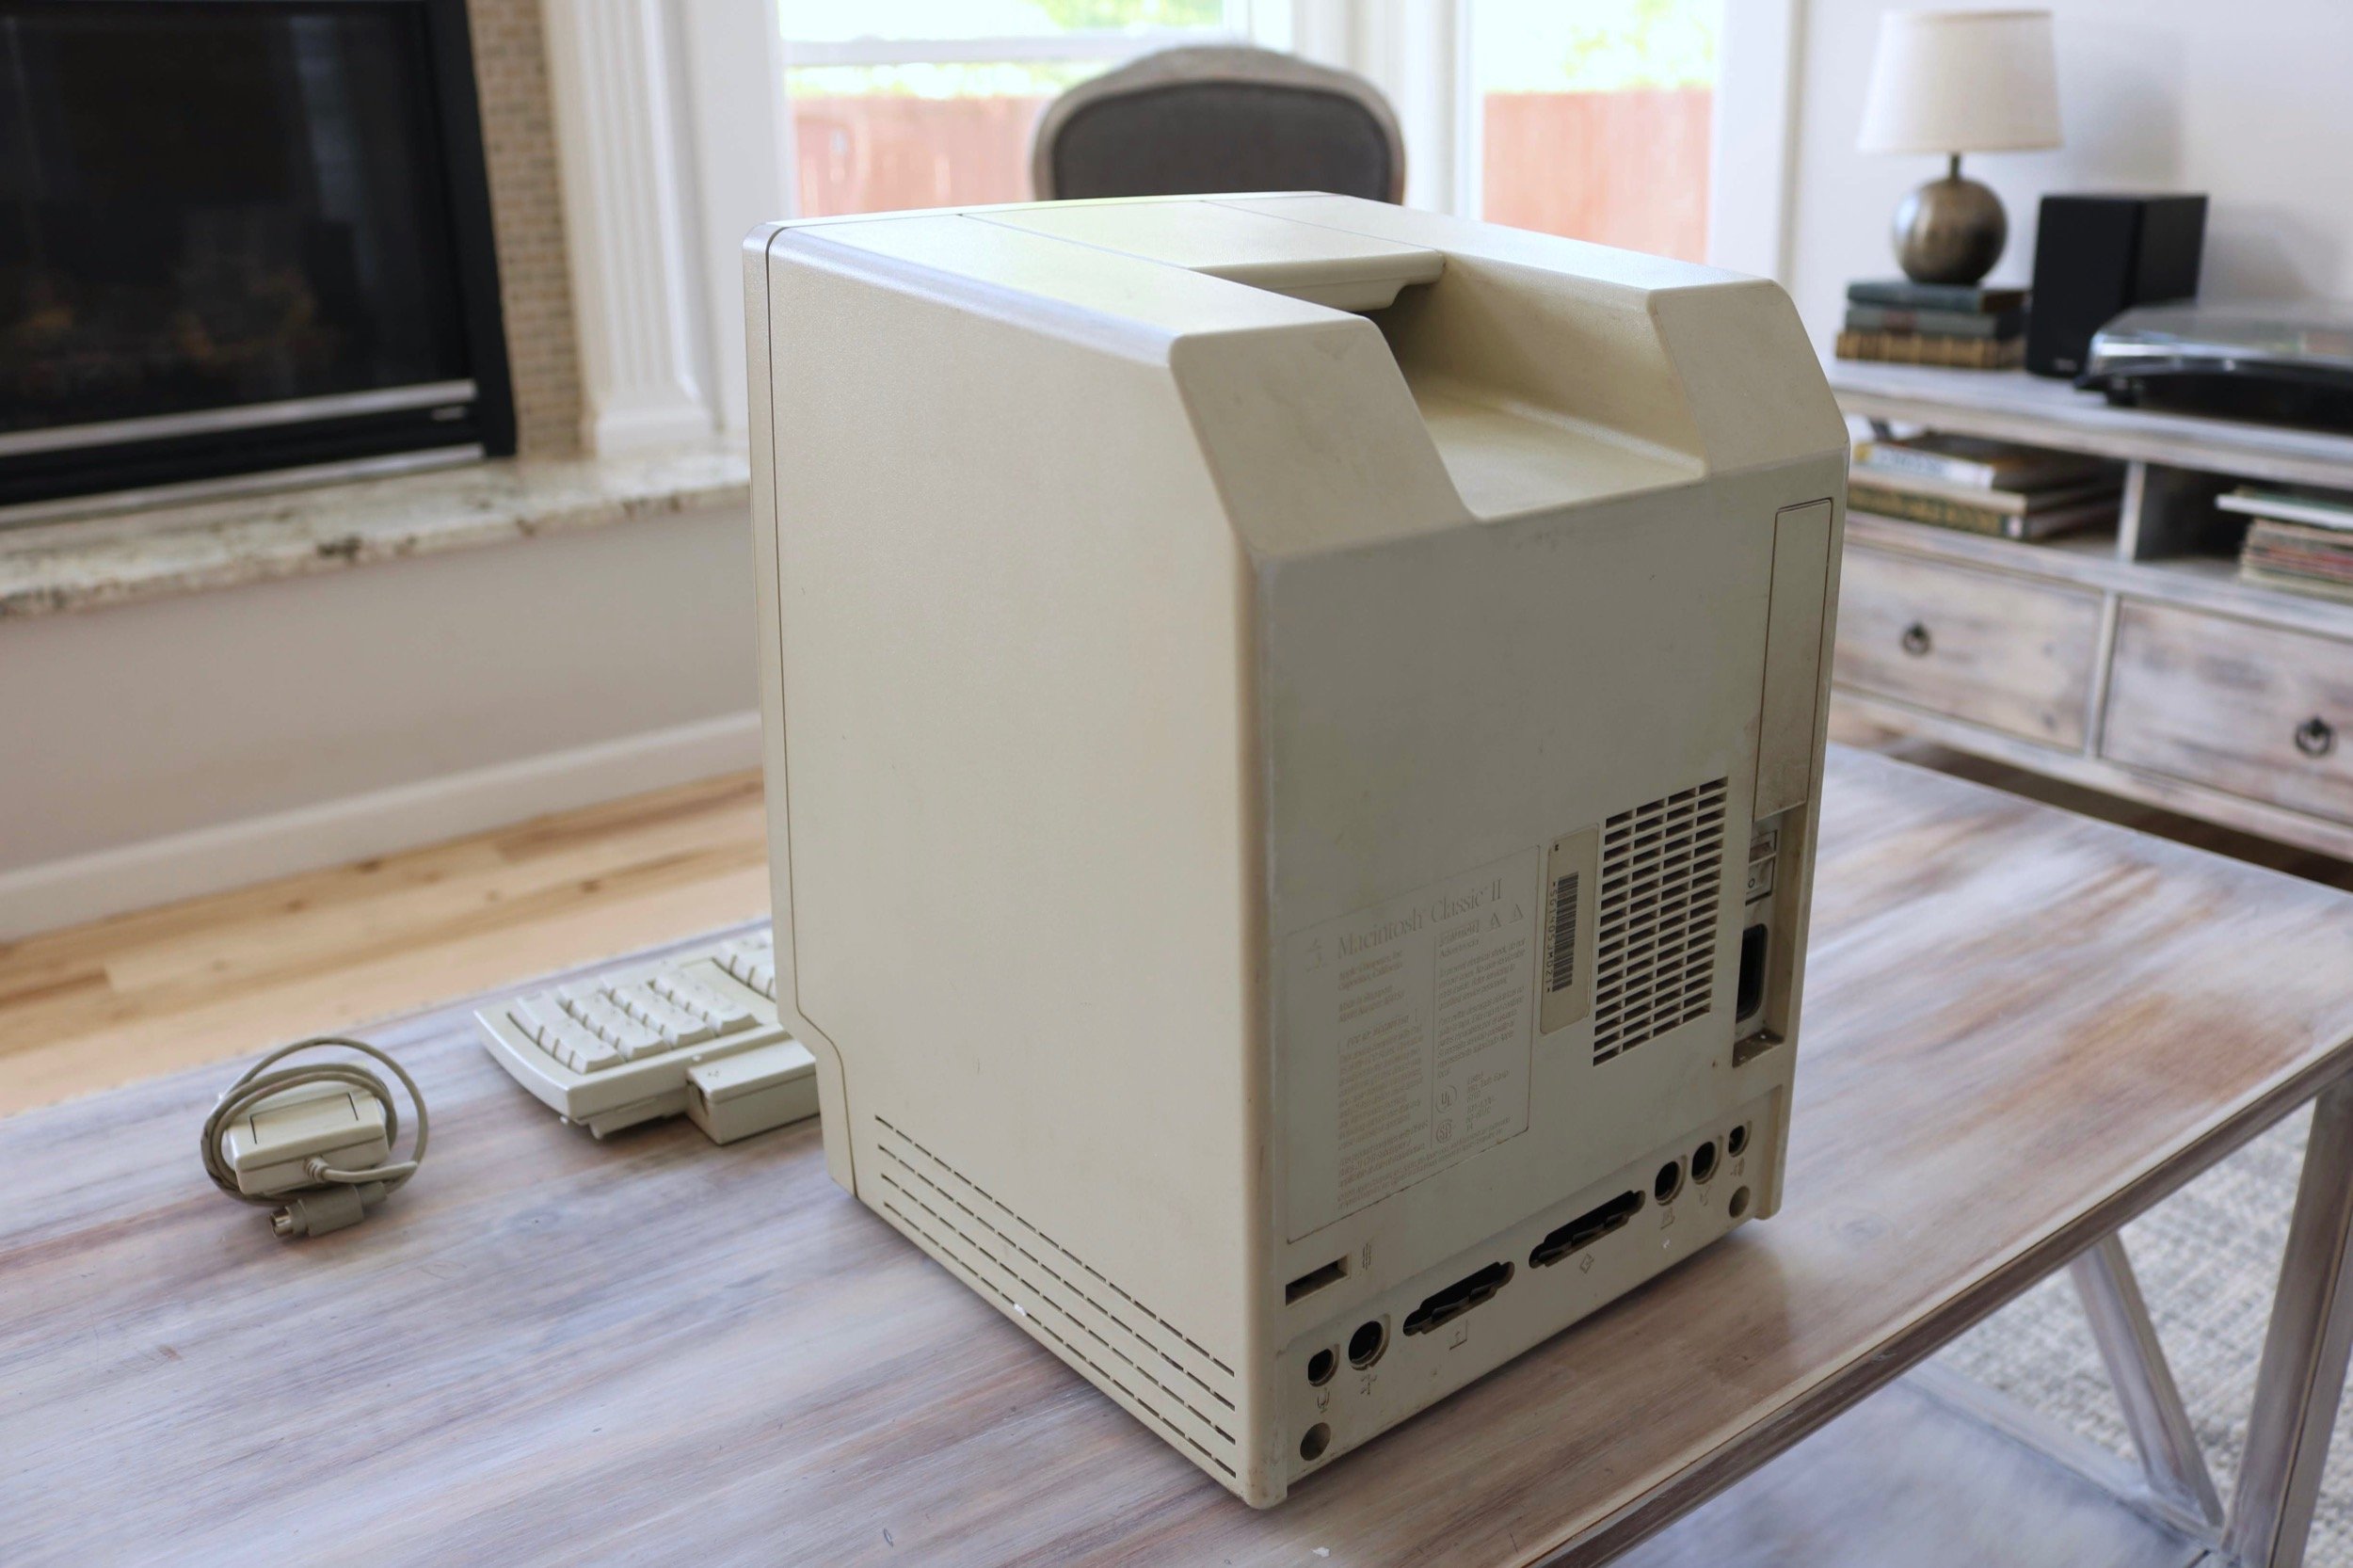
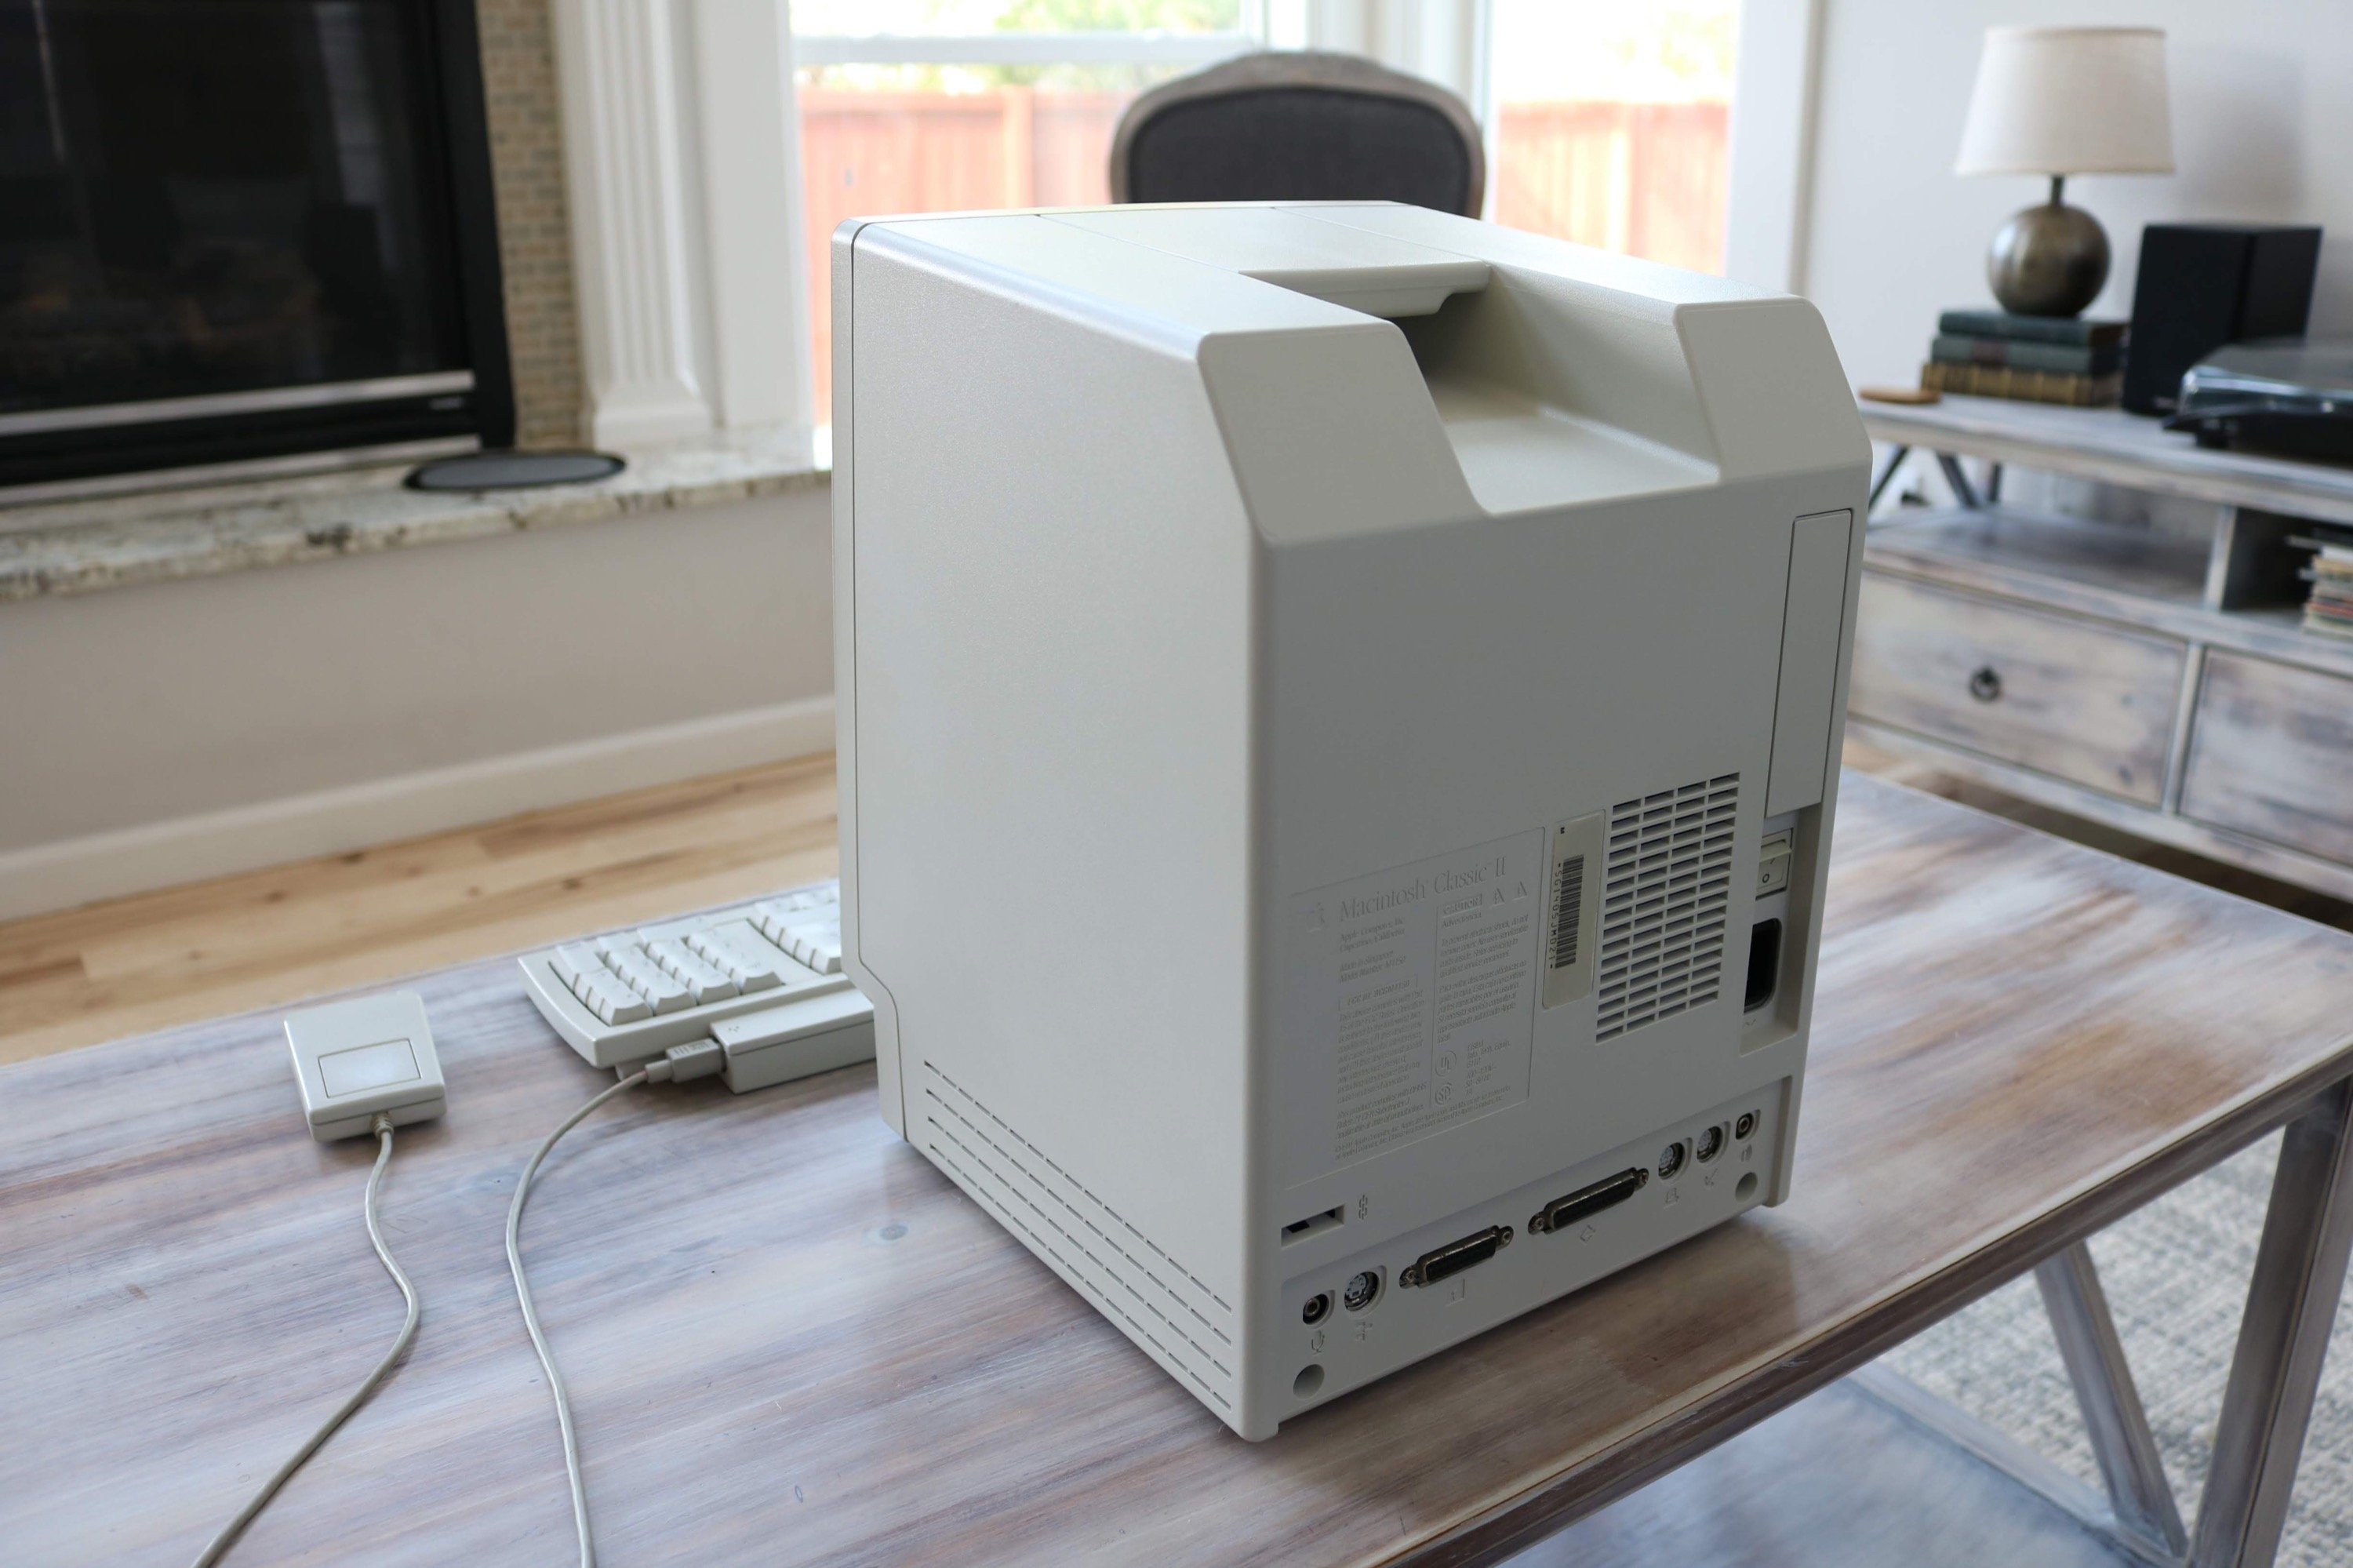
Results
Ok, time for the results! But first, a little disclaimer. I wanted to accurately capture the difference in yellowing, before and after. I decided to try using a white balance card with my DSLR, but in retrospect, I think it made the case look a lot yellower than it actually was. For the final result, I decided to shoot on full auto, and then manually adjust the white balance on the before photos to match as best as I can. That makes the photos I posted in the beginning a bit inaccurate, but I feel like these manually adjusted ones convey how much it changed pretty well.
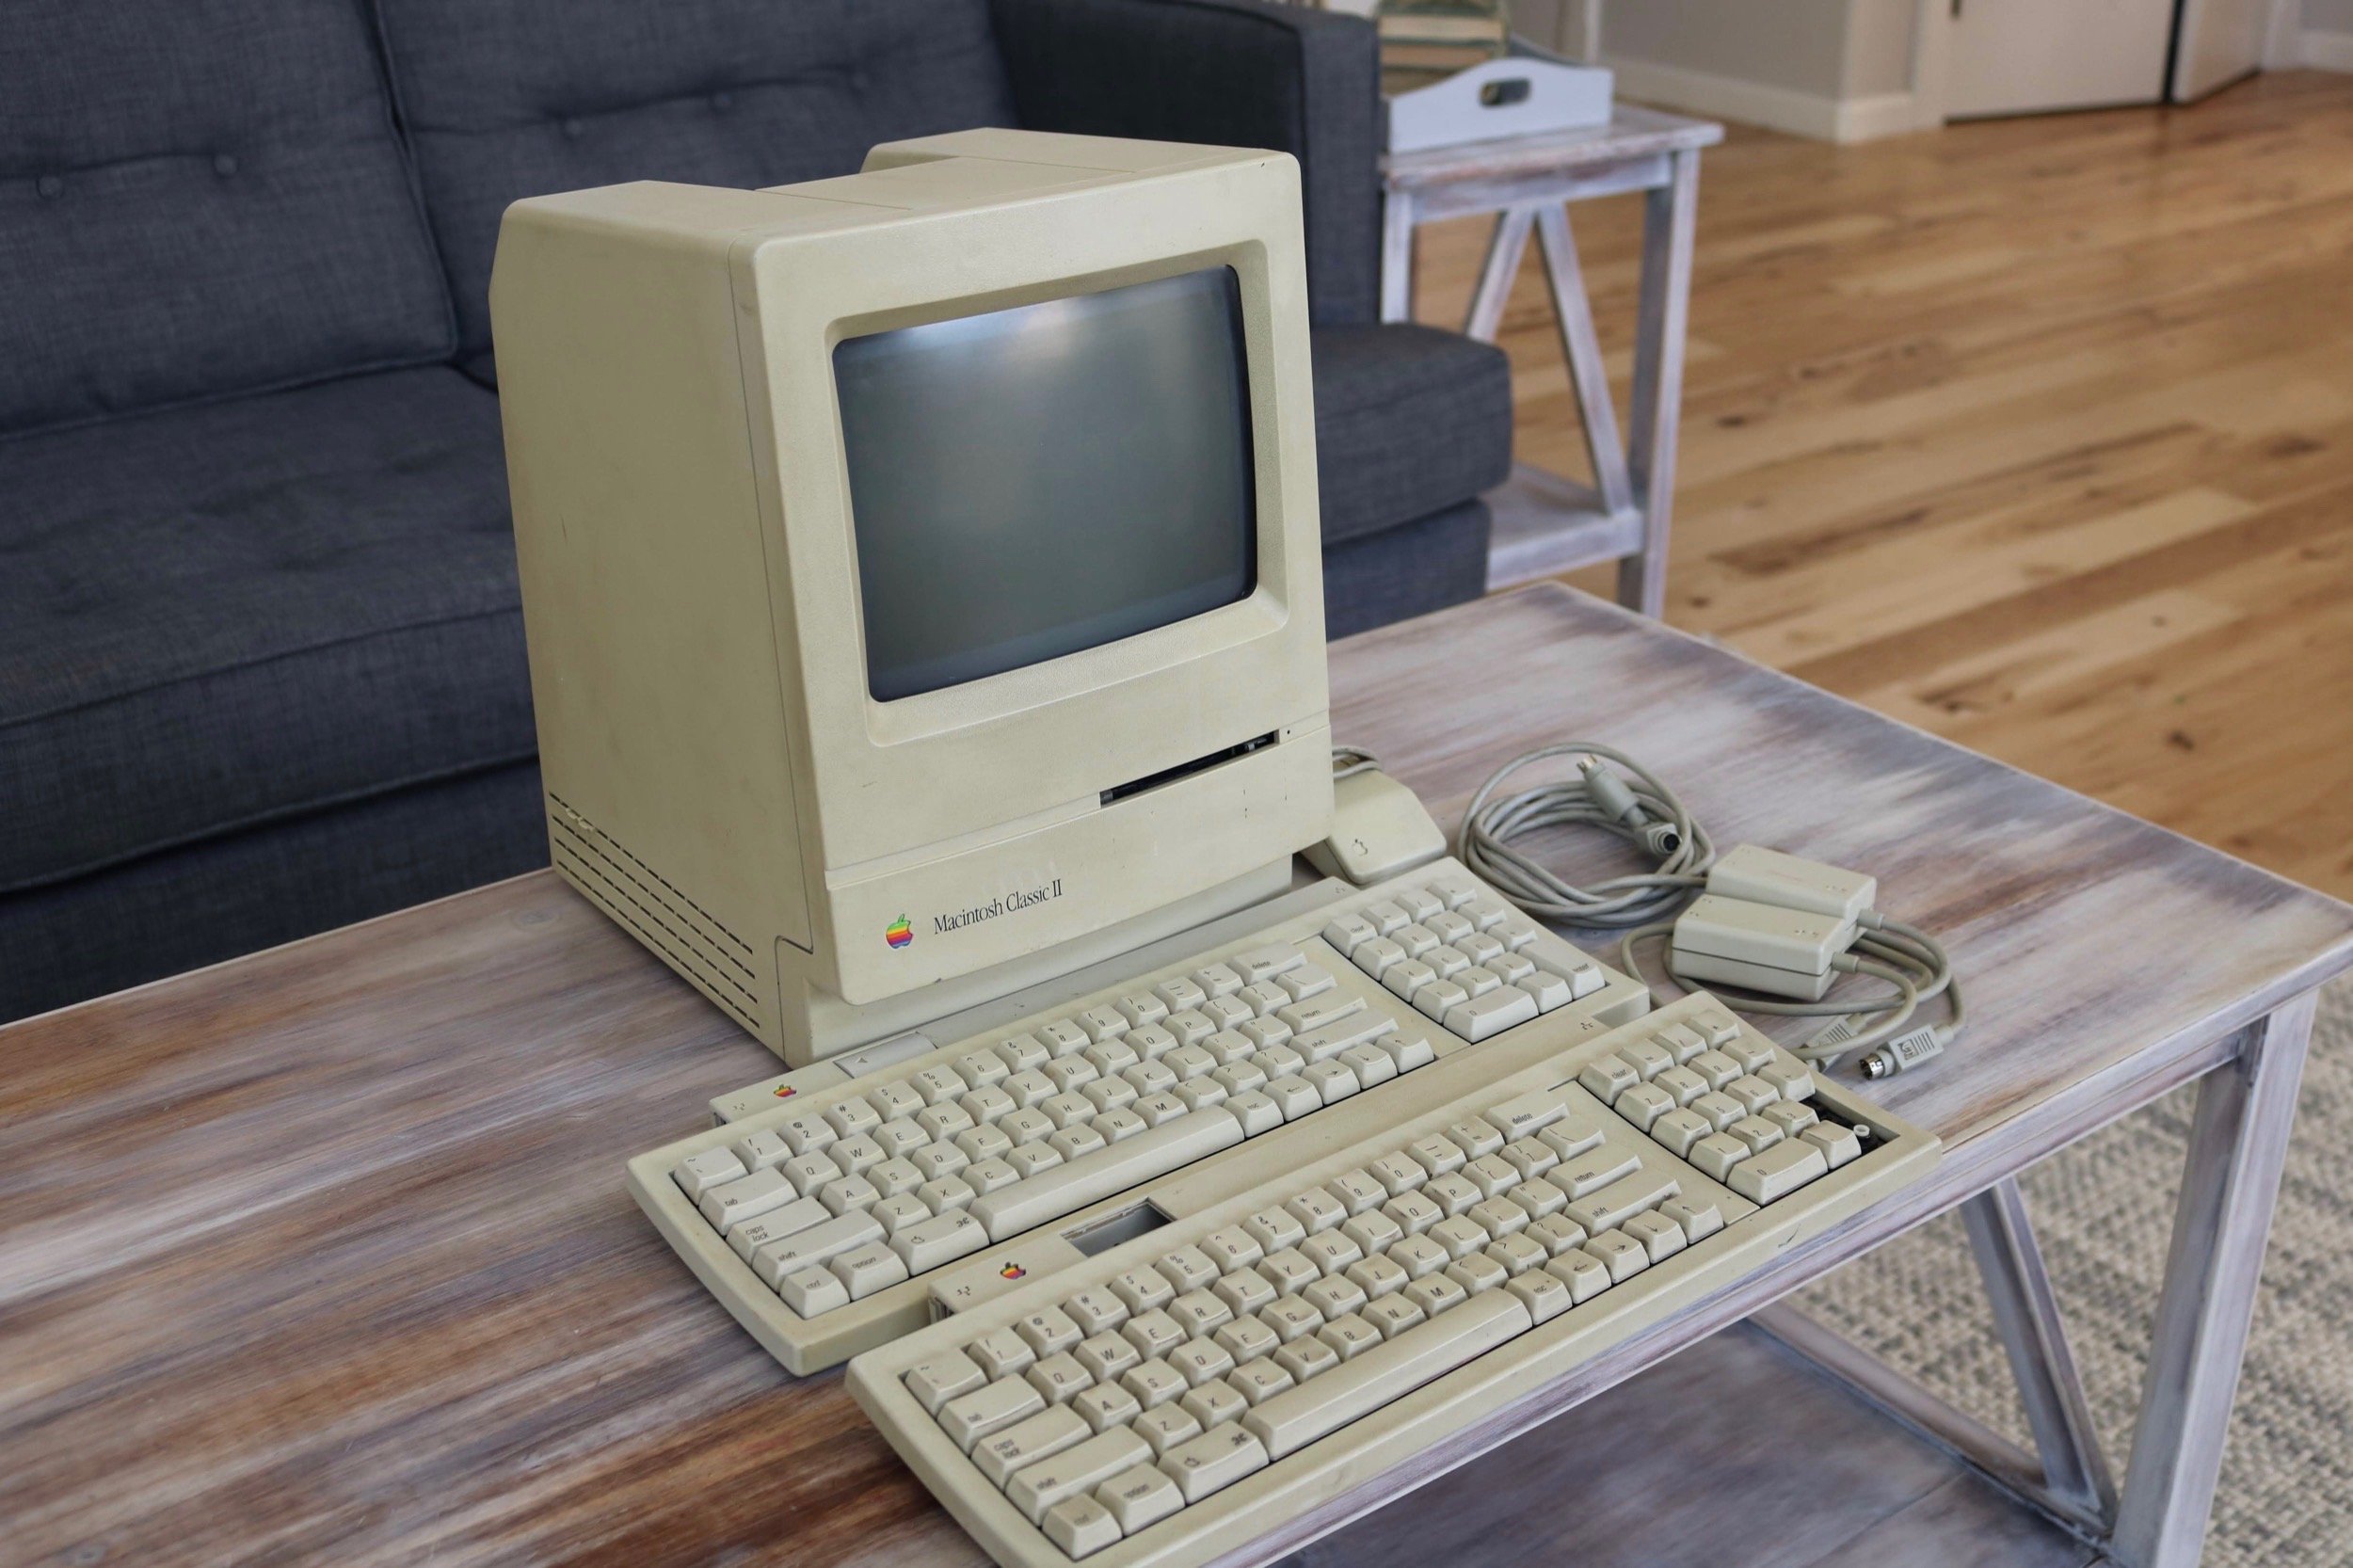
You might notice that the second Apple Keyboard II that I didn’t restore now has a power button, which I designed and 3D printed.
Here’s a complete list of things I did to this Macintosh Classic II:
- Cleaned and lubricated the floppy drive
- Cleaned and recapped the logic board
- Cleaned and recapped the analog board
- Cleaned the chassis, CRT, and all other internal parts
- Disassembled and cleaned the keyboard and mouse
- Retrobrited that Macintosh, mouse, and keyboard
- Installed a new PRAM battery
- Temporarily fixed the drive
Later, I would:
- Max the RAM out at 10 MB
- Upgrade to the SCSI2SD, and later a BlueSCSI
Finally, the last thing to do is:
- Replace the tired, burned-in CRT with a fresh one that I have in a box
Thanks for checking out my Macintosh Classic II restoration! I hope it was entertaining, and helps you out with your own vintage computer restorations!